Throwing clay on the potter’s wheel is a satisfying, creative challenge that delights both beginners and masters alike. Whether you’re looking for a meditative new hobby or want to develop your craft, working with clay can provide a sense of zen-like flow as you shape raw earth into functional art. In this post on how to throw ceramics, I will share the essential techniques and tips I’ve learned over many years of experience with ceramic hand-building and wheel-throwing.
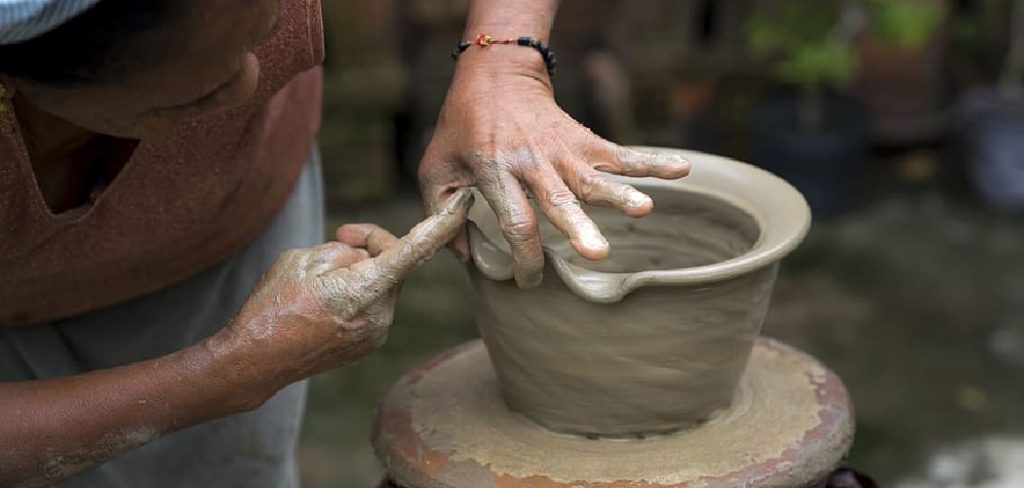
From centering and opening your clay to pulling handles and trimming excess material, you will gain a solid understanding of the pottery-making process. By the end, you’ll be ready to start translating your original design ideas into beautifully functional pottery with confidence. So, let’s get started – it’s time to get your hands dirty!
What Will You Need?
To throw ceramics, you will need the following materials:
- Clay (in this guide, I’ll use white stoneware)
- A pottery wheel
- Water
- Basic pottery tools (a sponge, a needle tool, and a rib)
- Optional: additional trimming tools, throwing stick(s), a wire cutter or fettling knife for separating pieces from the wheel
If you have access to a pottery studio, these materials should be readily available. If you need help, check your local arts and crafts store or search online for a ceramics supply shop.
10 Easy Steps on How to Throw Ceramics
Step 1: Wedging the Clay
Before you begin throwing ceramics, you need to prepare your clay through a process called wedging. This essential step helps to remove any air pockets within the clay and creates a uniform consistency. Place your clay on a clean, dry surface and knead it with your hands. Push downwards and forwards, then fold the clay back onto itself, repeating the process until the clay has a smooth, pliable texture. It’s now ready to be placed on the potter’s wheel.
Step 2: Centering the Clay
Centering the clay on the wheel is one of the most critical steps in throwing ceramics. It involves making the clay symmetrical and balanced on the wheel, crucial for forming an even, well-shaped pottery piece. Begin by slamming your wedged ball of clay down onto the center of the wheel. Next, start the revolution and wet your hands with water.
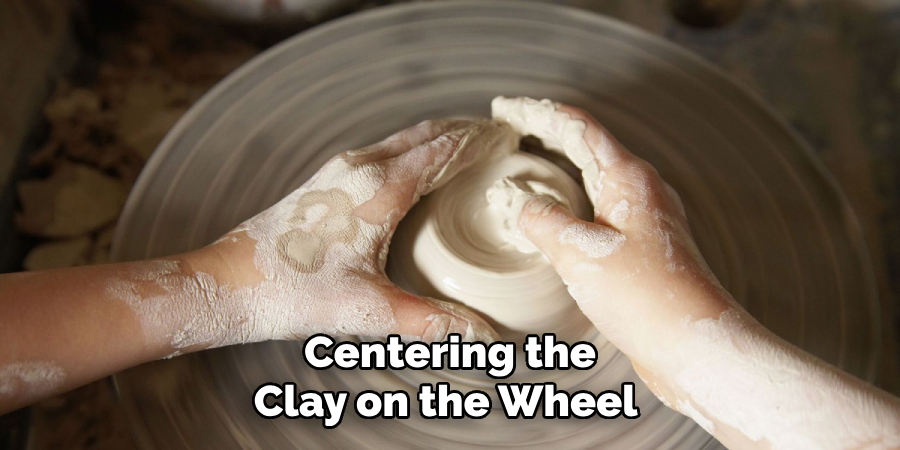
Place your hands firmly on the clay and apply pressure while the wheel is spinning. The goal is to make the clay form into a smooth, even cone shape. Your clay is centered when it spins without wobbling or bulging.
Step 3: Opening the Clay
The next step in throwing ceramics is “opening” the clay. This step involves creating the initial hole that will become the inside of your pottery piece. First, dampen your hands with water to prevent the clay from sticking. Position your thumbs at the center of your clay and press downwards, applying consistent pressure until you’ve created a cavity at least half the depth of your clay.
Step 4: Pulling up the Walls
Once you’ve opened the clay, the next step in throwing ceramics is “pulling up the walls.” This step involves shaping the actual form of your pottery piece. Start by wetting your hands to prevent the clay from sticking. Then, place your fingers on the inside and outside of the clay, gently squeezing as you slowly move your hands upwards.
This motion will cause the walls of your pottery piece to rise. Remember to maintain even pressure to keep the walls uniformly thick. Repeat this process until you’ve achieved the desired height and thickness.
Step 5: Shaping the Piece
The fifth step in throwing ceramics is shaping the piece. This stage gives character and aesthetics to your pottery, transforming it from a simple cylindrical form to a work of art. With wet hands, gently push from the inside outwards to expand the piece into the desired shape. Craft the lip and neck of your pottery by pinching and curving with your fingers. Use a rib tool on the outside surface to smooth any irregularities and remove excess slip.
Step 6: Trimming the Base
The sixth step in throwing ceramics pertains to tidying up your piece by trimming the base. Before you commence this stage, ensure that the amount you have thrown is leather-hard, neither too dry nor too wet, for optimal results. Start by placing your pottery upside down on the wheel, centering it as best you can. Secure the piece with small clay coils and then begin the revolution. Using a trimming tool, carefully trim away the excess clay at the base of your writing, achieving the desired thickness and form.
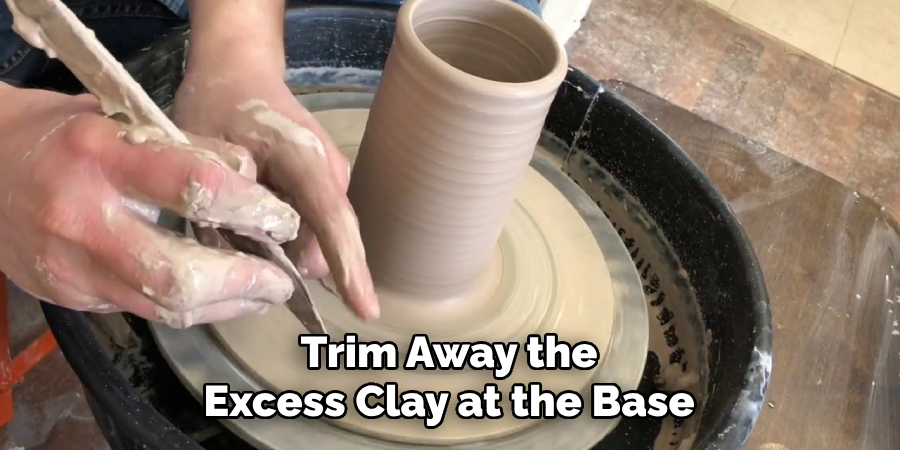
The goal here is to create a footing or a bottom edge that compliments the overall shape of your piece and ensures stability when it is standing. As you trim, keep checking the thickness of the base by piercing a needle tool into the clay until it hits the wheel head, then remove it, holding it steady to assess the depth of clay left.
Step 7: Drying the Piece
The seventh step in throwing ceramics is drying your pottery piece. This is a crucial phase, as improper or rushed drying can lead to cracks or warping. After trimming, leave your work on a dry surface away from direct sunlight or drafts. Allow the piece to dry slowly and evenly.
The ideal drying time varies depending on the thickness of your pottery and the humidity of your location, but generally, it can take a few days to a week. Your piece is fully dried when it is no longer cold to the touch and has a uniform light color, indicating that all the moisture has evaporated. It’s now ready to be fired in a kiln.
Step 8: Bisque Firing
The eighth step in throwing ceramics is bisque firing. Once your piece is arid, it’s time to fire it in the kiln. This first firing is called bisque firing, transforming your work from clay to ceramic. The bisque firing process typically involves heating the kiln slowly to about 1800 degrees Fahrenheit.
Gradually increasing the temperature is crucial to prevent the pottery from cracking due to thermal shock. After reaching the peak temperature, allow the kiln to cool down completely before opening it. The resulting pottery, bisque ware, is complex and porous, ready to absorb glaze in the next step. Handle your bisque ware with care, as it can be fragile.
Step 9: Glazing
The ninth step in throwing ceramics is the glazing process. This step adds color and gloss to your bisque ware, enhancing its aesthetic appeal and making it food-safe. Begin by ensuring your piece is dust-free. You can use a damp sponge to clean the surface lightly. Next, prepare your glaze according to the manufacturer’s instructions.
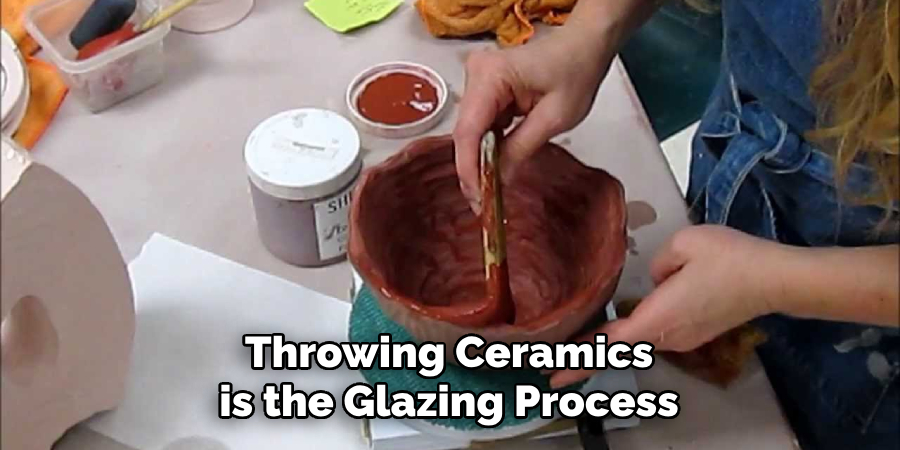
Dip your piece into the ice, or apply using a brush for more detailed designs. Remember to wax-resist the bottom of your piece to prevent the glaze from sticking to the kiln shelf during the subsequent firing. After glazing, thoroughly inspect your work to ensure the glaze coverage is even and there are no drips.
Step 10: Glaze Firing
The final step in throwing ceramics is glaze firing. This process solidifies the glaze onto your piece, enhancing its durability and aesthetic appeal. After the glaze on your pottery has dried, carefully load your elements into the kiln. The ceramics should not touch each other or the kiln walls. Begin firing the kiln, slowly increasing the temperature to approximately 2232 degrees Fahrenheit (cone 6) or as your glaze manufacturer recommends.
Following these ten steps, you can successfully throw ceramics and create beautiful pottery pieces.
5 Things You Should Avoid
- Improper Wedging: Before you start throwing, it’s vital to wedge your clay correctly to remove any air bubbles. Neglecting this step can cause your piece to explode in the kiln due to trapped air.
- Uneven Wall Thickness: Aim for uniform wall thickness throughout your pottery piece. Uneven walls not only look aesthetically unpleasing, but they can also lead to cracks during the drying and firing stages.
- Rushing the Drying Process: Never rush the drying process. Quick or uneven drying can lead to warping or cracking your pottery piece. Be patient and allow your work to dry naturally.
- Improper Glaze Application: The glaze should be applied evenly and not too thick. Overly thick glaze can drip onto the kiln shelves during the firing, damaging both the piece and the frame.
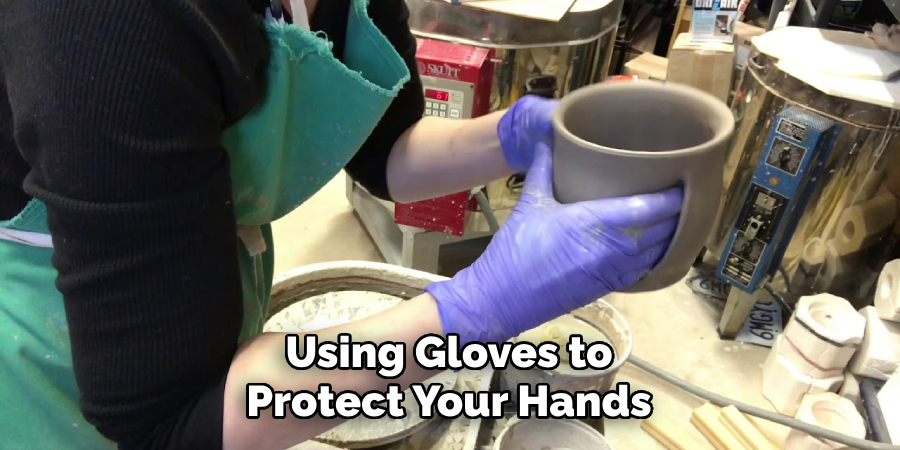
- Skipping Safety Precautions: Ceramics involves handling potentially hazardous materials and tools. Always prioritize safety, be it wearing a mask when handling glaze powders, using gloves to protect your hands, or taking care while using the kiln.
With these tips in mind, you can successfully throw ceramics and create beautiful pieces of pottery to showcase your creativity.
Conclusion
In conclusion, how to throw ceramics is truly a craft that combines technical skill with artistic expression. From centering the clay to shaping and trimming, there are endless possibilities for creating beautiful and unique pieces.
With the right tools, techniques, and practice, anyone can master this ancient art form. Amazingly, humans have been making pottery for thousands of years, passing down their knowledge through generations.
So why continue this tradition and try your hand at throwing? Whether you want to create functional pieces for your home or simply unleash your creativity on the wheel, grab some clay and get started! Don’t be afraid to experiment with different shapes, colors, and textures – after all, every pottery is a unique creation.
So, let your imagination run wild and enjoy the therapeutic process of working with clay. And who knows, you’ll discover a new passion or hidden talent along the way! Happy throwing!
With a keen eye for detail and a deep understanding of the firing process, I bring ceramics to life as a skilled kiln operator. My expertise ensures that each piece reaches its full potential, achieving the perfect balance of strength and beauty. I take pride in overseeing the critical final stage of pottery creation, transforming raw clay into stunning, durable art. 🎨
From monitoring temperatures to perfecting firing schedules, I ensure that every piece is fired to perfection. My role is not just about operating the kiln; it’s about understanding the unique needs of each creation and bringing out its best qualities.
Join me on this journey of precision and passion, where every firing tells a story. Whether it’s a delicate vase or a robust sculpture, I am dedicated to making sure that every piece that comes out of the kiln is a masterpiece. 🏺✨
Toby Rede is a professional potter focused on creating functional and artistic ceramics. His work blends natural textures with modern forms, often inspired by sustainable gardening and outdoor environments. Toby’s pottery emphasizes both utility and beauty, reflecting his philosophy of intentional craftsmanship. On the blog, he shares insights on integrating handmade objects into everyday life.
Education
- Master of Fine Arts in Ceramics, California College of the Arts
Professional Focus
- Creating practical pottery for everyday use.
- Using unique styles and techniques to convey narratives in ceramics.
Professional Accomplishments
- Showcased work in local and national art galleries, gaining recognition for craftsmanship.
- Received accolades for innovative designs in pottery competitions.