

Making handles for your pottery creations can be one of the most enjoyable and rewarding parts of the ceramics process.
Handles are one of the primary points of interaction between a user and your ceramic piece, whether it is a mug, bowl, or vase. As such, getting the handle right can be the difference between a piece that is beautiful to look at but uncomfortable to use and one that enhances the entire experience of enjoying or utilizing your pottery.
In this tutorial, I will share the techniques and tips I have picked up over the years to help you design, sculpt, and attach handles to your pots that you will be proud of. By following the steps on how to make a pottery handle, you’ll be well on your way to grips that feel as significant in the hand as they look on the piece. Let’s get started!
What Will You Need?
Before we dive into the steps, let’s first gather all the necessary materials and tools that you will need to make your pottery handle. These include:
- Clay: You can either use a slab of clay or a lump of clay from which you will form and shape your handle.
- Rolling Pin or Slab Roller: This tool is essential in flattening the clay to your desired thickness.
- Clay Knife or Wire Cutter: This will cut the clay into the shape and size you want for your handle.
- Ruler or Measuring Tape: These tools can come in handy when you create handles of a specific size.
- Water or Slip: Water is essential for adding moisture to dry clay, while identification is used to attach handles and other clay pieces.
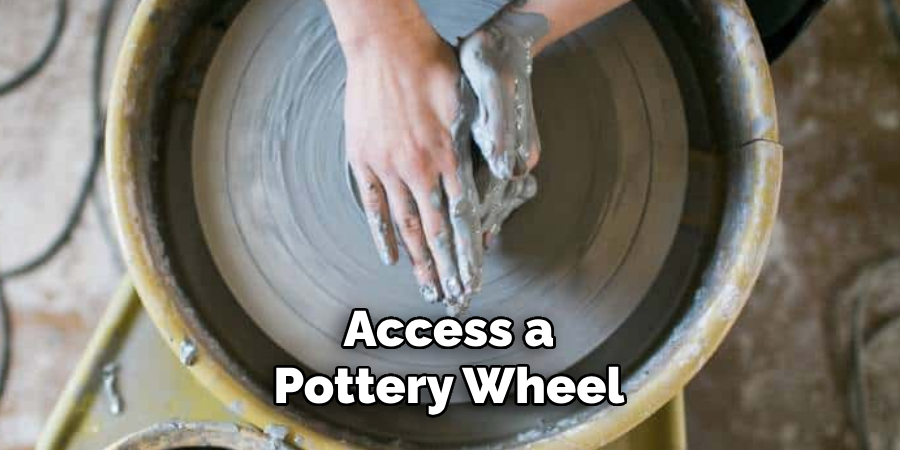
- Pottery Wheel: If you can access a pottery wheel, it can help shape your handle with precision and consistency. However, it is optional to make a handle.
Now that the materials are ready, let’s make a pottery handle.
10 Easy Steps on How to Make a Pottery Handle
Step 1. Preparing the Clay:
Start by wedging your clay to remove any air bubbles and ensure it’s of even consistency. If you’re using a slab of clay, roll it out to an even thickness using your rolling pin or slab roller. For a lump of clay, knead it until it’s soft and pliable. The clay mustn’t be too wet or too dry; it should be firm yet flexible.
Step 2. Shaping the Handle:
Once your clay is prepared, begin shaping your handle. If you’re using a slab, cut a strip of clay to your desired handle length and width with your clay knife or wire cutter. If you’re using a lump of clay, roll it into a coil, similar to a rope, and then flatten it slightly. This will give you the basic shape of your handle. Remember, the size and shape of your grip should be proportional to the size of the pot to which it will be attached.
At this stage, using various pottery tools, you can also add any design elements or textures to your handle. Allow the shaped handle to dry slightly, to a leather-hard consistency, before attaching it to your pot.
Step 3. Scoring and Slipping:
This is a fundamental process in pottery when you want to join two separate clay pieces together. Once your handle has reached a leather-hard stage, it’s time to attach it to your pot. But before you do that, you must score and slip both the handle and the pot at the points where they will connect. Scoring is the process of making shallow cuts or scratches on the surface of the clay to create a rough surface.
This can be done using a scoring tool or a fork. After scoring, apply slip, a mixture of clay and water, to the scored surfaces. The slip acts as a form of ‘clay glue’, which helps to bond the two clay pieces together.
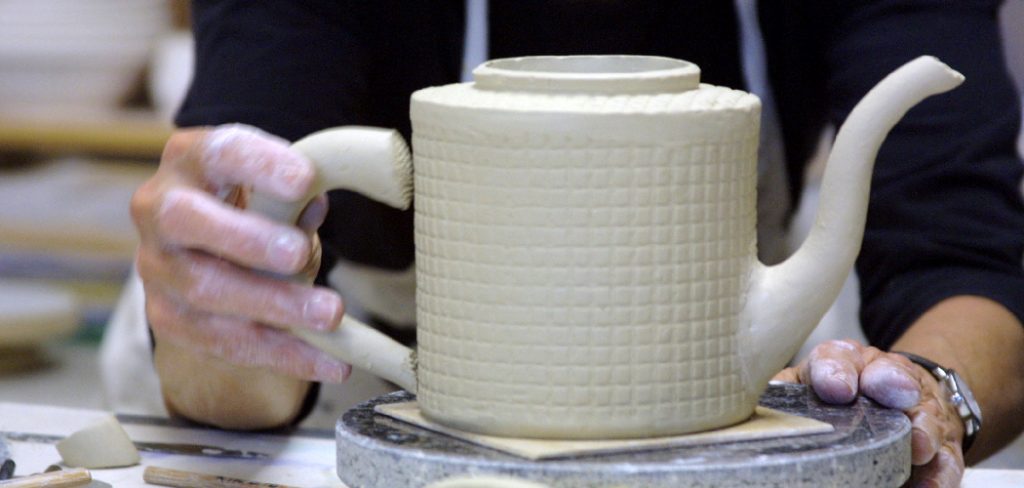
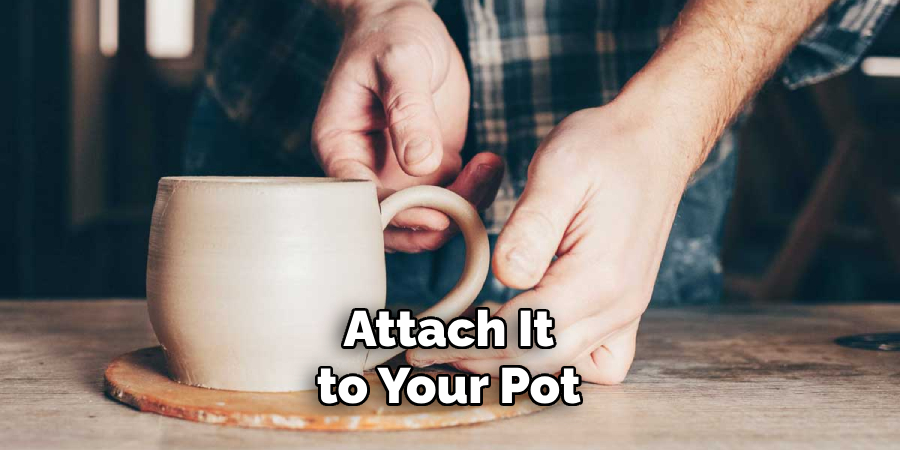
Step 4. Attaching the Handle:
Now comes the part where you’ll attach your handle to the main pottery piece. Hold the handle up against your pot to see where it looks and feels right. Once you decide where to attach it, press the scored end of the handle onto the scored part of the pot where you want the handle to start. Apply gentle but firm pressure to make sure the handle adheres to the bank. It’s essential to ensure the joint is vital, as a weak joint can lead to the handle detaching after drying or firing.
Mold the clay around the joint to ensure a smooth connection, ensuring not to distort the shape of the handle. Repeat the process on the other end of the handle. Once attached, you can use a damp sponge or brush to smooth over the area where the handle meets the pot, ensuring a seamless look and feel. After attaching the handle, allow your piece to dry slowly and evenly.
Step 5. First Firing:
The final stage of making a pottery handle is the first firing, also known as bisque firing. This process hardens the clay and prepares it for glazing. Before placing your piece in the kiln, ensure it is bone-dry to prevent any explosion due to remaining moisture. Load your pottery into the kiln with care, making sure not to overcrowd it. Start the kiln at a low temperature, gradually increasing it over several hours.
The exact time and temperature will depend on your specific kiln and type of clay, but generally, bisque firing takes place at around 1800 degrees Fahrenheit (982 degrees Celsius). Allow the pottery to cool completely inside the kiln before removing it. Once the piece has cooled, it is ready to be glazed and fired again to complete the pottery-making process. Even at this stage, handle your part carefully, especially the handle, as it is still fragile until after the final firing.
Step 6. Glazing:
After your pottery piece has cooled, it’s time to add some color and shine with glazing. Glaze is a layer of material that gives your pottery piece its finish and can range from glossy to matte. Before glazing, make sure to wipe down your pottery with a damp sponge to remove any dust that could interfere with the glaze.
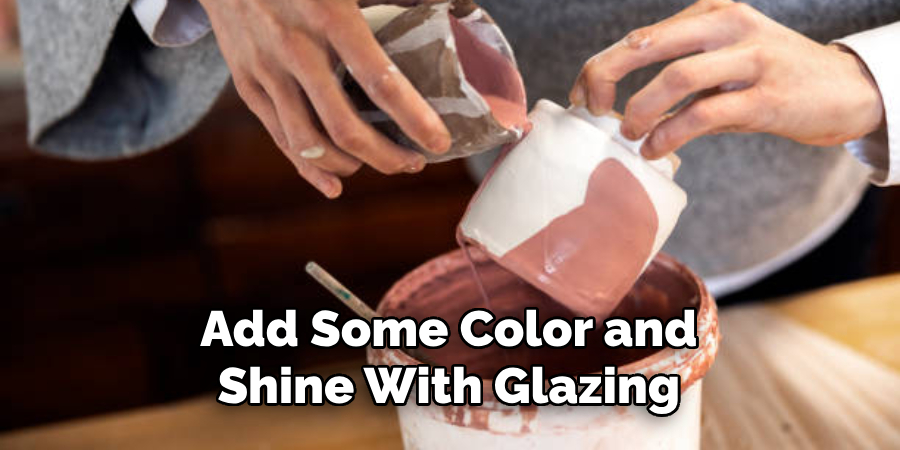
Dip your piece into the glaze, ensuring that the entire surface, including the handle, is covered. Consider using different colors or techniques to create unique designs for a more artistic touch. Once you’ve applied the glaze, allow your piece to dry completely.
Step 7. Final Firing:
It’s time for the final firing once your piece is dry and the glaze is set. This stage transforms the raw glaze into a hard, glass-like surface, giving your piece its finished look. Place your glazed pottery in the kiln, not letting any pieces touch, as they could fuse together during firing. The temperature for the final firing is higher than the bisque firing, typically around 2200 degrees Fahrenheit (1204 degrees Celsius).
The firing process will take several hours, and the cooling process can take longer. It’s important to take your time with this process, as premature cooling can cause the pottery to crack. Once your piece has cooled entirely, carefully remove it from the kiln. The final result should be a beautiful, glazed pottery piece with a sturdy handle.
Step 8. Inspection and Finishing Touches:
After the final firing, inspect your pottery piece. Pay special attention to the handle to ensure it is firmly attached and sturdy enough for use. If you find any rough edges or minor imperfections on the handle or the pot, use fine sandpaper to smooth them out. Remember to handle the pottery carefully, as it can be fragile, especially before the fully cured glaze.
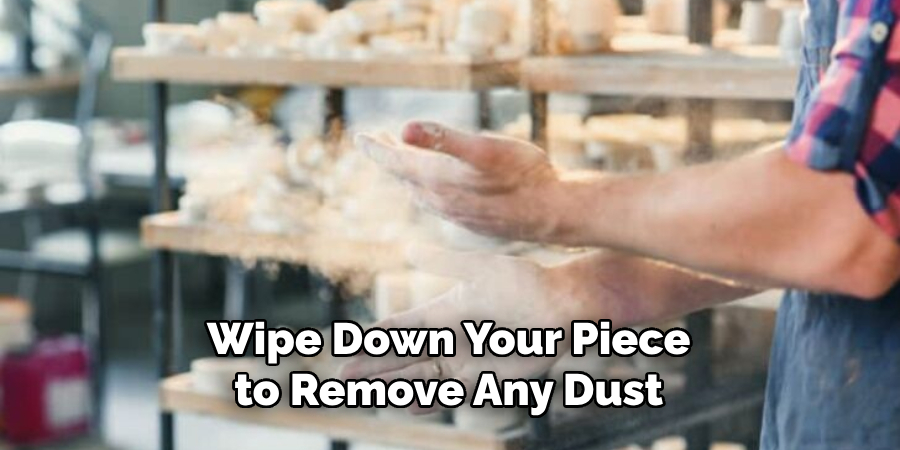
Next, wipe down your piece to remove any dust created by sanding. With this, your pottery piece is complete, and your handle is ready for use.
Step 9. Maintenance and Care:
Proper maintenance ensures the longevity of your pottery piece and its handle. Remember to handle the article carefully, avoiding any forceful impact as this can cause cracks or breakage. Clean the pottery with a damp cloth or sponge if it is glazed.
Avoid submerging it in water for unglazed pottery, as it can absorb moisture and weaken over time. Instead, use a dry cloth to dust it off. If used regularly, inspect the handle periodically for any signs of wear or damage. Proper care will let you enjoy your handmade pottery for many years to come.
Step 10. Enjoy Your Artwork:
After all the work and care put into your pottery piece, the final step is to enjoy and use it! Pottery is a practical art meant to be used and enjoyed. Whether it’s a mug, a bowl, or a vase, each piece with your handmade handle carries some of your creativity and hard work. Use your pottery in your daily life or give it as a unique, personal gift to loved ones.
By following these steps, you can confidently make a pottery handle and add your personal touch to your pieces.
5 Additional Tips and Tricks
- Preparation is Key: Before you begin, ensure you have all the necessary tools and materials. This includes a clay body, a needle tool, a rib tool, and a damp sponge.
- Patience in Shaping: Remember that shaping the handle is a delicate process. Don’t rush it. Carefully pull and shape the clay, keeping your movements steady and controlled.
- Consistent Thickness: Achieving uniform thickness throughout the handle is essential for both aesthetics and function. Use your fingers to feel for inconsistencies and smooth them out with your tools.
- Allow Proper Drying: Don’t rush the drying process. Let the handle dry slowly and naturally to prevent cracks and warping.
- Practice Makes Perfect: Lastly, remember that pottery is an art that requires training. Keep going even if your first few handles aren’t perfect. Keep practicing, and you’ll soon get the hang of it.
With these additional tips and tricks, you’ll be able to create beautiful and functional pottery handles with ease.
5 Things You Should Avoid
- Avoid Dry Clay: Using dry clay can lead to cracks in your handle. Always use moist clay that is easily shapeable.
- Don’t Neglect the Handle’s Connection to the Pot: The handle’s connection to the pot is critical for the overall durability of the piece. Ensure that this connection is secure and adequately smoothed out.
- Avoid Overworking the Clay: Overworking the clay can cause it to become weak and brittle. Work the clay just enough to shape it to your desired form.
- Avoid Rushing the Process: Pottery is a craft that requires patience. Don’t try to rush the process, as this often leads to mistakes and imperfections.
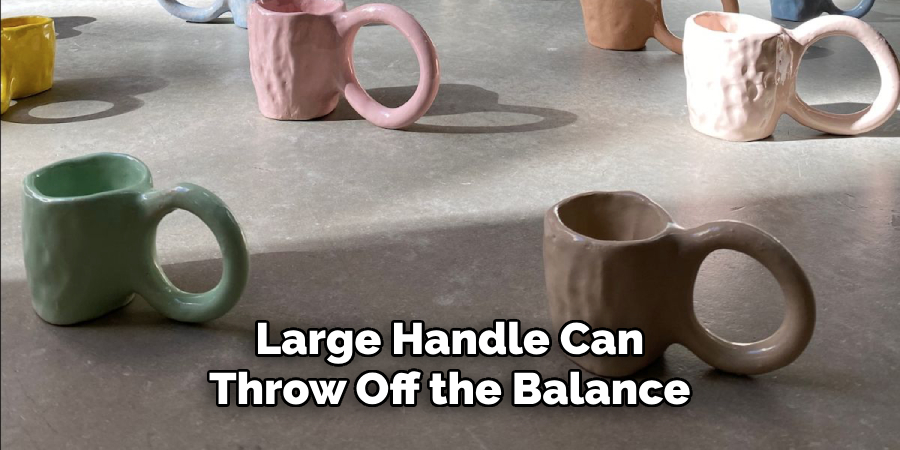
- Don’t Disregard the Balance: Make sure your handle aligns with the overall balance of your pot. An off-center or disproportionately large handle can throw off the balance of your piece.
By avoiding these common mistakes, you’ll be well on your way to creating beautiful and functional pottery handles.
Conclusion
In conclusion, how to make a pottery handle may seem like a daunting task at first, but with the right tools and techniques, it can become an enjoyable and rewarding experience. Remember to start with a solid foundation by wedging your clay thoroughly and taking your time shaping and refining your handle.
Whether you use the pinch, coil, or slab technique, don’t be afraid to experiment and add personal touches that reflect your unique style. And remember the importance of scoring and slipping for a strong bond between your handle and vessel.
With practice, patience, and creativity, you’ll soon have a beautiful handmade pottery piece you can proudly call your own. So give it a try, channel your inner potter, and create something extraordinary.
The possibilities are endless when making pottery handles, so let your imagination run wild. Happy potting!
Toby Rede is a professional potter focused on creating functional and artistic ceramics. His work blends natural textures with modern forms, often inspired by sustainable gardening and outdoor environments. Toby’s pottery emphasizes both utility and beauty, reflecting his philosophy of intentional craftsmanship. On the blog, he shares insights on integrating handmade objects into everyday life.
Education
Associate Degree in Ceramic Technology, Alfred University
Professional Focus
Pottery creation with a focus on functionality and artistic expression
Techniques exploring texture, glazing, and sustainable materials
Professional Accomplishments
Work featured in regional art shows and garden exhibitions
Collaborations with local craft fairs and home decor shops