Ceramics have been a staple in human culture for thousands of years. This versatile art form has stood the test of time, from ancient pottery to modern-day artisanal pieces. And while ceramics can be beautiful on their own, there are endless possibilities to enhance their look and add a touch of luxury.
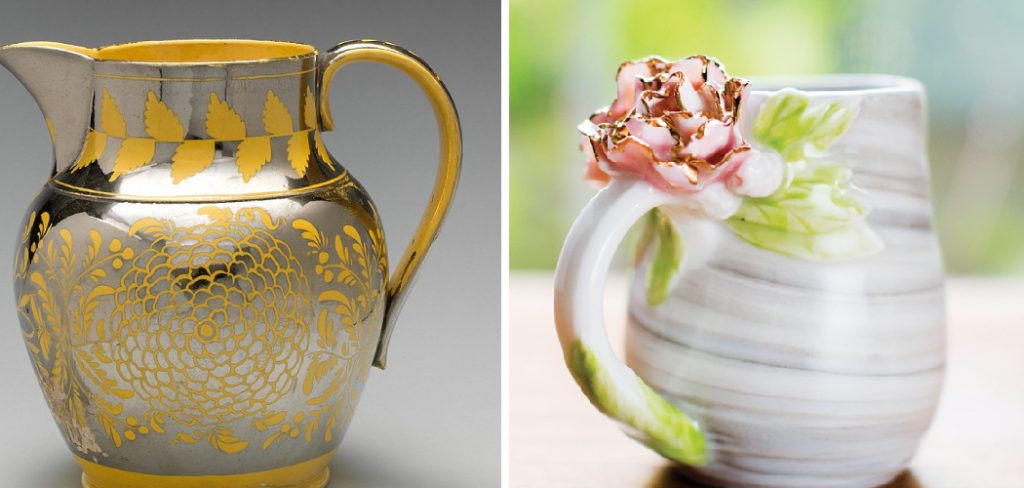
One way to achieve this is by using gold luster on ceramics. Gold luster is a metallic glaze that adds a stunning shine and luxurious finish to any ceramic piece. Whether you’re new to working with ceramics or an experienced ceramist looking for some inspiration, this blog post will guide you through everything you need to know about how to use gold luster on ceramics.
Get ready to take your ceramic creations to the next level with this exciting technique!
What Will You Need?
Before we dive into the process, let’s first go through the materials and tools you’ll need to use gold luster on ceramics.
- Ceramic Piece: You can use any fired ceramic piece glazed with a low-fire glaze. It’s best to start with a smooth surface for optimal results.
- Gold Luster: This is available in liquid or powder form. Liquid lusters are easier for beginners, while powder lusters give more control and variation in application.
- Brushes: You’ll need small, fine-tipped brushes for detailed work and larger brushes for covering larger areas.
- Kiln: A kiln must fire the piece after applying the gold luster. Make sure to follow the manufacturer’s instructions for firing temperature and time.
- Safety Gear: As with any ceramic process, it’s essential to wear protective equipment such as gloves and a mask when working with gold luster.
Once you have all the necessary materials and tools, it’s time to start!
10 Easy Steps on How to Use Gold Luster on Ceramics
Step 1. Clean Your Ceramic Piece:
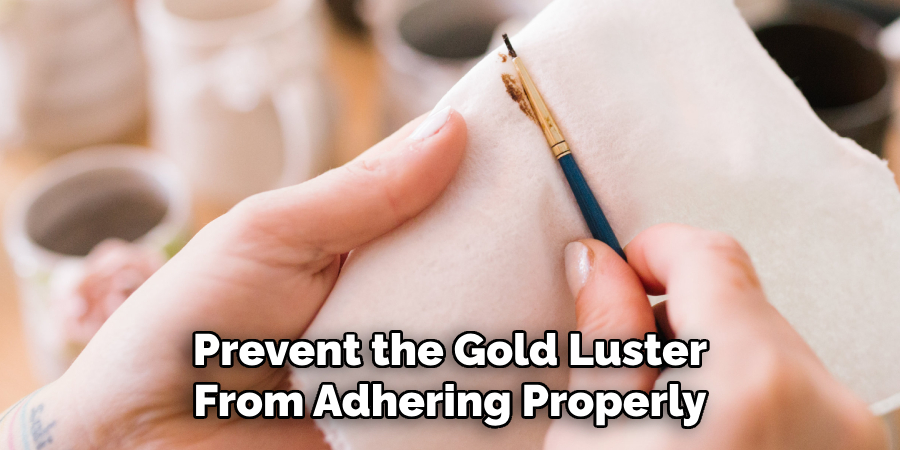
Begin by making sure your chosen ceramic piece is completely clean. Wipe the surface with a soft, damp cloth to remove any dust or grease, which could prevent the gold luster from adhering properly. Allow the piece to dry thoroughly before moving on to the next step.
Step 2. Apply the Gold Luster:
Pour a small amount of gold luster into a shallow dish. Dip your fine-tipped brush into the gold luster, being careful not to overload it, as this can lead to drips and an uneven finish. Begin painting your design onto the ceramic piece with a smooth, even hand. If you’re using liquid luster, apply it in thin coats to prevent pooling and achieve a uniform sheen.
Should you choose powder, mix it with an appropriate medium as instructed and apply it similarly. Allow the luster to dry completely, which usually takes about an hour, before proceeding to the next step.
Step 3. Check for Imperfections:
After the gold luster has dried, scrutinize your work for any smudges, uneven patches, or missed spots. Use a clean, dry brush to correct any imperfections gently. Apply a second, very light coat to ensure a smooth and even layer. Precision at this stage will contribute to the overall quality of the finished product, so take your time and pay attention to the details.
Step 4. Fire Your Ceramic Piece:
Once you are satisfied with applying the gold luster, it’s time to fire your piece. Load it into the kiln, ensuring sufficient space between it and other details to avoid any contact that could damage the luster. Adhere to the specific firing temperature and duration recommended for the gold luster you are using—this is typically a lower temperature than what is used for glazing, usually around 700 to 800 degrees Celsius (1292 to 1472 degrees Fahrenheit).
This process will fix the gold luster onto the ceramic, giving it the desired brilliance and permanence. Let the kiln cool entirely before removing your piece to prevent thermal shock and ensure a flawless finish.
Step 5. Inspect the Fired Piece:
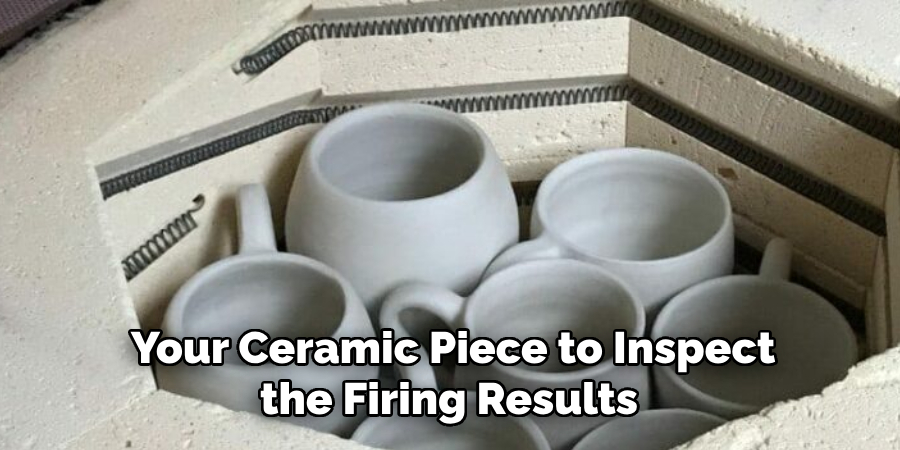
After the kiln has cooled, carefully remove your ceramic piece to inspect the firing results. The gold luster should now be permanently fused to the surface, exhibiting a shiny metallic finish. Check for any flaws or blemishes that may have emerged during the firing process.
If there are areas where the gold did not adhere well or appears dull, you may need to apply an additional coat of luster and re-fire the piece following the same procedures as before. Remember that multiple firings may be necessary to achieve the rich, gleaming quality that gold luster can provide.
Step 6. Apply Sealant:
Once you are content with the fired gold luster, protecting the piece with a sealant is advisable. This step is optional, as some artists prefer the natural patina that develops over time. If you use an adhesive, ensure it’s suitable with gold luster and apply it according to the manufacturer’s instructions.
A bond will help preserve the luster’s sheen and prevent it from tarnishing due to handling or exposure to the elements. Apply it carefully with a clean brush and allow it to dry completely before handling the piece further.
Step 7. Display Your Ceramic Piece:
With your ceramic piece boasting a beautiful gold luster, it’s time to display it proudly. Choose a location that receives sufficient light to enhance the luster’s radiance but avoid direct sunlight, which may cause the gold to fade over time.
Moreover, keep the piece where it can be seen but is safe from being knocked over or brushed against, as even the slightest abrasion could damage the gold luster’s delicate surface. Whether you display your ceramic work on a mantle, in a cabinet with glass doors, or as a functional piece on your dining table, it will surely be an eye-catching addition to your space.
Step 8. Maintain Your Gold Luster Ceramics:
Proper maintenance is crucial to preserve the elegance of the gold luster on your ceramics. Clean the pieces gently with a dry or slightly damp soft cloth; never use abrasive cleaning materials or harsh chemicals, as they can scratch or dull the gold surface. For ceramics that are not used as functional ware, minimizing handling can help maintain the integrity of the luster.

If your gold luster ceramics are intended for use, such as in tableware, they should be hand washed only and not placed in the dishwasher. It is also advisable to avoid serving foods high in acid or sulfur, as these can tarnish the luster over time. With the proper care, your gold-embellished ceramic pieces will retain their luxurious appearance for many years.
Step 9. Understand the Limitations:
Be aware that ceramics adorned with gold luster have certain limitations in their use. Gold luster is not microwave-safe and should not be exposed to high heat in this manner, as microwaves can cause the gold to spark and potentially damage both the piece and your appliance. Similarly, gold-lustered components should not be used in a conventional oven.
Understanding and respecting these limitations will ensure the safety of your ceramic items and help maintain their beauty and functionality for as long as possible. Always handle these precious items carefully to avoid chipping or scratching the gold luster.
Step 10. Explore Creative Applications:
Now that you understand how to use gold luster on ceramics and how to maintain it consider exploring more creative applications. Experiment with different brush strokes, layering techniques, or stencils to create unique patterns that transform a simple ceramic item into a work of art.
Combining gold luster with underglazes or oxides before the final firing can also introduce a variety of hues and textures, enhancing the visual impact of your piece. Whether you’re embellishing a mug with delicate gold lines or adding ornate accents to a vase, each addition of luster should express your creative vision. Remember, the key to mastering gold polish on ceramics lies in patience, practice, and experimentation.
By following these steps, you can confidently incorporate gold luster into your ceramic creations and elevate them to new levels of beauty and sophistication.
5 Additional Tips and Tricks
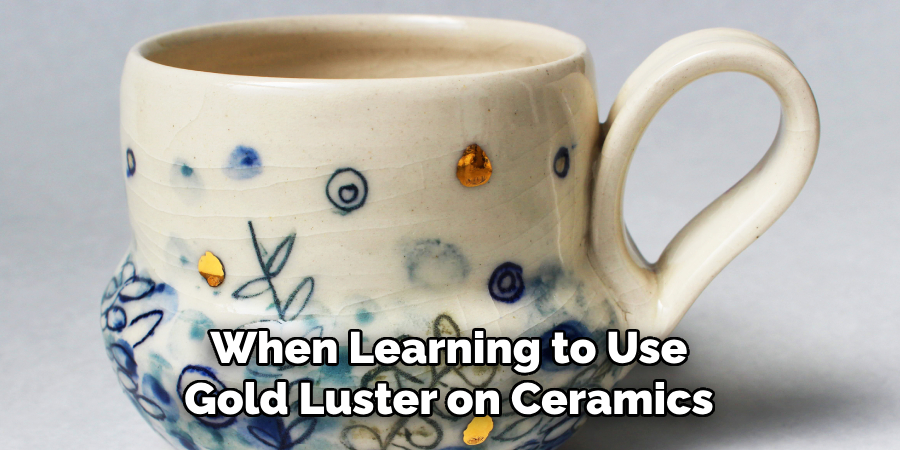
- Use a Dedicated Brush: When learning to use gold luster on ceramics, it’s essential to have a dedicated brush for applying the polish. This prevents contamination and ensures the purity of the gold remains intact.
- Apply Thin Layers: For an even and smooth finish, apply the gold luster in multiple thin layers rather than a single thick one. Thin layers help prevent streaks and ensure a more professional final appearance.
- Handle With Care: Handle your ceramics delicately after application and before firing. Gold luster is sensitive to the touch and can easily smudge or wear off from the oils on your skin.
- Ventilate Your Space: Proper ventilation is necessary to avoid inhaling fumes when firing gold luster on ceramics. Always ensure you work in a well-ventilated area, preferably with an exhaust fan or open windows.
- Test First: Before applying gold luster to your final piece, always test it on a similar ceramic surface. This can help you gauge the firing temperature and time needed for the best results and also prevent wasting valuable materials on a failed attempt.
With these extra tips, you’ll be well on your way to creating stunning and professional-looking ceramics with gold luster.
5 Things You Should Avoid
- Avoid Rushing the Process: Patience is vital. Rushing through the application or firing process can lead to uneven coverage and imperfections. Give each layer ample time to dry, and do not expedite the firing cycle.
- Don’t Skimp on Quality: Using subpar gold luster can result in lackluster results. Invest in high-quality luster as it contains a higher percentage of gold, resulting in a shinier and more durable finish.
- Steer Clear of Humidity: Avoid working in a humid environment when applying gold luster. Moisture can affect the consistency of the luster, causing it to clump or not adhere properly to the ceramic surface.
- Never Overfire: Stick to the recommended firing temperatures. Overfiring can cause the gold to burn off and leave a dull surface. It may also damage the ceramic itself.
- Avoid Using Standard Cleaners: Don’t clean the gold-lustered areas with harsh chemicals or abrasive materials after firing. They can strip off the luster or scratch the surface. Instead, use a soft, damp cloth for cleaning.

You can achieve professional and long-lasting results with your gold luster ceramics by avoiding these common mistakes.
Conclusion
In conclusion, how to use gold luster on ceramics is a delicate but advantageous process. Through the steps outlined in this blog post, you can transform your ceramic pieces into stunning works of art that impress you.
From preparing the surface and choosing the right type of luster to applying it with precision and firing your piece in a kiln, there are many factors to consider. But with patience and practice, you can master this technique and create unique and luxurious pieces for yourself or others. Whether you want to add some shine to your dinnerware or create a one-of-a-kind decorative object, gold luster is a versatile material that offers endless possibilities.
So why not try it and see where your creativity takes you? After all, as they say, “all that glitters is not gold,” but in this case, it certainly is! Thank you for reading this blog post, and happy lustering!
With a keen eye for detail and a deep understanding of the firing process, I bring ceramics to life as a skilled kiln operator. My expertise ensures that each piece reaches its full potential, achieving the perfect balance of strength and beauty. I take pride in overseeing the critical final stage of pottery creation, transforming raw clay into stunning, durable art. 🎨
From monitoring temperatures to perfecting firing schedules, I ensure that every piece is fired to perfection. My role is not just about operating the kiln; it’s about understanding the unique needs of each creation and bringing out its best qualities.
Join me on this journey of precision and passion, where every firing tells a story. Whether it’s a delicate vase or a robust sculpture, I am dedicated to making sure that every piece that comes out of the kiln is a masterpiece. 🏺✨
Toby Rede is a professional potter focused on creating functional and artistic ceramics. His work blends natural textures with modern forms, often inspired by sustainable gardening and outdoor environments. Toby’s pottery emphasizes both utility and beauty, reflecting his philosophy of intentional craftsmanship. On the blog, he shares insights on integrating handmade objects into everyday life.
Education
Master of Fine Arts in Ceramics, California College of the Arts
Professional Focus
Creating practical pottery for everyday use.
Using unique styles and techniques to convey narratives in ceramics.
Professional Accomplishments
Showcased work in local and national art galleries, gaining recognition for craftsmanship.
Received accolades for innovative designs in pottery competitions.