Trimming pottery is a crucial step in the creation of ceramic pieces, allowing artists to refine and perfect their work before it undergoes firing. This process not only enhances the appearance of the pottery but also ensures a more even distribution of weight and symmetry, contributing to the functionality and aesthetic appeal of the final product. Whether you are a novice or an experienced potter, understanding the fundamentals of trimming can significantly elevate the quality of your work. This guide will guide you with how to trim pottery.
What is Trimming in Pottery?
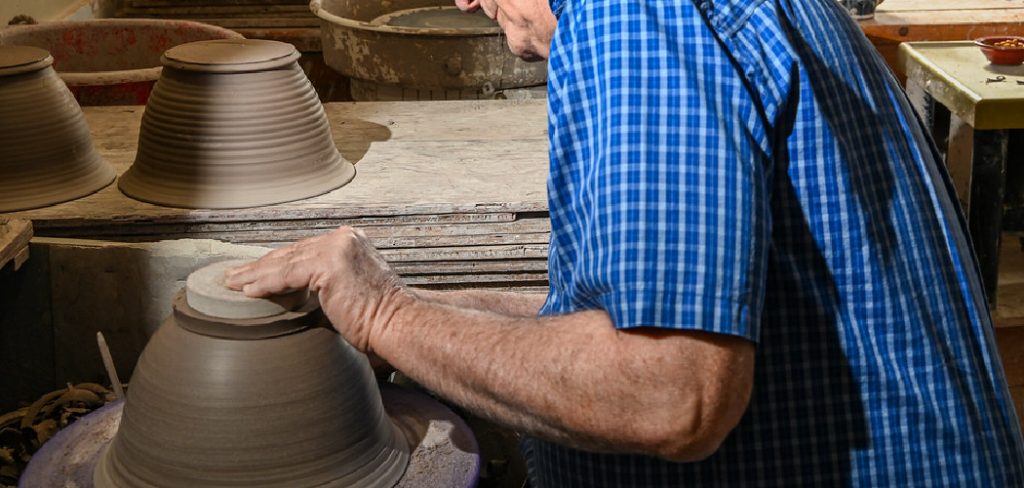
Trimming in pottery is the process of removing excess clay from a piece after it has been thrown on the wheel and allowed to reach a leather-hard state. This stage is critical because the clay is firm enough to hold its shape but soft enough to be easily carved or shaved. The primary goal of trimming is to shape the bottom of the pottery, creating a balanced and aesthetically pleasing form. Moreover, it helps in refining details such as foot ring creation, which contributes to the stability and finish of the piece. By mastering trimming techniques, potters can enhance the artistry and function of their ceramics.
Definition and Importance of Trimming
Trimming is defined as the meticulous process of refining a ceramic piece by carving away superfluous clay to achieve a more defined shape and a polished finish. This technique is essential because it provides potters with an opportunity to correct any imbalances or irregularities that may have occurred during the throwing stage. The importance of trimming extends beyond mere aesthetics; it plays a crucial role in ensuring that the pottery is functional and durable.
By creating a uniform thickness across the piece, trimming aids in proper weight distribution and minimizes the risk of cracking during the firing process. Additionally, this step allows for personal flair and artistic expression, as potters can incorporate unique textures and designs to distinguish their work. In summary, trimming is a vital process that enhances both the structural integrity and the visual appeal of pottery, making it an indispensable skill for any ceramic artist.
Tools Needed for Trimming Pottery
To effectively trim pottery, a potter needs a specific set of tools designed to manipulate clay with precision and care. Here are some essential tools required for the trimming process:
- Trimming Tools: These are specialized tools, often with metal or wooden blades, used to carve and shave away excess clay. They come in various shapes and sizes to accommodate different trimming techniques and to reach all parts of the pottery.
- Potter’s Wheel: A secure and smoothly rotating wheel is vital for steady and precise trimming. The wheel must maintain a consistent speed to allow the potter to focus on the intricate work of trimming.
- Loop Tools: These tools, equipped with loops of metal at their ends, are excellent for removing larger sections of clay quickly and for fine-tuning shapes.
- Rib Tools: Made from wood, rubber, or metal, rib tools help in smoothing and shaping the exterior of the ceramic piece.
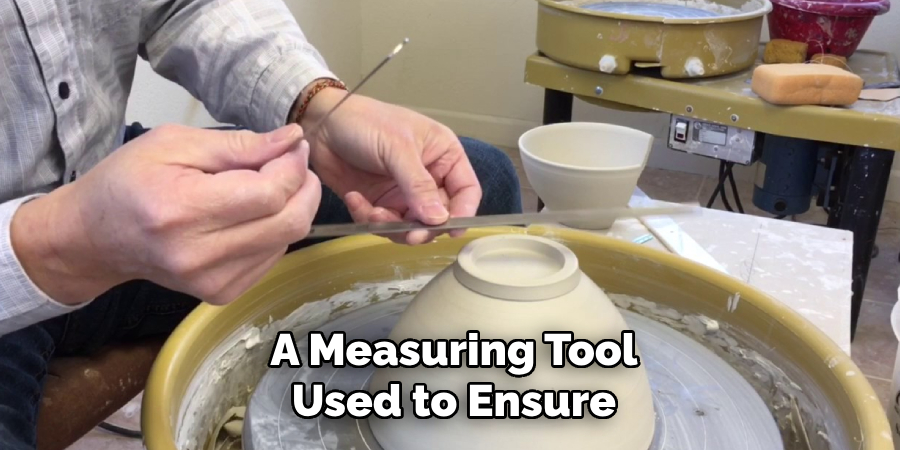
- Calipers: A measuring tool used to ensure that the walls and base of the pottery have a uniform thickness, which is crucial for both aesthetic and functional purposes.
- Banding Wheel: Useful for steadying your piece during hand trimming, a banding wheel allows the pottery to be easily turned for access to different views and angles.
- Cut-Off Wire: A tool for slicing through excess clay or separating the pottery from the wheel cleanly after trimming is complete.
Having the right tools is essential for achieving precision and artistry in the trimming process, allowing potters to enhance the overall quality and craftsmanship of their ceramic creations.
Preparing the Pottery for Trimming
Before beginning the trimming process, it is crucial to ensure that the pottery is properly prepared to achieve the best results. The first step is allowing your ceramic piece to reach a leather-hard state. At this stage, the clay should be firm to the touch but still contain enough moisture to prevent cracking or chipping during trimming. To test if the pottery is ready, gently press your fingernail into the clay; it should leave an indentation but not penetrate deeply.
Next, inspect the pottery for any distortions or imbalances that may have occurred during the drying process. Address any necessary adjustments before trimming to ensure a uniform outcome. Once satisfied with the readiness of your piece, it’s essential to secure it on the potter’s wheel. Center the pottery carefully and use small clay wads, or release mechanisms, to keep it firmly in place while trimming. Taking these preparatory steps seriously will ease the trimming process and contribute to a polished, professional finish in the final product.
10 Essential Methods How to Trim Pottery
1. Centering Your Piece
Before you start trimming, ensure your piece is well-centered on the wheel. This is fundamental to achieving symmetry. Use a few small lumps of clay to secure the piece in place. Gently tap the sides of your pottery while the wheel is slowly turning to nudge it into the center. Proper centering will make the trimming process much smoother and precise.
2. Choosing the Right Tools
The right trimming tools can make all the difference. Standard tools include loop tools for removing large amounts of clay and needle tools for fine details. Each tool serves a distinct purpose, so having a variety on hand allows you to achieve the desired finish on different parts of your piece. Invest in quality tools to improve both efficiency and results.
3. Understanding Wheel Speed
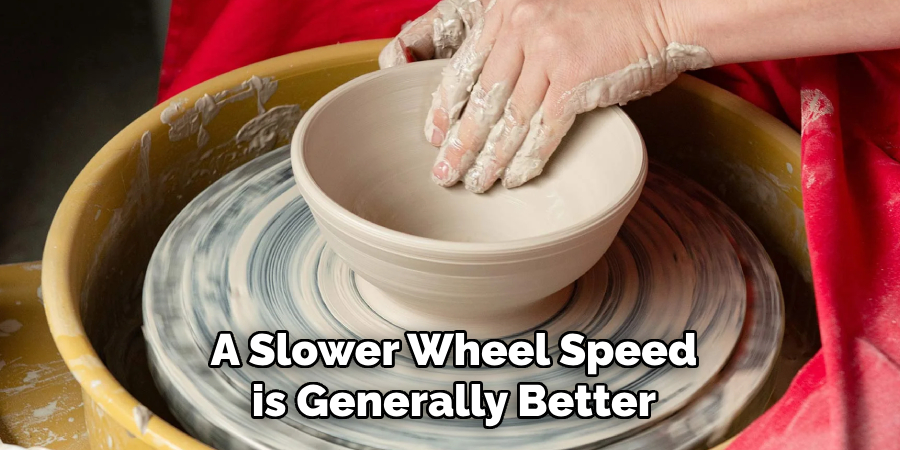
Adjusting the wheel speed during trimming is key to maintaining control. A slower wheel speed is generally better, giving you more time to react and adjust your movements. This helps prevent gouging or removing too much clay at once, saving your piece from potential mishaps.
4. Using a Bat for Stability
If your pottery piece is small or delicate, consider using a bat. A bat is a flat disc attached to the wheel that provides additional stability and support. This is particularly useful when working with taller pieces, where maintaining balance can be challenging.
5. Measuring Wall Thickness
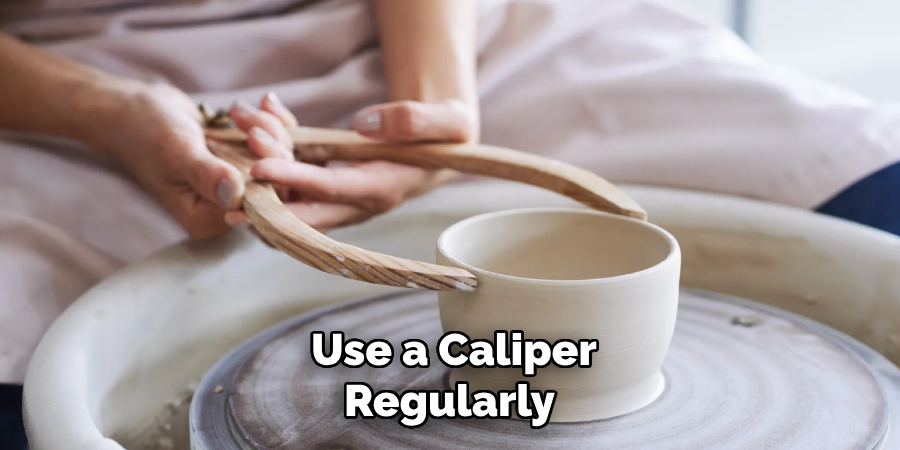
It’s important to maintain an even wall thickness throughout your piece. Use a caliper to measure the thickness of the walls and base regularly. Consistent thickness ensures that your pottery is structurally sound and prevents issues like warping during firing.
6. Refining the Base
The base of your pottery needs special attention. Use a loop tool to create a foot ring, which not only adds aesthetic value but also elevates the piece off the kiln shelf. This technique also reduces the risk of cracks by ensuring even drying and firing.
7. Trimming in Stages
Trimming in stages allows you to be more precise and make adjustments as needed. Start by removing larger chunks of clay, then gradually move to finer details. This method prevents mistakes and makes the process more manageable, especially for beginners.
8. Exploring Textures
Experiment with textures to add interest and character to your pottery. Use tools like ribbed scrapers or textured rollers to create patterns on the surface. This can transform a simple piece into something unique and visually engaging.
9. Perfecting the Rim
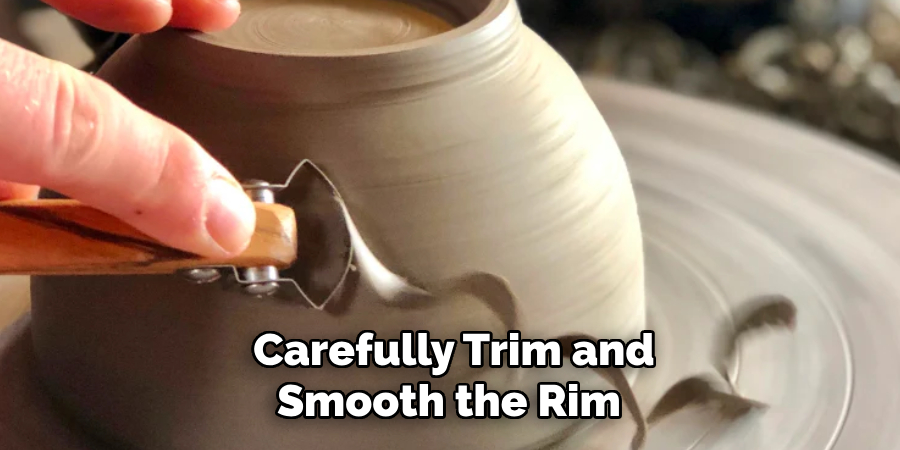
The rim is often the focal point of any pottery piece. Carefully trim and smooth the rim to ensure it’s even and free of sharp edges. A well-finished rim enhances both the functionality and appearance of the piece.
10. Practicing Patience
Finally, the most important method is practicing patience. Trimming pottery requires a steady hand and a patient mind. Take your time to refine each detail, and remember that practice makes perfect. Don’t rush the process; instead, enjoy the meditative nature of this creative endeavor.
Common Mistakes to Avoid
Trimming pottery can be a delicate process, and even experienced potters can fall into certain pitfalls. Here are some common mistakes to watch out for:
- Skipping Preparation Steps: One of the biggest errors is rushing into trimming without properly preparing your piece. Ensure your pottery has reached the leather-hard state; otherwise, you risk distorting or damaging the piece.
- Uneven Centering: Failing to properly center your pottery on the wheel can lead to asymmetry and uneven trimming. Always take the time to ensure the piece is perfectly centered before starting.
- Inconsistent Wall Thickness: Not measuring the wall thickness can cause structural issues, such as cracking during firing. Use a caliper regularly to maintain even thickness throughout your piece.
- Removing Too Much Clay: Overzealous trimming can result in thin walls, making your pottery fragile and prone to breaking. Trim in stages and always assess your work as you go.
- Using Incorrect Tools: Using the wrong tool for a specific task can leave marks or remove too much material. Familiarize yourself with the function of each tool to use them appropriately.
Conclusion
Mastering the art of trimming pottery requires patience, precision, and practice. By following the essential methods outlined in this guide, you’ll be equipped to avoid common mistakes and enhance the quality of your final pieces. Proper preparation, tool selection, and attention to detail are key components in creating beautifully finished pottery that showcases your skill and creativity. Remember that every piece is an opportunity to learn and improve, so approach your work with an open mind and a dedication to refining your craft. With time and perseverance, you’ll transform raw clay into stunning works of art that reflect your personal style and artistic vision.
Toby Rede is a professional potter focused on creating functional and artistic ceramics. His work blends natural textures with modern forms, often inspired by sustainable gardening and outdoor environments. Toby’s pottery emphasizes both utility and beauty, reflecting his philosophy of intentional craftsmanship. On the blog, he shares insights on integrating handmade objects into everyday life.
Education
- Associate Degree in Ceramic Technology, Alfred University
Professional Focus
- Pottery creation with a focus on functionality and artistic expression
- Techniques exploring texture, glazing, and sustainable materials
Professional Accomplishments
- Work featured in regional art shows and garden exhibitions
- Collaborations with local craft fairs and home decor shops

