Drilling through ceramic tile may seem daunting, but with the right tools and techniques, it’s a manageable task. Whether you’re installing new fixtures in your bathroom or hanging decorative items in your kitchen, understanding the proper method for drilling through ceramic tile can help prevent cracks and preserve the integrity of the tile. With a few precautions and a step-by-step approach of how to drill through ceramic tile, you can achieve clean and precise results. In this guide, we will walk you through the essential steps needed to safely drill through ceramic tiles without causing damage to your home or leaving unsightly damage.
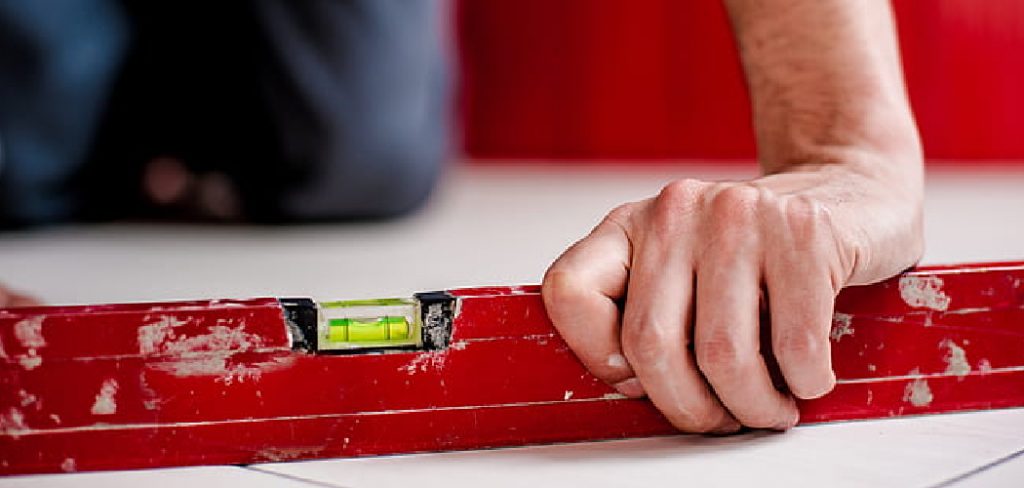
Why Drilling Through Ceramic Tile
Drilling through ceramic tile is often necessary during home improvement projects that require the installation of shelves, curtain rods, towel racks, or mirrors. Ceramic tiles are popular for their durability and aesthetic appeal, yet their surface can be challenging to penetrate without the right approach. Ensuring a successful and damage-free drill is crucial to maintain the tile’s appearance and avoid costly repairs. Additionally, knowing how to properly drill through tile increases your flexibility in customizing spaces to better suit your needs, such as by adding new fixtures or decor. Understanding this skill not only enhances your DIY capabilities but also empowers you to make adjustments around your home without professional assistance.
Understanding Ceramic Tile and Drilling Challenges
Ceramic tiles are composed of a mixture of natural clay, minerals, and water that are molded, glazed, and fired at high temperatures. This process results in a hard, brittle surface that offers both aesthetic appeal and practical function, such as water resistance and ease of cleaning. However, these same qualities that make ceramic tiles a popular choice for kitchen and bathroom surfaces also pose significant challenges when it comes to drilling. The hard surface can crack or shatter easily under the stress of drilling without appropriate precautions.
Moreover, the glaze layer adds an additional level of difficulty as it is more likely to slip, making precise drilling a meticulous task. Each tile layer’s varied density requires special drill bits, often diamond-tipped, to effectively penetrate the tile without chipping or breaking it. Thus, understanding these challenges is vital to mastering drilling techniques that produce clean, efficient results while preserving the tile’s integrity.
Common Issues When Drilling Ceramic Tile
Drilling through ceramic tile can pose several challenges that, if not addressed, can lead to unsatisfactory results or even damage the tile. One common issue is cracking, which often occurs when excessive force is applied or when the drilling process generates too much heat. Using the wrong type of drill bit is another frequent problem; for instance, standard bits are usually ineffective for hard surfaces like ceramic and can cause slipping or chipping. Additionally, improper marking and positioning of the drill can result in uneven holes or misaligned installations, often requiring additional repairs or adjustments.
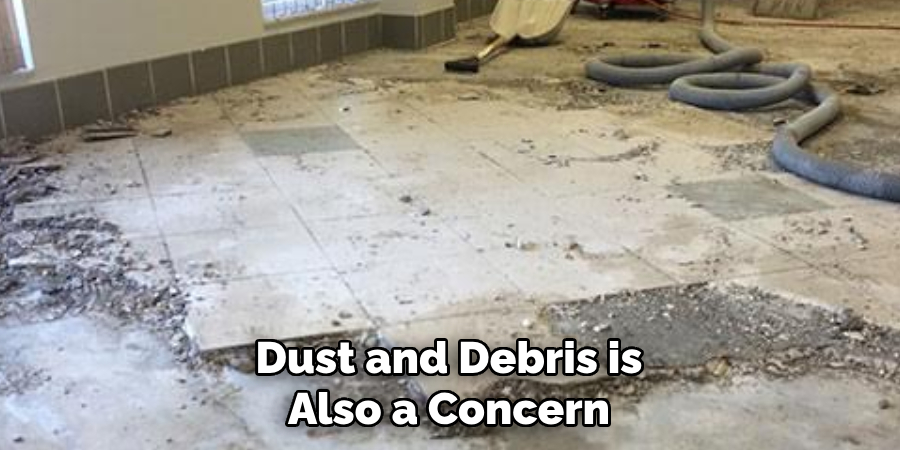
Managing dust and debris is also a concern, as drilling can create a mess that needs to be contained to protect both the tile and surrounding surfaces. By understanding these common pitfalls, you can take preventive measures to ensure a successful drilling process that maintains the quality and appearance of your ceramic tiles.
10 Foolproof Methods How to Drill through Ceramic Tile
1. Use the Right Drill Bit
Before you begin, ensure you’re using the correct drill bit. Standard masonry bits won’t cut it; instead, opt for a carbide-tipped or diamond-tipped drill bit designed specifically for tile. These are sharper and more robust, making them perfect for penetrating hard surfaces like ceramic. According to experts, using the correct bit can reduce the risk of cracking by up to 80%.
2. Start with a Small Pilot Hole
One of the most effective ways to prevent cracking is to start with a small pilot hole. This technique allows you to gradually widen the hole, applying less pressure on the tile. Use a smaller drill bit to make the initial hole, then switch to the desired size. This method ensures precision and reduces the chance of making costly mistakes.
3. Tape the Tile
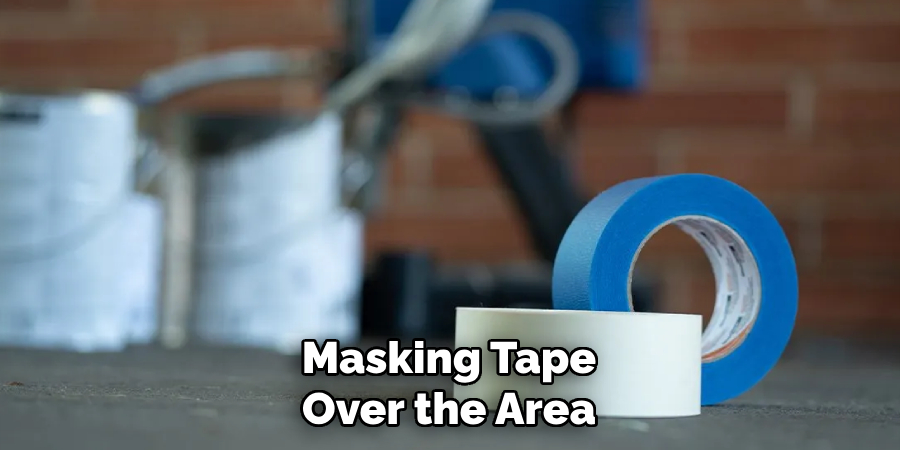
To prevent the drill bit from slipping, place a piece of masking tape over the area where you plan to drill. This provides extra grip and allows you to mark the spot accurately. Plus, it can help protect the surrounding tile surface from unintentional scratches.
4. Go Slow and Steady
When drilling through ceramic tile, patience is your best friend. Maintain a low drill speed and apply gentle, consistent pressure. Fast drilling can generate heat and cause the tile to crack. Keep the drill steady, and take your time to ensure a clean, precise hole.
5. Keep It Cool
Heat is the enemy when drilling through ceramic. To keep things cool, periodically sprinkle water on the tile as you drill. This will help dissipate heat and prevent damage to both the tile and the drill bit. A simple spray bottle filled with water can do wonders here.
6. Use a Drill Guide
For those who struggle to keep the drill steady, a drill guide can be invaluable. This handy tool keeps the drill bit aligned and prevents it from wandering. Drill guides are widely available and can significantly increase accuracy, giving you professional results every time.
7. Secure the Tile
Before you start drilling, make sure the tile is securely mounted. Loose tiles can vibrate and crack when pressure is applied. If possible, place a piece of wood behind the tile to absorb excess vibration. This extra step can save your tile and your nerves.
8. Avoid the Edges
Drilling too close to the edge of a tile increases the risk of cracking. Aim to drill at least an inch away from the edges to maintain the integrity of the tile. If you must drill near an edge, proceed with extreme caution and use the smallest drill bit possible.
9. Practice on a Spare Tile
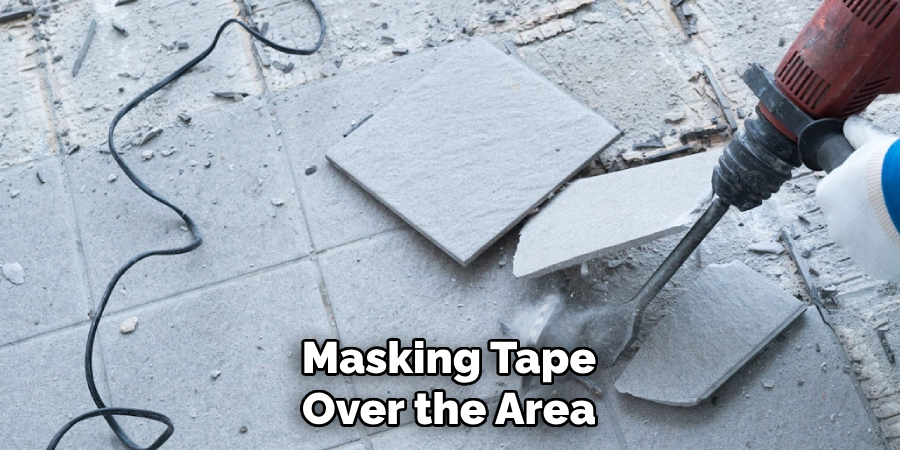
Before committing to your project tile, practice your technique on a spare piece. This allows you to get a feel for the process and make adjustments based on the results. It’s a low-risk way to gain confidence and ensure you’re ready for the real thing.
10. Clean Up Afterwards
Once you’ve drilled your hole, use a soft brush or cloth to clean away any debris. Inspect the hole for any rough edges or cracks, and smooth out the area with fine sandpaper if needed. This final step ensures a polished finish, enhancing the overall look of your project.
Maintenance and Upkeep
Maintaining the quality and appearance of your ceramic tiles after drilling is just as important as the installation process itself. Regular cleaning is essential to prevent stains and grime from accumulating on the tiles. Use non-abrasive cleaners to preserve the tile’s surface and avoid chemicals that can wear down the glaze over time. Inspect the grouting regularly, as cracks or gaps can lead to moisture intrusion and potential damage. Reseal grout lines as needed to maintain a water-tight barrier.
Additionally, check for signs of tile movement, which might indicate underlying issues with the mounting or substrate. Address any minor chips or cracks promptly with a tile repair kit to prevent them from worsening. By staying proactive with your ceramic tile maintenance, you can extend their lifespan and keep their aesthetic appeal intact.
Tips for Achieving the Best Results
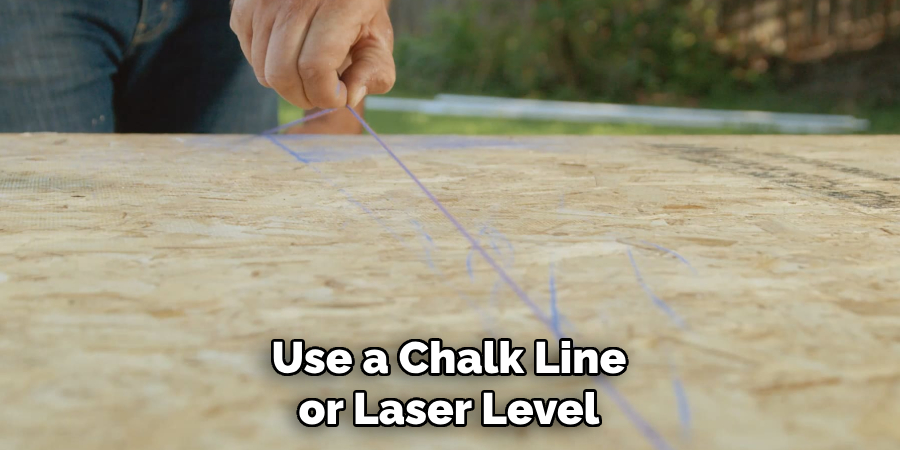
To ensure you’re getting the most out of your ceramic tile projects, consider adopting these expert tips. First, take the time to plan your layout meticulously. An accurate and well-thought-out design can make a significant difference in the final appearance and functionality of your tiling job. Use a chalk line or laser level to ensure straight, even lines. Secondly, invest in quality materials, including adhesives, grout, and tiles themselves. High-quality products might come at a higher initial cost, but they offer durability and a superior finish that often pays off in the long run.
Additionally, when cutting tiles, always measure twice and cut once to minimize waste and ensure precision. Employing appropriate cutting tools like tile cutters or wet saws can also make a notable difference in achieving clean cuts. Lastly, if you’re unsure about any part of the process, don’t hesitate to seek advice from professionals or more experienced DIYers. A little extra guidance can help avoid common pitfalls and ensure a successful, long-lasting installation.
Conclusion
Drilling into ceramic tile requires meticulous planning and precise execution, but by following the outlined steps and tips, you can achieve professional results without significant risk to your tiles. Remember that patience, the correct tools, and adherence to best practices are key components of success in any tile project. Whether you are a seasoned DIY enthusiast or new to home improvement tasks, understanding the details of your materials and maintaining a careful approach will help prevent damage and ensure a polished finish. By also keeping up with regular maintenance and using high-quality products, your ceramic tiles will remain a beautiful and durable feature in your space for years to come.
With a keen eye for detail and a deep understanding of the firing process, I bring ceramics to life as a skilled kiln operator. My expertise ensures that each piece reaches its full potential, achieving the perfect balance of strength and beauty. I take pride in overseeing the critical final stage of pottery creation, transforming raw clay into stunning, durable art. 🎨
From monitoring temperatures to perfecting firing schedules, I ensure that every piece is fired to perfection. My role is not just about operating the kiln; it’s about understanding the unique needs of each creation and bringing out its best qualities.
Join me on this journey of precision and passion, where every firing tells a story. Whether it’s a delicate vase or a robust sculpture, I am dedicated to making sure that every piece that comes out of the kiln is a masterpiece. 🏺✨
Toby Rede is a professional potter focused on creating functional and artistic ceramics. His work blends natural textures with modern forms, often inspired by sustainable gardening and outdoor environments. Toby’s pottery emphasizes both utility and beauty, reflecting his philosophy of intentional craftsmanship. On the blog, he shares insights on integrating handmade objects into everyday life.
Education
- Master of Fine Arts in Ceramics, California College of the Arts
Professional Focus
- Creating practical pottery for everyday use.
- Using unique styles and techniques to convey narratives in ceramics.
Professional Accomplishments
- Showcased work in local and national art galleries, gaining recognition for craftsmanship.
- Received accolades for innovative designs in pottery competitions.