Are you interested in making pottery and want to learn something new? Why not try your hand at making a ceramic coil pot?
How to make a ceramic coil pot is a fun and accessible way to explore pottery, even for beginners. This traditional method involves rolling clay into long, snake-like coils and stacking them to build the desired shape. It’s a process that encourages creativity and allows for a wide range of shapes and sizes. Not only does coiling offer a great introduction to the basics of working with clay, but it also invites you to experiment with textures and forms.
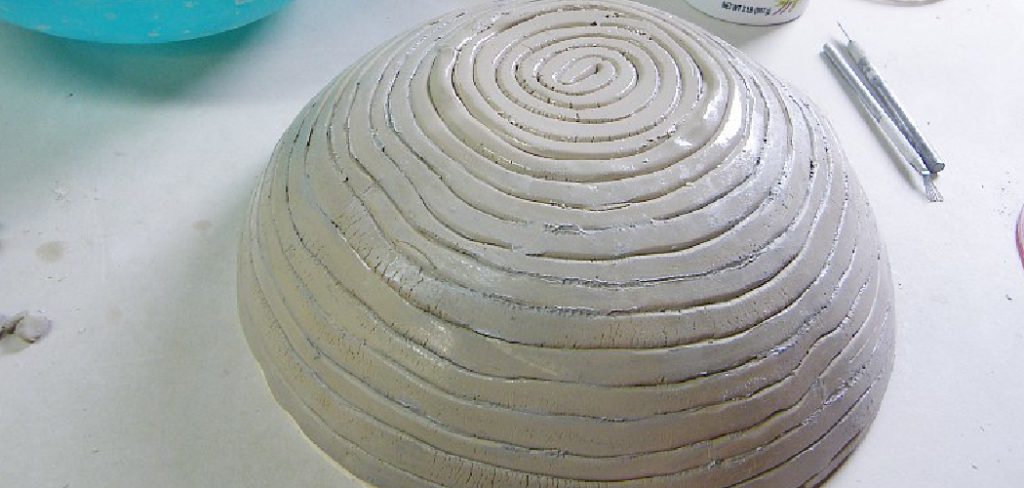
In this guide, we’ll walk you through the essential steps and provide tips to help you successfully craft a unique ceramic coil pot, from selecting the right clay to finishing and firing your piece.
What Will You Need?
Before getting started, gather all the necessary tools and materials. You’ll need:
- Clay: Choose a type of clay that is suitable for coil building. Some popular options include earthenware, stoneware, and porcelain clay.
- Rolling Pin or Slab Roller: This will help you roll out consistent clay coils.
- Wedging Table or Wheel: To prepare your clay for coiling, it must be wedged or kneaded to remove any air pockets and ensure uniform consistency.
- Tools for Shaping and Smoothing: These can include wooden or metal ribs, sponges, brushes, and wire cutters.
- Water and Slip: These are used to moisten and join the coils together.
10 Easy Steps on How to Make a Ceramic Coil Pot
Step 1: Preparing Your Clay
Before you begin constructing your coil pot, preparing the clay properly is crucial to ensure a smooth and strong final product. Begin by wedging your clay thoroughly—this process involves cutting, slamming, and kneading the clay to remove any air bubbles trapped within. If left unchecked, these air bubbles can cause imperfections in your pottery or lead to cracking during the firing process. Use a wedging table to evenly distribute moisture throughout the clay evenly, achieving a consistent texture.
As you wedge, ensure the clay is neither too dry nor too wet, as this could hinder the shaping process. The goal is to have a clay body that is pliable but firm enough to hold its shape. Once the clay is well-prepared, you’re ready to start creating the coils that will form the foundation of your pot.
Step 2: Creating the Base
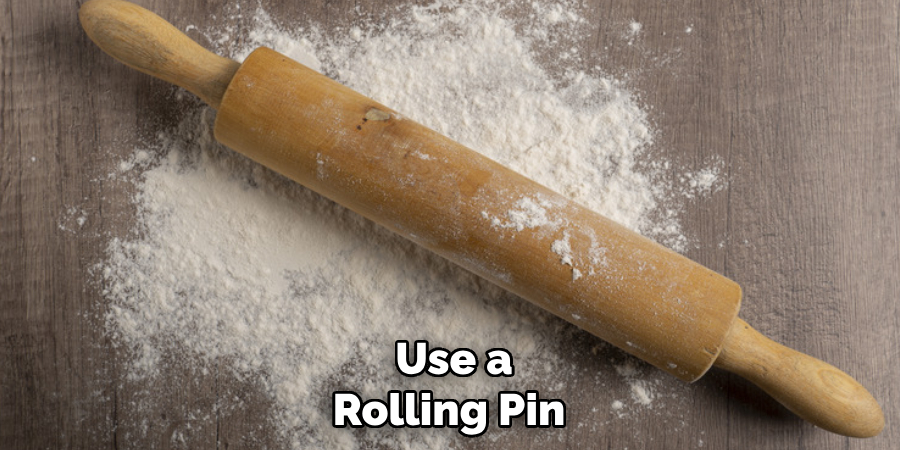
Start by creating the base of your coil pot, which will act as a sturdy foundation for the coils. Roll a chunk of your prepared clay into a ball that fits comfortably in your hand, then use a rolling pin or slab roller to flatten it into a disc shape. The thickness of the base should be consistent, around 1/4 to 1/2 inch, ensuring it is strong enough to support the structure of your pot. Once you have the desired thickness, cut out a circular base using a template or freehand if you prefer a more organic shape. Smooth the edges of the base with your fingers or a moist sponge to prevent cracking.
Step 3: Rolling Your Coils
With your base ready, it’s time to start rolling the coils that will build the body of your pot. Begin by taking a small amount of wedged clay and rolling it between your hands to form a thick, sausage-like shape. Move the clay to a flat surface, gently rolling it with your palms while applying even pressure to ensure uniform thickness. Aim for coils about the width of your finger, but adjust the thickness based on the design and desired size of your pot.
Consistency in thickness is critical to forming a sturdy, even structure. If the coils become too long or thin, break or cut them into shorter sections. As you roll, frequently check your work from all angles to ensure they are even and free from cracks.
Step 4: Attaching the Coils to the Base
With your first coil ready, it’s time to begin the assembly of your pot. Start by laying one end of the coil along the edge of your base, pressing it gently but firmly. This initial connection is crucial; ensure there are no air gaps between the coil and the base. To strengthen the bond, use a tool or your fingertip to score (cross-hatch) both the edge of the base and the bottom of the coil, then apply a bit of slip—this acts as an adhesive—to both scored surfaces.
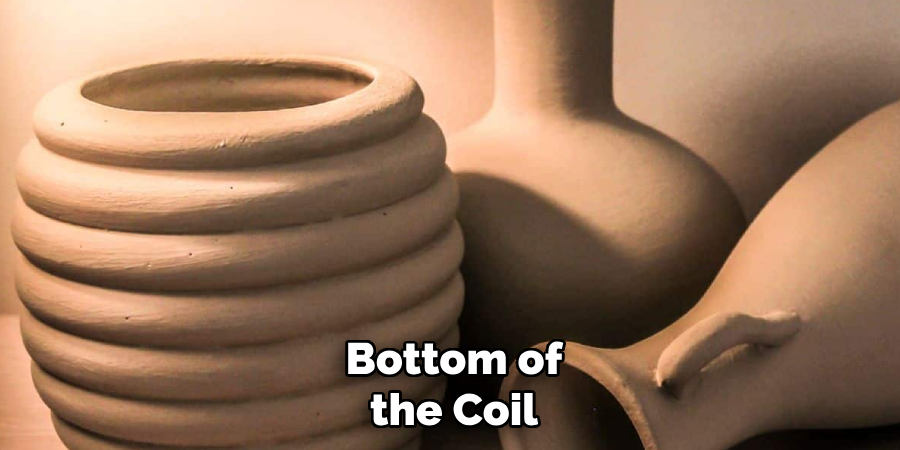
Once the coil is positioned securely on the base, wrap it around, following the circular shape tightly. As you complete the first layer, cut any excess coil and blend the joining edges. It’s important to smooth out all connections between the base and coil and subsequent layers to maintain the pot’s integrity and prevent future separation.
Step 5: Building the Walls
Continue adding coils to build the walls of your pot, ensuring each new coil is securely attached to the one below it. As you work, gently press down on each coil and blend the edges with your fingers or a sculpting tool to eliminate any visible seams. This reinforces the structure and provides a smooth surface for later finishing. You can keep the coils symmetrical or experiment with different shapes depending on your design preference.
For example, slightly nudging the coils inward or outward will create a variety of silhouettes. As you build, check the alignment and adjust to maintain even walls. Remember to moisten your coils with a damp sponge if they dry out during the process, which can help prevent cracking.
Step 6: Shaping the Rim
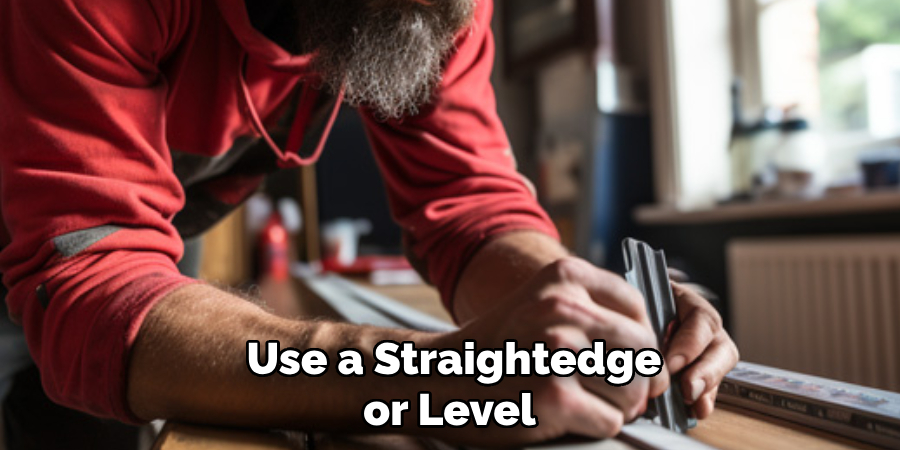
Once your pot has reached the desired height, focus on shaping the rim to ensure it is even, smooth, and aligns with your design vision. You may keep the rim horizontal and level for a classic look or create a flared or inward-curving silhouette. Use a straightedge or level to check the rim’s evenness, trimming away excess clay with a sharp tool if necessary. Additionally, gently smooth the rim’s surface and edges with your fingers or a damp sponge to prevent sharpness and cracks. This attention to detail at the rim will enhance the pot’s aesthetic appeal and ensure its functionality, primarily if it is intended for everyday use.
Step 7: Smoothing and Refining the Surface
With the basic structure of your coil pot complete, it’s time to smooth and refine the surface for a polished look. Examining the exterior and interior surfaces for any visible seams or irregularities between the coils. Use a rib tool, wooden paddle, or a damp sponge to gently blend and smooth these areas, ensuring a seamless appearance. Work in sections, applying even pressure to avoid distorting the shape of your pot. For a refined finish, you can use a brush dipped in slip to smooth the surface further, filling in any small cracks or imperfections.
Step 8: Drying and Firing Your Pot
Once you’re satisfied with the smoothness and refinement of your coil pot, it’s crucial to let it dry thoroughly before firing. Place the pot in a cool, dry area with good air circulation, avoiding direct sunlight or heat, which can cause cracking. The drying process can take several days, depending on the size and thickness of your pot. During this period, periodically check for any developing cracks and apply slip to repair them if necessary. Once completely dry, the pot is ready for the kiln.
The first firing, bisque firing, will harden the clay, making it more durable and capable of accepting glazes. After the bisque firing, inspect the pot for any needed touch-ups before applying the glaze and performing the final glaze firing.
Step 9: Glazing Your Pot
Glazing is the final step that enhances your pot’s aesthetic appeal and functionality by adding a layer of water-resistant protection. Begin by selecting a glaze that complements your design, taking into account color, texture, and finish. Before applying the glaze, ensure your bisque-fired pot is clean and free from dust or debris. Using a brush, dip, or spray technique, carefully apply an even coat of glaze over the entire surface of the pot. Pay attention to achieve an even thickness, avoiding drips or pooling. Multiple thin coats are generally preferable to one thick coat to prevent uneven glazing and ensure a smooth finish.
Once glazed, allow the pot to dry before transferring it to the kiln for the final glaze firing. Follow the specific temperature guidelines for your chosen glaze to achieve the desired effect, and always ensure safety while handling and firing your finished piece. The result is a beautifully glazed pot, ready to be displayed or used as desired.
Step 10: Finishing Touches
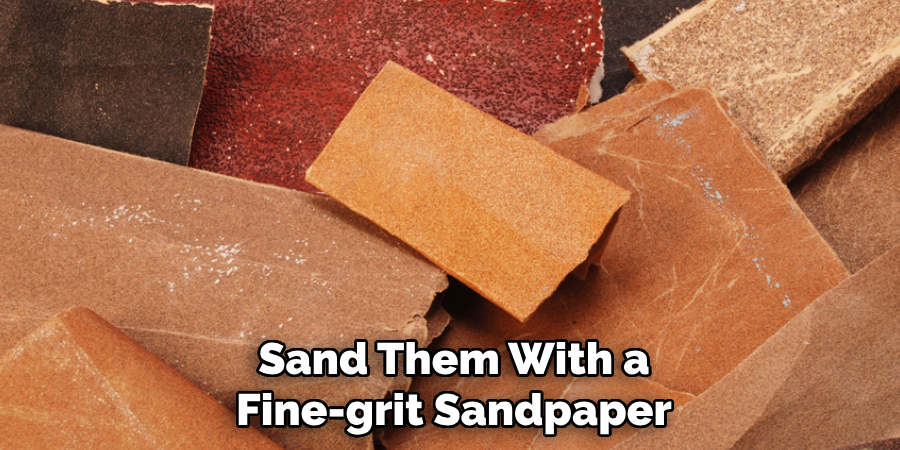
After the glaze firing, it’s time to add any finishing touches to your pot. Carefully inspect the pot for any imperfections or areas that need touch-ups. If minor spots need fixing, you can gently sand them with a fine-grit sandpaper. Ensure the pot’s base is smooth and flat, which will help it sit evenly without wobbling. If you want to add additional decorations, such as using paint, decals, or metallic accents, do so now, ensuring these finishes complement your design.
Following these steps, you can create a unique and functional coil pot showcasing your creativity and skill.
Conclusion
How to make a ceramic coil pot is an enriching artistic endeavor that combines traditional techniques with personal creativity.
By following the step-by-step guide, from selecting the suitable clay and tools to mastering coil construction and glazing, you can craft a pot that serves as a functional piece and a testament to your craftsmanship. The process demands patience, attention to detail, and a willingness to experiment with shapes and finishes, allowing every piece to be uniquely yours. As you become more confident, you can refine your techniques and explore new styles, continually evolving your skillset.
Each completed pot reflects a journey of artistic exploration, making coil pottery a rewarding endeavor that yields beautiful art and practical use.
With a keen eye for detail and a deep understanding of the firing process, I bring ceramics to life as a skilled kiln operator. My expertise ensures that each piece reaches its full potential, achieving the perfect balance of strength and beauty. I take pride in overseeing the critical final stage of pottery creation, transforming raw clay into stunning, durable art. 🎨
From monitoring temperatures to perfecting firing schedules, I ensure that every piece is fired to perfection. My role is not just about operating the kiln; it’s about understanding the unique needs of each creation and bringing out its best qualities.
Join me on this journey of precision and passion, where every firing tells a story. Whether it’s a delicate vase or a robust sculpture, I am dedicated to making sure that every piece that comes out of the kiln is a masterpiece. 🏺✨
Toby Rede is a professional potter focused on creating functional and artistic ceramics. His work blends natural textures with modern forms, often inspired by sustainable gardening and outdoor environments. Toby’s pottery emphasizes both utility and beauty, reflecting his philosophy of intentional craftsmanship. On the blog, he shares insights on integrating handmade objects into everyday life.
Education
- Master of Fine Arts in Ceramics, California College of the Arts
Professional Focus
- Creating practical pottery for everyday use.
- Using unique styles and techniques to convey narratives in ceramics.
Professional Accomplishments
- Showcased work in local and national art galleries, gaining recognition for craftsmanship.
- Received accolades for innovative designs in pottery competitions.