Removing a ceramic towel bar might seem like a daunting task, but with the right tools and guidance, it can be accomplished with minimal hassle. Whether you’re looking to update your bathroom’s aesthetic or need to replace a damaged towel bar, this guide will walk you through the step by step process of how to remove ceramic towel bar. Before you begin, ensure you have all necessary tools and materials on hand to ensure a smooth and efficient removal.

Common Reasons for Removing a Ceramic Towel Bar
There are several reasons why homeowners might decide to remove a ceramic towel bar. One common reason is to update the bathroom’s appearance; replacing older, outdated fixtures with modern designs can give the space a fresh, contemporary look. In some cases, the towel bar may have become damaged or loose over time, necessitating its removal and replacement to ensure functionality and safety.
Additionally, during a bathroom remodel or renovation, the existing fixtures might not align with the new design scheme, prompting their removal. Finally, removing the towel bar may be necessary if there is a desire to reposition it for better accessibility or to accommodate a changing family dynamic.
Tools and Materials Needed
Before starting the removal process, gather the following tools and materials to ensure a streamlined and hassle-free experience:
- Flathead Screwdriver: Essential for prying off covers or caps that may be hiding screws securing the towel bar.
- Utility Knife: Useful for scoring any caulk or sealant that might be applied around the base of the towel bar.
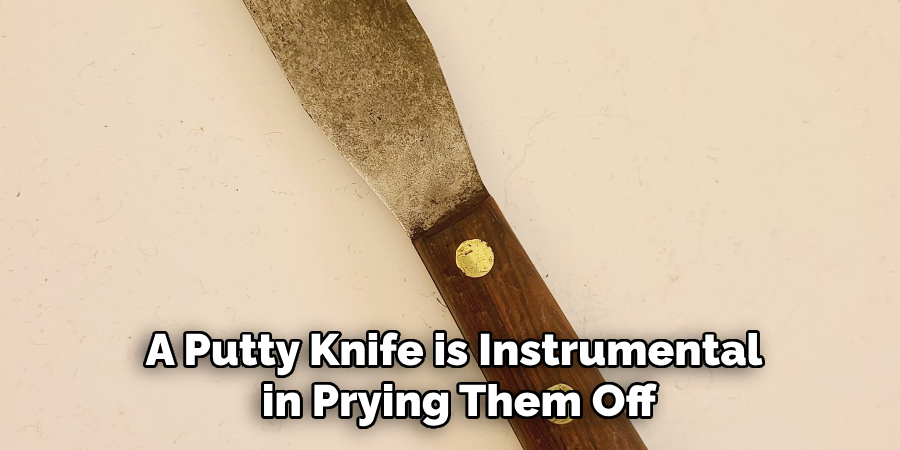
- Putty Knife: Helps in gently loosening and removing the brackets from the wall without damaging it.
- Stud Finder: To locate wall studs that may affect the positioning or removal of the bar.
- Protective Eyewear: To safeguard your eyes from dust or debris during the removal process.
- Drop cloth or Towel: Useful for protecting bathroom surfaces from scratches or for catching falling debris.
- Adhesive Remover: For cleaning any residue left on the wall after the towel bar is removed.
Having these tools and materials handy will make the process smoother and prevent unnecessary interruptions.
Safety Precautions
When removing a ceramic towel bar, safety should be a top priority to prevent injury or damage. Begin by ensuring the area is well-lit and free from clutter to avoid potential tripping hazards. Wear protective eyewear to shield your eyes from any flying debris or dust, especially when prying or cutting. It’s essential to work slowly and carefully when using tools, such as the utility knife and flathead screwdriver, to prevent slips and accidental cuts.

If the towel bar is secured with hardware into the wall, ensure that you have a firm grip on all tools and maintain a stable stance throughout the process. Additionally, be cautious of any sharp edges or ceramic pieces that may break off during removal, and handle them with care. By adhering to these precautions, you can minimize risks and ensure a safe towel bar removal experience.
10 Proven Methods for How to Remove Ceramic Towel Bar
Removing a ceramic towel bar might seem daunting, but with the right techniques, it’s a manageable DIY project. Whether you’re updating your bathroom decor or replacing a broken fixture, knowing how to effectively remove a ceramic towel bar can save you time and money. This guide offers practical methods that cater to DIY enthusiasts, homeowners, and apartment dwellers alike, empowering you with the confidence to tackle your bathroom project.
1. Use a Utility Knife
One of the simplest methods involves using a utility knife to cut through the caulking or adhesive securing the towel bar to the wall. Carefully run the blade along the edges of the mounting brackets. This technique requires precision to avoid damaging the wall surface, but it’s effective for bars that are lightly adhered.
2. Apply Heat with a Hairdryer
Adhesive softens under heat, making a hairdryer a handy tool for removal. Direct hot air towards the adhesive for several minutes to loosen it. Once softened, gently wiggle the towel bar to detach it from the wall. This method works best for towel bars secured with strong adhesives.
3. Use a Putty Knife

For bars attached with screws, a putty knife is instrumental in prying them off. Slide the knife under the towel bar’s base and apply gentle pressure. This tool helps in lifting the bar without causing damage to the surrounding tiles, ensuring a clean removal process.
4. Try a Rubber Mallet
A rubber mallet provides the right amount of force without causing cracks. Lightly tap the ends of the towel bar to break the adhesive bond. This method is suitable for bars that are firmly stuck but requires caution to avoid damaging the wall tiles.
5. Leverage with a Pry Bar
When the adhesive is particularly stubborn, a pry bar might be necessary. Insert the flat end between the towel bar and the wall, and apply steady pressure. This approach is effective but should be used carefully to prevent tile breakage.
6. Use Dental Floss
For a gentle yet effective method, use dental floss to cut through the adhesive. Slide the floss behind the towel bar and use a sawing motion to separate it from the wall. This technique is ideal for delicate tiles as it minimizes the risk of damage.
7. Chemical Adhesive Removers
Commercial adhesive removers can dissolve tough glue. Apply the solution as per the instructions and allow it to work for the recommended time. This method is particularly useful when dealing with industrial-strength adhesives, though proper ventilation is crucial during use.
8. Drill Out Screws

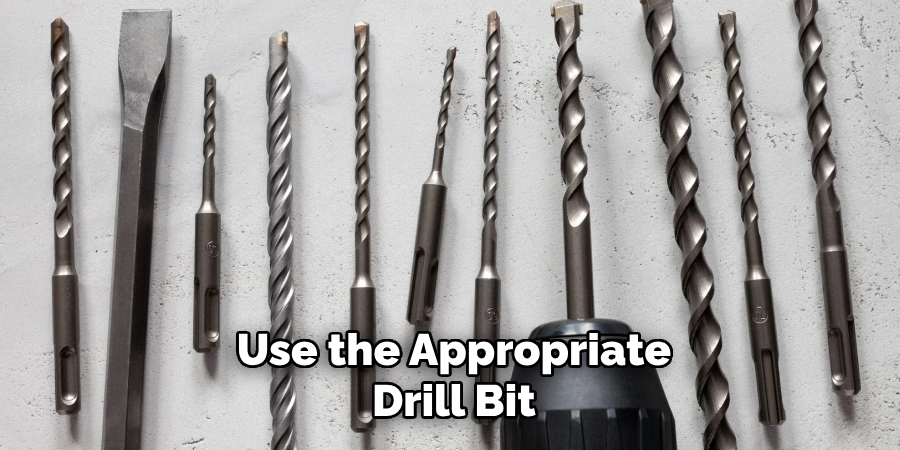
If the towel bar is fastened with screws, a drill may be required. Use the appropriate drill bit to remove the screws, allowing the bar to come away from the wall easily. This method is straightforward and suits towel bars with exposed fastenings.
9. Using a Tile Saw
For bars embedded in tile, a tile saw may be needed to precisely cut through the grout around the mounting brackets. This method requires patience and a steady hand but ensures a clean removal with minimal tile damage.
10. Enlist Professional Help
When in doubt, calling a professional is always an option. Experienced handymen have the tools and knowledge to remove a ceramic towel bar efficiently, especially when dealing with intricate tile work or hidden fasteners.
Maintenance and Upkeep
Once the ceramic towel bar is successfully removed, maintaining the exposed area and any newly installed fixtures is essential for sustaining your bathroom’s aesthetics and functionality. Begin by thoroughly cleaning the wall surface to remove any remaining adhesive residue or dirt.
This step ensures a smooth surface, which is crucial if you’re planning on painting or adding new tiles. Regular cleaning of the towel bar and surround, if reinstalled, prevents buildup of dust and moisture, especially in humid bathroom environments. Inspect the wall periodically for any signs of damage or wear, such as cracking or peeling, and address these issues promptly to avoid more significant repairs in the future. Additionally, if the towel bar is reinstalled, ensure that mounting hardware remains tight and secure to prevent accidents. Regular maintenance not only preserves the cleanliness and safety of your bathroom but also prolongs the life of your fixtures.
Troubleshooting Common Issues
Even after successfully removing or reinstalling a ceramic towel bar, certain issues may arise that require troubleshooting. One common issue is discovering leftover adhesive on the wall. To tackle this, apply a commercial adhesive remover or a gentle soap and water solution and scrub the area with a soft cloth until the residue is gone. Another frequent concern is improper alignment of the towel bar upon reinstallation. If the bar appears crooked, double-check the mounting hardware to ensure it is level and securely fastened.

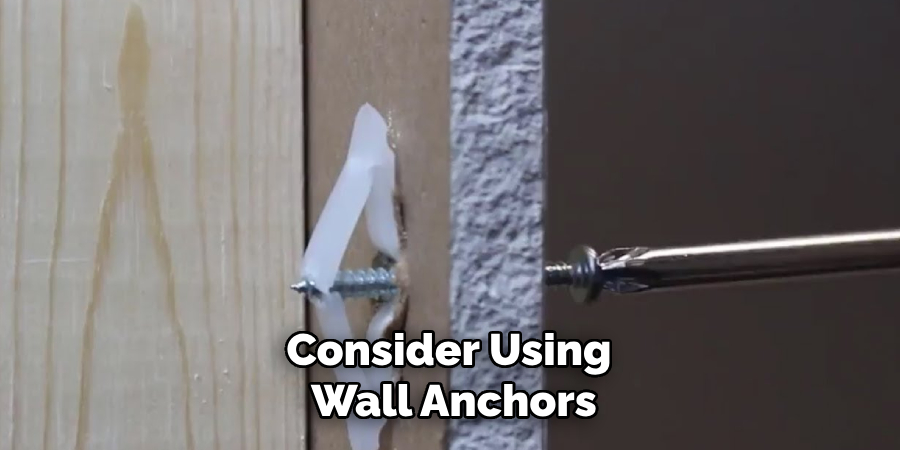
Additionally, if the bar feels loose or unstable, consider using wall anchors or stronger adhesive products to provide better support. Should a tile crack or break during the removal or installation process, it’s important to replace the damaged tile promptly to maintain the wall’s integrity. Consulting a professional for significant repairs can prevent further issues and ensure that your bathroom remains both functional and aesthetically pleasing. Regular checks and maintenance will help in identifying and resolving these common issues effectively.
Conclusion
Removing a ceramic towel bar from your bathroom may seem like a daunting task, but with the right tools and techniques, it can be accomplished smoothly and effectively. Whether you choose to utilize a utility knife, apply heat, or seek professional assistance, ensuring minimal damage to the wall or tiles is key. Following up with proper maintenance and troubleshooting steps will significantly contribute to the longevity and visual appeal of your bathroom fixtures. By taking the time to address potential issues and implement preventative measures, you uphold the functionality and aesthetics of your bathroom space, making it a more enjoyable and practical environment. So, there you have it – a quick and easy guide on how to remove ceramic towel bar.
With a keen eye for detail and a deep understanding of the firing process, I bring ceramics to life as a skilled kiln operator. My expertise ensures that each piece reaches its full potential, achieving the perfect balance of strength and beauty. I take pride in overseeing the critical final stage of pottery creation, transforming raw clay into stunning, durable art. 🎨
From monitoring temperatures to perfecting firing schedules, I ensure that every piece is fired to perfection. My role is not just about operating the kiln; it’s about understanding the unique needs of each creation and bringing out its best qualities.
Join me on this journey of precision and passion, where every firing tells a story. Whether it’s a delicate vase or a robust sculpture, I am dedicated to making sure that every piece that comes out of the kiln is a masterpiece. 🏺✨
Toby Rede is a professional potter focused on creating functional and artistic ceramics. His work blends natural textures with modern forms, often inspired by sustainable gardening and outdoor environments. Toby’s pottery emphasizes both utility and beauty, reflecting his philosophy of intentional craftsmanship. On the blog, he shares insights on integrating handmade objects into everyday life.
Education
- Master of Fine Arts in Ceramics, California College of the Arts
Professional Focus
- Creating practical pottery for everyday use.
- Using unique styles and techniques to convey narratives in ceramics.
Professional Accomplishments
- Showcased work in local and national art galleries, gaining recognition for craftsmanship.
- Received accolades for innovative designs in pottery competitions.