

Creating a penguin out of clay is a fun and engaging activity that lets you express your creativity while developing crafting skills. Whether you’re new to working with clay or an experienced artist, this step-by-step guide will help you with how to make penguin with clay. All you need are some basic materials, a bit of patience, and a dash of imagination to bring your penguin to life.
Suitable Types of Clay
When it comes to choosing the right clay for your penguin project, there are several options to consider based on your preferences and skill level. Here are a few popular types of clay:
- Air-Dry Clay: Ideal for beginners, air-dry clay is easy to work with and doesn’t require baking. It dries naturally over time and can be painted once fully hardened.
- Polymer Clay: This type of clay is great if you’re looking for durability and vibrant colors. It needs to be baked in an oven to harden, which ensures a long-lasting finish for your penguin.
- Modeling Clay: Perfect for practice and experimentation, modeling clay is soft and reusable. However, it does not harden, making it less suitable for a permanent project.
- Ceramic Clay: For a more professional approach, ceramic clay can be used to create a detailed penguin that can be fired in a kiln for a polished appearance.
Choose the clay type that best suits your project needs, available resources, and desired outcome for your penguin creation.
Tools and Supplies
To begin making your clay penguin, gather the following tools and supplies. Having these items ready will make the process smoother and more enjoyable:
- Clay: Choose your preferred type of clay as discussed in the previous section.
- Sculpting Tools: A basic set of sculpting tools, including a shaping knife, a dotting tool, and a smoothing tool, can help you mold the clay with precision and add fine details.
- Rolling Pin or Rod: This is useful for flattening clay evenly to create base shapes or layers.
- Craft Mat or Surface: Protect your work area with a sturdy, non-stick mat or a smooth surface dedicated to crafting.
- Paints and Brushes (optional): If you’re using air-dry or ceramic clay, you can use acrylic paints to color your penguin once it’s dry.
- Glue (optional): For attaching any additional decorative pieces that may not adhere easily with clay alone.
- Water or Conditioner: Use a small bowl of water or clay conditioner to keep the clay pliable and smooth out cracks or textures during sculpting.
- Protective Gloves (optional): If you want to keep your hands clean or prevent fingerprints on the clay.
Make sure you have these tools and supplies ready before you start. Being fully prepared will make the crafting process enjoyable and ensure your penguin turns out just the way you imagined!
10 Methods How to Make Penguin with Clay
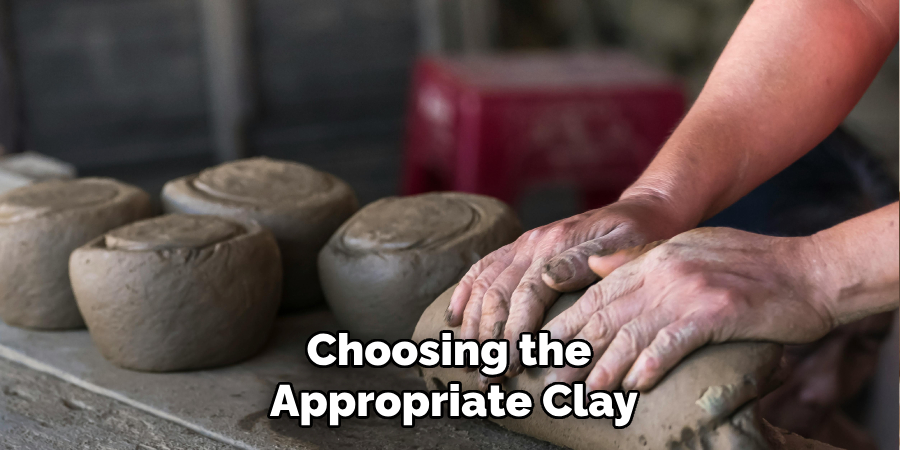
1. Selecting the Right Clay
Choosing the appropriate clay is the foundation of your project. Air-dry clay is a great option for beginners, as it’s easy to work with and doesn’t require firing. Polymer clay offers vibrant colors and durability, though it requires baking to set. Ceramic clay can produce a high-quality finish if you have access to a kiln. Ensure the clay you select is smooth and pliable for easier shaping and detailing.
2. Shaping the Penguin’s Body
Start by shaping the main body of the penguin. Roll a lump of clay into an oval or egg-like shape, as this will serve as the core structure. Gently taper one end to form the head, leaving the wider base for the body. Smooth the surface with your fingers or a damp sponge to remove any cracks or uneven areas. The proportions of the body should reflect the style of penguin you wish to create, whether realistic or cartoonish.
3. Creating the Wings
The wings are a signature feature of penguins. Roll out two small pieces of clay into teardrop shapes. Flatten these slightly and curve them gently to mimic the natural position of a penguin’s wings. Attach the wings to the sides of the body using the score-and-slip technique—score the edges with a needle tool, apply a small amount of slip (a clay-water mixture), and press them securely onto the body. Blend the edges for a seamless appearance.
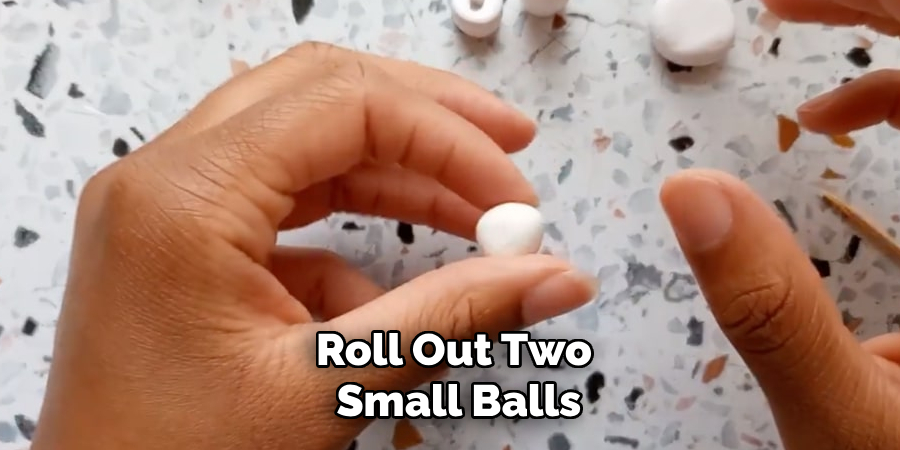
4. Adding the Feet
To make the feet, roll out two small balls of clay and flatten them into oval shapes. Use a sculpting tool or toothpick to carve out the toes. Attach the feet to the base of the body, ensuring they’re positioned to balance the penguin upright. Adjust the angles slightly to give the feet a natural stance. This step adds stability and detail to your sculpture.
5. Shaping the Head and Beak
Define the head by gently pinching or sculpting the top portion of the body. To create the beak, roll a tiny piece of clay into a cone or triangular shape. Attach the beak to the center of the head using slip and scoring. For added detail, lightly score a line down the center of the beak to mimic its natural appearance. Smooth the surrounding area to blend the beak seamlessly with the head.
6. Carving Facial Features
Facial features bring your penguin to life. Use a needle tool or toothpick to carve shallow indentations for the eyes. Roll small balls of black or dark-colored clay for the pupils and press them into the indentations. Add tiny white dots to the pupils for a lively, expressive look. You can also use sculpting tools to refine the shape of the beak and add subtle textures to the face.
7. Adding Belly and Back Patterns
Penguins are known for their distinct black-and-white coloration. To create this pattern, roll out thin sheets of white and black clay. Cut an oval or teardrop shape for the belly and press it onto the front of the body. Similarly, add black clay to the back and sides. Smooth the edges to blend the pieces seamlessly with the base structure. This step enhances the realism and charm of your penguin.
8. Incorporating Accessories
For a playful touch, consider adding accessories to your penguin. Scarves, hats, or earmuffs can be crafted using colorful clay. Roll out thin strips or shapes and attach them carefully to the penguin’s body. These accessories add character and make your sculpture unique. Ensure that any added elements are securely attached using slip and scoring.

9. Drying and Curing
Allow the completed penguin to dry or cure fully, depending on the type of clay used. Air-dry clay should be left in a well-ventilated area for 24-48 hours. Polymer clay requires baking in an oven, so follow the manufacturer’s instructions for time and temperature. Ceramic clay should be dried thoroughly before being fired in a kiln. Proper drying ensures durability and prevents cracking.
10. Painting and Finishing
Once the penguin is dry or fired, it’s time to paint and finish. Acrylic paints work well for adding vibrant colors and details. Start with a base coat and layer on additional colors for the beak, eyes, and accessories. Use fine brushes for intricate areas. To protect your sculpture and give it a polished look, apply a clear sealant or varnish. This final step enhances durability and adds a professional touch.
Alternative Methods and Tips
If you’re looking for alternative approaches to crafting a penguin with clay or want to refine your technique, consider the following methods and tips:
- Using Molds
For a quicker and more uniform shape, use penguin-shaped molds. Simply press the clay into the mold and remove it carefully to reveal the form. This method is especially useful for beginners or when creating multiple penguins with consistent designs.
- Experiment with Mixed Media
Incorporate other materials like felt, fabric, or small beads to enhance your penguin sculpture. For example, you can use tiny beads for the eyes or a piece of soft fabric for a scarf. Mixed media adds texture and makes your sculpture stand out.
- Try Hand Tools for Unique Textures
Everyday household items, such as forks, toothpicks, or the bristles of an old toothbrush, can be used to create unique textures on the penguin, such as feather details or patterns on accessories.
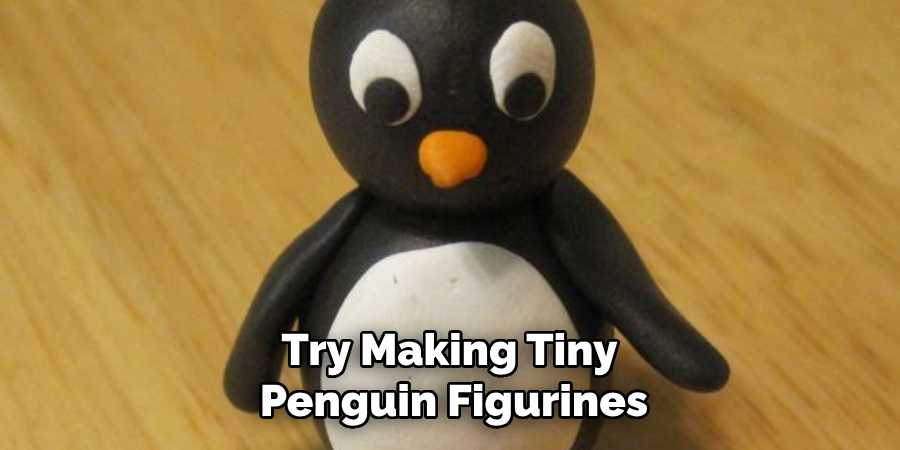
- Experiment with Sizes
Don’t limit yourself to just one size. Try making tiny penguin figurines for keychains or miniature displays, or craft larger penguins that can serve as decor or gifts.
- Work in Layers
When painting or attaching decorative elements, work in layers to allow each component to set properly before adding more details. This prevents smudging or misalignment.
Conclusion
Crafting a penguin out of clay is a delightful and rewarding process that combines creativity, precision, and attention to detail. Whether you’re a beginner experimenting with simple shapes or an experienced artist refining intricate designs, this project offers endless opportunities for personalization. By following the steps outlined and incorporating your unique touches, you can create charming penguin sculptures that showcase your skills and imagination. So, there you have it – a quick and easy guide on how to make penguin with clay.
Toby Rede is a professional potter focused on creating functional and artistic ceramics. His work blends natural textures with modern forms, often inspired by sustainable gardening and outdoor environments. Toby’s pottery emphasizes both utility and beauty, reflecting his philosophy of intentional craftsmanship. On the blog, he shares insights on integrating handmade objects into everyday life.
Education
Associate Degree in Ceramic Technology, Alfred University
Professional Focus
Pottery creation with a focus on functionality and artistic expression
Techniques exploring texture, glazing, and sustainable materials
Professional Accomplishments
Work featured in regional art shows and garden exhibitions
Collaborations with local craft fairs and home decor shops