

Thinning airbrush paints is a crucial step to ensure smooth application and achieve the desired finish for your project. Properly thinned paints flow seamlessly through the airbrush, preventing clogs and uneven spraying. Whether you’re working with acrylics, enamels, or other types of paint, understanding the right thinning techniques and ratios can make a significant difference in the quality of your work.
This guide on how to thin airbrush paints will walk you through the basics of thinning airbrush paints, helping you avoid common pitfalls and perfect your technique.
Why Thin Airbrush Paints?
Before diving into the how-tos of thinning airbrush paints, it’s essential to understand why you need to do it in the first place. Unlike traditional painting methods that use brushes or rollers, airbrushes require a much finer consistency of paint for optimal performance.
Thinning the paint allows it to flow smoothly through the airbrush and out of the nozzle without causing clogs or splatters. It also helps prevent the paint from drying too quickly, giving you more control over your application and ensuring a smooth, even finish.
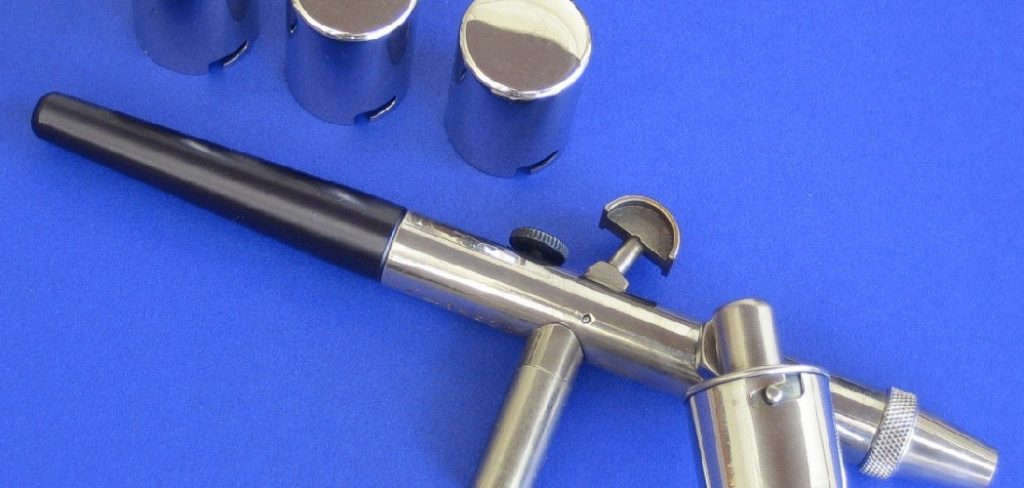
Needed Materials
- Airbrush Paint
- Thinner or Reducer
- Mixing Cups or Palette
- Stirring Stick or Brush
- Measuring Tools (Such as Dropper, Syringe, or Measuring Spoons)
8 Step-by-step Guides on How to Thin Airbrush Paints
Step 1: Read the Label
Before you begin thinning your airbrush paint, take a moment to carefully read the label on the paint container. Manufacturers often include specific recommendations or instructions for thinning their paints, including the type of thinner to use and the ideal mixing ratio.
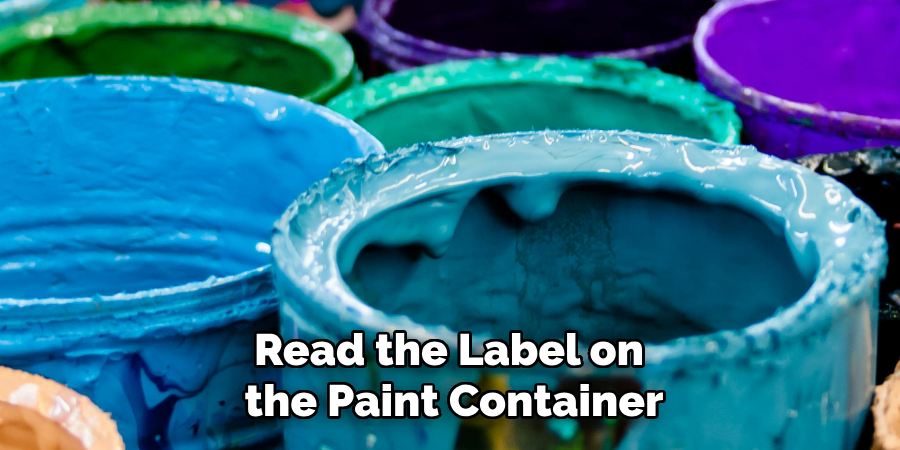
This information is crucial, as different paint types—such as acrylics, enamels, or lacquers—may require unique thinning processes. Ignoring these guidelines can lead to issues such as clogging, uneven coverage, or damage to your airbrush. Always consult the label to ensure you’re using the correct thinning method for your chosen paint.
Step 2: Choose the Right Thinner or Reducer
Choosing the right thinner or reducer for your paint is crucial for achieving the desired consistency and finish. Some paints may require a specific type of thinner, while others may be compatible with multiple options. When in doubt, it’s best to use the manufacturer’s recommended thinner.
Some common types of thinners used for airbrush paints include:
- Distilled Water: This is an economical and readily available option for thinning acrylics.
- Isopropyl Alcohol: Ideal for thinning enamels and lacquers.
- Lacquer Thinner: Best suited for thinning lacquers and some enamels.
- Acetone: Suitable for thinning some enamels and lacquers, but use with caution as it can be harsh on your airbrush.
- Airbrush Medium: Some manufacturers offer specific airbrush mediums that are designed to work with their paints.
Step 3: Mix the Paint and Thinner
The next step is to mix the paint and thinner in the correct ratio. This is where reading the label comes in handy, as it should indicate the recommended mixing ratio for your chosen paint.
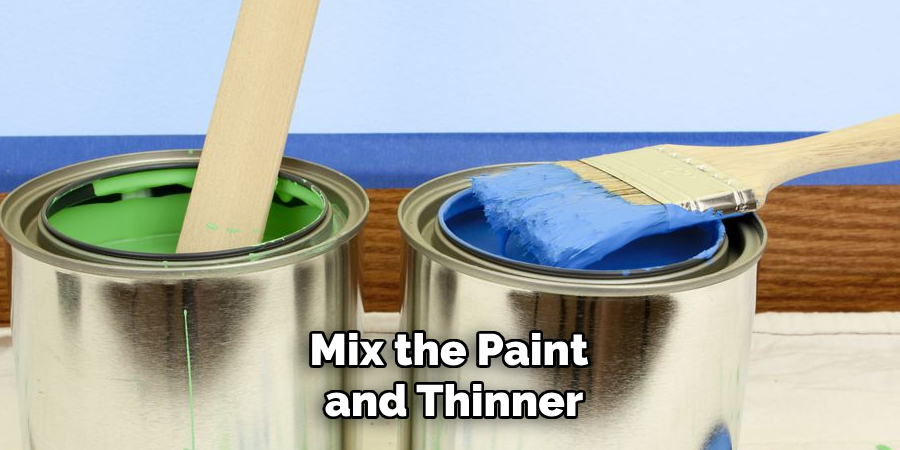
A common rule of thumb for thinning airbrush paints is to use a 2:1 ratio of paint to thinner, but this can vary depending on the type and brand of paint. The goal is to achieve a consistency similar to that of milk—thick enough to cover surfaces but thin enough to flow easily through the airbrush.
Step 4: Test and Adjust
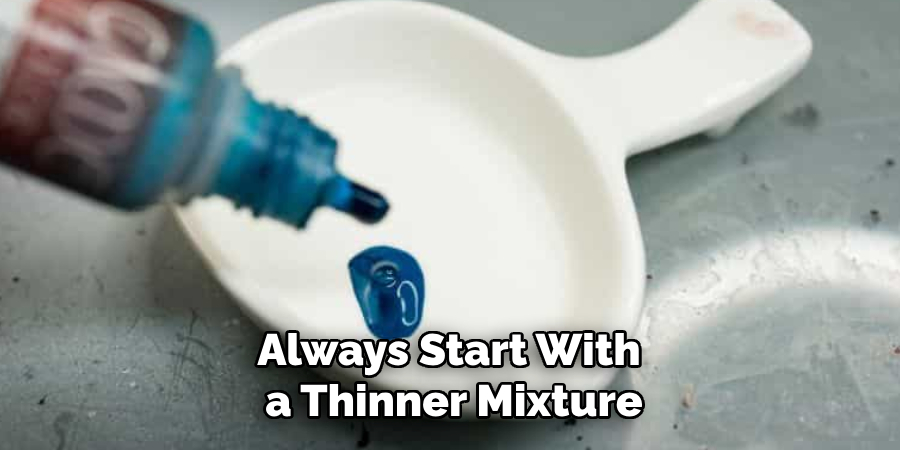
Once you’ve mixed your paint and thinner, it’s important to test it before using it on your project. Use some scrap material or paper to spray and adjust as needed. If the paint comes out too thick and causes clogs, add more thinner to the mixture. If it’s too thin and results in overspray or lack of coverage, add more paint.
But be careful not to add too much thinning agent, as this can affect the opacity and color of your paint. It’s always better to start with a thinner mixture and gradually add more until you achieve the desired consistency.
Step 5: Use the Right Mixing Tools
When mixing your paint and thinner, it’s crucial to use the right tools to ensure thorough and consistent mixing. Small measuring cups or palettes are ideal for measuring out precise amounts of paint and thinner. A stirring stick or brush can then be used to mix them together thoroughly.
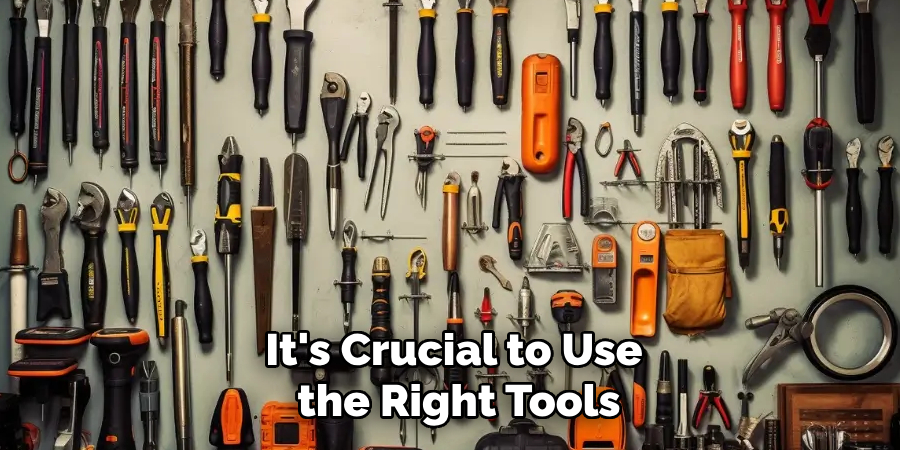
The key is to avoid introducing air bubbles into the mixture, as this can affect the performance of your airbrush and result in uneven spraying. Slowly and gently stir or mix the paint and thinner until they are fully combined.
Step 6: Keep it Clean
Maintaining a clean workspace and equipment is essential when working with airbrush paints. Any leftover paint or debris can contaminate your mixture and cause clogs or uneven coverage. Always clean your mixing tools before using them, and regularly clean your airbrush according to the manufacturer’s instructions.
It’s also important to strain your paint and thinner mixture before pouring it into the airbrush cup. This helps catch any remaining clumps or impurities that may cause issues during spraying.
Step 7: Adjust for Different Applications
The ideal consistency of your paint may vary depending on what you’re using it for. For fine details and precise lines, you may want a thinner mixture to achieve better control. For larger areas or coverage, a slightly thicker mixture may be more suitable.
Don’t be afraid to adjust your paint and thinner ratio based on your specific project needs. Just remember to test the consistency before using it on your final project.
Step 8: Practice Makes Perfect
Thinning airbrush paints can take some trial and error, especially if you’re just starting. The key is to practice and experiment with different types of paints, thinners, and ratios until you find what works best for you.
Following these steps on how to thin airbrush paints and taking the time to properly thin your airbrush paints will ultimately lead to better results and a more enjoyable airbrushing experience. Don’t be afraid to try new techniques and have fun with it!
Additional Tips for Thinning Airbrush Paints
- Always start with a thinner mixture and gradually add more paint or thinner as needed.
- Consistency is key—your paint should be thin enough to flow easily through the airbrush but not so thin that it becomes translucent.
- If using multiple colors, mix each color separately before combining them. This will ensure consistent ratios for each color and prevent waste.
- Don’t forget to clean your airbrush thoroughly after use, as leftover paint or thinner can dry and cause clogs.
- When in doubt, consult the manufacturer’s instructions or reach out to fellow airbrush artists for tips and recommendations on thinning specific paints.
- Consider investing in a moisture trap for your airbrush to prevent moisture from affecting the consistency of your paint mixture.
- Keep track of your mixing ratios for future reference, especially if you tend to use the same paints and thinners frequently.
- Don’t be discouraged if your first few attempts at thinning airbrush paints are not successful. Practice makes perfect, and with time and experimentation, you’ll find the right balance for your specific projects.
Frequently Asked Questions
Q: Can I Use Water to Thin Oil-based or Enamel Paints for Airbrushing?
A: No, it’s not recommended to use water as a thinner for these types of paints. Water can cause the paint to separate and become unusable. Instead, use a specific thinner appropriate for oil-based or enamel paints.
Q: Can I Thin My Airbrush Paints with Other Liquids, Such as Turpentine or Mineral Spirits?
A: It’s not recommended to use these liquids as thinners for airbrush paints, as they can be harsh and affect the performance of your airbrush. Stick to using paint-specific thinners or mediums for best results.
Q: Can I Use Different Brands of Thinner with Different Brands of Paint?
A: Yes, you can mix and match different brands of paint and thinner. Just make sure to test the consistency before using it on your project.
Q: How Long Does a Thinned Paint Mixture Last?
A: It’s recommended to use the thinned paint mixture within 24 hours for optimal performance. After that, the thinner may evaporate and affect the consistency of the paint.
Q: Can I Store My Thinned Paint Mixture for Future Use?
A: Yes, you can store your thinned paint mixture in an airtight container or jar for future use. Just make sure to thoroughly mix it again before using it. You may also need to adjust the consistency if it thickens over time.
Conclusion
Thinning airbrush paints may seem like a daunting process at first, but with a careful approach and some practice, it becomes second nature. By following the steps outlined in this guide on how to thin airbrush paints, you can achieve the perfect consistency for your airbrush projects, ensuring smooth application and outstanding results every time.
Remember, the key is patience, preparation, and attention to detail. Whether you’re a beginner or an experienced artist, taking the time to properly thin your paints will help you unlock the full potential of your airbrush and elevate your creative projects. Happy airbrushing!
Toby Rede is a professional potter focused on creating functional and artistic ceramics. His work blends natural textures with modern forms, often inspired by sustainable gardening and outdoor environments. Toby’s pottery emphasizes both utility and beauty, reflecting his philosophy of intentional craftsmanship. On the blog, he shares insights on integrating handmade objects into everyday life.
Education
Associate Degree in Ceramic Technology, Alfred University
Professional Focus
Pottery creation with a focus on functionality and artistic expression
Techniques exploring texture, glazing, and sustainable materials
Professional Accomplishments
Work featured in regional art shows and garden exhibitions
Collaborations with local craft fairs and home decor shops