

Painting concrete plant pots is a simple and creative way to customize your garden or indoor space. Whether you’re looking to add a pop of color, create intricate designs, or simply protect the pots from weathering, this easy DIY project allows you to transform ordinary planters into eye-catching pieces.
With a few materials and some preparation, you can achieve a professional-looking finish that enhances the overall aesthetic of your space. In this blog post on how to paint concrete plant pots, we’ll guide you through the steps to create beautiful and durable planters.
Materials
- Concrete Plant Pots
- Primer Spray Paint
- Acrylic Paint
- Paintbrushes or Foam Brushes
- Sealer Spray
8 Step-by-step Guidelines on How to Paint Concrete Plant Pots
Step 1: Clean and Prep the Pots
Before starting, it is essential to thoroughly clean your concrete plant pots to ensure a smooth and long-lasting finish. Remove any dirt, dust, or debris by scrubbing the surface with a stiff brush and mild soap mixed with water. Rinse the pots thoroughly and allow them to dry completely.
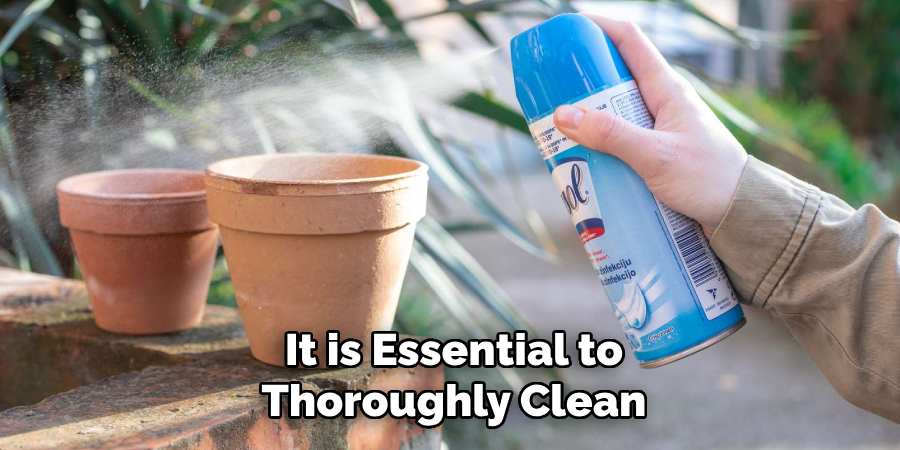
If the pots have any cracks or uneven surfaces, use sandpaper to smooth them out. Prepping the pots properly will help the paint adhere better and result in a more professional-looking final product.
Step 2: Choose Your Color Scheme
The fun part of painting concrete plant pots is choosing the colors and design. Consider the color scheme of your garden or indoor space, as well as any existing decor element, for inspiration. You can go for a single color or mix and match different shades to create a unique look.
It’s important to note that concrete is a porous material, so darker colors tend to show better on the surface. If you’re planning to use light or pastel shades, consider priming the pots with white spray paint first for better coverage.
Step 3: Prime the Pots
To ensure proper adhesion and long-lasting results, it’s essential to prime your concrete plant pots before painting them. Use a quality primer spray paint designed for outdoor use and follow the instructions on the can.
Spray an even coat of primer on all surfaces of the pots and allow them to dry completely before moving on to the next step. This step will also help seal any remaining pores in the concrete, making the pots more waterproof.
Step 4: Apply the Base Coat
Once the primer is dry, it’s time to apply your base coat. Using acrylic paint and a paintbrush or foam brush, cover the entire surface of the pot with an even layer of paint. You may need to apply multiple coats for better coverage depending on the color you’ve chosen.
Allow each coat to dry completely before applying another one. Painting in thin layers will result in a smoother finish and prevent any drips or clumps.
Step 5: Create Your Design
If you’re planning to add any designs or patterns to your concrete plant pots, now is the time to do so. You can use stencils, tape, or freehand painting to create intricate designs. Experiment with different techniques and colors until you’re satisfied with the look.
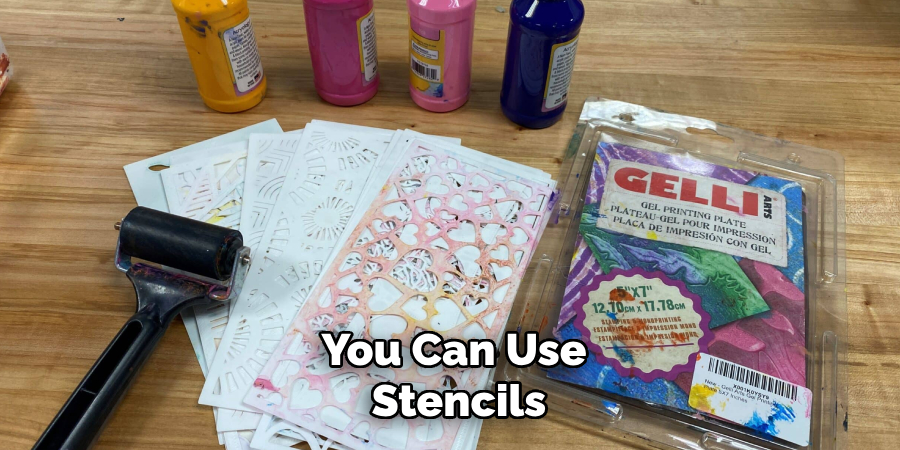
But remember, less is more. It’s better to start with a simple design and add more later than to overdo it and end up with a messy finish. Allow the paint to dry completely before moving on to the next step.
Step 6: Seal the Pots
To protect your painted concrete plant pots from weathering, moisture, and UV rays, it’s crucial to seal them with a clear sealer spray designed for outdoor use.
Spray an even coat of sealer on all surfaces of the pots and let them dry completely before handling or placing them in your garden or indoor space.
Step 7: Add Finishing Touches
Once the sealer is dry, you can add any finishing touches to your pots, such as adding a layer of glitter, attaching decorative elements, or painting the rims or bottoms with a contrasting color. These small details can make a big difference in the overall look of your planters.
It’s also a good idea to label your pots with the names of the plants you plan to grow in them, especially if you have a large collection.
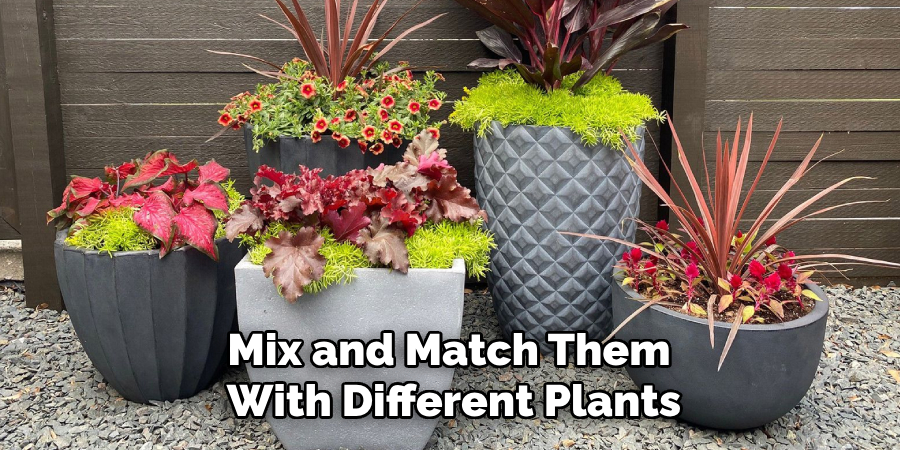
Step 8: Display and Enjoy!
After following all these steps, your painted concrete plant pots are now ready to be displayed and enjoyed in your garden or indoor space. Mix and match them with different plants for a vibrant and personalized touch.
Be sure to clean and maintain your painted pots regularly so they last longer. If you notice any chipping or wear over time, simply sand down the affected area and reapply paint as needed. With proper care, your painted concrete plant pots can add beauty and charm to your space for many seasons to come.
Do You Need to Use Professionals?
Painting concrete plant pots is a beginner-friendly project that most people can easily tackle on their own with minimal tools and materials. However, there are instances where hiring professionals might be beneficial. If you’re working on a large-scale project—such as painting numerous pots for a commercial space—or if you require complex designs, professional painters can save you time and ensure a flawless finish.
Additionally, professionals often have access to high-quality materials and specialized equipment for tasks like airbrushing or precise detailing, which may not be feasible for DIY enthusiasts. That said, for most personal and small-scale projects, following the steps outlined above is more than sufficient to achieve attractive and durable results without the need for professional assistance.
How Much Does It Cost to Paint Concrete Plant Pots?
Painting concrete plant pots is a budget-friendly project that allows you to refresh and personalize your existing containers without breaking the bank. The cost will vary depending on factors such as the size and number of pots, materials used, and any additional decorative elements you choose to add.
A basic paint and primer set can cost anywhere from $15 to $50, depending on the brand and quantity. If you plan to use stencils or tape for designs, these are also relatively inexpensive and can range from $5 to $20 per pack. Clear sealer spray typically costs around $10 to $20 per can, which is enough for multiple pots.
Additional Tips
- If you’re planning to paint the inside of the pot, make sure to use non-toxic paint as it may come in contact with the soil and affect the growth of your plants.
- For a more aged or weathered look, consider using a faux finish technique such as sponging or distressing on top of the base coat before sealing.
- If you’re painting multiple pots with different colors, make sure to clean your brushes thoroughly between each color to prevent any mixing or contamination.
- Use caution when handling spray paints and sealers, and always follow safety instructions on the cans.
With these steps on how to paint concrete plant pots and some additional tips, you can give your plain and drab containers a new lease on life. Get creative with colors, designs, and finishes to make your planters truly unique and add personality to your space. Happy painting!
Frequently Asked Questions
Q: Can I Paint My Plant Pots Without Priming Them First?
A: While it is possible, priming the pots will result in a better finish and help the paint adhere better. We recommend following all steps for best results.
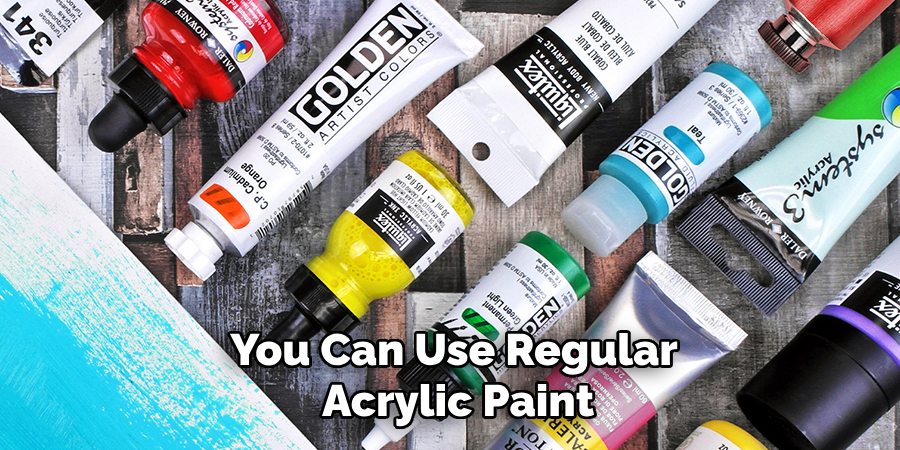
Q: Can I Use Regular Acrylic Paint?
A: Yes, you can use regular acrylic paint for this project. However, make sure to seal the pots with a waterproof sealer afterward. You can also use outdoor or weather-resistant acrylic paint for added durability.
Q: How Long Will the Paint Last on My Concrete Plant Pots?
A: With proper care and maintenance, your painted concrete plant pots should last for several seasons. However, weather conditions and frequent handling may cause some wear over time. Simply touch up any chips or scratches as needed.
Q: Can I Paint My Concrete Plant Pots Indoors?
A: Yes, you can paint your pots indoors. Just make sure to work in a well-ventilated area and follow all safety precautions when using spray paints and sealers. You can also consider using low or no VOC (volatile organic compound) paints for a safer indoor environment.
Q: Can I Plant Directly into the Painted Pots?
A: It’s best to use a separate plastic or terracotta pot within you painted pot to prevent the paint from coming in direct contact with the soil and affecting your plants.
Conclusion
Painting concrete plant pots is a simple and rewarding DIY project that allows you to transform plain planters into stunning décor pieces. With a little creativity and attention to detail, you can customize your pots to match your style and enhance your garden or indoor spaces.
By following the steps on how to paint concrete plant pots outlined above and taking proper care of your finished pots, you can ensure they remain beautiful and durable for years to come. Whether you’re adding a pop of color to your patio or complementing your home’s interior design, painted concrete pots are a great way to showcase your personality and creativity.
Toby Rede is a professional potter focused on creating functional and artistic ceramics. His work blends natural textures with modern forms, often inspired by sustainable gardening and outdoor environments. Toby’s pottery emphasizes both utility and beauty, reflecting his philosophy of intentional craftsmanship. On the blog, he shares insights on integrating handmade objects into everyday life.
Education
Associate Degree in Ceramic Technology, Alfred University
Professional Focus
Pottery creation with a focus on functionality and artistic expression
Techniques exploring texture, glazing, and sustainable materials
Professional Accomplishments
Work featured in regional art shows and garden exhibitions
Collaborations with local craft fairs and home decor shops