Creating ceramic molds is an essential skill for pottery enthusiasts and artisans alike. Molds serve as a versatile tool in the crafting process, allowing for the replication of complex shapes and designs with precision.
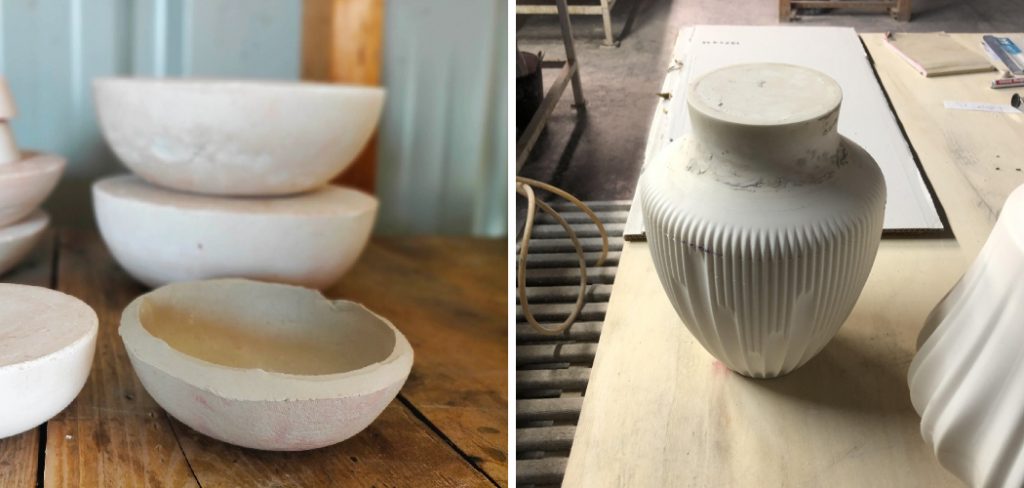
This introduction will guide you through how to make ceramic molds, ensuring that your pottery projects achieve the desired results. From selecting the right type of mold to preparing and assembling it, this guide will provide step-by-step instructions to help you master the art of mold-making in ceramics.
Benefits of Making Your Own Ceramic Molds
Creating your own ceramic molds offers several advantages that can enhance your pottery experience. Firstly, it allows for complete customization; you can design molds that perfectly fit your artistic vision and specific project requirements. Secondly, making your own molds can be more cost-effective compared to purchasing pre-made options, especially if you frequently work with similar shapes.
Additionally, the process of mold-making itself can foster creativity and innovation, as you experiment with different techniques and materials. Finally, mastering the skill of mold-making empowers you to produce unique pieces that reflect your personal style, setting your work apart in a competitive market.
Materials and Tools Needed
To create your own ceramic molds effectively, you will need a selection of materials and tools. Here is a list to get you started:
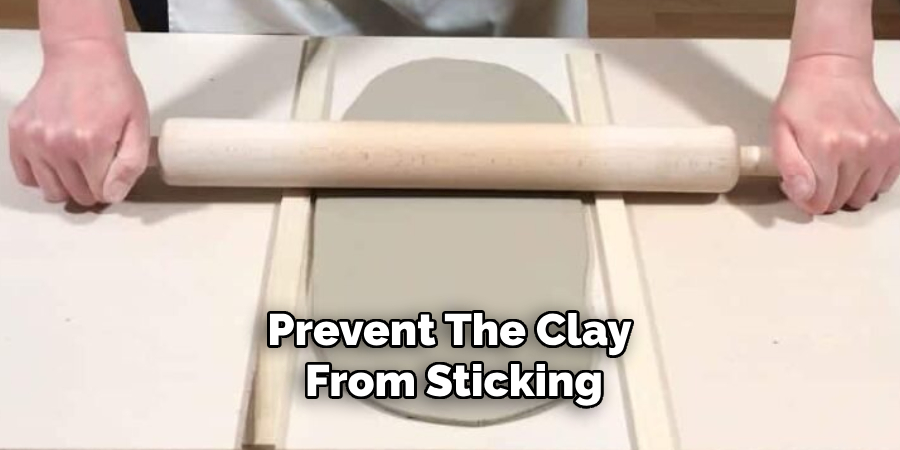
- Clay: Choose a type of modeling clay suitable for mold-making, such as earthenware or stoneware clay.
- Release Agent: This helps prevent the clay from sticking to the mold. Options include petroleum jelly or a commercial mold release spray.
- Mixing Container: A sturdy bowl or container for mixing your clay and any additional ingredients.
- Tools for Shaping: Basic pottery tools such as sculpting tools, rolling pins, and smoothers will help you shape the clay.
- Banding Wheel (optional): This can assist in applying consistent pressure and achieving even shapes while constructing your mold.
- Plaster: If you are making a two-part mold, plaster is needed for forming the outer shell.
- Brushes: A set of fine brushes can help in applying details and smoothing the surface of the mold.
- Cutting Tools: A sharp knife or wire cutter is essential for trimming and refining the edges of your mold.
- Work Surface: A clean, flat workspace covered with a protective material to prevent sticking and to keep your area tidy.
Having these materials and tools on hand will ensure a smooth and successful mold-making process.
10 Methods How to Make Ceramic Molds
1. Choosing the Right Mold Material
The first step in making ceramic molds is selecting the appropriate mold material. The choice of material depends on the type of ceramic project and the desired outcome. Common mold materials include plaster, silicone rubber, and polyurethane. Plaster is widely used due to its ease of use and affordability, making it suitable for creating detailed molds for clay pieces.
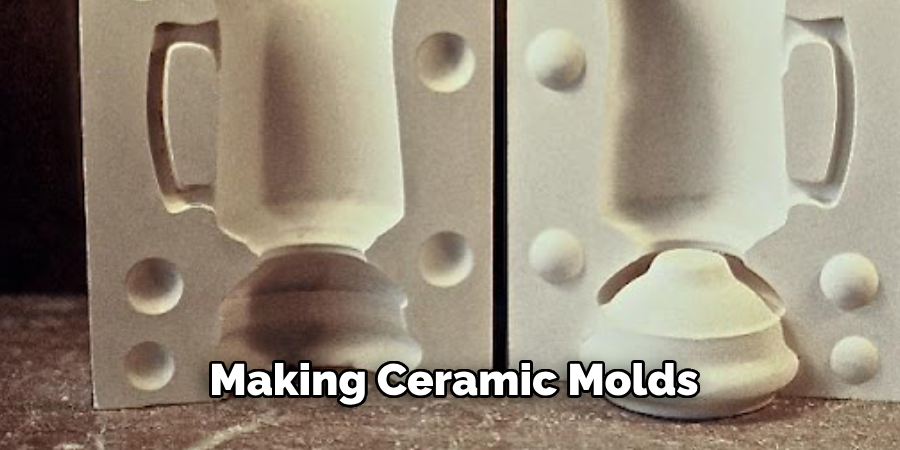
Silicone rubber is ideal for creating flexible molds that can capture fine details and is often used for complex designs that require easy removal of the ceramic piece. Polyurethane molds are durable and can handle high temperatures, making them suitable for production environments. Consider the properties of each material and choose one that aligns with your project requirements.
2. Creating a Prototype or Model
Before making a mold, you need a prototype or model of the object you wish to reproduce. This prototype serves as the template for your mold and can be made from various materials, including clay, wax, or even 3D-printed objects. Ensure that the prototype is as accurate and detailed as possible, as the quality of the mold will directly affect the final ceramic piece.
If using clay or wax, carefully shape and refine the prototype, ensuring all details are well-defined. For 3D-printed models, ensure the print resolution is high enough to capture intricate details. Once the prototype is complete, it should be clean and free of any imperfections.
3. Preparing the Mold Box
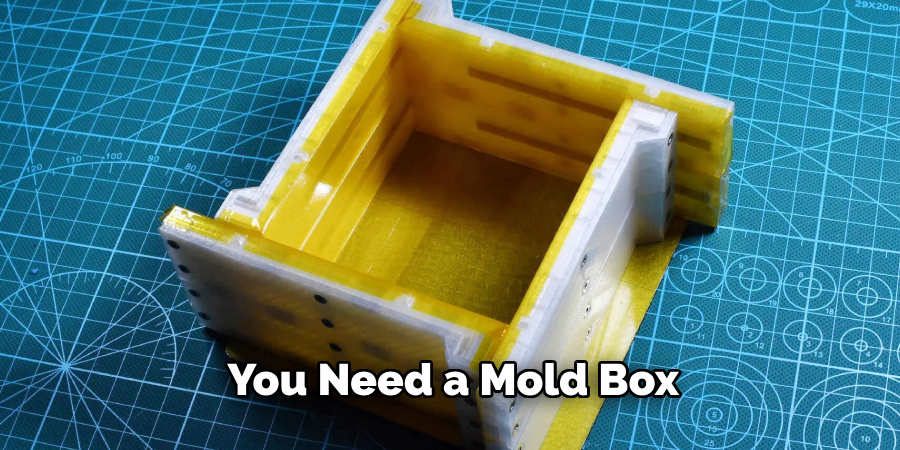
To create a mold, you need a mold box to contain the mold material and the prototype. Construct a mold box from materials like wood, plastic, or acrylic, ensuring it is sturdy and well-sealed. The box should be slightly larger than the prototype to accommodate the mold material and provide a margin for ease of removal.
Assemble the mold box by securing the sides and base together, and ensure there are no gaps where the mold material could leak. For complex shapes, consider using a box with removable sides or a hinged design to facilitate the removal of the prototype and the finished mold.
4. Applying Release Agent
Applying a release agent to the prototype is crucial to ensure that the mold material does not adhere to it, allowing for easy removal after the mold has set. Choose an appropriate release agent based on the mold material you are using.
For plaster molds, a simple mixture of water and dish soap can serve as an effective release agent. For silicone or polyurethane molds, specialized commercial release agents are available. Apply the release agent evenly to the entire surface of the prototype, paying close attention to intricate details and crevices. Allow the release agent to dry before proceeding with the mold-making process.
5. Mixing and Pouring Mold Material
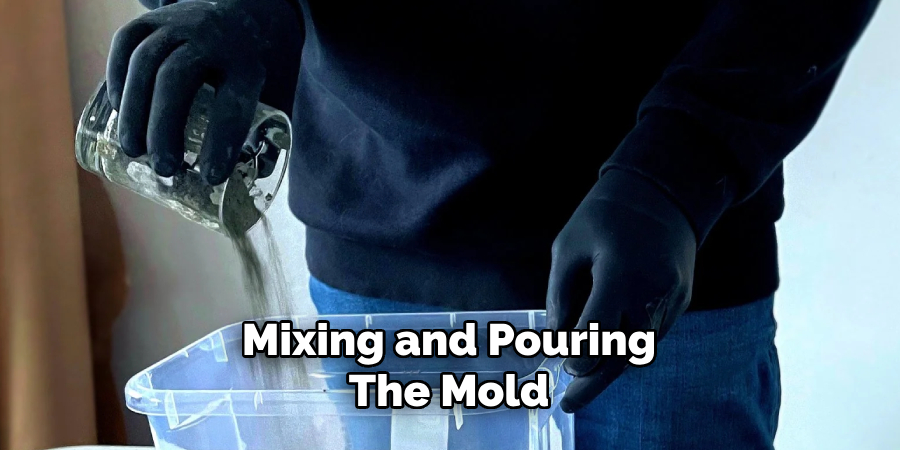
Mixing and pouring the mold material is a critical step in the mold-making process. Follow the manufacturer’s instructions for mixing proportions and curing times for your chosen mold material. For plaster molds, combine plaster powder with water to create a smooth, pourable mixture.
For silicone or polyurethane, mix the components thoroughly to ensure an even consistency. Pour the mold material slowly and steadily over the prototype in the mold box, ensuring that it covers all areas and captures fine details. To minimize air bubbles, pour the material from a height and consider using a vacuum chamber to remove trapped air.
6. Allowing the Mold to Set
After pouring the mold material, allow it to set and cure according to the manufacturer’s instructions. The setting time varies depending on the type of material used; plaster typically sets within a few hours, while silicone and polyurethane may require a longer curing period.
During this time, avoid disturbing the mold box to ensure an even and accurate mold formation. The mold material should harden completely before attempting to remove the prototype. Once fully set, the mold will be rigid and ready for use.
7. Removing the Prototype
Once the mold material has set, carefully remove the prototype from the mold. For plaster molds, gently break away the mold box and carefully extract the prototype, taking care not to damage the mold.
For silicone or polyurethane molds, gently peel or pry away the mold material to reveal the prototype. Be cautious during this step to avoid damaging both the mold and the prototype. Inspect the mold for any imperfections or areas that may need touch-ups. If necessary, make any corrections or refinements to ensure the mold is accurate and ready for use.
8. Cleaning and Finishing the Mold
After removing the prototype, clean and finish the mold to prepare it for use. For plaster molds, gently brush away any residual mold material and smooth any rough edges with fine sandpaper. For silicone or polyurethane molds, ensure that the surface is clean and free from any leftover release agent or prototype residue.
If the mold has any imperfections or areas that need improvement, apply appropriate fillers or make adjustments to ensure a smooth and accurate mold surface. Properly cleaning and finishing the mold helps to achieve high-quality ceramic pieces and ensures the mold’s longevity.
9. Testing the Mold
Before using the mold for production, conduct a test run to ensure that it performs as expected. Prepare a small batch of ceramic material and pour it into the mold to create a test piece. Allow the test piece to dry and fire according to the ceramic material’s specifications. Inspect the test piece for any defects or inaccuracies and evaluate the mold’s performance. This testing phase is crucial for identifying any issues with the mold and making necessary adjustments before moving on to larger batches or production runs.
10. Storing and Maintaining the Mold
Proper storage and maintenance of ceramic molds are essential for preserving their quality and extending their lifespan. Store molds in a cool, dry place, away from direct sunlight and extreme temperatures. Avoid exposing molds to moisture or chemicals that could damage the mold material.
For silicone and polyurethane molds, consider applying a light coat of release agent or a protective sealant to prevent deterioration. Regularly inspect molds for signs of wear or damage, and make repairs as needed to maintain their functionality. Proper care and maintenance ensure that your ceramic molds remain in excellent condition and continue to produce high-quality ceramic pieces.
Conclusion
In summary, the process of creating ceramic molds requires careful planning and execution, from constructing a sturdy mold box to testing the mold’s performance with a trial piece.
Each step, whether it involves applying a release agent, mixing and pouring the mold material, or thorough cleaning and maintenance, contributes significantly to the quality and longevity of the final product. Thanks for reading, and we hope this has given you some inspiration on how to make ceramic molds!
With a keen eye for detail and a deep understanding of the firing process, I bring ceramics to life as a skilled kiln operator. My expertise ensures that each piece reaches its full potential, achieving the perfect balance of strength and beauty. I take pride in overseeing the critical final stage of pottery creation, transforming raw clay into stunning, durable art. 🎨
From monitoring temperatures to perfecting firing schedules, I ensure that every piece is fired to perfection. My role is not just about operating the kiln; it’s about understanding the unique needs of each creation and bringing out its best qualities.
Join me on this journey of precision and passion, where every firing tells a story. Whether it’s a delicate vase or a robust sculpture, I am dedicated to making sure that every piece that comes out of the kiln is a masterpiece. 🏺✨
Toby Rede is a professional potter focused on creating functional and artistic ceramics. His work blends natural textures with modern forms, often inspired by sustainable gardening and outdoor environments. Toby’s pottery emphasizes both utility and beauty, reflecting his philosophy of intentional craftsmanship. On the blog, he shares insights on integrating handmade objects into everyday life.
Education
- Master of Fine Arts in Ceramics, California College of the Arts
Professional Focus
- Creating practical pottery for everyday use.
- Using unique styles and techniques to convey narratives in ceramics.
Professional Accomplishments
- Showcased work in local and national art galleries, gaining recognition for craftsmanship.
- Received accolades for innovative designs in pottery competitions.