Raku pottery is a fascinating technique that dates back to 16th century Japan, renowned for its distinctive glazes and unpredictable results.

The process involves removing pots from the kiln while they are still glowing hot and placing them into combustible materials, creating a unique, vibrant finish. Building your own Raku kiln can be a rewarding project that allows for creative experimentation and personalization in your pottery endeavors.
In this guide on how to make a raku kiln, we will explore the essential steps and materials needed to construct a Raku kiln that meets your needs, ensuring a successful firing experience for all your artistic creations.
What is a Raku Kiln?
A Raku kiln is a type of ceramic kiln specifically designed for the Japanese firing technique known as Raku. It typically has a cylindrical shape, allowing for uniform heating and easy removal of pots from the kiln.
Unlike traditional electric or gas-fired kilns, which reach high temperatures over an extended period, Raku kilns are fired quickly and at lower temperatures, resulting in distinctive crackled glazes and vibrant colors.
Materials Needed
Before starting your DIY Raku kiln project, it is essential to gather all the necessary materials. Here are some of the key items you will need:
Firebricks:
These are specially designed bricks that can withstand high temperatures and are used to build the walls and floor of the kiln.
Ceramic Fiber Blanket:
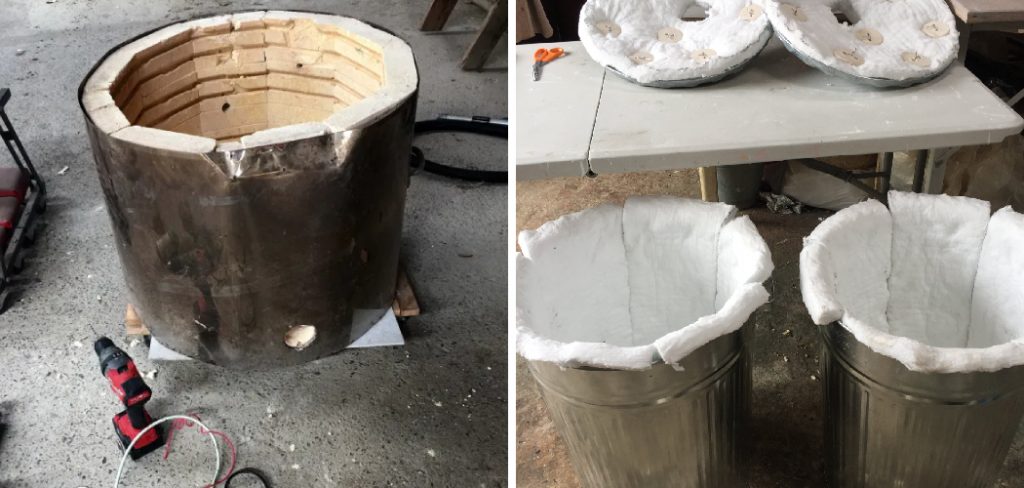
This is a type of insulating material that helps to retain heat and is used to line the walls of the kiln.
Metal Frame:

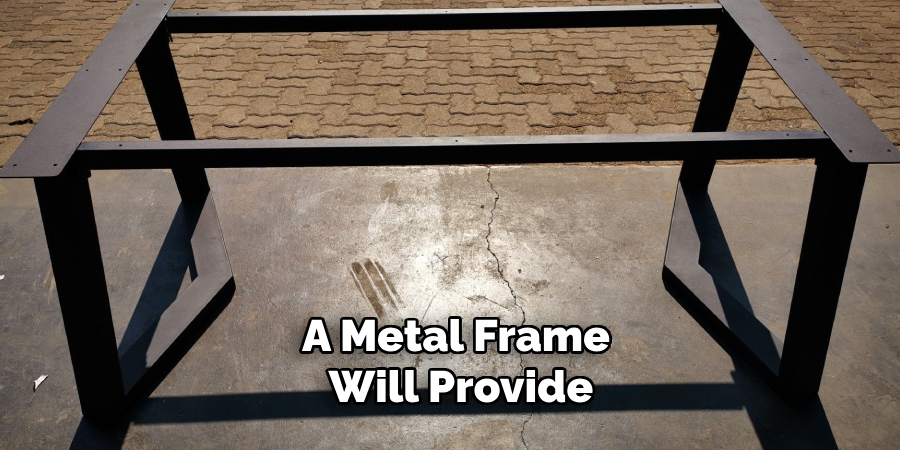
A metal frame will provide the structure and support for your kiln. You can use steel or iron rods to create a sturdy frame that will hold the weight of the bricks and ceramic fiber blanket.
Propane Burner:
This is the source of heat for your Raku kiln, providing a more controlled and consistent temperature compared to using wood or other combustible materials.
Kiln Shelf:
This is where your pottery pieces will be placed inside the kiln, ensuring they are not in direct contact with the floor or walls.
Pliers and Wire Cutters:
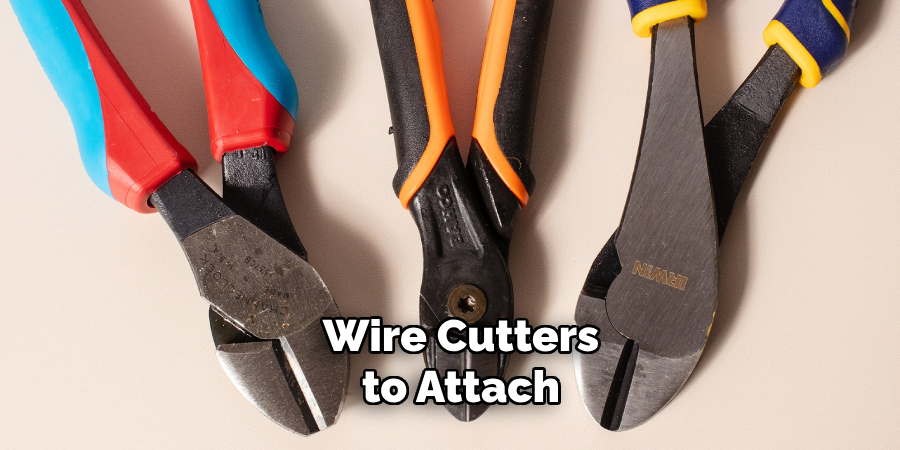
These tools will come in handy when securing the metal frame and cutting the wire used to hold the ceramic fiber blanket in place.
Fireproof Gloves:
As the name suggests, these gloves are designed to protect your hands from high temperatures and will be crucial when handling hot pots or moving pieces in and out of the kiln.
Safety Gear:

It is essential to prioritize safety when building and firing a Raku kiln. Remember to wear protective gear, including goggles, a dust mask, and closed-toe shoes.
7 Easy Step-by-step Guides on How to Make a Raku Kiln
Step 1: Design Your Kiln
The first step in constructing your Raku kiln is to design it according to your specific needs and available space. Start by determining the size of the kiln based on the pottery pieces you typically create. A small kiln can accommodate individual pieces, while a larger design may allow for multiple items to be fired at once.
Consider the layout of the firebricks and metal frame, ensuring there is adequate airflow for optimal heating. Additionally, sketch out your design on paper, taking note of the dimensions and any specific features, such as the door opening for easy access. This groundwork will guide your construction process and ensure that your kiln is both functional and efficient.
Step 2: Prepare the Metal Frame
Using your design as a guide, construct the metal frame for your kiln. This can be done by bending and welding steel or iron rods to create a sturdy structure that will hold all the components of the kiln together.
Ensure that the frame is strong enough to withstand the weight of bricks, ceramic fiber blankets, and other materials. You can also use angle brackets to reinforce any weak points in the frame.
Step 3: Layer Firebricks on the Bottom
With your metal frame in place, it’s time to lay down firebricks on the bottom to form a solid base for your kiln. These bricks should be stacked tightly together, leaving no gaps for heat to escape. You can use refractory cement to secure the bricks in place and create a stable foundation.
It is recommended to use at least two layers of firebricks for added insulation and stability. But, depending on the size of your kiln, you may need to add more layers for optimal heat retention.
Step 4: Line the Walls with Ceramic Fiber Blanket
Next, use pliers and wire cutters to attach the ceramic fiber blanket to the metal frame. Be sure to wear protective gear, as this material can irritate the skin. The blanket should be wrapped tightly around the frame, leaving no gaps or holes that could let in cold air or cause uneven heating.

You can also use a layer of refractory cement between each layer of ceramic fiber blanket for added stability. If you have any openings for the door or vent, cut through the blanket using a utility knife.
Step 5: Add Firebricks to Form Walls
Once the base is securely set, it’s time to construct the walls of your Raku kiln using firebricks. Begin by stacking the firebricks vertically on the perimeter of the metal frame, ensuring that each brick sits snugly against the one beside it. Use refractory cement to bond the bricks together, creating a strong and stable structure.
Make sure to stagger the joints of each layer for added strength and to enhance the kiln’s insulation properties. Aim to build the walls to your desired height, typically between two to three feet, allowing for adequate chamber space while maintaining manageable dimensions for easy removal of pots. After the walls are complete, check for any gaps or cracks, ensuring they are sealed effectively to prevent heat loss during the firing process.
Step 6: Insert Propane Burner and Kiln Shelf
Place the propane burner inside the kiln, ensuring it is securely attached to the metal frame. The burner should be positioned at a distance from the base and walls to allow for proper airflow while heating. Next, place a kiln shelf on top of the firebricks, creating a level surface for your pottery pieces.
It is important to note that the placement of the burner and shelf can vary based on your specific kiln design and personal preferences. Experiment with different positions to find the optimal setup for efficient firing.
Step 7: Fire Up Your Kiln
After all components are securely in place, it’s time to fire up your Raku kiln! Follow standard safety precautions when working with propane and ensure proper ventilation to avoid any potential hazards.
Start by lighting the burner and gradually increase the heat until your desired temperature is reached. Monitor the kiln closely throughout the firing process, making adjustments as needed to maintain a consistent temperature. Once your pottery pieces have been fired, turn off the burner and allow the kiln to cool down completely before removing any items or disassembling the kiln.
Frequently Asked Questions
Q: How Long Does It Take to Build a Raku Kiln?
A: The time it takes to build a Raku kiln can vary depending on the size and complexity of your design. However, with proper planning and materials, it can typically be constructed in just a few hours. It is important to take your time and ensure that all components are securely in place for safe and efficient firing.
Q: Can I Use Any Type of Firebrick for My Kiln?

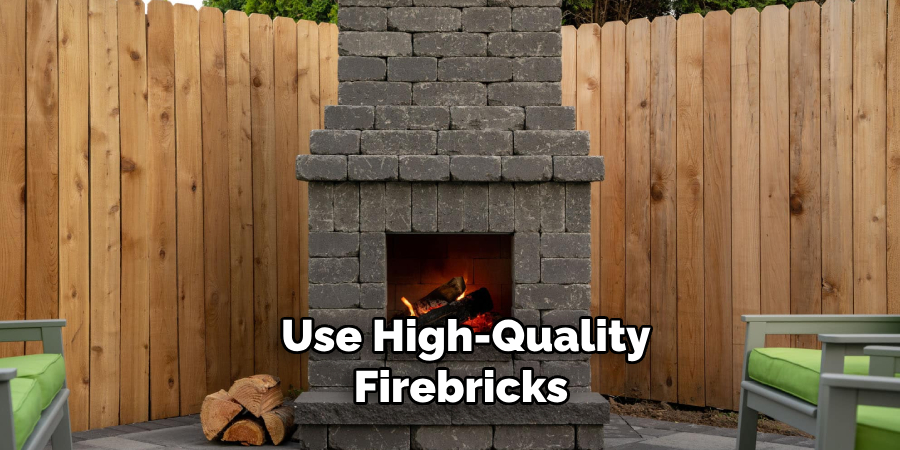
A: It is recommended to use high-quality firebricks specifically designed for kilns, as they can withstand extreme temperatures and repeated firings. Avoid using low-grade bricks that may crack or crumble under the heat.
Q: What Is the Optimal Temperature Range for Raku Firing?
A: Raku firing typically ranges from 1650°F to 1900°F (900°C to 1040°C). However, some potters may choose to fire at higher or lower temperatures depending on their desired results and the clay materials used. It’s best to experiment and find the temperature range that works best for your specific pieces.
Q: Can I Use an Electric Kiln to Fire Raku?
A: It is not recommended to use an electric kiln for raku firing, as these kilns are typically designed for longer, slower firings and may not provide the same intense heat needed for raku pottery. It is best to use a gas-fired or wood-fired kiln specifically designed for raku firing.
With these steps and tips on how to make a raku kiln, you are now ready to build your own Raku kiln and start creating beautiful, unique pottery pieces. Remember to always practice safety precautions when working with fire and high temperatures, and have fun experimenting with different firing techniques and finishes.
Conclusion
Building a Raku kiln can be a fun and rewarding project for ceramic enthusiasts. With careful planning and step-by-step construction on how to make a raku kiln, you can create a functional and efficient kiln that will allow you to achieve beautiful Raku pottery pieces.
Remember to prioritize safety at all times when working with high temperatures and always follow recommended guidelines for firing your kiln. With practice and experimentation, you will be able to perfect your Raku firing techniques and create unique and stunning works of art. Happy building!
Toby Rede is a professional potter focused on creating functional and artistic ceramics. His work blends natural textures with modern forms, often inspired by sustainable gardening and outdoor environments. Toby’s pottery emphasizes both utility and beauty, reflecting his philosophy of intentional craftsmanship. On the blog, he shares insights on integrating handmade objects into everyday life.
Education
- Associate Degree in Ceramic Technology, Alfred University
Professional Focus
- Pottery creation with a focus on functionality and artistic expression
- Techniques exploring texture, glazing, and sustainable materials
Professional Accomplishments
- Work featured in regional art shows and garden exhibitions
- Collaborations with local craft fairs and home decor shops

