

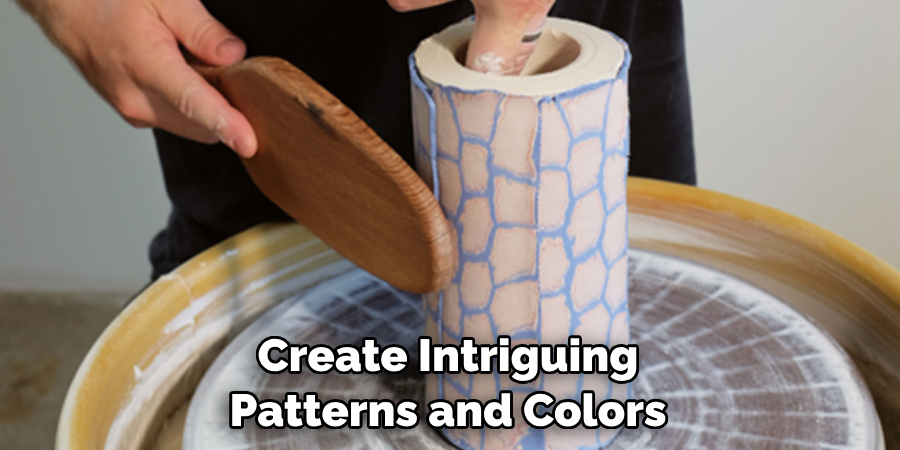
Pottery has been part of human civilization for thousands of years, and pit firing is one of the oldest and most traditional methods. Pit firing is a process where clay vessels are placed in a pit or trench and fired to a high temperature. It is a low-cost and low-tech way to create beautiful pottery pieces with unique patterns and colors. In this step-by-step guide, I will show you how to pit fire pottery using materials that you can easily find at home.
Can You Pit Fire Pottery?
Pit-firing pottery is a fascinating and ancient technique used for thousands of years. It involves burying ceramic pieces and combustible materials like sawdust or leaves in a pit and lighting them on fire. As the fire burns, it creates unique and unpredictable patterns and colors on the pottery.
While some people may think that pit firing is only suitable for certain types of pottery, the truth is that any clay object can be pit-fired with the right materials and know-how. Plus, the rustic, organic look that pit-fired pottery gives off is simply stunning. Whether you’re a seasoned pottery maker or a complete novice, trying your hand at pit firing is an exciting and fulfilling experience.
Why Should You Pit Fire Pottery?
Pit-firing pottery may seem like a primitive method, but it is a process that produces truly unique pieces of art. This method dates back to ancient times when people used open pits to fire their clay creations.
The technique involves placing the pottery inside a hole in the ground, covering it with combustible materials such as sawdust or leaves, and setting it on fire. As the flames die down, the smoke and heat create intriguing patterns and colors on the pottery’s surface. Pit-firing pottery is an art form and an opportunity to connect with our ancestors’ traditions while experimenting with natural elements to create modern artwork.
How to Pit Fire Pottery – Step-by-Step Guide
Step 1: Choosing the Right Clay
The first step in pit-firing pottery is choosing the right clay. Clay that is low in organic matter and has high alumina and silica content is ideal for pit firing. You can buy clay from a supplier or dig it up from the ground. If you are digging clay from the ground, make sure it is free from stones and other debris.
Step 2: Making the Pottery
Once you have your clay, it’s time to create your pottery. You can use hand-building techniques or a pottery wheel. Your pottery’s shape and size will determine the pit size you need to dig for firing. After shaping your pottery, let it dry completely before firing.
Step 3: Digging the Pit
The next step is digging a pit for firing. The pit should be deeper than the height of your pottery. Make sure the walls of the pit are straight and smooth. You can use a shovel or pickaxe to dig the pit.
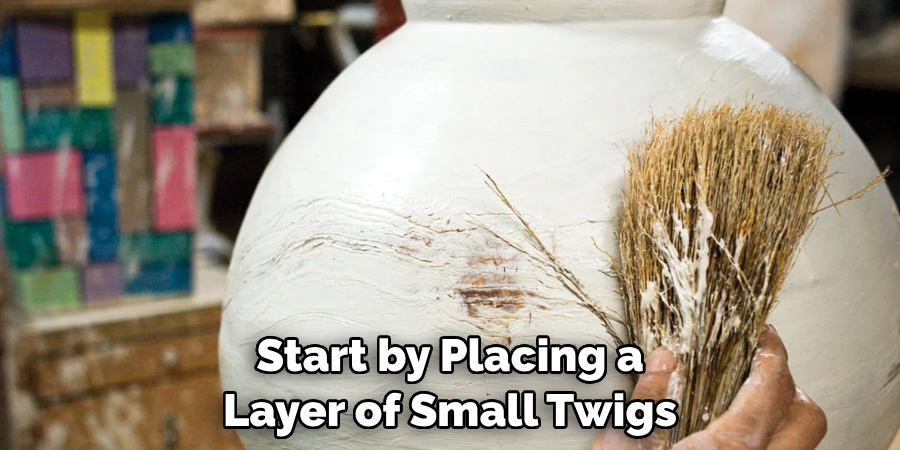
Step 4: Building the Fire
Now, it’s time to build the fire. Start by placing a layer of small twigs and branches at the bottom of the pit. Then, place your pottery on top of the twigs. Cover the pottery with more twigs and branches, then add a sawdust layer on top. Keep building the fire by alternating layers of twigs, pottery, and sawdust until the pit is full. The larger the pottery, the more sawdust you will need.
Step 5: Firing the Pottery
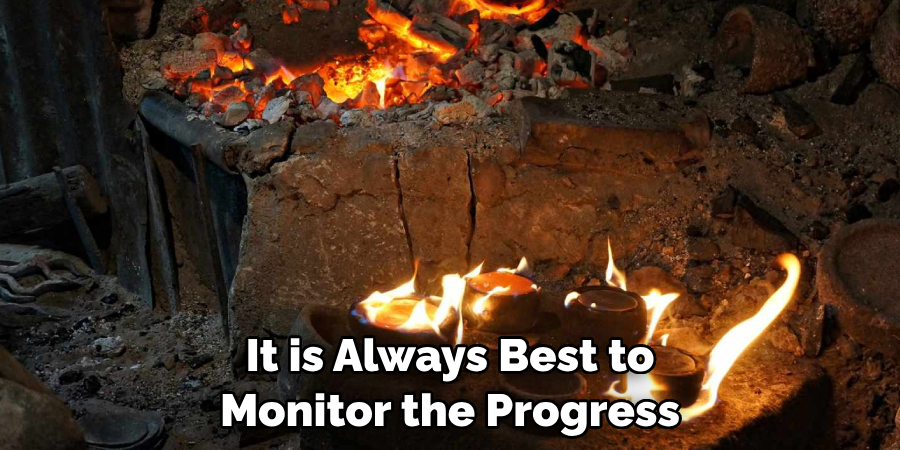
Once the pit is full, it’s time to light the fire. Use a long stick or a match to light the sawdust on top of the pit. Once the sawdust is burning, cover the pit with a metal sheet or metal roofing sheet to trap the heat inside. Let the pottery fire for several hours until it has reached the desired temperature. The temperature of the pottery can be measured with a pyrometer or by observing the color of the flames. The higher the temperature, the more vibrant the colors will be on the pottery.
Step 6: Cooling Down
After firing for several hours, let the fire burn out naturally. Once it has cooled down completely, carefully remove the metal sheet and allow the pottery to cool down for a few more hours. Be careful when handling hot pottery, as it can easily break or crack.
Step 7: Finishing Touches
Once the pottery has cooled down, you can remove it from the pit and clean off any remaining ash or debris. You can then add finishing touches to your pottery, such as glazing or painting. Your pit-fired pottery is now complete and ready to be displayed or used!
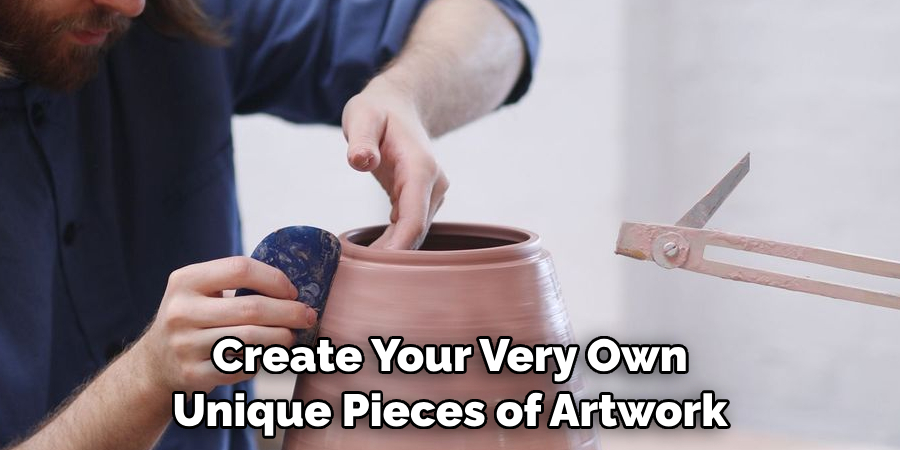
That’s it! You’ve now learned how to pit fire pottery and create your very own unique pieces of artwork. Remember, pit firing is a trial-and-error process, so don’t be afraid to experiment with different materials and techniques to achieve the desired results.
5 Considerations Things When You Need to Pit Fire Pottery
1. Type of Clay
The type of clay you use can greatly impact the success of your pit firing. It is important to choose a clay that is suitable for low-fire techniques, as high-fire clays may not hold up well in the intense heat of a pit fire. Some recommended types of clay for pit firing include terra cotta, raku, and earthenware.
2. Firing Location
When choosing a location for your pit firing, it is important to consider safety and accessibility. The area should be well-ventilated and away from any flammable materials. It should also be easy to access, with enough space for you to safely maneuver around the fire.
3. Fuel Source
The type of fuel you use in your pit fire can greatly affect the outcome of your pottery. Organic materials such as sawdust, leaves, or straw are commonly used in pit fires as they create unique patterns on the pottery through their ash deposits. However, it is important to avoid using materials that produce toxic fumes when burned.
4. Pottery Placement
Proper placement of your pottery within the pit is crucial for even firing and preventing breakage. Place larger pieces at the bottom and smaller pieces on top to ensure they receive equal amounts of heat. It is also important to leave some space between each piece to allow for air circulation.
5. Firing Time
The length of time you leave your pottery in the pit will depend on various factors, such as the size and thickness of your pieces, the type of clay used, and desired results. Generally, most potters recommend leaving pieces in the fire for 8-12 hours before removing them to cool down slowly overnight. However, it is always best to monitor the progress throughout the firing process to ensure optimal results.
3 Benefits of Pit Fire Pottery
1. Unique Aesthetic
One of the main benefits of pit fire pottery is its unique aesthetic. Pit firing is a traditional method of firing pottery that involves burying the pieces in a pit filled with combustible materials, such as sawdust or leaves, and then setting them on fire. This process creates unpredictable patterns and colors on the surface of the pottery, resulting in one-of-a-kind pieces that cannot be replicated.
2. Eco-Friendly
Pit firing is also considered to be an eco-friendly method of firing pottery. Unlike electric or gas kilns, which require a significant amount of energy to operate, pit firing uses natural materials and relies on the heat generated from the fire. This reduces carbon emissions and makes it a more sustainable option for creating pottery.
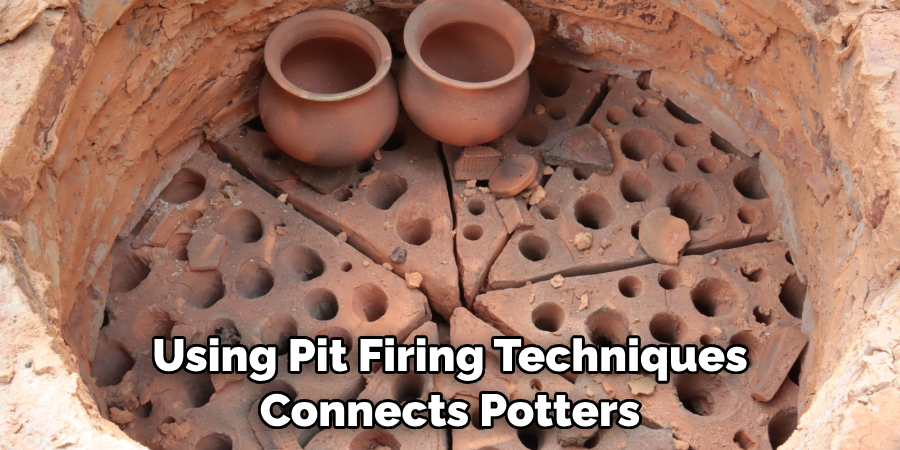
3. Connection to History
Using pit firing techniques connects potters to a rich history dating back thousands of years. Before modern technology, this was one of the primary ways pottery was fired. By using this ancient technique, potters can connect with their craft more deeply and honor the traditions of those who came before them. Additionally, owning a piece of pit fire pottery allows individuals to have a tangible connection to history and appreciate the time and effort that goes into creating each piece by hand.
4 Common Mistakes People Make When Trying to Pit Fire Pottery
1. Using the Wrong Type of Clay
One of the most common mistakes people make when trying to pit fire pottery is using the wrong type of clay. Not all types of clay are suitable for pit firing, and using the wrong type can result in a failed or damaged piece. The best type of pit-firing clay is usually a low-fire, porous clay with high levels of grog (small particles of fired clay). It’s important to do research and choose the right type of clay before beginning your project.
2. Not Preparing the Clay Properly
Another mistake people make is not preparing the clay properly before pit firing. This can include not wedging (kneading) the clay enough, resulting in air pockets and uneven drying during firing. It’s also important to properly dry and cover your pieces before placing them in the pit fire. If they are not dried completely or are exposed to moisture, they may crack or explode during firing.
3. Inadequate Placement in the Pit
Placing your pottery in the pit is crucial for a successful pit fire. If pieces are placed too close, they may fuse during firing or not receive enough heat to fully vitrify (harden). On the other hand, if pieces are placed too far apart, they may not receive enough heat at all and come out under-fired. It’s important to carefully plan and arrange your pieces in the pit for optimal results.
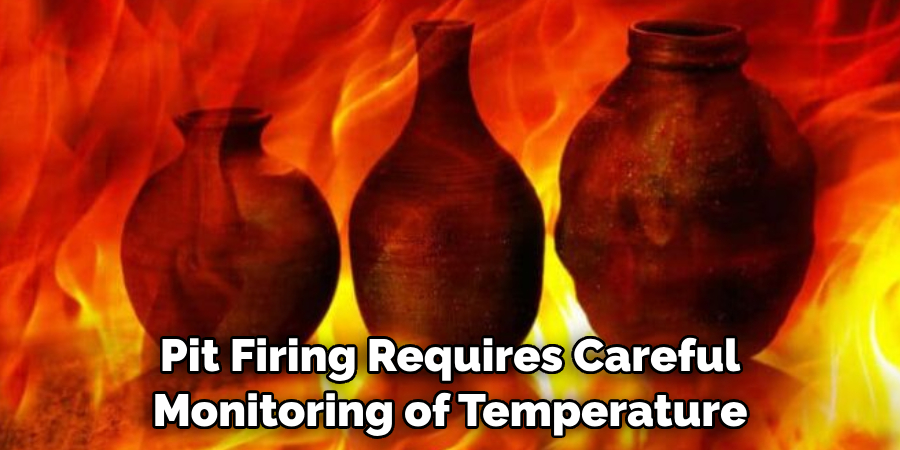
4. Not Monitoring Temperature and Time
Pit firing requires careful monitoring of temperature and time throughout the process. Many beginners make the mistake of either not monitoring at all or becoming too focused on one aspect (such as adding more fuel) and neglecting others.
It’s important to regularly check on your fire, add fuel as needed, and track how long your pieces have been in the fire. This will ensure that your pottery reaches its ideal temperature for successful pit firing.
Conclusion
Pit firing pottery is a fun and accessible way to create beautiful pottery pieces with unique patterns and colors. With a few simple materials and some basic knowledge, you can learn how to pit fire pottery at home. Remember to choose the right clay, build a sturdy pit, and use plenty of sawdust to create an even burn. With a little practice and experimentation, you can create stunning, one-of-a-kind pottery pieces. So go ahead and give pit firing a try – you’ll be amazed at what you can create!
Toby Rede is a professional potter focused on creating functional and artistic ceramics. His work blends natural textures with modern forms, often inspired by sustainable gardening and outdoor environments. Toby’s pottery emphasizes both utility and beauty, reflecting his philosophy of intentional craftsmanship. On the blog, he shares insights on integrating handmade objects into everyday life.
Education
Associate Degree in Ceramic Technology, Alfred University
Professional Focus
Pottery creation with a focus on functionality and artistic expression
Techniques exploring texture, glazing, and sustainable materials
Professional Accomplishments
Work featured in regional art shows and garden exhibitions
Collaborations with local craft fairs and home decor shops