

Have you ever wondered how potters and artists create vibrant black clay pieces? The process of making black clay involves skillful mixing of natural ingredients to produce a rich, deep pigment that has been captivating ceramicists for centuries.
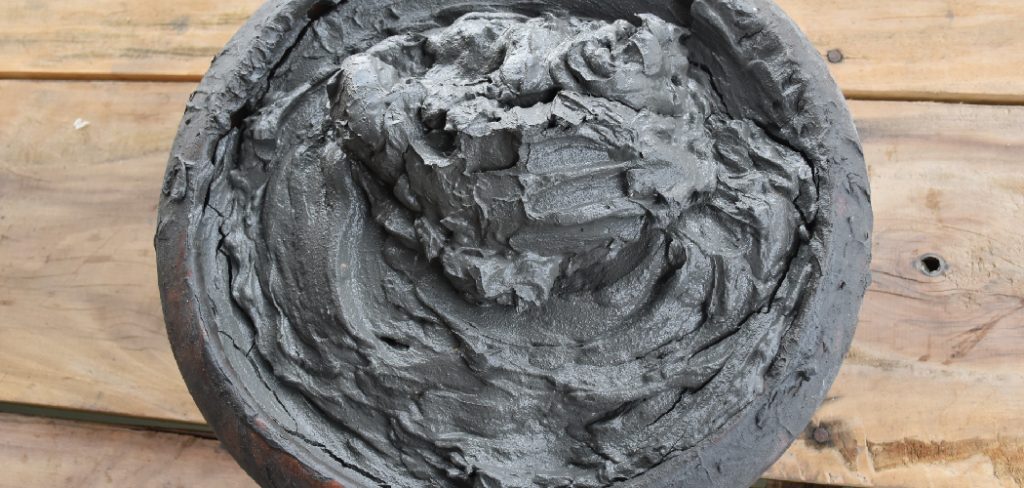
In this post, I will share my tried and proper methods of how to make black clay using materials that can be found locally or easily purchased online. We will explore the properties of activated carbon and iron oxide that react to impart a profound jet-black color to our clay. By carefully weighing and kneading various clays, carbon, and oxides, you will understand how subtle shifts in proportions can impact the final hue.
By the end, you will have a small batch of your potent black clay ready to be shaped and fired into objects of intriguing darkness. Let’s get started creating this mesmerizing clay color!
What Will You Need?
Before we delve into the process, gathering all the ingredients and tools necessary for making black clay is essential. These include:
- Base Clay: You can use any type of clay, but I recommend white or light-colored stoneware or porcelain.
- Activated Carbon: This is a powdered form of carbon treated with oxygen to increase its surface area and adsorption properties. It can be found at pet supply stores or online.
- Iron Oxide: Black iron oxide is a fine powder used as a coloring agent in many art mediums. You can purchase this at ceramic supply stores or online.
- A Scale: To accurately measure the ingredients, you will need a kitchen or jewelry scale that can be measured in grams.
- A Mixing Bowl: Any large, non-reactive vessel will work for combining the ingredients.
- Rubber Gloves: To prevent staining your hands black, it’s best to wear rubber gloves while handling the ingredients.
- Plastic Wrap: This will help keep the clay moist and prevent it from drying out.
- A Plastic Bag or Airtight Container: This will be used to store the clay once it’s mixed and ready for use.
Once you have all the necessary materials, let’s move on to making black clay.
10 Easy Steps on How to Make Black Clay
Step 1. Weigh the Ingredients:
Measure the base clay, activated carbon, and iron oxide using your scale. The exact quantities will depend on how much clay you wish to make, but a good starting point is 100 grams of base clay, 10 grams of activated carbon, and 5 grams of iron oxide. Remember, the more carbon and oxide you add, the darker the clay will become.
Step 2. Mix the Ingredients:

Combine the base clay, activated carbon, and iron oxide in your mixing bowl. Make sure you’ve put on your rubber gloves to prevent staining. Begin to knead the ingredients together like you would knead dough for bread. It’s essential to ensure a consistent blend, so keep kneading until the color of the clay is uniform and there are no streaks or patches of differing color. This may take several minutes, so be patient—quality black clay can’t be rushed!
Step 3. Test the Clay:
Once you’ve achieved a uniform blend, roll a small piece of the clay in your hands to form a ball. If it holds its shape without cracking or crumbling, it’s ready to be used. If it’s too dry and crumbly, add a little water, a few drops at a time, and continue kneading. If it’s too wet and sticky, add more base clay until you reach the desired consistency. This step is critical in ensuring that your black clay has the right texture and pliability for molding your desired shapes.
Step 4. Store the Clay:
After the clay has passed the test, it’s time to store it for future use. Lay a large piece of plastic wrap flat on a surface. Place your clay in the center of the plastic wrap and wrap it up tightly, ensuring there are no air pockets. This will help keep the clay moist and pliable. Finally, place your wrapped clay in a plastic bag or airtight container to prevent it from drying out. Store it in a cool, dry place until you can use it. Remember, properly stored clay can last a long time, so take your time using it all at once.
Step 5. Use the Clay:
When you’re ready to create with your black clay, simply unwrap the amount you need and mold it into your desired shape. If the clay is too hard to work with, you can soften it by kneading it with water. Always keep any unused clay wrapped and sealed to prevent it from drying out. You can now create pottery, sculptures, and other ceramic art forms with handcrafted black clay. The possibilities are endless with this versatile artistic medium. Enjoy the process and the satisfaction of creating something truly unique!
Step 6. Firing the Clay:
Once you have created your artwork from the black clay, it’s time to fire it. Firing is a process that hardens clay, and it is a crucial part of pottery. The firing temperature will differ Depending on the clay you use as your base. Generally, the firing process involves heating your clay piece in a kiln at a temperature range of 1800 to 2200 degrees Fahrenheit.
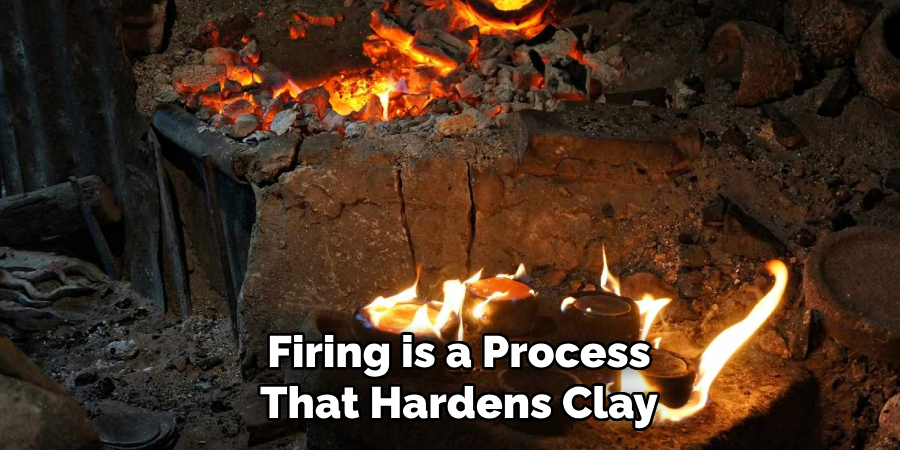
Always remember to let your clay piece dry completely before firing to avoid any cracks or explosions in the kiln. After firing, you’ll be left with a sturdy, vibrant black ceramic piece that is a testament to your craftsmanship.
Step 7. Glazing the Clay:
After successful firing, your black clay piece is now ready for glazing. Glazing is a process used in pottery to apply a layer of material that vitrifies when fired, creating a smooth, often glossy finish that serves to color, decorate, strengthen, or waterproof the clay piece. The choice of glaze depends on the result you want to achieve.
You can use clear glaze to maintain the intense black color or any colored glaze to add a unique touch to your ceramic piece. Apply the ice evenly with a brush, ensuring all surfaces are covered. Remember to let the glaze dry completely before moving on to the second firing, which will set the glaze.
Step 8. Second Firing:
After thoroughly drying the glaze, it’s time for the second firing, known as the glaze firing. This firing will set the glaze, giving your black clay piece a gleaming, protective finish. The temperature required for this firing will again depend on the type of base clay and glaze used, however, it’s usually higher than the first firing.
Follow the manufacturer’s instructions on the glaze’s packaging for best results. Once the kiln has cooled, you can remove your piece, revealing the finalized, glazed black clay piece. Please remember to handle it with care, as freshly-fired ceramics can be quite fragile.
Step 9. Finishing Touches:
Adding a personalized touch to your black clay piece can make it truly unique. You can paint additional designs on the glazed surface with ceramic paint or attach embellishments such as beads or stones with strong adhesive. Ensure any additions are suitable for the intended use of the piece. If it’s decorative, the sky’s the limit.
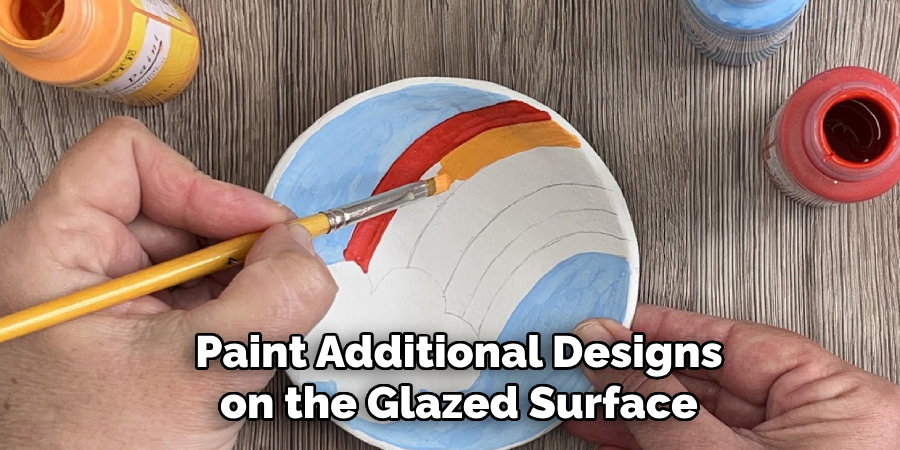
But if your work will hold food or drink, ensure all materials are non-toxic and food-safe. Once you’ve added your finishing touches, let any paints or adhesives dry entirely. Now, step back and admire your handmade black clay piece. You’ve transformed raw materials into a piece of art—an achievement worth celebrating!
Step 10. Caring for Your Black Clay Piece:
Proper maintenance is critical to ensuring the longevity of your black clay piece. Avoid using harsh or abrasive cleaning materials as they may scratch the surface. Simply use a soft cloth and warm, soapy water for general cleaning. Rinse thoroughly and allow the piece to dry completely.
If your work is decorative, keep it out of direct sunlight to prevent fading over time. If it’s a functional piece like a dish or vase, avoid extreme temperature changes, which could cause the clay to crack.
Following these steps, you can make your high-quality black clay from scratch. It’s a fulfilling experience to create something with your hands and see it transform into a beautifully finished piece.
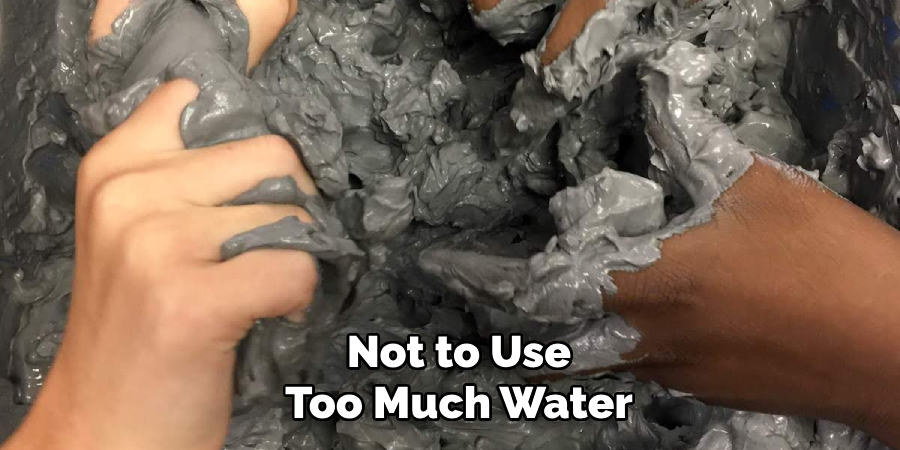
5 Things You Should Avoid
- Avoid Using Excessive Water: When learning how to make black clay, be careful not to use too much water. Excessive water can make the clay too soft and difficult to shape.
- Do Not Rush the Drying Process: Letting the black clay dry naturally is crucial. Speeding up the drying process with heat can cause the clay to crack.
- Steer Clear of Colored Materials: Using colored materials when creating black clay can alter the color. Stick to white or off-white materials to maintain the black color.
- Beware of Air Exposure: Always keep your clay covered when not used. Prolonged exposure to air can cause the clay to harden and become unworkable.
- Refrain from Overworking the Clay: Overworking the clay can make it rigid and less pliable. Once the clay reaches the desired consistency, it’s best to stop working it.
By avoiding these common mistakes, you’ll be able to successfully create black clay that is easy to work with and has a beautiful dark color.
Conclusion
In conclusion, how to make black clay is a fun and rewarding process that allows you to make unique and personalized pieces for your home or to give as gifts. With just a few simple ingredients and some creativity, you can achieve stunning results and impress all of your friends and family. Making black clay is a cost-effective alternative to buying store-bought clay and allows you to experiment with different additives like glitter or essential oils for various effects.
So why not give it a try? Gather your materials and have fun getting your hands dirty while making beautiful pieces to decorate your world. Be sure to share your creations with us on social media using the hashtag #DIYblackclay – we can’t wait to see what you come up with!
Remember, sometimes the best things in life are the ones we create ourselves, so don’t be afraid to get creative and let your imagination run wild. Happy crafting!
Toby Rede is a professional potter focused on creating functional and artistic ceramics. His work blends natural textures with modern forms, often inspired by sustainable gardening and outdoor environments. Toby’s pottery emphasizes both utility and beauty, reflecting his philosophy of intentional craftsmanship. On the blog, he shares insights on integrating handmade objects into everyday life.
Education
Associate Degree in Ceramic Technology, Alfred University
Professional Focus
Pottery creation with a focus on functionality and artistic expression
Techniques exploring texture, glazing, and sustainable materials
Professional Accomplishments
Work featured in regional art shows and garden exhibitions
Collaborations with local craft fairs and home decor shops