Are you tired of your ceramic hob being dirty and grimy? How to clean a ceramic hob clean is an essential part of maintaining its functionality and appearance.
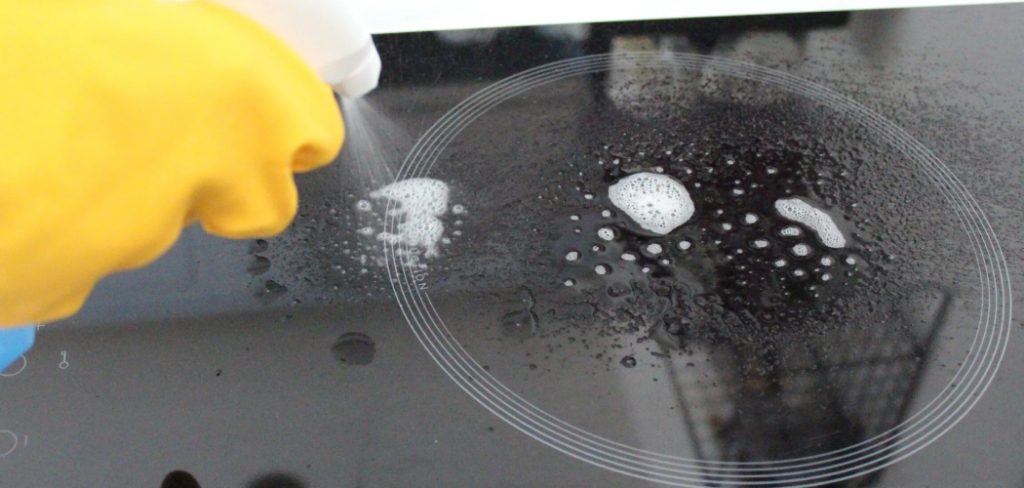
Keeping your ceramic hob clean is essential for maintaining its appearance and functionality. Ceramic hobs are popular in modern kitchens due to their sleek design and efficient heating capabilities. However, they require regular and proper cleaning to avoid stains, scratches, and build-up of cooking residues that can impair performance and prolong cooking times. By following a consistent cleaning routine and using the right materials and techniques, you can ensure your ceramic hob remains in pristine condition while enhancing the overall look of your kitchen.
In the following sections, we will guide you through a step-by-step process for effectively cleaning and maintaining your ceramic hob.
What Will You Need?
Before starting, ensure you have all the necessary materials and tools to clean your ceramic hob. These include:
- Soft cloth or sponge
- Ceramic hob cleaner
- Baking soda or white vinegar
- Lemon juice
- Water
- Plastic scraper or old credit card (for stubborn stains)
It’s important to note that abrasive cleaners, steel wool, and harsh chemicals should be avoided when cleaning a ceramic hob, as they can cause scratches and permanent damage. Now that you have all the required items, let’s begin the cleaning process.
10 Easy Steps on How to Clean a Ceramic Hob
Step 1: Wipe Down With a Soft Cloth
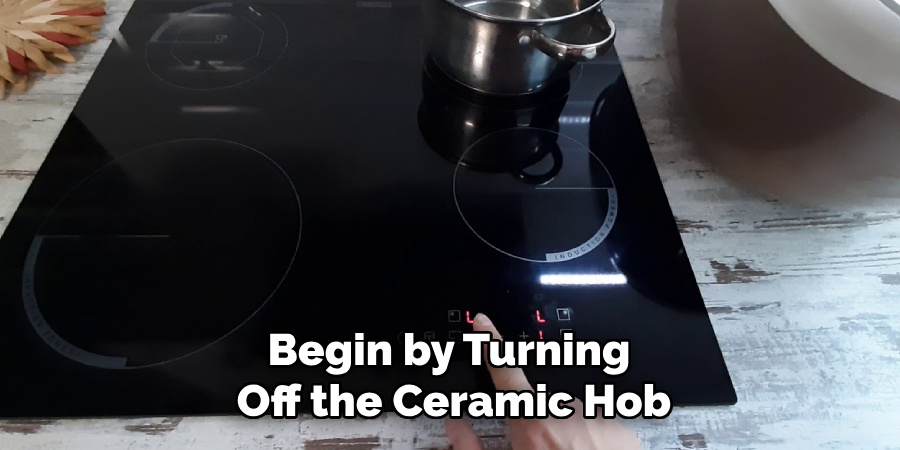
Begin by turning off the ceramic hob and allowing it to cool completely before attempting to clean it. Safety is paramount, and cleaning a hot surface can cause burns or damage to the hob. Once the hob has cooled down, use a soft cloth or sponge dampened with water to wipe away any loose debris or spills gently.
This preliminary cleaning step helps to remove surface-level dirt and prepares the hob for a deeper clean. Ensure that the cloth is soft to avoid scratching the surface, and focus on lightly moving the cloth in circular motions to lift away any grime. This initial wipe-down is crucial as it sets the stage for more intensive cleaning efforts in the following steps.
Step 2: Apply a Ceramic Hob Cleaner
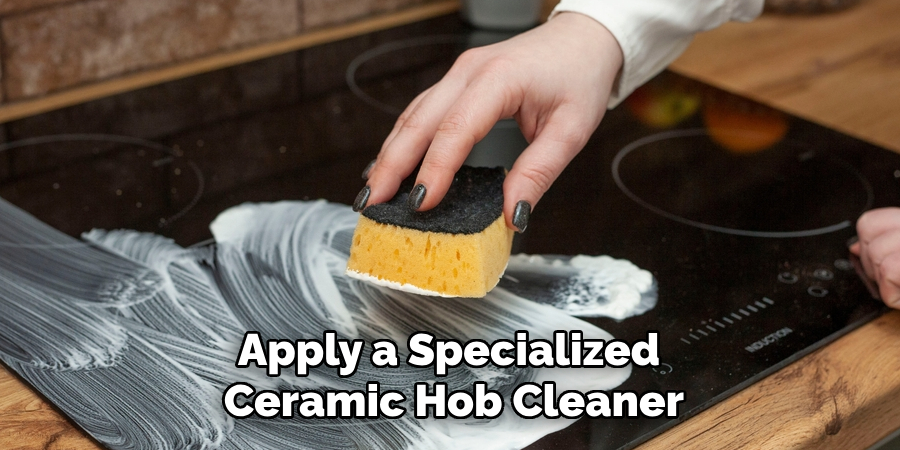
After the initial wipe-down, it’s time to apply a specialized ceramic hob cleaner. These cleaners are designed specifically for glass and ceramic surfaces, helping to break down tough stains and grease without causing damage. Apply a small amount of the cleaner directly onto the hob’s surface, focusing on areas with visible stains or grease build-up. Allow the cleaner to sit for a few minutes to penetrate and loosen the grime.
This waiting period ensures maximum effectiveness, making it easier to remove stubborn residues. When applying the cleaner, make sure to use a soft, non-abrasive cloth or sponge to avoid scratches. Gently rub the cleaner in circular motions, ensuring the entire surface is covered, and be cautious not to apply too much pressure.
Step 3: Use Baking Soda or Vinegar for Stubborn Stains
For stubborn stains that do not come off with the regular hob cleaner, baking soda or white vinegar can be effective alternatives. Sprinkle a generous amount of baking soda across the affected area or dampen a cloth with white vinegar and lightly apply it to the stain.
These natural cleaners offer gentle yet effective stain-removal properties without damaging the hob. Allow the baking soda or vinegar to sit for 10-15 minutes to break down the grime. Afterward, gently scrub the area using a damp sponge or cloth, working in circular motions.
Step 4: Scrape Off Residues with a Plastic Scraper
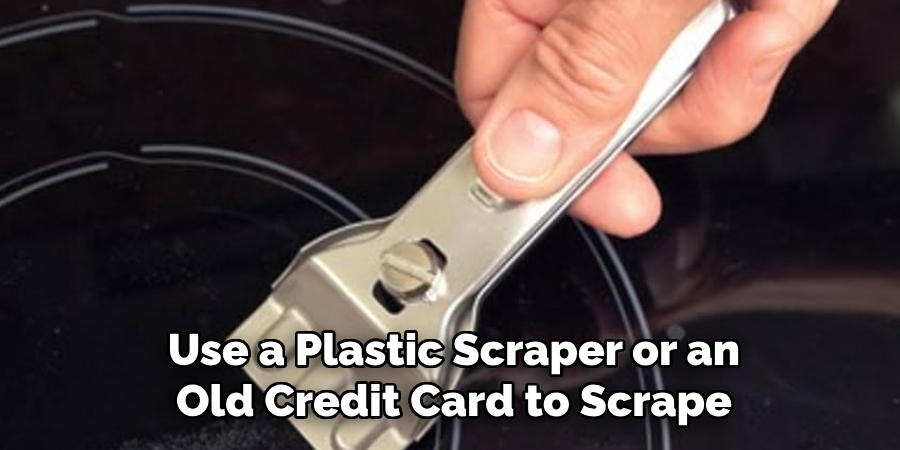
If there are still residues left after applying baking soda or vinegar, use a plastic scraper or an old credit card to scrape off the remaining grime gently. Hold the scraper to the hob’s surface at a low angle to prevent scratching, and carefully remove the stubborn deposits.
It’s essential to use a plastic scraper designed explicitly for ceramic hobs, as metal scrapers can easily damage the surface. Work slowly and methodically, concentrating on one area at a time until all residues have been lifted. This can be particularly helpful for burnt-on food or thick grease patches that prove resistant to previous cleaning efforts.
Step 5: Rinse and Wipe Away All Cleaning Residues
Once all the grime and stubborn stains have been addressed, it’s time to rinse away any remaining cleaning products, baking soda, or vinegar residues. Dampen a clean, soft cloth or sponge with water and thoroughly wipe over the entire hob surface. This process is crucial to ensure that no cleaner residues are left behind, which can leave streaks or affect the hob’s functionality over time.
As you wipe, gently circular motions lift any remaining cleaner or grime. Repeat the rinsing process until the hob is completely clean and streak-free. Ensuring all cleaning residues are removed not only enhances the hob’s appearance but also prepares it for safe use in future cooking sessions.
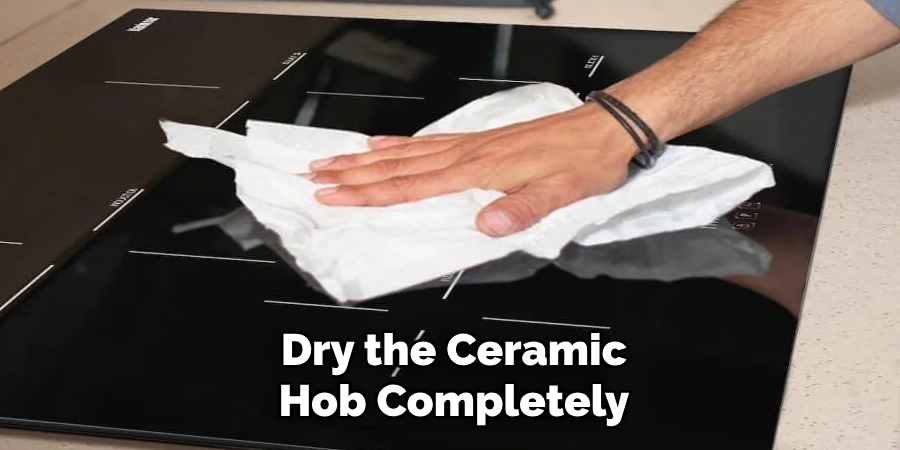
Step 6: Dry the Hob Completely
After thoroughly rinsing and wiping away all cleaning residues, the next step is to dry the ceramic hob completely. Using a soft, dry cloth or towel, gently pat the surface to absorb any remaining moisture. This step is crucial as it prevents water spots or streaks from forming on the glass or ceramic surface, which can detract from the hob’s appearance.
Ensure you cover the entire hob, paying extra attention to the edges and corners where water might accumulate. Once the hob is dry, it should have a streak-free, polished look, ready for your next culinary creation. Drying the hob ultimately helps maintain its condition over time by minimizing the risk of water-related damage.
Step 7: Polish with Lemon Juice for Shine
Consider using lemon juice as a natural polish to add an extra shine to your ceramic hob and leave it smelling fresh. Squeeze some fresh lemon juice onto a soft cloth or sponge and lightly apply it across the hob’s surface. Lemon juice provides a natural fragrance and has mild acidic properties that can enhance the hob’s appearance without causing damage.
Rub the lemon juice in circular motions, focusing on the areas you want to shine. After polishing, use a clean, damp cloth to wipe away any excess lemon juice gently. This final touch leaves the hob gleaming and ensures a pleasant and refreshing scent in your kitchen environment.
Step 8: Regular Maintenance Tips
To keep your ceramic hob in pristine condition, it’s vital to incorporate regular maintenance into your routine. After each cooking session, make it a habit to wipe down the hob with a damp cloth to remove any immediate spills or splatters. Regularly checking the hob for any developing stains or burnt-on food can prevent accumulation and make each cleaning process quicker and easier.
Additionally, using protective mats or covers when not in use can shield the surface from accidental scratches or damage. Lastly, refrain from using harsh chemicals or abrasive pads, as these can harm the hob’s surface over time. Regular maintenance preserves the hob’s aesthetic appeal and prolongs its functional life, ensuring it remains a practical part of your kitchen for years to come.
Step 9: Perform a Final Inspection
After completing all the previous cleaning steps, inspect your ceramic hob to ensure it is thoroughly cleaned and polished. Carefully examine the entire surface from different angles, checking for any missed spots, streaks, or residues. If any areas require additional attention, address them promptly with a mild cleaning solution and a soft cloth.
Ensure that the hob’s surface is visually clean and free from any residues that could impact its cooking efficiency. This final check helps confirm that the ceramic hob is ready for safe and efficient use during your next culinary endeavors, affirming your efforts to maintain its excellent condition.
Step 10: Store Cleaning Supplies Properly
Once your hob is spotless and shining, it’s time to organize the cleaning supplies used. Ensuring these items are stored correctly will make future cleaning sessions more efficient and convenient. Start by rinsing any cloths or sponges used, allowing them to dry thoroughly before storing to prevent mold or odors.
Store your baking soda, vinegar, and lemon juice in a cool, dry place, ensuring they are easily accessible for your next cleaning session. Keep your plastic scraper in a designated location to prevent it from being misplaced. An organized storage system simplifies future cleaning tasks and maintains the quality of your cleaning supplies over time.
By following these ten steps, you can efficiently and effectively clean and maintain your ceramic hob, ensuring it remains a functional and attractive part of your kitchen for years.
Conclusion
How to clean a ceramic hob may seem like a daunting task, but with the right approach and consistent maintenance, it becomes a manageable part of your kitchen routine.
Following the comprehensive steps outlined above, you can ensure that your hob stays pristine and free from stains, residues, and damage. Regularly addressing spills and using gentle, natural cleaning methods help preserve the hob’s surface while maintaining its aesthetic appeal. A well-maintained hob not only enhances the functionality and appearance of your kitchen but also extends the appliance’s lifespan, ensuring it remains a reliable fixture in your culinary adventures.
With these practices, you can enjoy a clean, efficient, and beautiful ceramic hob for years.
With a keen eye for detail and a deep understanding of the firing process, I bring ceramics to life as a skilled kiln operator. My expertise ensures that each piece reaches its full potential, achieving the perfect balance of strength and beauty. I take pride in overseeing the critical final stage of pottery creation, transforming raw clay into stunning, durable art. 🎨
From monitoring temperatures to perfecting firing schedules, I ensure that every piece is fired to perfection. My role is not just about operating the kiln; it’s about understanding the unique needs of each creation and bringing out its best qualities.
Join me on this journey of precision and passion, where every firing tells a story. Whether it’s a delicate vase or a robust sculpture, I am dedicated to making sure that every piece that comes out of the kiln is a masterpiece. 🏺✨
Toby Rede is a professional potter focused on creating functional and artistic ceramics. His work blends natural textures with modern forms, often inspired by sustainable gardening and outdoor environments. Toby’s pottery emphasizes both utility and beauty, reflecting his philosophy of intentional craftsmanship. On the blog, he shares insights on integrating handmade objects into everyday life.
Education
- Master of Fine Arts in Ceramics, California College of the Arts
Professional Focus
- Creating practical pottery for everyday use.
- Using unique styles and techniques to convey narratives in ceramics.
Professional Accomplishments
- Showcased work in local and national art galleries, gaining recognition for craftsmanship.
- Received accolades for innovative designs in pottery competitions.