

Coloring clay is a fascinating and versatile technique for creating custom-colored clay for pottery projects. Potters can achieve vibrant hues, subtle tones, or intricate designs directly in the clay body by incorporating various coloring methods. One of the significant benefits of coloring clay is that it enhances artistic creativity, offering endless possibilities for customization.
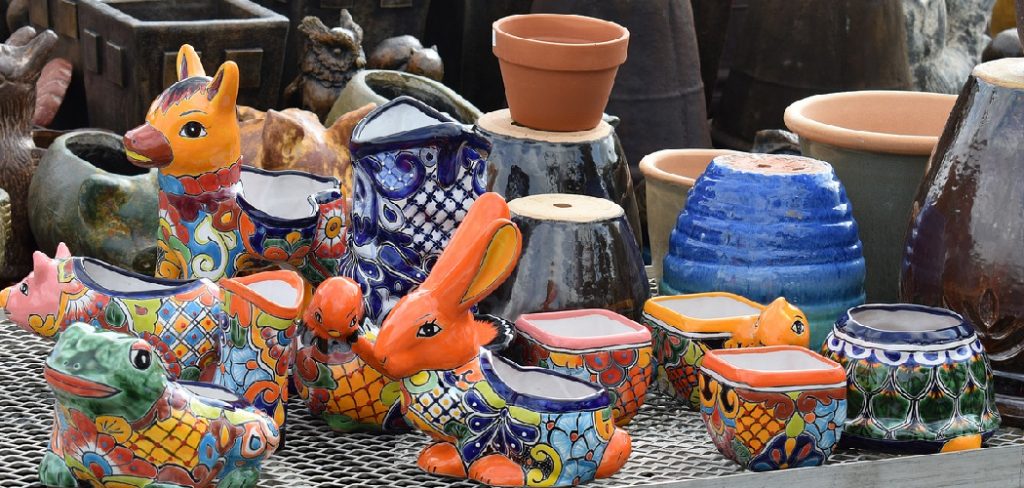
Additionally, it sometimes eliminates the need for glazing, saving time while still allowing for beautiful and durable results. Colored clay also enables potters to experiment with unique patterns such as marbling, layered effects, or detailed inlays. This article aims to provide a comprehensive step-by-step guide on how to color clay for pottery, highlighting popular methods like using stains, oxides, and natural pigments. Whether you are a beginner or an experienced potter, learning these techniques will take your pottery projects to the next level.
Types of Clay Suitable for Coloring
Choosing the right type of clay is essential to achieve the desired effect when coloring your pottery. Each clay type has unique properties that influence how well it absorbs and interacts with pigments.
Earthenware
Earthenware is a porous clay type that absorbs color exceptionally well, making it ideal for achieving bright and vivid tones. It is beginner-friendly and works harmoniously with a variety of coloring methods, including stains and natural pigments.
Stoneware
Stoneware is denser than earthenware, which requires stronger pigments or more concentrated stains to achieve deep and rich coloration. Its durability makes it an excellent choice for functional pottery pieces that need both aesthetic appeal and practicality.
Porcelain
Porcelain is a fine-grained clay that stands out for its smooth and elegant finish. It works best when combined with stains or oxides, as these materials can create soft, translucent, or subtle hues that complement porcelain’s refined nature.
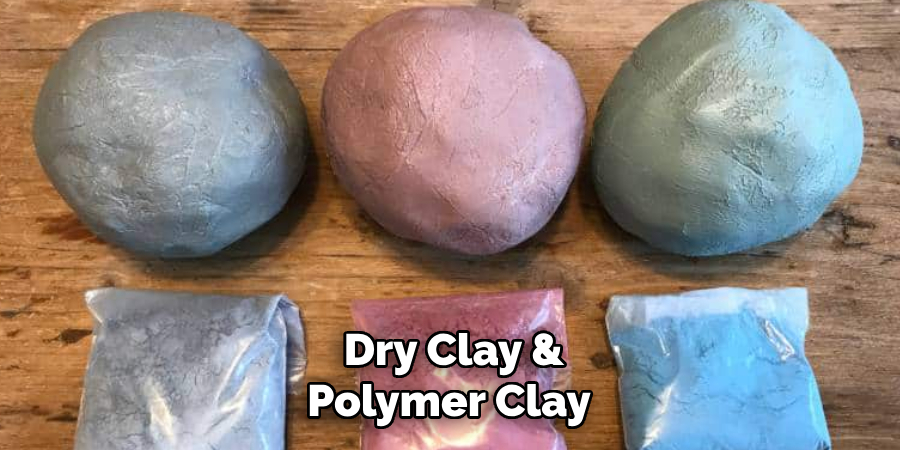
Air-Dry Clay & Polymer Clay
Different coloring techniques are necessary for non-traditional clays like air-dry or polymer clay. Acrylic paints, specialty pigments, or even inks can be applied to these clays, offering versatility for artistic projects unbound by kiln-firing constraints.
How to Color Clay for Pottery: Methods for Coloring Clay
Using Mason Stains
Mason stains are commercially available pigments designed explicitly for ceramic clay. These stains come in a wide variety of colors and can be mixed into the body of the clay before sculpting or applied as a surface colorant. Their versatility allows for customization while maintaining the clay’s structural integrity, offering consistent and vibrant results after firing.
Oxide Colorants
Oxide colorants are derived from natural minerals like iron oxide (red), cobalt oxide (blue), and manganese dioxide (black). These materials are commonly used in ceramics to achieve earthy or bold tones. When added to clay or used as washes, oxides can produce variegated effects, perfect for lending depth and character to ceramic pieces, especially in high-temperature firings.
Natural Pigments
Natural pigments such as charcoal, turmeric, or ground minerals can be utilized for a more environmentally friendly approach. While these do not often produce highly saturated colors, they provide a natural and organic aesthetic. They are best suited for low-fired or decorative projects, where the colors’ subtlety is appreciated.
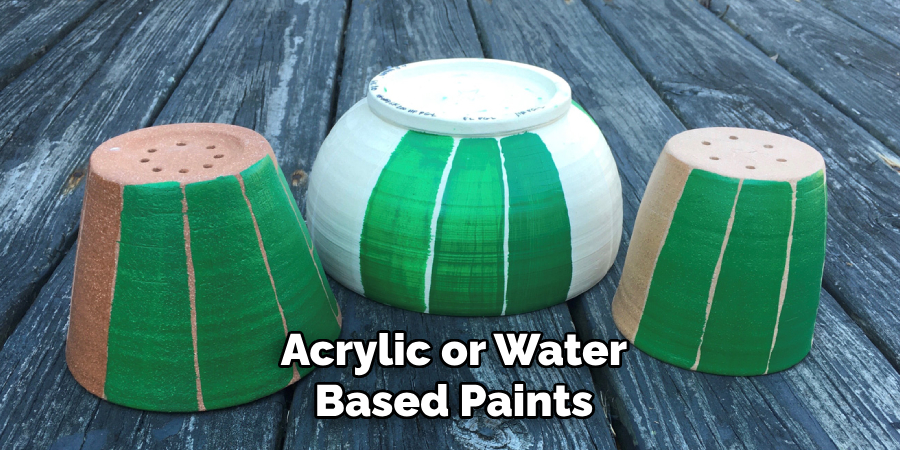
Acrylic or Water-Based Paints
Acrylic and water-based paints are ideal for coloring non-fired clays like air-dry or polymer clay. These paints can be applied after the clay has dried, offering vibrant and easily adjustable finishes. Their ease of application makes them highly suitable for creative art endeavors outside traditional ceramics.
Wedging Color into Clay
Adding color directly into the clay body through wedging offers a creative and customizable approach to ceramic projects. This method allows for an even distribution of color throughout the clay, providing consistent results after shaping and firing. Below are the key steps for successfully wedging color into clay:
Step 1: Preparing the Clay
Before introducing any pigment, it’s essential to prepare the clay properly. Begin by softening and kneading the clay to ensure pliability and eliminate air bubbles. This step creates a uniform base, making blending the pigment seamlessly with the clay body easier.
Step 2: Adding the Pigment
Choose between powdered pigments, oxides, or liquid ceramic stains to introduce color. For powdered pigments, sprinkle a small amount onto a flattened piece of clay. Mix liquid stains with a bit of water to create a smoother consistency and apply evenly across the clay. Remember to start with a small amount of pigment, as colors can intensify after firing.
Step 3: Kneading the Color In
Fold the clay over the pigment and knead it thoroughly. This process should be repeated several times to ensure the pigment is distributed evenly throughout the clay. Check for streaks during kneading; continue folding and pressing until the color appears consistent and uniform.
Step 4: Testing the Color
Once the clay is fully colored, create a small test piece to observe the final result. Allow it to dry completely and then fire it in the kiln. The testing phase is crucial, as some pigments may change or deepen during firing. Adjust the pigment quantity if the desired result isn’t achieved.
By following these steps, you can achieve beautifully colored clay, opening up new dimensions of creativity for your ceramic projects.
Layering Colors for Marbling and Effects
Marbling Technique
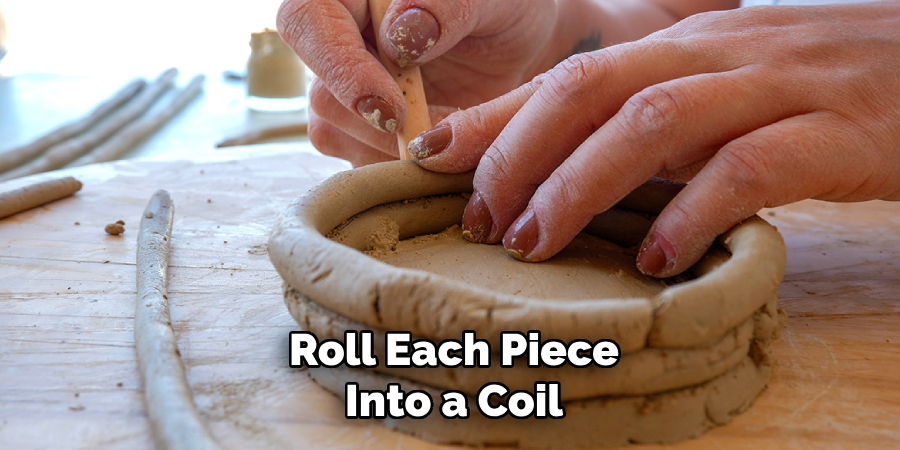
Marbling is a stunning way to achieve a swirled, multi-colored effect in clay. To begin, prepare two or more clay pieces in contrasting or complementary colors. Roll each piece into a coil, then lightly twist them to form a single, combined strand. Avoid overmixing, as this can blur the distinct colors. Once twisted, flatten the combined piece using a rolling pin or press. Shape it into your desired form, and the swirled patterns will reveal themselves. This technique is ideal for creating unique pottery, tiles, or decorative designs.
Gradient or Ombre Effect
Select two clay colors- dark and light- to create a gradient or ombre effect. Mix a small portion of the darker clay into the lighter one, building gradual transitions through intermediate shades. Divide the clay into sections with increasing levels of the darker tone, then merge these sections together softly. Roll and fold the clay repeatedly to ensure smooth transitions, but do so carefully to avoid complete blending. The result is a seamless color fade that can add depth and sophistication to your creations.
Speckled Clay
For a playful, textured look, try the speckled clay technique. Simply add granulated pigment, crushed oxides, or even tiny clay particles of a contrasting color to your base clay. Knead gently, ensuring that the speckles are evenly distributed without compromising the smoothness of the mixture. Once fired, the speckles will stand out beautifully, offering a dynamic visual texture.
Slip and Engobe Coloring Techniques
What is Colored Slip?
Colored slip is a versatile liquid mixture of clay and colorant that is applied to the surface of pottery before firing. It serves as both a decorative and functional element, allowing artisans to create vibrant finishes while enhancing surface textures. The flexibility of slip makes it an essential tool in many pottery techniques.
Applying Colored Slip
There are multiple ways to apply colored slip depending on the effect you aim to achieve. You can use a brush to create intricate patterns or broad strokes, dip your pottery for a uniform coating, or stencil detailed designs for precise decorations. Applying slip before the first bisque firing ensures the colors become integral to the piece, blending seamlessly into the clay body.
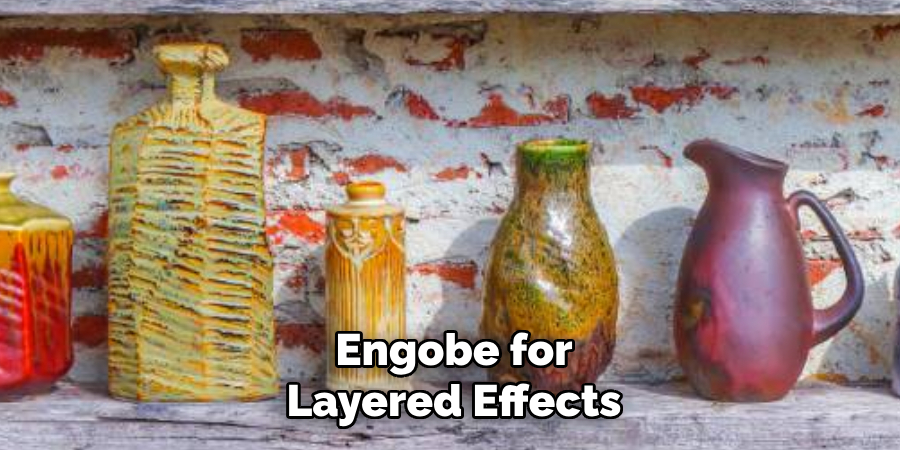
Engobe for Layered Effects
Engobe, a mixture similar to slip, is specially designed for layered decorative effects. Unlike standard slip, engobe is often used to build depth and texture on pottery. It can be applied in thin coats or manipulated with carving tools to achieve dynamic, layered designs. The combination of slip and engobe techniques opens endless possibilities for creativity, offering vibrant colors and captivating surface textures to elevate your ceramics.
Firing Considerations for Colored Clay
Firing colored clay requires careful attention to ensure the desired results. One key factor to consider is cone temperatures and pigments, as some stains and oxides can change color significantly depending on the firing temperature. For example, certain hues may become more muted or unexpectedly vibrant at higher temperatures. Understanding the interplay between specific pigments and firing ranges is essential to achieve predictable outcomes.
Testing before the final firing is a crucial step in the process. Creating test tiles using the same clay body, pigments, and firing conditions as your final piece allows you to observe how colors react at various temperatures. These tests provide valuable insight into potential outcomes and help avoid surprises.
When it comes to glazing over colored clay, the choice of glaze can greatly influence the final appearance. Transparent glazes enhance the vibrancy of the underlying colors, adding depth and brilliance to the design. Conversely, matte or satin glazes can tone down the hues, creating soft, subtle effects. Experimenting with different glazes can help you decide which finish best complements your artistic vision. By thoroughly considering firing variables, you can unlock the full potential of colored clay in your pottery creations.
Conclusion
Mastering how to color clay for pottery involves exploring various techniques such as wedging, slip application, and marbling to create stunning effects. Each method offers unique possibilities for adding character and depth to your work. Testing colors on test tiles before embarking on large projects is crucial to ensure desired results and avoid surprises. By experimenting with different pigments, glazes, and techniques, potters can discover new ways to express their creativity and craft truly one-of-a-kind pieces. Ultimately, the willingness to explore and refine these methods plays a key role in unlocking the full artistic potential of colored clay.
Toby Rede is a professional potter focused on creating functional and artistic ceramics. His work blends natural textures with modern forms, often inspired by sustainable gardening and outdoor environments. Toby’s pottery emphasizes both utility and beauty, reflecting his philosophy of intentional craftsmanship. On the blog, he shares insights on integrating handmade objects into everyday life.
Education
Associate Degree in Ceramic Technology, Alfred University
Professional Focus
Pottery creation with a focus on functionality and artistic expression
Techniques exploring texture, glazing, and sustainable materials
Professional Accomplishments
Work featured in regional art shows and garden exhibitions
Collaborations with local craft fairs and home decor shops