Bisque firing is a critical process in the creation of pottery, serving as the first of two firings required to turn clay into durable, permanent ceramic art. This initial firing removes all remaining moisture, carbon, and other impurities from the greenware, setting the stage for successful glazing.
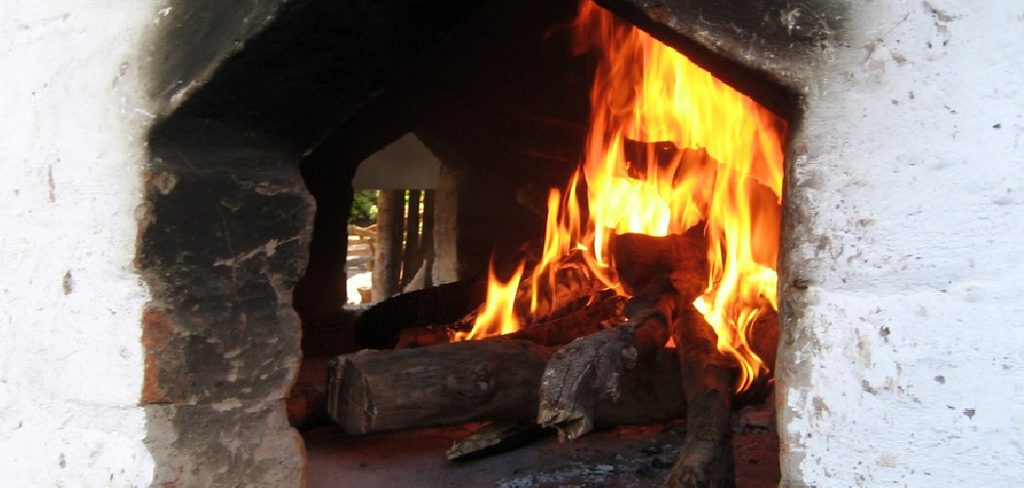
Proper temperature control during this phase is paramount, as it can mean the difference between a masterpiece and a misstep. In this guide on how to control right temperature to bisque fire pottery, we will explore the importance of temperature precision in bisque firing and offer tips for ensuring consistent results every time.
Understanding Bisque Firing
Before we delve into temperature control, it’s essential to have a basic understanding of what bisque firing is and why it matters. Bisque firing is the first step in the ceramic process, where pottery is fired at a low temperature to harden and strengthen it before glazing.
This process removes all moisture from the clay, preventing it from exploding during firing due to trapped water turning into steam. It also burns off any remaining organic materials in the clay, such as plant matter or bacteria.
If done correctly, bisque firing results in pottery that is sturdy enough to handle and glaze without fear of it breaking. It also prepares the surface for the application of glazes, ensuring that they adhere correctly and create vivid, vibrant colors.
However, if bisque firing is not done at the right temperature or for the correct amount of time, it can result in weak pottery that may break easily or have issues with glaze adhesion.
The Importance of Temperature Control
Temperature control is crucial in bisque firing for several reasons. Firstly, the temperature affects how well the clay hardens and becomes durable. If fired at too low a temperature, the pottery may be weak and prone to breaking or chipping.
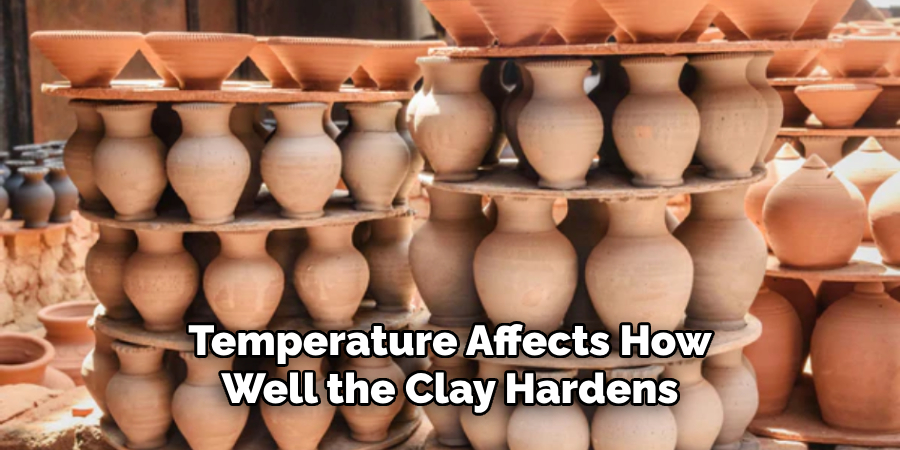
On the other hand, if fired at too high a temperature, it might become overfired, resulting in distortion or even melting. Secondly, temperature control is essential for successful glazing. If the bisque firing is not done at the correct temperature, glazes may not adhere correctly, resulting in a dull or patchy finish.
11 Step-by-step Guidelines on How to Control Right Temperature to Bisque Fire Pottery
Step 1: Prepare Your Kiln
Ensure that it is clean and free of any debris. It’s essential to have proper ventilation in your kiln for consistent temperature control. You may also want to line your kiln shelves with kiln wash to prevent pieces from sticking and potentially damaging the pottery.
But remember to apply kiln wash sparingly, as too much can cause issues with temperature distribution. The kiln should be at room temperature before loading your pottery into it. You should also double-check that all kiln elements are in working order.
Step 2: Load Your Kiln Carefully
Place your pottery on the shelves, making sure not to overcrowd them. Leave some space between pieces for proper airflow and even heating. Be mindful of any delicate or thin areas in your pottery and support them to prevent cracking or breaking during firing.
You may also want to use kiln furniture, such as stilts or posts, to elevate pieces and prevent them from sticking to the shelves. It’s crucial to have a well-balanced and evenly distributed load for consistent temperature control.
Step 3: Set the Firing Schedule
Consult your kiln’s manufacturer instructions for recommended firing schedules. Each kiln may have different requirements, so it’s vital to know yours before proceeding. You will need to set the temperature and hold time for your bisque firing, as well as any ramp rates or cooling cycles. It’s essential to follow the recommended schedule closely to ensure successful results.
The ramp rate determines how quickly the temperature will rise in your kiln, and the hold time sets how long the kiln will maintain that final temperature. If you are unsure, aim for a low ramp rate and longer hold time to avoid overfiring. The cooling cycle is also crucial, as it allows the pottery to cool gradually and prevent thermal shock.
Step 4: Monitor Temperature Throughout Firing
Use a pyrometer or a kiln-sitter to monitor the temperature inside your kiln during firing. It’s crucial to keep a close eye on the temperature throughout the process, especially during the critical stages of reaching and maintaining the desired temperature. If your kiln does not have an automatic shut-off feature, you will need to keep a constant eye on it and make any necessary adjustments manually.
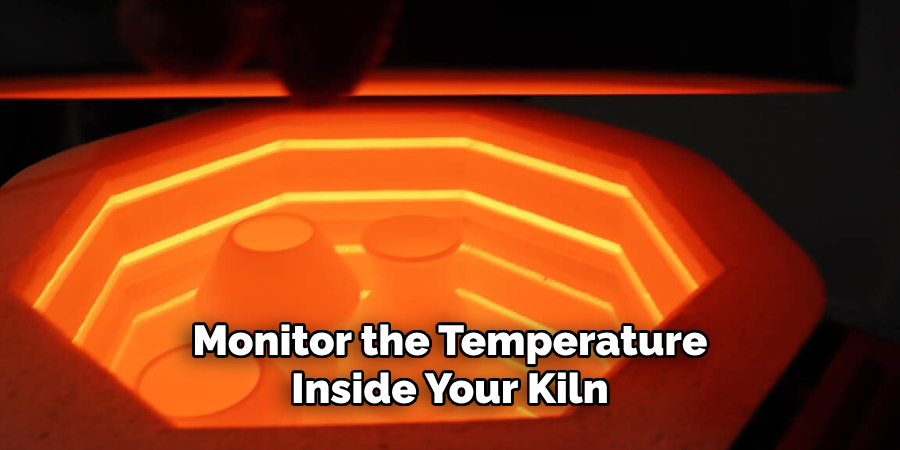
But if your kiln does have an automatic shut-off, it’s still essential to check the temperature periodically to ensure accuracy. The temperature should be within a range of +/- 5 degrees Fahrenheit throughout the entire firing process.
Step 5: Make Adjustments as Needed
If you notice that the temperature is not reaching or maintaining the desired range, you may need to make some adjustments. This could include adjusting your ramp rate, opening or closing the kiln’s vent or adding more heat by stoking the burners.
It’s essential to make these adjustments carefully and gradually to avoid overshooting the desired temperature. The goal is to maintain a consistent and accurate temperature throughout the entire firing process. It may take a few firings to find the perfect balance for your specific kiln and pottery.
Step 6: Monitor Cone Position
If your kiln uses cones, it’s crucial to regularly check their position during firing. Cones are ceramic pyrometric devices that bend and melt at specific temperatures, indicating when the desired temperature has been reached. If your kiln does not use cones, you may want to invest in a digital pyrometer to monitor the temperature accurately.
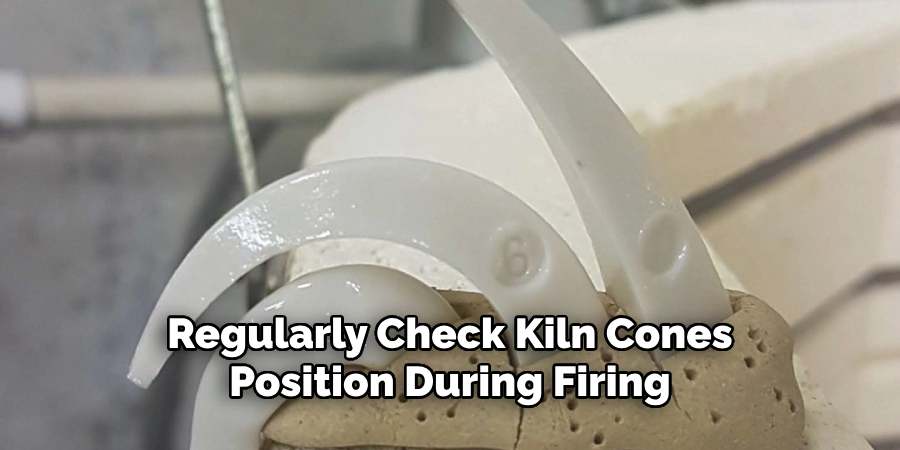
But remember to always have a backup method of temperature monitoring in case one fails. You can also use cones to track the progress of your firing and make any necessary adjustments. It’s essential to follow the recommended cone temperature guide for your specific clay and glazes.
Step 7: Make Final Adjustments Before Shutting Off the Kiln
As you near the end of your firing schedule, it’s crucial to make any final adjustments before shutting off the kiln. This could include adjusting the temperature or ramp rate for a smoother cooling cycle. It’s also essential to open the kiln lid slightly during this stage to allow for gradual cooling and prevent thermal shock.
It’s best to consult your manufacturer instructions for recommended cooling rates and cycles. It’s also a good idea to let your kiln cool down completely before unloading the pottery.
Step 8: Use Protective Gear When Opening the Kiln
After the kiln has cooled down completely, it’s time to open it and remove your bisque-fired pottery. It’s crucial to wear protective gear, such as gloves and a face mask, when opening the kiln as there may still be some residual heat. Let the pottery cool down completely before handling it to avoid any potential burns.
But remember, do not leave your kiln unattended until it has cooled down completely. The cooling process should take around 24 hours. You can speed up the cooling process by placing the kiln’s lid on top of it while it cools.

Step 9: Inspect Your Pottery
Once your pottery has cooled down, inspect each piece carefully for any signs of cracking, warping, or overfiring. If you notice any issues, try to determine the cause and make adjustments for your next firing. It’s essential to keep a record of your firing schedule and any adjustments made so that you can replicate successful results in the future.
You may also want to experiment with different temperatures and hold times to achieve different glaze effects. The more you practice and learn, the better your control of temperature during bisque firing will become. It takes time and patience, but the end result is well worth the effort.
Step 10: Prepare for Glazing
Before glazing your bisque-fired pottery, make sure it is completely clean and smooth. Any debris or rough spots may hinder the adhesion of glaze, resulting in an uneven or patchy finish. You may need to use sandpaper or a sponge to smooth out any blemishes and ensure a clean surface for glazing. Once your pottery is prepared, it’s ready for the next stage of the pottery-making process – glazing!
Remember to be patient and take the time to carefully follow each step in the bisque firing process for successful results every time. However, don’t be afraid to experiment and find what works best for you and your kiln. Happy firing!
Step 11: Troubleshooting Common Issues
Despite your best efforts, bisque firing can still result in some common issues. If you notice any of the following problems with your pottery after bisque firing, here are some troubleshooting tips:
Cracking:
This could be due to a rapid temperature change or uneven heating. Try adjusting your ramp rate and ensuring an evenly distributed load for more consistent heating.
Warping:
This could be due to uneven cooling or an overfired kiln. Make sure to open the kiln lid slightly during cooling, and check your temperature periodically throughout the firing process.
Overfiring:
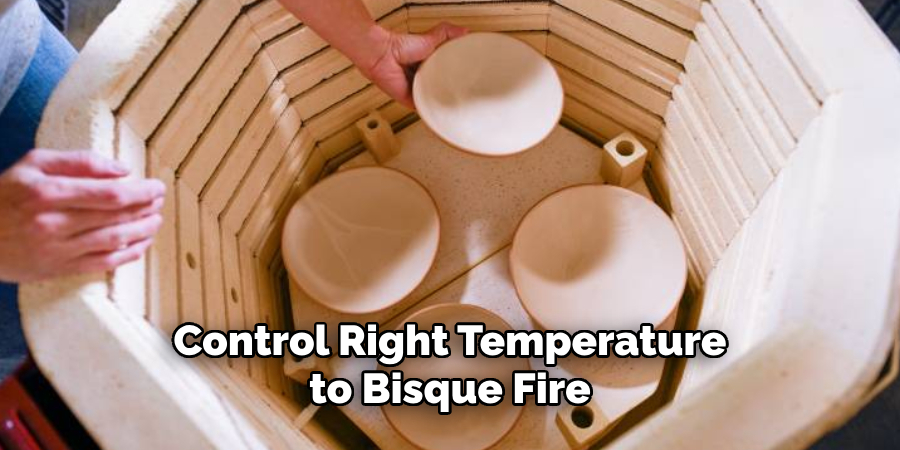
If your pottery comes out looking melted or distorted, it may have been exposed to too high of a temperature for too long. Try lowering the hold time or temperature for your next firing.
Following these troubleshooting tips on how to control right temperature to bisque fire pottery and being patient with the firing process can help you achieve successful results with your bisque firing. Remember to always consult manufacturer instructions and adjust your technique as needed for the best possible outcome. Happy firing!
Do You Need to Use Professionals?
While it is possible to control the temperature and bisque fire pottery on your own, some potters may choose to use professional services for this stage of the process. This could be due to a lack of equipment or expertise, or simply as a way to save time and effort. If you do decide to use professionals, make sure to communicate your desired results and any specific requirements for your pottery.
It’s also essential to discuss cost and turnaround time beforehand to avoid any surprises. Ultimately, the decision to use professionals for bisque firing is a personal one and will depend on your individual needs and preferences as a potter. So, choose what works best for you and continue creating beautiful pieces of pottery!
Things to Remember
- Always Follow the Recommended Schedule Closely.
- Monitor Temperature Frequently During Firing.
- Make Adjustments Carefully and Gradually.
- Regularly Check Cone Position or Use a Digital Pyrometer for Accurate Temperature Readings.
- Wear Protective Gear When Opening the Kiln After Firing.
- Inspect Your Pottery for Any Issues and Make Adjustments for Future Firings.
- Prepare Your Bisque-fired Pottery for Glazing by Ensuring a Clean and Smooth Surface.
- Troubleshoot Common Issues Such as Cracking, Warping, or Overfiring. Overall, Bisque Firing is an Essential Step in the Pottery-making Process That Requires Attention to Detail and Careful Monitoring of Temperature.
- With Practice and Proper Techniques, You Can Achieve Successful Results Every Time. So Next Time You Fire Up Your Kiln for Bisque Firing, Remember These Steps and Tips to Create Beautiful and Functional Pottery. Happy Firing!
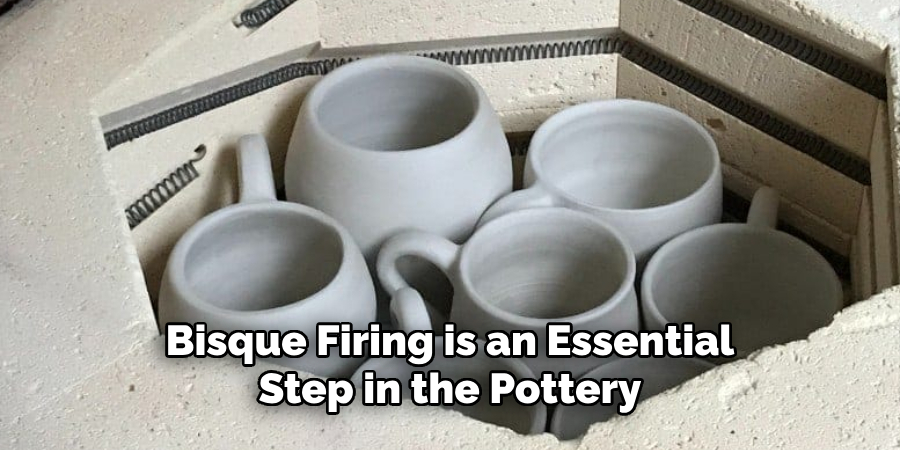
Keep Exploring and Experimenting to Find the Perfect Firing Schedule for Your Unique Pottery Creations. The Possibilities are Endless!
Tips for Achieving Proper Temperature Control
Now that we understand the importance of temperature control let’s dive into some tips for achieving it in your bisque firing process.
Use a Kiln Thermocouple
A thermocouple is a device that measures the temperature inside your kiln accurately. It consists of two wires made from different metals, which create an electric current when heated. This current can then be read on a digital display, giving you precise and real-time information on the temperature inside your kiln.
Using a thermocouple is essential in bisque firing as it allows you to monitor the temperature and make adjustments as needed.
Keep an Eye on Firing Speed
The speed at which you raise the temperature during bisque firing can also affect the final result. Ideally, you want to increase the heat slowly, allowing for even heating throughout the pottery and preventing any potential cracking. Starting with a lower temperature and gradually increasing it can also help reduce the chances of overfiring.
Consider Using a Kiln Controller
A kiln controller is a programmable device that allows you to set specific firing schedules for your kiln. This means you can input the desired temperature, hold time, and even set cooling rates for bisque firing. A kiln controller takes the guesswork out of temperature control and can help you achieve consistent results every time.
Frequently Asked Questions
Q: Can I Open the Kiln During Bisque Firing to Check on My Pottery?
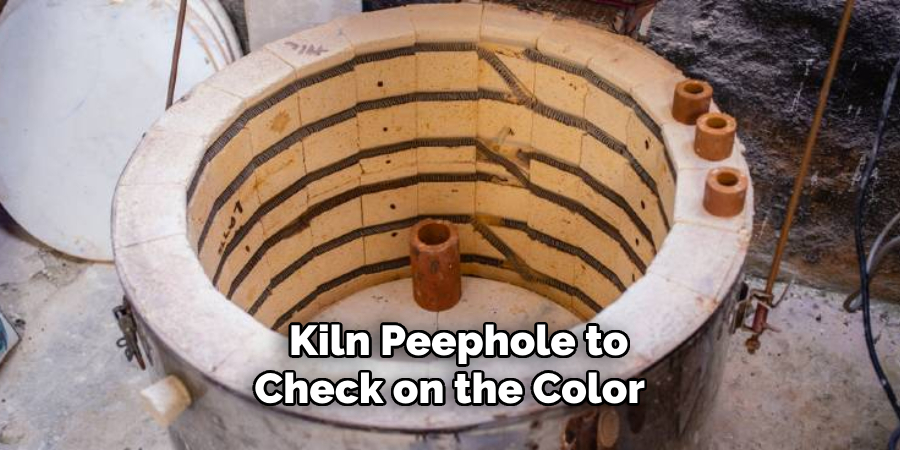
A: No, it’s essential not to open the kiln until after it has completely cooled down. Opening the kiln can cause rapid temperature changes, leading to potential cracking or warping of your pottery. The cooling process should take around 24 hours, so be patient and resist the temptation to peek inside. You can use a kiln peephole to check on the color of your cones without opening the lid.
Q: Can I Bisque Fire My Pottery Multiple Times?
A: Yes, you can bisque fire your pottery multiple times if needed. However, keep in mind that each firing will slightly change the structure and composition of your pottery, so it’s best to limit bisque firing to two or three times. After that, your pottery may become too fragile and prone to cracking.
Q: What Cone Should I Use for Bisque Firing?
A: The recommended cone for bisque firing typically ranges from Cone 08 to Cone 04. However, this may vary depending on the clay body you are using and the desired outcome. It’s always best to consult with your clay supplier or reference materials for specific recommendations.
Q: How Long Should I Hold the Temperature During Bisque Firing?
A: The hold time can vary depending on the clay body and glaze you are using, but it typically ranges from 5 minutes to 2 hours. Again, consult with your clay supplier or reference materials for specific recommendations based on your pottery’s needs. But remember, be cautious when holding the temperature for too long as it can lead to overfiring.
Conclusion
In conclusion on how to control right temperature to bisque fire pottery, proper temperature control is essential for successful bisque firing in pottery. Understanding the importance of temperature precision and implementing tips such as using a thermocouple, controlling firing speed, and considering a kiln controller can help you achieve consistent and impressive results in your pottery.
So next time you fire up your kiln, remember to keep a close eye on the temperature and make any necessary adjustments for a successful bisque firing process. Keep creating beautiful ceramics!
Toby Rede is a professional potter focused on creating functional and artistic ceramics. His work blends natural textures with modern forms, often inspired by sustainable gardening and outdoor environments. Toby’s pottery emphasizes both utility and beauty, reflecting his philosophy of intentional craftsmanship. On the blog, he shares insights on integrating handmade objects into everyday life.
Education
- Associate Degree in Ceramic Technology, Alfred University
Professional Focus
- Pottery creation with a focus on functionality and artistic expression
- Techniques exploring texture, glazing, and sustainable materials
Professional Accomplishments
- Work featured in regional art shows and garden exhibitions
- Collaborations with local craft fairs and home decor shops

