Are you planning on renovating your bathroom or kitchen and need to cut ceramic tiles? Cutting ceramic tiles can be a daunting task, especially if you are a beginner.
How to cut ceramic tile without chipping can be a delicate task, but with the right techniques and tools, it becomes much more manageable. Whether undertaking a home renovation project or a simple repair, knowing how to properly cut tiles is crucial for achieving a professional, clean finish. This process involves selecting the correct type of saw or tile cutter, preparing the tile surface, and executing the cut with precision and patience.

By following a few key steps, you can minimize the risk of imperfections in your ceramic tiles and ensure a smooth, flawless result in your tiling project.
What Will You Need?
Before you begin cutting ceramic tiles, make sure you have the necessary tools and materials on hand. These include:
- Ceramic tile cutter
- Wet saw or angle grinder with a diamond blade
- Measuring tape
- Pencil or marker
- Safety gear such as gloves and goggles
- Tile nippers (for small cuts)
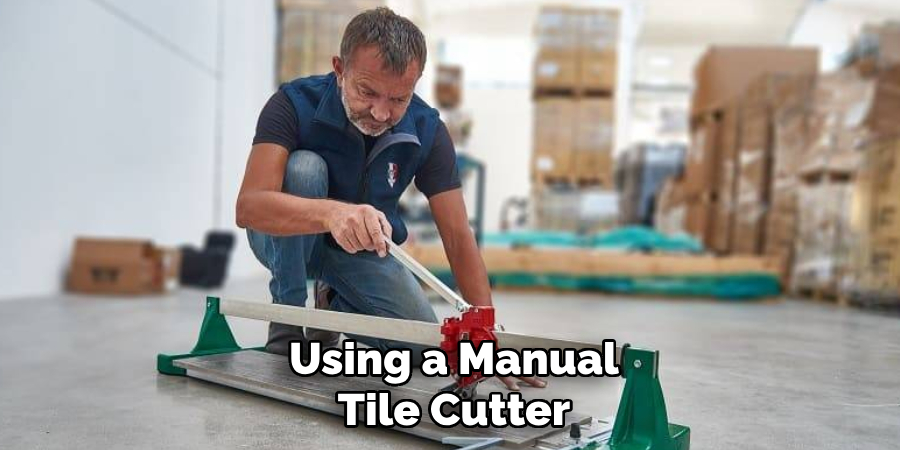
It’s important to choose the right tool for your specific project. For instance, if you are cutting large ceramic tiles, a wet saw is recommended for its precision and clean cuts. However, a manual tile cutter may be more suitable for smaller projects or intricate cuts.
10 Easy Steps on How to Cut Ceramic Tile Without Chipping
Step 1. Measure and Mark the Tile:
Accurate measurements are crucial to ensure a perfect fit of the tiles. Begin using the measuring tape to determine the dimensions required for your tile. Take note of any irregularities in the space where the tile will be placed, as this can affect the size or shape of the cut needed. Once you have obtained precise measurements, use a pencil or marker to mark the tile where it needs to be cut clearly. Double-check your lines to confirm they align with your desired design.
Properly marked lines are essential guides during cutting, helping prevent errors and minimizing the risk of chipping by keeping the cutting tool on the correct path. Additionally, marking the tile’s top and bottom edges can offer more control, especially for thicker tiles or when using specific cutting tools.
Step 2. Secure the Tile:
To achieve a clean cut without chipping, it’s essential to stabilize the tile effectively. Place the tile on a flat, stable surface to prevent movement during cutting. If using a manual tile cutter, align the tile with the guide and clamp it into place. To use a wet saw, lay the tile on the table and ensure it’s steady before starting. Taking the time to secure the tile properly reduces the risk of errors and helps to maintain straight, even cuts, thus minimizing potential damage to the tile’s edges.

Step 3. Score the Tile:
With the tile secured, the next step is to score it. If you’re using a manual tile cutter, line up the cutting wheel with your marked line and apply firm, even pressure as you slide the wheel across the tile’s surface. This scoring creates a groove along the line, making it easier to snap the tile cleanly. For those using a wet saw, gently guide the blade along the marked line without applying too much pressure, as the saw will effectively score and cut in one smooth motion.
Scoring is vital, as it sets the foundation for a successful cut by weakening the tile along the desired line, ensuring that when it comes time to break the tile or complete the cut, the risk of chipping is minimized.
Step 4. Snap the Tile:
After scoring the tile, you can snap it along the scored line. If you’re using a manual tile cutter, apply pressure on either side of the score line by pressing down on the handle. This action should cause the tile to break cleanly along the marked line. For minor cuts, tile nippers can snap off the pieces carefully along the scored groove. The key is to apply steady and even pressure to ensure a smooth snap with minimal risk of chipping. Verifying that the scoring was deep enough before snapping will further enhance the likelihood of a clean break.
Step 5. Smooth the Edges:
Once the tile is snapped and the cut is complete, it’s important to smooth out any rough or sharp edges left behind. This can be achieved using a rubbing stone or a tile file. Gently rub the tool across the edges of the tile in a back-and-forth motion to remove any burrs or small chips that might have resulted from the cutting process. Smoothing the edges improves the cut tile’s overall aesthetic and ensures safer handling and installation, preventing injuries or damage to surrounding materials during your tiling project.
Step 6. Clean the Tile:
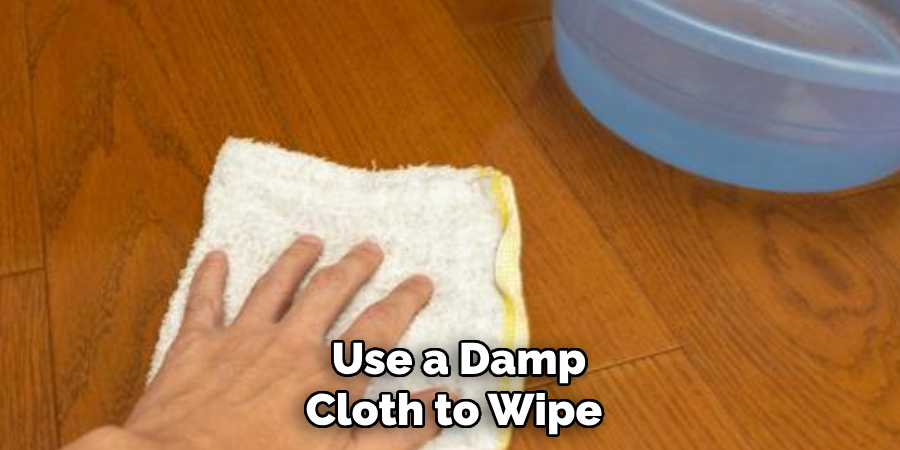
After smoothing the edges, cleaning the tile thoroughly before installation is essential. Use a damp cloth to wipe away any dust or debris accumulated during the cutting and smoothing processes. Ensuring that the tile is clean will help adhesives adhere better when installing the tile, resulting in a more secure fit. Additionally, a clean surface emphasizes your work’s high-quality, professional finish, highlighting the precision and care taken in preparing each tile for your tiling project.

Step 7. Dry Fit the Tile:
Before final installation, performing a dry fit of the cut tile is advisable. Place the tile in its intended location to fit perfectly within the space. This step allows you to verify the accuracy of your measurements and cuts, making sure that all the pieces align correctly and that any necessary adjustments can be made before applying adhesives. Conducting a dry fit can save time and prevent frustration, as it highlights any potential issues with the fit or overall design layout, offering an opportunity to correct them before proceeding further in your tiling project.
Step 8. Apply Adhesive to the Tile:
Once you are satisfied with the dry fit, the next step is to apply adhesive to the tile. Choose an adhesive type suitable for the tile material and surface where it will be installed. Use a notched trowel to spread the adhesive evenly across the back of the tile or directly onto the installation surface, depending on your project’s requirements. Ensure that the adhesive is applied consistently, creating even grooves and promoting strong bonding. Applying adhesive properly is crucial for the long-term stability and durability of the tile installation, preventing any movement or detachment over time.
Step 9. Set the Tile in Place:
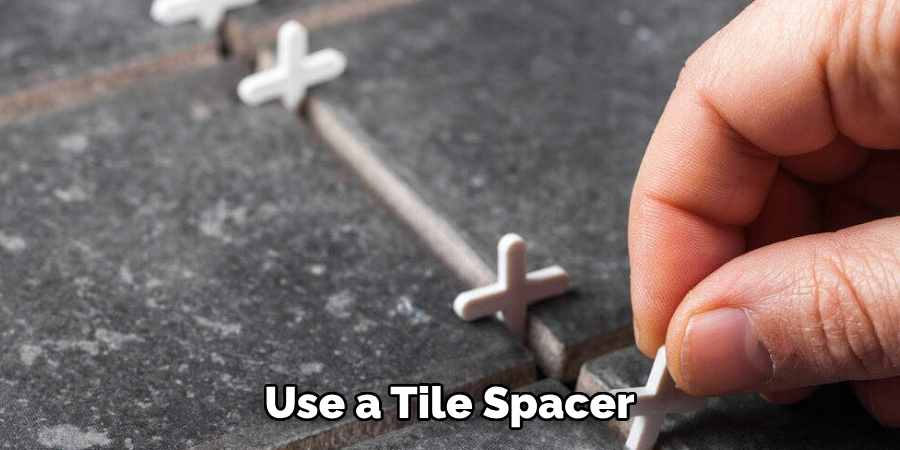
After applying the adhesive, carefully set the tile in its designated position. Gently press down on the tile to ensure it adheres properly to the surface, and use a tile spacer to maintain consistent spacing between adjacent tiles for even grout lines. Adjust the tile as needed to ensure it is level and aligned with the surrounding tiles. Checking the alignment and level accuracy is essential to the overall finish quality of your tiling project. Be gentle to avoid pushing out too much adhesive from underneath, which could affect the stickiness and effectiveness of the tile placement.

Step 10. Allow the Adhesive to Cure:
After setting the tile in place, it is vital to allow the adhesive to cure correctly. Follow the manufacturer’s recommended curing time, which can vary depending on the type of adhesive used and environmental conditions. During this curing period, avoid disturbing the tiles to ensure they remain properly aligned and level. Patience during this step is critical, as it ensures the adhesive achieves maximum strength, securing the tiles firmly in place and contributing to the longevity and durability of your tiling project. Once the glue has fully cured, you can proceed to grout the tiles.
By following these steps and using the appropriate tools and techniques, you can successfully cut and install tiles for a professional-looking finish in any tiling project.
5 Things You Should Avoid
- Using the Wrong Tools: Ensure you are equipped with the right tools, such as a wet saw or a manual tile cutter specifically designed for cutting ceramic tiles. Using inadequate tools can lead to uneven cuts and increase the likelihood of chipping.
- Applying Excessive Pressure: Too much pressure when cutting can cause the tile to crack or chip. A steady, gentle hand guides the tool through the tile to ensure a clean cut.
- Skipping Proper Measurement: Please measure accurately to avoid improper cuts that may necessitate additional cutting, increasing the risk of chipping. Always double-check your measurements before making any cuts.
- Cutting Too Quickly: Rushing through the cutting process might lead to mistakes and increase the risk of damaging the tile. Take your time and cut slowly and steadily to minimize chipping.
- Neglecting Safety Equipment: Not wearing protective gear such as safety goggles and gloves can lead to injuries from flying shards or dust. Always prioritize safety by wearing the appropriate equipment whenever you cut tiles.

Conclusion
How to cut ceramic tile without chipping requires attention to detail, patience, and the right tools.
By following a systematic approach, including proper measurement, careful handling, and using the appropriate cutting tools, you can achieve clean cuts with minimal risk of chips or cracks. Always prioritize safety by wearing protective gear and taking your time during the cutting process. This methodical preparation and execution will enhance your work’s quality and ensure a professional and seamless tile installation.
Implement these tips and steps to handle your tiling projects with ease and precision confidently.
With a keen eye for detail and a deep understanding of the firing process, I bring ceramics to life as a skilled kiln operator. My expertise ensures that each piece reaches its full potential, achieving the perfect balance of strength and beauty. I take pride in overseeing the critical final stage of pottery creation, transforming raw clay into stunning, durable art. 🎨
From monitoring temperatures to perfecting firing schedules, I ensure that every piece is fired to perfection. My role is not just about operating the kiln; it’s about understanding the unique needs of each creation and bringing out its best qualities.
Join me on this journey of precision and passion, where every firing tells a story. Whether it’s a delicate vase or a robust sculpture, I am dedicated to making sure that every piece that comes out of the kiln is a masterpiece. 🏺✨
Toby Rede is a professional potter focused on creating functional and artistic ceramics. His work blends natural textures with modern forms, often inspired by sustainable gardening and outdoor environments. Toby’s pottery emphasizes both utility and beauty, reflecting his philosophy of intentional craftsmanship. On the blog, he shares insights on integrating handmade objects into everyday life.
Education
- Master of Fine Arts in Ceramics, California College of the Arts
Professional Focus
- Creating practical pottery for everyday use.
- Using unique styles and techniques to convey narratives in ceramics.
Professional Accomplishments
- Showcased work in local and national art galleries, gaining recognition for craftsmanship.
- Received accolades for innovative designs in pottery competitions.