Ceramic items, whether they are cherished heirlooms, functional tableware, or decorative pieces, can easily become damaged over time. A broken ceramic item can evoke feelings of disappointment, especially if it holds sentimental value. Fortunately, many broken ceramics can be repaired with the right techniques and materials.
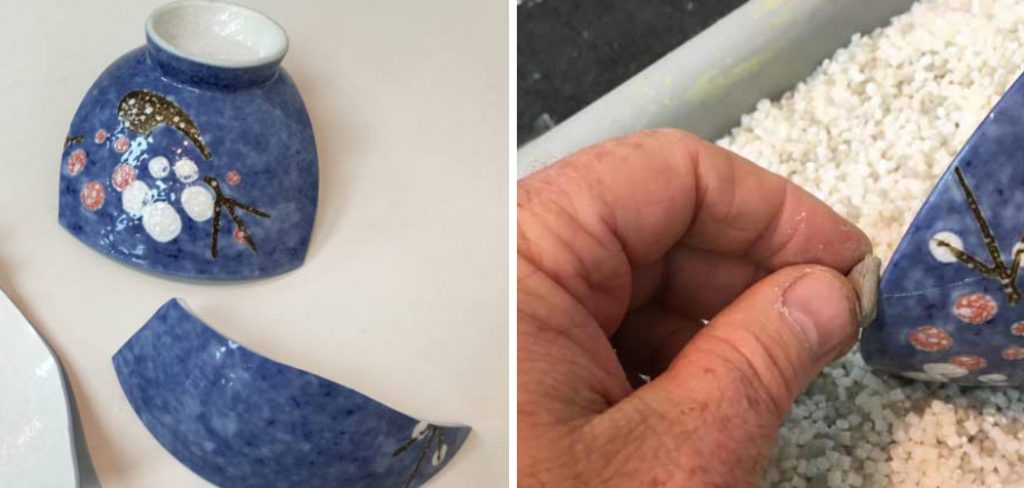
This guide will explore various methods for how to fix a broken ceramic, helping you to not only preserve their beauty but also to maintain their functionality. Whether the damage is minor or significant, understanding the best approaches to fixing ceramics can empower you to breathe new life into your beloved items.
Importance of Repairing Broken Ceramic Items
Repairing broken ceramic items is not only a practical solution but also an emotionally significant act. Many ceramics carry sentimental value, representing memories, traditions, or family history. By restoring these pieces, individuals can preserve their stories and keep the past alive.
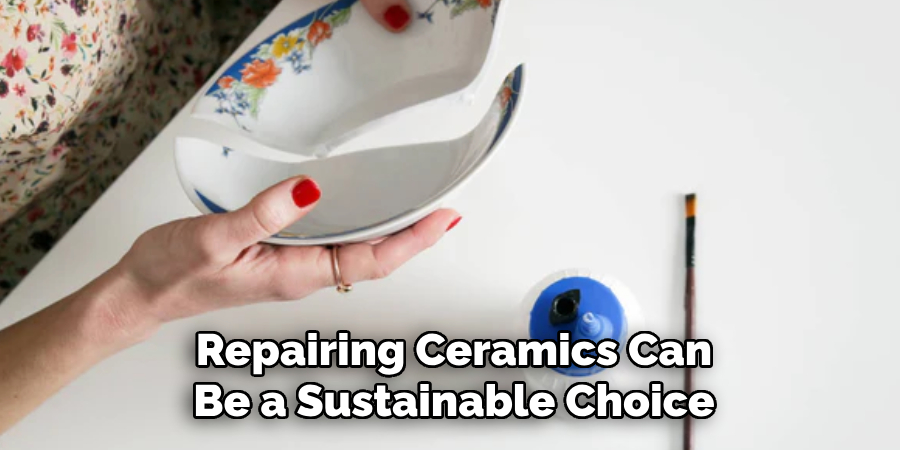
Additionally, repairing ceramics can be a sustainable choice, reducing waste and the need for new production, which benefits the environment. Instead of discarding broken items, fixing them can help maintain both their aesthetic appeal and functional use in daily life. Ultimately, engaging in the repair process can foster creativity and mindfulness, allowing for personal expression and a deeper connection to the objects we cherish.
Materials and Tools Needed
To successfully repair broken ceramics, having the right materials and tools at hand is essential. Below is a list of items that can aid in the restoration process:
- Epoxy Adhesive: A strong, durable adhesive that can bond ceramic pieces back together.
- Cyanoacrylate Glue (Super Glue): Ideal for quick fixes, this adhesive dries rapidly and works well for small cracks.
- Sandpaper: Different grits can be used to smooth out rough edges before and after applying adhesive.
- Putty or Filler: Useful for filling in gaps or chips in the ceramic surface, allowing for a more seamless repair.
- Paint or Acrylic Sealant: To touch up any visible repair lines and restore the original appearance.
- Cloth or Paper Towels: For cleaning the surface of the ceramic and any excess adhesive.
- Mixing Stick and Container: To mix adhesive components thoroughly if required.
- Tweezers: Helpful for handling small fragments during the repair process.
Having these materials and tools ready will make the process smoother and more effective, allowing you to focus on the art of repair.
10 Methods How to Fix a Broken Ceramic
1. Using Epoxy Resin
Epoxy resin is a popular choice for repairing broken ceramics due to its strong adhesive properties and durability. Begin by cleaning the broken ceramic pieces to remove any dust or debris. Apply a small amount of epoxy resin to one of the broken edges and press the pieces together firmly.

Hold them in place until the epoxy begins to set, usually within a few minutes. For best results, allow the epoxy to cure completely according to the manufacturer’s instructions, which may take 24-48 hours. Epoxy resin provides a strong bond and is suitable for both functional and decorative ceramics. Once cured, any excess resin can be carefully sanded or trimmed for a seamless finish.
2. Using Super Glue
Super glue, or cyanoacrylate adhesive, is another effective option for repairing broken ceramics, particularly for smaller cracks and breaks. Clean the broken pieces thoroughly, ensuring they are dry before applying the glue.
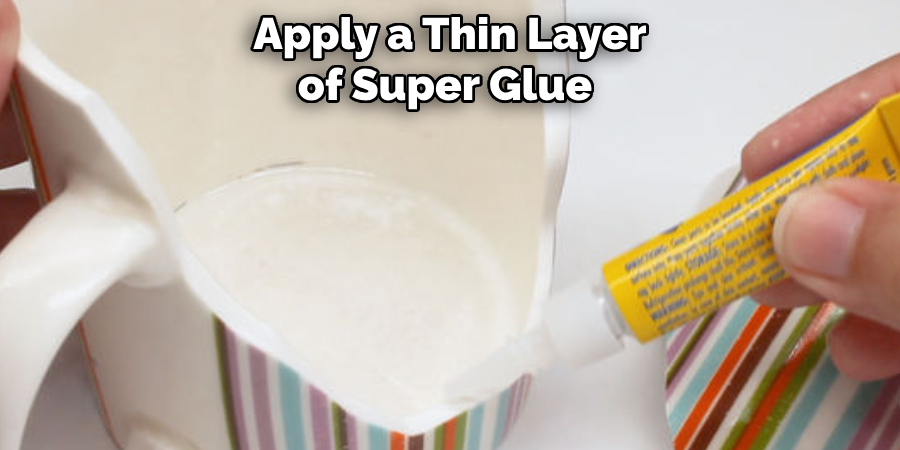
Apply a thin layer of super glue to one side of the broken edge and press the pieces together. Hold them firmly for about 30 seconds to a minute to allow the glue to set. Once the glue has dried, it will create a strong bond, making the ceramic piece functional once again. Super glue works well for small to medium-sized breaks but may not be as effective for larger or more intricate repairs.
3. Using Ceramic Adhesive
Ceramic adhesive is specifically designed for repairing ceramic materials and can be particularly effective for large or intricate repairs. Start by cleaning the broken ceramic pieces and ensuring they are completely dry.
Apply a generous amount of ceramic adhesive to one of the broken edges and press the pieces together. Hold them in place until the adhesive begins to set, which typically takes a few minutes. Allow the adhesive to cure fully according to the manufacturer’s instructions, usually 24 hours. Ceramic adhesive provides a durable and strong bond, making it ideal for repairing functional items such as dishes or vases.
4. Applying a Kintsugi Technique
Kintsugi is a traditional Japanese technique that not only repairs broken ceramics but also enhances their beauty by highlighting the cracks with gold or lacquer. To use kintsugi, clean the broken ceramic pieces thoroughly and apply a strong adhesive or epoxy to the edges. Once the adhesive has set but is still tacky,
dust the cracks with gold powder or apply a gold lacquer. Allow the adhesive and gold to dry completely. The result is a beautifully repaired piece with visible, artfully highlighted cracks. Kintsugi not only restores the ceramic but also transforms it into a unique and artistic object.
5. Using Tile Adhesive
Tile adhesive is a strong and versatile option for repairing ceramics, particularly for larger pieces or tiles. Begin by cleaning the broken ceramic pieces and ensuring they are dry. Apply tile adhesive to one of the broken edges, using a small brush or spatula to spread it evenly.
Press the pieces together firmly and hold them in place until the adhesive starts to set. Allow the adhesive to cure according to the manufacturer’s instructions, typically 24 hours. Tile adhesive creates a robust bond and is suitable for both functional and decorative ceramics. Once cured, any excess adhesive can be cleaned off with a damp cloth.
6. Using Plumber’s Putty
Plumber’s putty can be an effective solution for repairing ceramic items, especially those used in plumbing fixtures or those requiring a watertight seal. To use plumber’s putty, clean the broken ceramic pieces thoroughly and dry them completely.
Apply a thin layer of plumber’s putty to one of the broken edges and press the pieces together. The putty will fill any gaps and create a watertight seal. Allow the putty to set for several hours or according to the manufacturer’s instructions. Plumber’s putty is particularly useful for ceramics that will be exposed to moisture or water.
7. Using Epoxy Clay
Epoxy clay is a versatile material that can be used for repairing ceramics, particularly for filling gaps or reconstructing missing pieces. Begin by mixing the epoxy clay according to the manufacturer’s instructions.
Apply the mixed clay to the broken areas or gaps, shaping and smoothing it to match the original ceramic piece. Allow the epoxy clay to cure completely, which typically takes 24-48 hours. Once cured, the clay can be sanded, painted, or finished to blend seamlessly with the original ceramic. Epoxy clay is ideal for more extensive repairs or for creating custom shapes and details.
8. Applying a Ceramic Repair Kit
Ceramic repair kits are specifically designed for fixing broken ceramics and typically include adhesives, fillers, and instructions. Start by cleaning the broken ceramic pieces and ensuring they are dry. Follow the instructions provided with the repair kit to apply the adhesive and filler.
Many kits include a two-part epoxy that must be mixed before application. Apply the adhesive to one side of the broken edge, press the pieces together, and fill any gaps with the included filler. Allow the repair to cure according to the kit’s instructions, which may take up to 24 hours. Ceramic repair kits offer a comprehensive solution for various types of ceramic damage.
9. Using Liquid Nails or Construction Adhesive
Liquid nails or construction adhesive can be used for repairing larger ceramic items or those requiring a strong bond. Clean the broken ceramic pieces thoroughly and dry them completely.
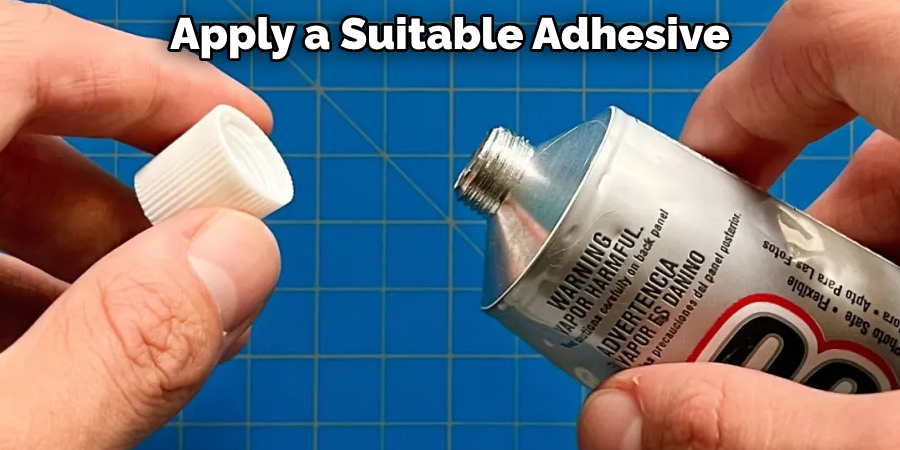
Apply a generous amount of liquid nails or construction adhesive to one of the broken edges, using a brush or spatula to spread it evenly. Press the pieces together firmly and hold them in place until the adhesive starts to set. Allow the adhesive to cure according to the manufacturer’s instructions, usually 24-48 hours. Liquid nails or construction adhesive provides a robust and durable bond, making it suitable for large or heavy ceramic items.
10. Using Heat and Pressure
For certain types of ceramic repairs, applying heat and pressure can help strengthen the bond between broken pieces. This method is particularly useful for ceramics that are resistant to high temperatures. Clean the broken ceramic pieces thoroughly and ensure they are dry.
Apply a suitable adhesive, such as epoxy or ceramic adhesive, to one of the broken edges. Press the pieces together and apply gentle heat using a heat gun or hairdryer. The heat can help activate the adhesive and improve the bond. Continue to apply pressure for several minutes to ensure a strong bond. Allow the adhesive to cure completely according to the manufacturer’s instructions.
Conclusion
Repairing ceramics can be a rewarding and creative endeavour, allowing individuals to restore cherished items while exploring various techniques and materials. From traditional methods like Kintsugi that celebrate imperfections to practical solutions using modern adhesives, each approach offers unique benefits tailored to different needs. Thanks for reading, and we hope this has given you some inspiration on how to fix a broken ceramic!
With a keen eye for detail and a deep understanding of the firing process, I bring ceramics to life as a skilled kiln operator. My expertise ensures that each piece reaches its full potential, achieving the perfect balance of strength and beauty. I take pride in overseeing the critical final stage of pottery creation, transforming raw clay into stunning, durable art. 🎨
From monitoring temperatures to perfecting firing schedules, I ensure that every piece is fired to perfection. My role is not just about operating the kiln; it’s about understanding the unique needs of each creation and bringing out its best qualities.
Join me on this journey of precision and passion, where every firing tells a story. Whether it’s a delicate vase or a robust sculpture, I am dedicated to making sure that every piece that comes out of the kiln is a masterpiece. 🏺✨
Toby Rede is a professional potter focused on creating functional and artistic ceramics. His work blends natural textures with modern forms, often inspired by sustainable gardening and outdoor environments. Toby’s pottery emphasizes both utility and beauty, reflecting his philosophy of intentional craftsmanship. On the blog, he shares insights on integrating handmade objects into everyday life.
Education
- Master of Fine Arts in Ceramics, California College of the Arts
Professional Focus
- Creating practical pottery for everyday use.
- Using unique styles and techniques to convey narratives in ceramics.
Professional Accomplishments
- Showcased work in local and national art galleries, gaining recognition for craftsmanship.
- Received accolades for innovative designs in pottery competitions.