Are you tired of constantly throwing away broken ceramic mugs? Don’t worry; fixing a cracked or chipped mug is easier than you think!
Whether it’s a beloved mug with sentimental value or a unique piece from your favorite collection, a chipped or cracked ceramic mug doesn’t have to meet its end at the garbage bin. By employing a few simple tools and techniques, you can restore your mug to a functional state, all while saving money and reducing waste. This guide on how to fix a ceramic mug, will walk you through the basic steps needed to repair your cherished ceramic mug, turning it from damage back to delight.

With patience and precision, you’ll have your favorite drinkware ready for use.
What Will You Need?
Before we begin fixing your ceramic mug, it’s important to gather all the necessary supplies beforehand. This will save you time and frustration later.
- Epoxy Glue: This strong adhesive is perfect for repairing ceramics as it can withstand high temperatures and is waterproof.
- Sandpaper or a Nail File: These tools will help smooth out any rough edges or excess glue after the repair.
- Cotton Swabs or Toothpicks: These are useful for applying small amounts of epoxy glue in tight spaces.
- Protective Gloves: To keep your fingers safe from any sharp edges while handling broken pieces of ceramic.
- Clean Cloth or Paper Towels: To remove excess glue or any debris from the repair process.
- Tape: This can hold the mug pieces together while the glue dries.
You can begin fixing your ceramic mug once you have all the necessary supplies.
10 Easy Steps on How to Fix a Ceramic Mug
Step 1. Clean the Broken Pieces:
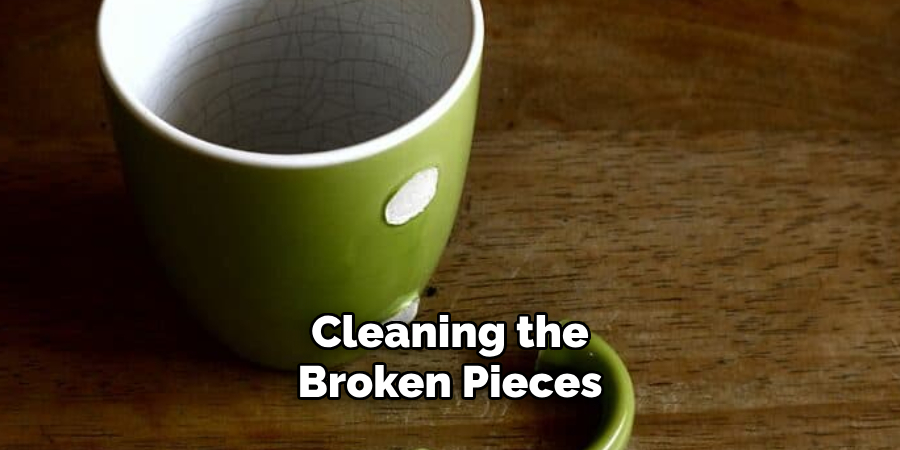
Before you begin the repair process, cleaning the broken pieces of the mug thoroughly is crucial. Dirt, dust, or old adhesive residues can interfere with the glue’s effectiveness, preventing a solid bond. Start by gently washing each piece with warm, soapy water. Use a soft brush or a sponge to scrub away any stubborn grime carefully, but be cautious not to cause further damage to the ceramic. Once the pieces are clean, rinse them thoroughly under running water to remove any soap residue. Pat them dry with a clean cloth or let them air dry completely.

If the ceramic still feels slick after drying, lightly sand the bonding surfaces to create a rougher texture, ensuring the epoxy glue adheres more effectively. Cleaning the pieces prepares them for a successful repair and preserves your beloved mug’s aesthetic integrity.
Step 2. Prepare the Epoxy Glue:
Now that the broken pieces are clean, it’s time to prepare the epoxy glue for the repair. Follow the instructions on your epoxy glue package carefully, as the mixing process can vary depending on the brand. Typically, you will need to mix equal parts of resin and hardener. Squeeze out the necessary amounts onto a disposable surface, like a piece of cardboard, and use a toothpick or a small stick to blend them thoroughly.
The mixture should be even and consistent in color before application. You’ll want to work quickly, as epoxy adhesives can set fast, and you need the glue to remain pliable while you’re positioning the pieces of your mug. Having the glue ready ensures an efficient repair process, as you can immediately begin securing the pieces together once they’re correctly aligned.
Step 3. Apply the Epoxy Glue to the Pieces:
With your epoxy glue mixed and ready, it’s time to begin the repair by applying the glue to the broken edges of the ceramic pieces. Use a cotton swab or toothpick to carefully dab small amounts of glue onto one of the broken edges. Be sure to apply enough epoxy to ensure a strong bond, but avoid excess, as too much can lead to glue oozing out when the pieces are pressed together.
Once the glue is applied, gently press the two broken pieces together, aligning them as closely as possible to their original position. Hold them firmly in place for a few minutes, allowing the bond to begin setting. Use small pieces of tape to secure the alignment while the glue cures.
Step 4. Secure the Pieces Together:

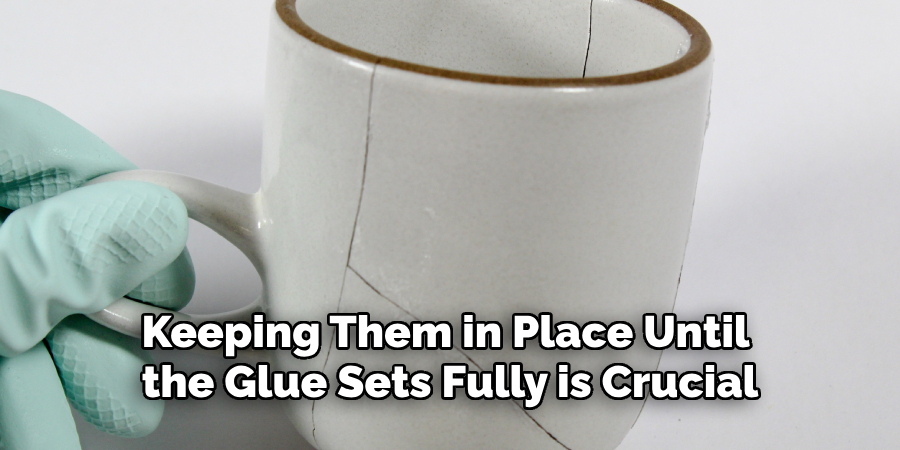
Once you’ve applied the epoxy glue and aligned the pieces, keeping them in place until the glue sets fully is crucial. To do this, use small, manageable tape strips to hold the ceramic pieces securely. Be careful not to apply too much pressure, which could distort the alignment, but ensure the tape is snug enough to prevent movement. If your mug has multiple pieces that need to be joined, work one joint at a time, allowing each connection to set before moving on to the next.
This methodical approach helps maintain the structural integrity of the mug and ensures each bond is solid. Ideally, leave the taped mug undisturbed for the amount of time recommended by the epoxy manufacturer, typically several hours or overnight, for the strongest possible bond. Patience during this stage is key to achieving a durable and seamless repair.
Step 5. Remove Tape and Check the Bond:
After allowing sufficient time for the epoxy glue to cure, carefully remove the tape holding the ceramic pieces in place. Inspect the repaired joints to ensure they are secure and that the pieces are aligned correctly. Take caution when handling the mug, as applying force too quickly might compromise the repair. If you notice any weak spots or gaps, you may need to apply additional epoxy and repeat the taping process to reinforce the bond.
Step 6. Sand Down Excess Glue:
Once you’re confident that the bond is strong and the pieces are securely held together, it’s time to address any excess glue that might have seeped out during the repair process. Use a piece of fine-grit sandpaper or a nail file to gently sand away any hardened epoxy, being careful not to scratch or damage the ceramic surface. This step improves the mug’s appearance by creating a smooth finish and prevents rough edges that could be uncomfortable to handle. Work cautiously and periodically wipe the area with a clean cloth to remove epoxy dust and ensure a flawless finish.
Step 7. Touch Up the Finish:

After sanding down any excess glue, the final touch for your ceramic mug is to address any minor surface imperfections that may have resulted from the repair process. Depending on the original design of your mug, apply paint or similar surface treatment to match the repaired area to the rest of the mug.
Use a food-safe ceramic paint in a color that closely matches your mug’s original finish. Apply a thin layer over the repaired joint using a fine brush, and allow it to dry according to the manufacturer’s instructions. This step not only enhances the appearance of your mug, making the repair seam nearly invisible but also helps protect the joint from exposure to moisture and heat, ensuring your mug can withstand regular use.
Step 8. Cure and Test for Durability:
Once you’ve completed the touch-up work, it’s essential to ensure your repaired ceramic mug is fully cured and ready for use. Leave the mug to rest undisturbed for at least 24 hours, allowing both the paint and glue to set thoroughly. This curing period ensures all materials have bonded ideally and the mug can handle regular wear and tear.
After curing, gently test the durability of the repair by lightly tapping the mug against your palm or a soft surface. Your repair succeeds if the joint feels secure and there are no visible signs of movement. Finally, hand wash the mug gently; avoid abrasive materials to maintain its restored finish.
Step 9. Celebrate Your Success:
Completing the repair of your ceramic mug is a practical achievement and a rewarding experience. Take a moment to appreciate your handiwork and your patience throughout the process. You have successfully restored a cherished item to its former glory, allowing it to continue serving its purpose in your daily life. Repairs such as these reflect sustainable practices, valuing what we own and reducing waste.
Step 10. Maintain Your Mug:

Now that your mug has been skillfully restored, maintaining its condition will help ensure its longevity. Always hand wash your mug using a gentle dish soap and a soft sponge to avoid scratching the repaired surface. Avoid exposing it to extreme temperatures, such as boiling liquids or microwaving, as these could compromise the repaired joints. Inspect your mug regularly for any signs of wear or damage, and address any minor issues before they become more significant problems.
By following these simple maintenance tips, your repaired ceramic mug will continue to serve you for years.
Conclusion
How to fix a ceramic mug can be a gratifying process that not only saves a treasured item but also promotes sustainability.
By carefully following the step-by-step guide, from gathering the necessary materials to ensuring a seamless finish, you can effectively restore your ceramic mug to a functional and aesthetic condition. This repair process emphasizes patience and precision, providing a durable result capable of withstanding daily use. Additionally, maintaining your mug with proper care will extend its lifespan, highlighting the value of repairs over replacement and aligning with environmentally friendly practices.
Fixing a ceramic mug empowers you to cherish your belongings and contribute to a more sustainable lifestyle.
With a keen eye for detail and a deep understanding of the firing process, I bring ceramics to life as a skilled kiln operator. My expertise ensures that each piece reaches its full potential, achieving the perfect balance of strength and beauty. I take pride in overseeing the critical final stage of pottery creation, transforming raw clay into stunning, durable art. 🎨
From monitoring temperatures to perfecting firing schedules, I ensure that every piece is fired to perfection. My role is not just about operating the kiln; it’s about understanding the unique needs of each creation and bringing out its best qualities.
Join me on this journey of precision and passion, where every firing tells a story. Whether it’s a delicate vase or a robust sculpture, I am dedicated to making sure that every piece that comes out of the kiln is a masterpiece. 🏺✨
Toby Rede is a professional potter focused on creating functional and artistic ceramics. His work blends natural textures with modern forms, often inspired by sustainable gardening and outdoor environments. Toby’s pottery emphasizes both utility and beauty, reflecting his philosophy of intentional craftsmanship. On the blog, he shares insights on integrating handmade objects into everyday life.
Education
- Master of Fine Arts in Ceramics, California College of the Arts
Professional Focus
- Creating practical pottery for everyday use.
- Using unique styles and techniques to convey narratives in ceramics.
Professional Accomplishments
- Showcased work in local and national art galleries, gaining recognition for craftsmanship.
- Received accolades for innovative designs in pottery competitions.