Clay pots are versatile and cherished items commonly used for gardening, home decoration, and even cooking. Their natural aesthetic and functionality make them a favorite choice for many. However, clay pots are fragile and prone to breaking due to impact, temperature changes, or prolonged exposure to harsh weather. Instead of discarding a damaged pot, learning how to fix broken clay pots can be a practical and rewarding solution. Repairing clay pots not only saves money but also reduces waste, contributing to a more sustainable lifestyle.

Additionally, fixing a pot can help preserve its sentimental or aesthetic value, especially if it holds a special memory or complements your décor. This article aims to provide a detailed, step-by-step guide on various methods to repair broken clay pots using adhesives, cement, and even natural techniques to restore their original beauty and functionality.
Assessing the Damage and Gathering Materials
Before starting the repair process, it is crucial to evaluate the extent of the damage to your clay pot. Identifying the type of break will help determine the most suitable repair method and materials required. Here are the common types of breaks:
- Minor Cracks: Small hairline fractures that can be repaired easily with minimal materials.
- Chipped Edges: Small pieces missing from the edges of the pot, requiring careful filling or reattachment.
- Large Breaks: The pot is shattered into multiple fragments and will need precise reassembly and stronger adhesives.
Essential Materials
To repair your clay pot effectively, gather the following materials:
- Waterproof Ceramic Glue or Epoxy: Ideal for bonding and sealing breaks securely.
- Clamps or Rubber Bands: Useful for holding the pieces together while the adhesive sets.
- Sandpaper: Needed to smooth out rough edges, ensuring a tighter fit between pieces.
- Damp Cloth: Essential for cleaning the surfaces of the pot to ensure proper adhesion.
Optional Materials
- Cement: For strengthening large breaks.
- Milk-Based Glue: An eco-friendly option for minor fixes.
- Kintsugi-Style Gold Filler: A decorative technique that highlights the repaired cracks with gold, adding an artistic touch.
Having the right tools and understanding the nature of the damage ensures a smoother and more effective repair process.
Fixing Minor Cracks in Clay Pots
Step 1: Cleaning the Crack
Begin by wiping the pot with a damp cloth to remove any dirt, dust, or debris from the surface and along the crack. This ensures that the glue adheres properly and creates a stronger bond.
Step 2: Applying Glue
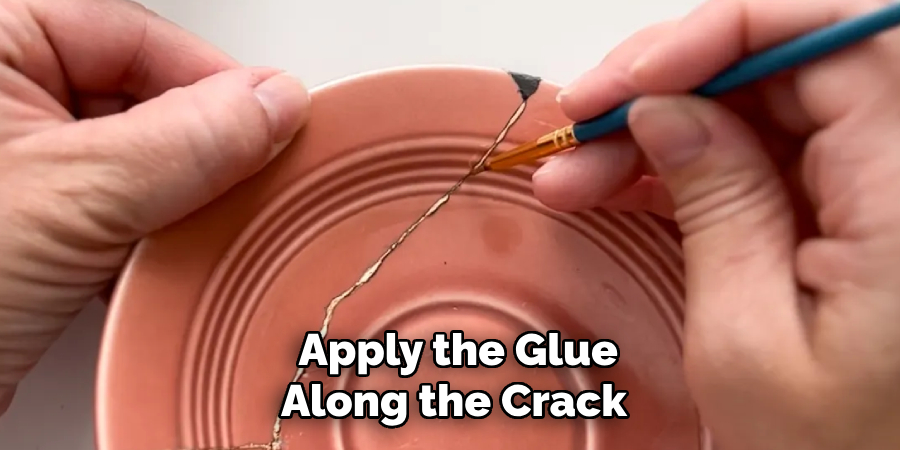
Choose a strong, waterproof ceramic glue or epoxy for the repair. Carefully apply the glue along the crack using a small brush or a toothpick to ensure even coverage. Be precise in this step to avoid excessive glue spilling out of the crack, as it can affect the final appearance of the repair.

Step 3: Clamping the Pot
Once the glue is applied, use rubber bands or clamps to hold the cracked pieces of the pot firmly together. Make sure the crack is aligned correctly to restore the pot to its original shape. Leave the pot undisturbed and allow the glue to dry completely. For best results, provide at least 24 hours of drying time to ensure a strong and durable bond.
By following these steps, you can effectively repair minor cracks in your clay pots, restoring their functionality and extending their lifespan.
How to Fix Broken Clay Pots Repairing Broken or Chipped Clay Pots
Repairing broken or chipped clay pots may seem challenging, but by following a step-by-step process, you can restore them to a usable and attractive state. Here’s how:
Step 1: Arranging the Broken Pieces
Begin by laying out all the broken fragments on a flat surface. Carefully inspect each piece to identify how they fit together, ensuring no parts are missing. Dry-fit the pieces by aligning them without adhesive to confirm their original placement. This step ensures you won’t encounter surprises during the gluing process.
Step 2: Applying Ceramic Glue or Epoxy
Once you’ve arranged the pieces, select a high-quality ceramic glue or epoxy suitable for pottery. Apply a thin, even layer of glue to the broken edges of one fragment. Press the pieces firmly together and hold them in place for a few minutes to allow the adhesive to bond. Work one section at a time for better precision.
Step 3: Securing the Bond
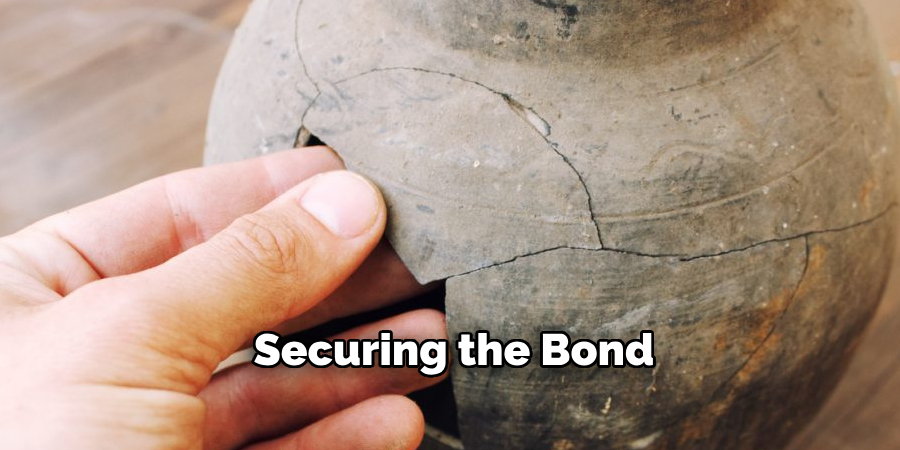
To strengthen the repair and ensure the pieces stay in place as the glue dries, use clamps, masking tape, or rubber bands. This will keep the fragments stable and prevent shifting. Place the pot in a safe area and allow the glue to dry completely, typically for about 24 hours, as directed by the adhesive’s instructions.

Step 4: Sanding and Painting (Optional)
After the glue has dried, use fine-grit sandpaper to smooth out any visible glue spots around the repaired areas. To enhance the pot’s aesthetics, consider repainting it with a sealant or paint that matches the original finish. This step is optional but can give the pot a refurbished and polished look.
By following these steps, even severely damaged clay pots can regain both their functionality and visual charm.
Using Cement or Plaster for Stronger Repairs
If your clay pot requires a more durable repair, using cement or plaster can provide long-lasting reinforcement. Here’s how to perform this method effectively:
Step 1: Mixing the Cement or Plaster
Start by preparing a small batch of cement or joint compound according to the manufacturer’s instructions. Ensure you mix the material thoroughly to achieve a smooth, paste-like consistency. This will make it easier to apply and ensure a strong bond between the broken pieces.
Step 2: Applying the Mixture
Using a small spatula or similar tool, spread the cement or plaster along the broken edges of the pot. Align the broken pieces carefully and press them firmly together. Wipe away any excess material while it is still wet to create a clean and seamless appearance. Pay close attention to filling in gaps to ensure structural integrity.
Step 3: Letting It Cure
Place the repaired pot in a stable position and allow the cement or plaster to cure undisturbed for at least 48 hours. Proper curing time is essential to achieve maximum strength. Avoid exposing the pot to moisture or handling it during this period, as it could compromise the repair.
Step 4: Sealing the Pot
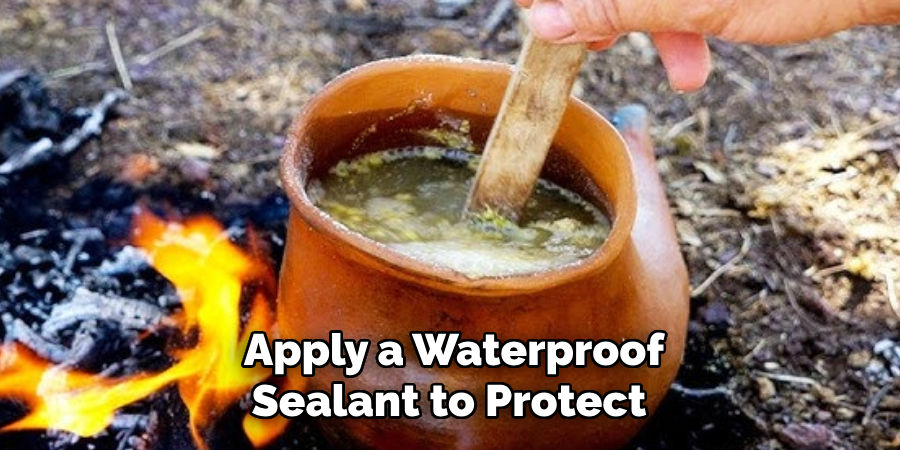
Once the cement or plaster has fully dried, apply a waterproof sealant to protect the pot from water damage. This step is crucial for extending the pot’s lifespan, especially if it will be used outdoors or for holding plants. A good sealant will also enhance its resistance to cracks and weathering.

Decorative Repair Methods
When repairing a pot, you can take a creative approach to not only restore its functionality but also enhance its visual appeal. Here are some decorative repair methods:
Kintsugi (Gold Repair Technique)
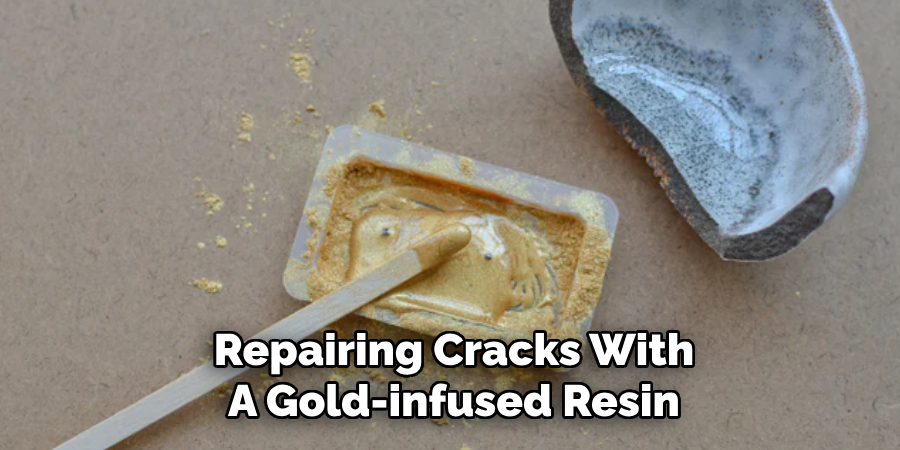
This Japanese method involves repairing cracks with a gold-infused resin, turning the damage into an integral part of the pot’s aesthetic. Kintsugi celebrates imperfections and gives the pottery a unique and elegant appearance, emphasizing that flaws can be transformed into beauty. This technique is ideal for those who appreciate minimalism and cultural artistry.

Decorative Mosaics or Paint
Another way to disguise cracks is by creating colorful mosaics using small tile pieces, glass, or ceramic fragments. These can be arranged into intricate or abstract patterns, adding a vibrant, artistic touch to the pot. Alternatively, you can paint over the repaired areas, blending the crack into the original design or creating bold new patterns. This method opens up endless possibilities for personalization.
Fabric Wrapping
For a rustic and functional solution, wrap the pot in jute rope, fabric, or other similar materials. This not only hides the damage but also reinforces the structure, ensuring durability. Fabric wrapping can add a cozy, handmade charm to your pot, fitting well with natural and farmhouse-style decor.
Preventing Future Breakage
Handling and Storage Tips
Proper care and handling significantly extend the life of clay pots. To avoid accidental drops, always handle with dry hands and use both hands to support the pot’s weight. Clay pots are susceptible to extreme temperature changes, which can lead to cracking or breaking. It’s best to keep them out of direct sunlight during scorching summer days and store them in a sheltered area during winter. For added protection, place them on wooden blocks or foam pads rather than directly on hard surfaces, especially during freezing temperatures.
Reinforcing Weak Areas
To bolster the durability of clay pots, focus on reinforcing potential weak spots. Applying a waterproof sealant on the exterior can prevent water absorption, which weakens the material over time. Additionally, using inner plastic liners minimizes direct moisture contact with the clay and reduces stress on the structure. For heavily used pots, filling minor cracks with a clay-safe adhesive and sanding it smooth can help maintain their integrity. These small yet effective measures ensure your pots remain sturdy and functional for years to come.
Conclusion
Repairing clay pots is a practical way to preserve their usability and reduce environmental waste. For minor cracks, using a reliable glue provides a quick fix, while cement can reinforce larger damages for stronger repairs. Additionally, decorative techniques can restore their aesthetic appeal, blending utility with artistry. Learning how to fix broken clay pots not only extends their lifespan but also contributes to sustainable living by minimizing replacements. Finally, preventive measures, such as applying waterproof sealants and careful handling, play a vital role in avoiding future breakage, ensuring that your clay pots remain durable and beautiful for years to come.
Toby Rede is a professional potter focused on creating functional and artistic ceramics. His work blends natural textures with modern forms, often inspired by sustainable gardening and outdoor environments. Toby’s pottery emphasizes both utility and beauty, reflecting his philosophy of intentional craftsmanship. On the blog, he shares insights on integrating handmade objects into everyday life.
Education
- Associate Degree in Ceramic Technology, Alfred University
Professional Focus
- Pottery creation with a focus on functionality and artistic expression
- Techniques exploring texture, glazing, and sustainable materials
Professional Accomplishments
- Work featured in regional art shows and garden exhibitions
- Collaborations with local craft fairs and home decor shops

