Glazing a ceramic pot is a vital step in pottery that not only enhances the aesthetic appeal of your creation but also makes it more functional by sealing the surface. This process involves applying a liquid glaze onto the pot, which transforms during firing into a smooth, glass-like coating. Whether you’re a beginner or an experienced potter, understanding the glazing process is essential for achieving stunning results. This guide will walk you through the key steps of how to glaze a ceramic pot.
The Beauty and Functionality of Glazed Ceramic Pots
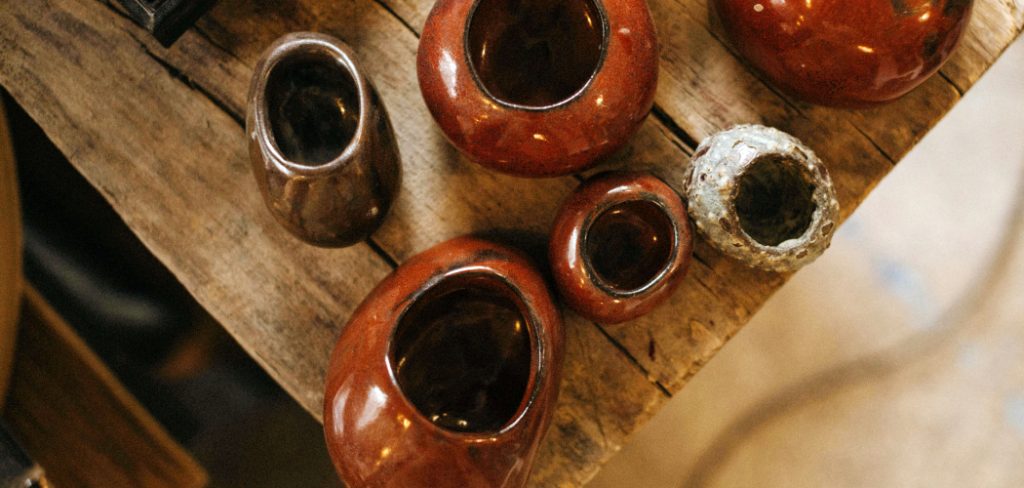
Glazed ceramic pots are admired for their captivating beauty and practical benefits. A well-applied glaze can bring out vibrant colors, intricate textures, and unique finishes, transforming a simple piece of pottery into a work of art. From glossy and smooth to matte and earthy, the variety of glazes allows for endless creative possibilities, letting potters express their artistic vision. Beyond their aesthetic value, glazed pots are highly functional. The glaze acts as a protective barrier, making the ceramic surface impermeable to liquids and enhancing its durability. This makes glazed pots ideal for everyday use, from decorative planters to serving dishes. Ultimately, glazed ceramic pots perfectly blend form and function, adding charm and utility to any space.
Gathering Your Materials
Before you begin the glazing process, it’s important to assemble all the necessary materials and tools. Start with selecting the type of glaze you want to use, such as gloss, satin, matte, or specialty finishes like celadon or ash glaze. You’ll also need a clean, bisque-fired ceramic pot that is ready for glazing. Essential tools include a brush for detailed applications, tongs for dipping, a sponge for cleaning, and a mixing stick to ensure your glaze is well-mixed.
If you plan to dip or pour glaze, having a large container to hold the glaze is crucial. Additionally, keep some safety equipment, like gloves and a mask, on hand, especially when working with powdered or spray-on glazes. Preparing your workspace with all these materials in advance will streamline the process and set you up for success.
10 Methods How to Glaze a Ceramic Pot
1. Preparing the Pot for Glazing
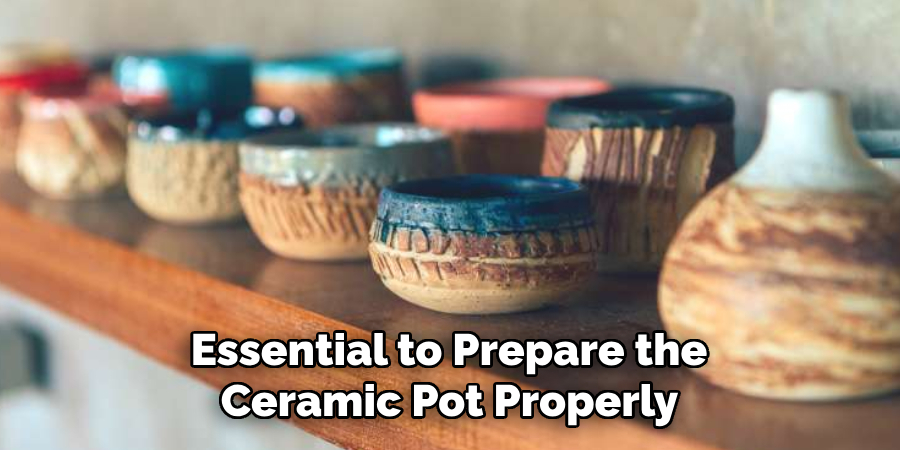
Before applying any glaze, it’s essential to prepare the ceramic pot properly. This preparation begins after the pot has been bisque fired, which means it has been fired once at a lower temperature to harden it. The pot should be clean and free of dust, oils, or any residue from the firing process. Gently wipe the surface of the pot with a damp sponge to remove any debris.
If the pot has any rough spots, you can lightly sand it using fine-grit sandpaper. Properly preparing the pot ensures that the glaze will adhere smoothly and evenly.
2. Dipping Method
The dipping method is one of the most common and effective ways to glaze a ceramic pot. This technique involves immersing the entire pot into a container of liquid glaze. The glaze is usually mixed to a consistency that allows it to coat the pot evenly without being too thick or too runny. To dip the pot, hold it by its rim or a handle and submerge it into the glaze, allowing it to cover the surface completely.
Once submerged, remove the pot and gently tap it to allow excess glaze to drip off. This method creates a consistent and even coat of glaze over the pot, ideal for achieving a smooth, glossy finish.
3. Brushing Method

Brushing on glaze is another technique that provides more control over the application, particularly for those looking to achieve specific designs or patterns. Using a soft-bristled brush, dip it into the glaze and apply it in long, smooth strokes. The key to successful brushing is to keep the glaze consistent in thickness, applying multiple layers if necessary. Each layer should be allowed to dry before adding the next to avoid streaking.
This method is perfect for intricate designs, layering different colors of glaze, or for areas where you want to create texture and variation in the finish.
4. Spraying Method
Spraying glaze is a method that produces a smooth, even finish without the brushstrokes that may appear with brushing. It’s particularly useful for achieving a delicate and uniform coating over large surfaces or intricate shapes. A spray gun or airbrush can be used to apply the glaze.
To do so, thin the glaze slightly with water and load it into the sprayer. Hold the sprayer a few inches away from the pot and spray in even, overlapping layers, moving in a circular motion to ensure full coverage. It’s important to wear a mask and work in a well-ventilated area to avoid inhaling fumes or glaze particles.
5. Pouring Method
The pouring method is similar to the dipping method, but instead of submerging the entire pot, glaze is poured directly onto the surface. This technique allows for greater control over where the glaze is applied, which is ideal for decorative effects and multiple color applications. To use this method, simply pour the glaze over the pot from a container or pitcher, letting it flow evenly over the surface. You can tilt the pot to direct the glaze where you want it to go.
After pouring, allow the glaze to drip off before placing the pot on a drying rack. This method is great for achieving a smooth, clean finish, or for creating variations in color depending on how the glaze flows.
6. Layering Glazes
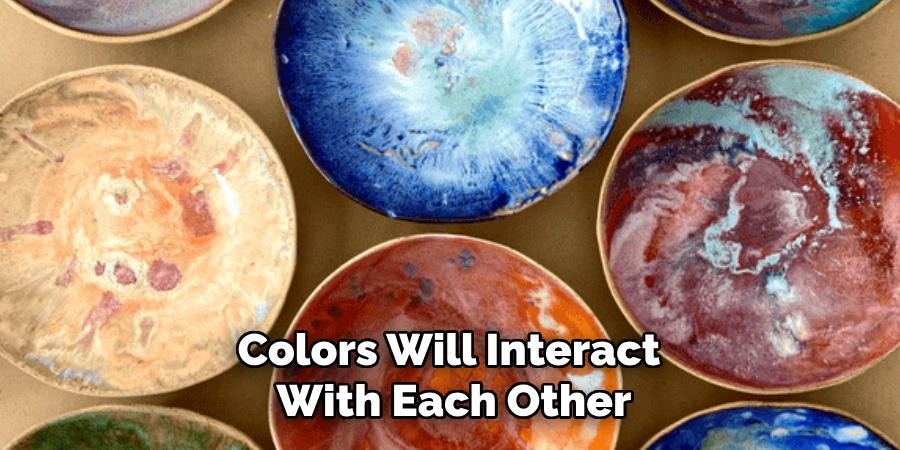
Layering different glazes is a technique that allows for the creation of complex, textured, and multi-dimensional finishes on your ceramic pot. You can layer glazes in a variety of ways, such as applying one color first and then adding another glaze over the top once the first layer has dried. The colors will interact with each other, often resulting in beautiful color transitions, variations in texture, and sometimes unpredictable effects.
When layering glazes, it’s essential to test the glazes beforehand to ensure they work well together and don’t cause undesirable reactions in the kiln.
7. Dip and Brush Combination
A combination of both the dipping and brushing methods can be used for more complex designs. For instance, you might dip the entire pot into one glaze to cover most of the surface, then brush on additional glazes or patterns in certain areas. This allows for the benefits of a smooth, even base coat while still giving you the freedom to add intricate details,
such as geometric patterns, flowers, or other artistic touches. The key is to allow each layer to dry before adding another to avoid blending the glazes unintentionally.
8. Wax Resist Technique
The wax resist technique is a unique method used to create patterns or designs on a glazed surface. Before applying your first glaze, you can paint or draw designs on the pottery using liquid wax resist. Once the wax has dried, apply your glaze as usual. The wax will prevent the glaze from adhering to the areas it covers, allowing you to create intricate designs or resist patterns.
After firing, the areas where the wax was applied will remain unglazed, creating a striking contrast between the glossy glazed portions and the bare ceramic. This technique works particularly well with layered glazes or when using a single glaze color to highlight designs.
9. Sgraffito Technique
Sgraffito is a decorative technique where you apply a layer of glaze over a pot and then carve into it to reveal the underlying clay body. After applying a base coat of glaze to your pot, use a sharp tool to scratch or carve away sections of the glaze to create patterns or designs.
The contrasting color of the underlying clay will show through, creating a striking, textured design. Sgraffito allows for a high degree of creativity, and it’s especially effective for creating detailed images, textures, or even lettering on your pottery.
10. Firing After Glazing
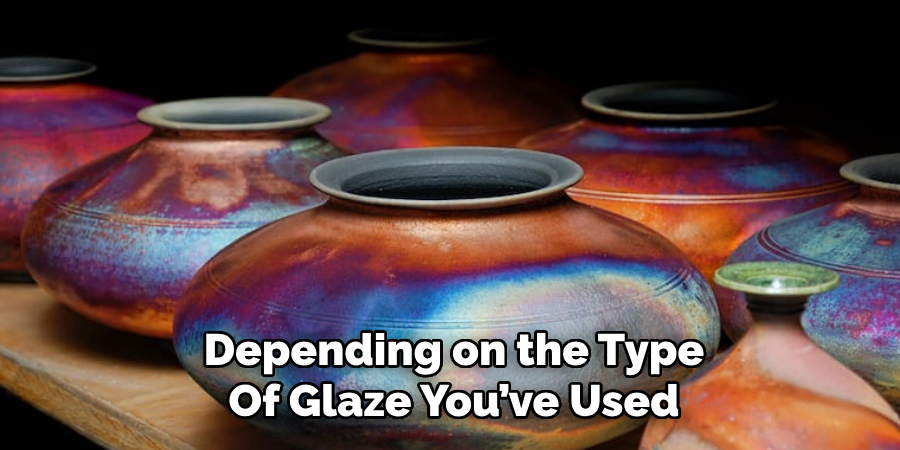
Once your ceramic pot has been glazed, it’s time for the firing process. Glaze is not truly set until it has gone through a second firing in the kiln. This firing is typically done at a higher temperature than the bisque firing, allowing the glaze to melt and fuse with the pottery. Depending on the type of glaze you’ve used, the firing temperature may vary, so always follow the manufacturer’s instructions.
During firing, the glaze will form a glass-like surface that enhances the pot’s appearance and durability. After firing, allow the pot to cool slowly before handling it. This ensures that the glaze sets properly and avoids cracking due to sudden temperature changes.
Conclusion
Glazing a ceramic pot is both an art and a science, requiring an understanding of materials, technique, and creativity. From the clean and uniform finish of dipping to the intricate designs created through sgraffito or wax resist, the methods outlined above allow for endless possibilities in ceramic decoration. By experimenting with different techniques and combinations, you can achieve unique results,
enhancing not only the beauty of your pottery but also its functionality. Now that you know how to glaze a ceramic pot, try it yourself today and feel good about completing such a big DIY job!
With a keen eye for detail and a deep understanding of the firing process, I bring ceramics to life as a skilled kiln operator. My expertise ensures that each piece reaches its full potential, achieving the perfect balance of strength and beauty. I take pride in overseeing the critical final stage of pottery creation, transforming raw clay into stunning, durable art. 🎨
From monitoring temperatures to perfecting firing schedules, I ensure that every piece is fired to perfection. My role is not just about operating the kiln; it’s about understanding the unique needs of each creation and bringing out its best qualities.
Join me on this journey of precision and passion, where every firing tells a story. Whether it’s a delicate vase or a robust sculpture, I am dedicated to making sure that every piece that comes out of the kiln is a masterpiece. 🏺✨
Toby Rede is a professional potter focused on creating functional and artistic ceramics. His work blends natural textures with modern forms, often inspired by sustainable gardening and outdoor environments. Toby’s pottery emphasizes both utility and beauty, reflecting his philosophy of intentional craftsmanship. On the blog, he shares insights on integrating handmade objects into everyday life.
Education
Master of Fine Arts in Ceramics, California College of the Arts
Professional Focus
Creating practical pottery for everyday use.
Using unique styles and techniques to convey narratives in ceramics.
Professional Accomplishments
Showcased work in local and national art galleries, gaining recognition for craftsmanship.
Received accolades for innovative designs in pottery competitions.