

Koke glazed pottery, renowned for its earthy and rich burnt caramel effect, beckons artists of all skill levels. Mastering how to glaze koke burnt caramel pottery is an artful pursuit that adds exceptional warmth and depth to ceramic creations.
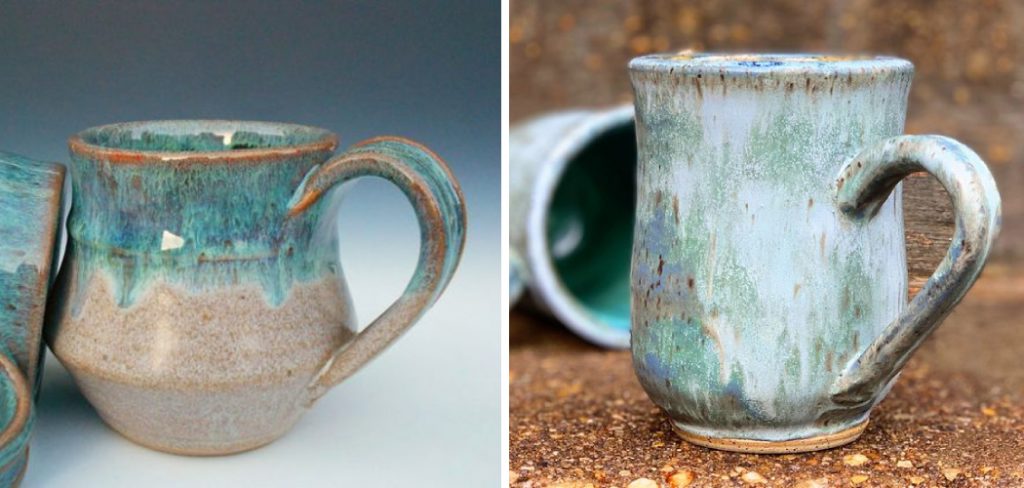
This technique appeals to beginners and experienced potters alike, offering a blend of tradition and innovation. As you explore the transformative power of koke glazes, you’ll uncover the secrets to achieving the mesmerizing burnt caramel tones that make each piece a singular work of art.
About Koke Burnt Caramel Glaze
Koke glazes are a specialized subset of ceramic glazes that derive their name from the Japanese term “koke,” meaning moss. They possess an organic, earthy aesthetic reminiscent of the natural mossy landscapes found in humid environments. Featuring a textured surface with a depth of color that can range from subtle greens to deep browns, these glazes embody an enchantment that brings the serenity and beauty of nature into tangible forms.
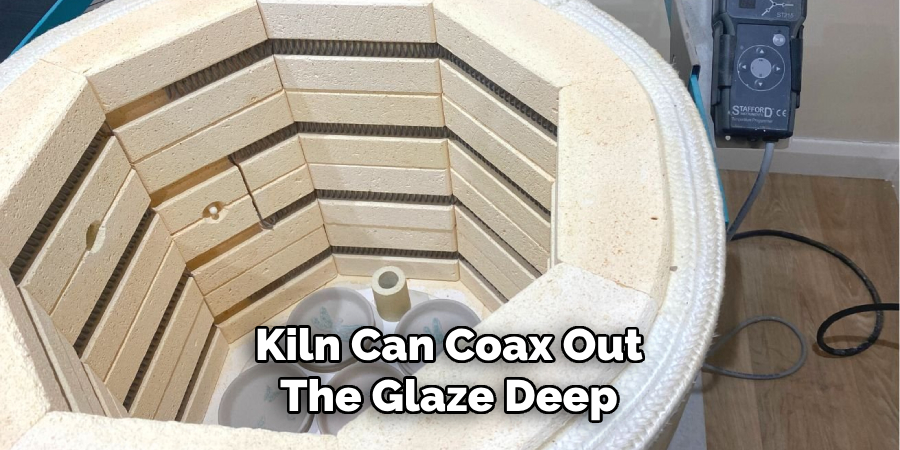
The burnt caramel variation of the koke glaze is particularly striking, characterized by its rich, lustrous surface that mimics the inviting hues of caramelized sugar. This unique glaze achieves its signature look through a specific firing temperature range, usually between Cone 5 (2167°F/1186°C) and Cone 6 (2232°F/1222°C), where the chemical reactions in the kiln can coax out the glaze’s deep, reactive colors. At these temperatures, the burnt caramel glaze unveils its full spectrum, revealing potential color variations that span from deep amber to toasted mahogany, with possibilities of subtle streaks or more intense crystallization effects on the texture.
Opting to use koke burnt caramel glaze offers various benefits to artisans. Its tactile finish and reactive nature ensure that no two pieces are identical, allowing pottery to stand out with a bespoke, artisanal quality. However, it’s not without its drawbacks. This glaze can be less forgiving than others, requiring careful control of the kiln environment and a deep understanding of the materials involved to achieve the desired outcome. Temperature fluctuations or uneven application can lead to less than optimal results.
When handling and using koke burnt caramel glazes, it is imperative to follow safety guidelines. These glazes may contain materials that can be harmful if not used with proper precautions, such as wearing protective gear and ensuring adequate ventilation in the workspace. As with any glazing process, it is vital to understand the properties and safety data sheets of the particular glaze in use to protect both the creator and the longevity of their artistic creations.
How to Glaze Koke Burnt Caramel Pottery A Comprehensive Guide
1. Preparing Your Pottery for Glazing
Preparing your pottery for glazing is a crucial step in the ceramics process, ensuring the koke burnt caramel glaze adheres properly to the surface and achieves its maximum aesthetic potential. Starting with bisque-fired pieces, it’s essential to thoroughly clean the surface to remove any dust or debris. A damp sponge can be used to lightly wipe the pottery; however, ensure the piece is completely dry before applying the glaze. For unfired greenware, a soft brush or compressed air can be employed for cleaning without dampening the clay body.
Different clay bodies react differently to glazes, and for koke burnt caramel glaze, it is important to select a clay that provides a smooth canvas while complementing the glaze’s properties. Porous clays may absorb the glaze unevenly, so testing the compatibility through sample trials is worth testing before proceeding with your main work. Depending on your clay’s characteristics, certain preparations, such as applying a slip or burnishing the surface, might be necessary.
Equipping yourself with the right tools for glazing ensures a polished and professional finish. Brushes of various sizes will allow for detailed application and smooth coverage, while sponges can help blend and even out the glaze. Tools like pouring containers and dipping tongs can also facilitate uniform coating, especially for larger pieces. Contemplate acquiring glaze mixers or sieves to maintain a consistent mixture and texture of the glaze. Remember, these preparations reflect the patience and care you invest in your craft, which directly translates to the superior quality and beauty of your finished koke burnt caramel pottery.
2. Applying the Glaze
Precision and patience are paramount when it comes to the actual application of Koke burnt caramel glaze. Begin with a well-mixed glaze to ensure uniformity in color and texture. If you use brushwork techniques, choose brushes that will allow you control over the stroke – soft and broad brushes for wider areas, and narrow, harder brushes for detail work. Load the brush sufficiently, but avoid over-saturating, as this can cause runs. Apply with even, controlled strokes, and work swiftly to maintain a wet edge, thus preventing overlapping marks.
Dipping is another common method, ideal for achieving fast and even coverage. Before dipping, stir the glaze to maintain homogeneity. Hold the bisque by an unglazed area, submerge it into the glaze, and lift it out smoothly. Allow excess glaze to drip off before turning it upright to prevent pooling. Any surplus glaze that pools at the bottom can be gently removed with a clean sponge.
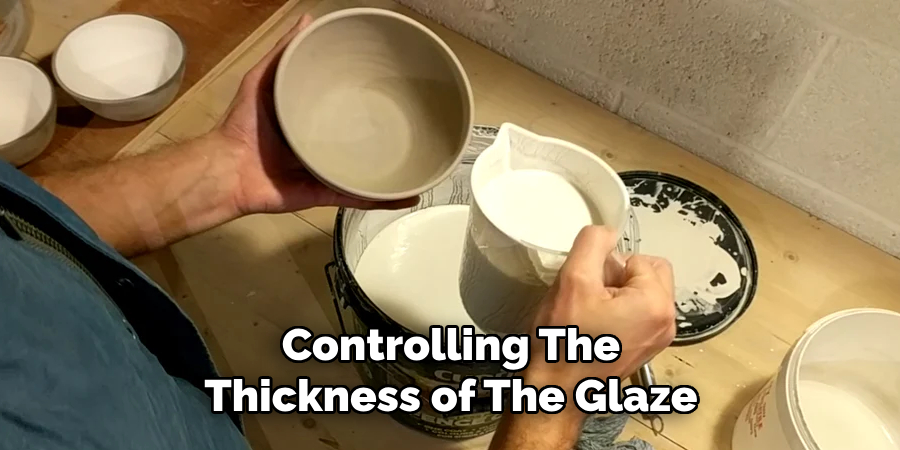
Controlling the thickness of the glaze is crucial; too thin, the color will be muted and uneven; too thick, the glaze may run or bubble during firing. A general rule of thumb is to aim for the thickness of a credit card. You can check the consistency by allowing the glaze to dry between coats and looking for a semi-matte, opaque appearance without seeing the clay beneath.
For those seeking to create specific effects, layering different glaze formulations can create depth or highlight areas. Apply a lighter glaze with a brush over a darker base to produce drips or contrasting areas. To achieve a more organic effect, such as a fade or gradient, use a damp sponge to lightly dab at the edges of the newly applied glaze, thinning it out and allowing it to blend into the base layer.
Issues such as runs, pooling, or uneven coverage may still arise despite careful application. To counteract these, avoid applying glaze to areas where gravity may cause excessive movement, such as overhangs or sharp relief patterns. Through practice, you will learn to anticipate where glaze behavior can become problematic and adjust your application technique accordingly. By maintaining consistent application methods and glaze thickness, you ensure optimal results that showcase the full beauty and potential of the koke burnt caramel effect.
3. Drying and Preparing for Firing
Once your pottery has been meticulously glazed with the koke burnt caramel glaze, it is critical to allow it to dry thoroughly. Proper drying is as crucial as the application itself because it ensures the stability of the glaze during the firing process, and inadequate drying can lead to imperfections such as cracking or damage. The recommended drying time can vary depending on the thickness of the glaze application and environmental conditions such as humidity and temperature. A rule of thumb is to allow pieces to dry for at least 24 hours in a well-ventilated area protected from dust and fluctuations in the climate.
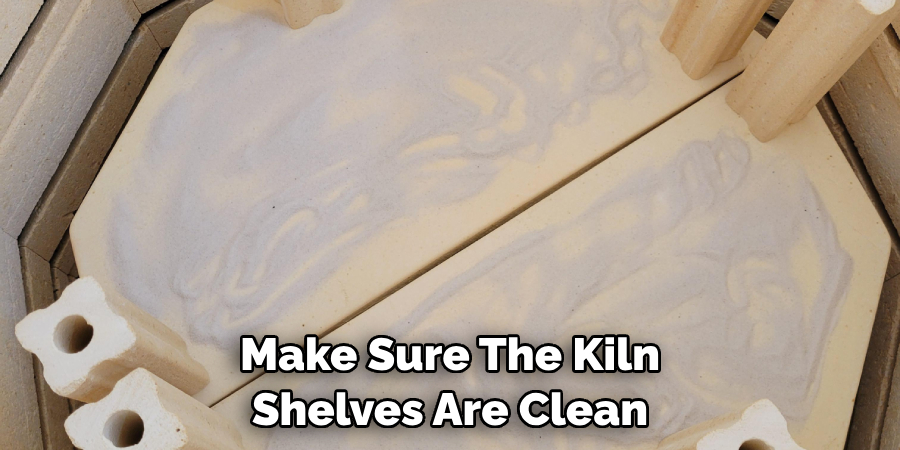
Before your artwork is ready for the kiln, you must undertake specific preparations to ensure the firing process goes smoothly. It is vital to make sure the kiln shelves are clean to avoid any debris sticking to the pottery. Apply kiln wash to the shelves as an extra layer of protection, which will aid in removing the pottery after firing if any glaze happens to run. Leave adequate space between pieces for proper heat circulation when loading the kiln. Use spacers if necessary to prevent the pieces from touching each other, which could cause them to stick together once the glaze becomes molten. By observing these steps with care and attention, you ready your koke burnt caramel pottery for a successful firing, setting the stage for remarkable results that highlight the unique character of this glazing technique.
4. Firing Your Koke Burnt Caramel Pottery
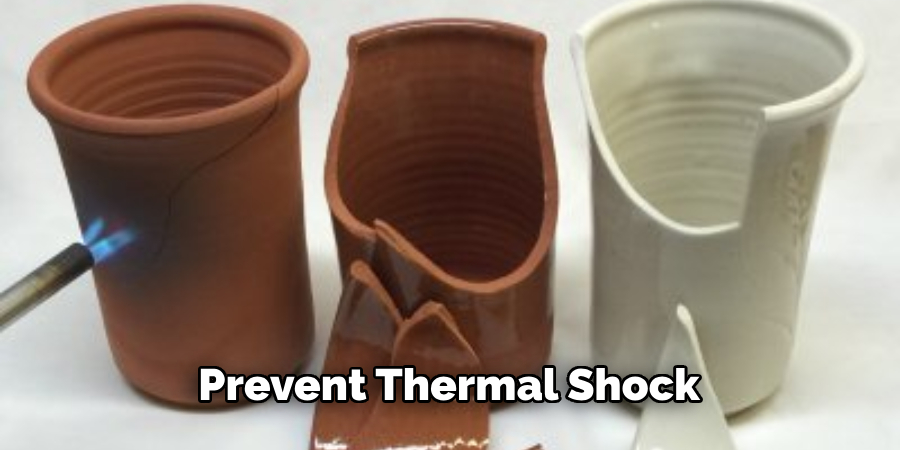
The ideal koke burnt caramel glaze firing temperature typically falls within the cone 5 to six range (approximately 2167°F to 2232°F). It’s essential to adhere to a precise firing schedule that gradually elevates the temperature to prevent thermal shock—slow heating during the initial phase is key. Equally crucial is a controlled and gradual cooling period to avoid cracking. Specific to koke burnt caramel, certain effects may be more pronounced with a ‘hold’ at peak temperature or a controlled cool to enhance the depth and range of caramel tones. Always consult your glaze manufacturer’s guidelines for the best results.
That’s it! You’ve now learned how to glaze koke burnt caramel pottery like a pro. With precision and patience, you have prepared, applied, dried, and fired your unique pieces to showcase this distinctive glazing technique’s rich depth and beauty. Remember to experiment with different application methods and layering effects to discover new ways of showcasing the koke burnt caramel effect in your pottery. May your creations continue to amaze and delight all who behold them.
Troubleshooting Common Glaze Issues
Glazing pottery is an art filled with intricate challenges. Among the common issues when working with the koke burnt caramel glaze are pinholes, crazing, crawling, and running. Pinholes, small surface imperfections, are often the result of trapped air or gases escaping during firing. To minimize this, ensure the glaze is thoroughly mixed and the bisque ware is dust-free before application. A slow initial firing ramp can allow gases more time to escape.
Crazing, the network of fine cracks in the glaze surface, can be aesthetic in some contexts but may be undesirable for functional ware. It often occurs when the clay body and glaze have different expansion rates, leading to tension. To address crazing, adjust the glaze’s coefficient of expansion by blending in materials that either increase or decrease its expansion properties or select a clay body better matched to the glaze’s thermal expansion.
Crawling is when the glaze retracts from the clay body, leaving bare patches. This problem can be due to application on a dusty or oily surface, overly thick glaze, or even a too-rapid drying process. To prevent crawling, clean the bisque ware meticulously, apply the glaze to appropriate thicknesses, and allow for gradual drying.
Running occurs when the glaze moves too much during the firing, potentially ruining both the ware and the kiln shelf. To prevent runs, ensure that the glaze thickness is consistent and not too heavy, especially on vertical surfaces. Adjust the glaze recipe for a higher melting point or modify the firing schedule to hit temperatures where the glaze is less fluid.
For advanced issues, using a hydrometer to measure the specific gravity of the glaze for reproducibility or a gloss meter to quantify surface reflection can be insightful tools. When consistent problems arise, it might be necessary to seek out or formulate a glaze that better matches the thermal behavior of your clay body while achieving the desired aesthetic of Koke burnt caramel.
Achieving Different Effects with Koke Burnt Caramel Glaze
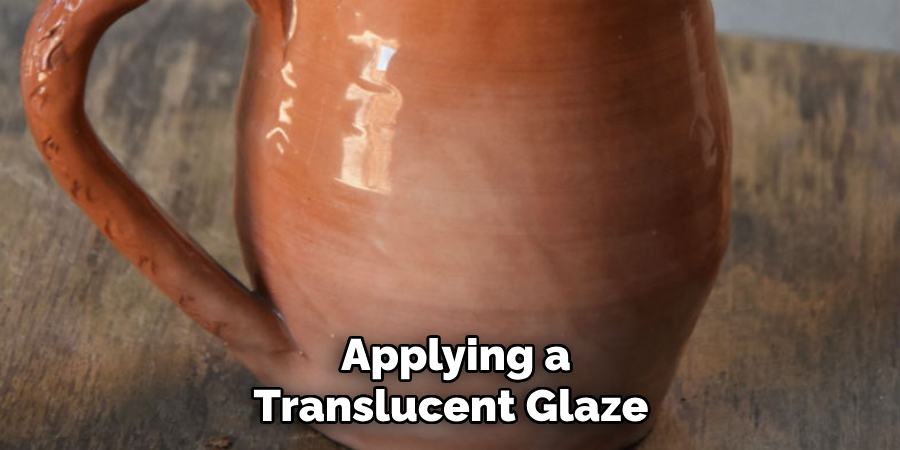
Unlocking the full potential of the koke burnt caramel glaze involves exploring the creative versatility beyond the simple application. Layering different glazes can uncover depths and complexities that single applications don’t achieve. Applying a translucent glaze atop the caramel glaze introduces a dimensionality that can capture and refract light differently, giving a gem-like luminosity to pieces. Inversely, layering this glaze under a semi-opaque glaze can result in interactions at high temperatures that produce unexpected color variations and textures, making each piece unique.
Beyond layering, brushwork manipulation brings an artist’s touch to the fore. Different brush strokes, from broad swaths to fine lines, can lead to many visual effects resembling everything from wood grain patterns to iridescent feather strokes. Texturing, another avenue for experimentation, can be effectuated through various tools such as sponges or combs, each leaving a unique imprint on the glaze’s surface that will be accentuated after firing.
Masking techniques serve as a method to protect certain areas from receiving glaze, yielding a canvas for more intricate designs or maintaining the natural beauty of the clay body in chosen spots. Techniques like wax resist, or stenciling can help achieve sharp contrast in color and texture, offering a different perspective on the koke burnt caramel glaze’s final appearance.
For experienced potters looking to venture into advanced terrain, firing methods such as raku or smoke firing can yield stunning results with koke burnt caramel glaze. Raku, with its rapid firing and cooling process, can create an array of lustrous metallic and crackle effects, while smoke firing—encapsulating pottery in a smoke-filled environment—can give rise to ethereal, smoky markings that enhance the warmth and depth of the caramel tones.
Exploring these techniques allows potters to push the boundaries of the koke burnt caramel glaze, offering each artist the chance to leave an indelible, personal stamp on their work. Whether through controlled layering, expressive brushwork, intricate texturing, or embracing the unpredictable beauty of alternative firing methods, the koke burnt caramel glaze remains a versatile medium for artistic expression.
Care and Maintenance of Glazed Koke Pottery
Proper care is essential for preserving the integrity and beauty of glazed koke pottery. Always verify the food safety of glazes, as those high in certain metal oxides may not be suitable for dining ware. Hand washing with a soft sponge and mild detergent is recommended for cleaning, as the dishwasher’s abrasive action may degrade the glaze over time. Placing the pottery on the top rack can minimize risk if it is dishwasher safe.
Storing glazed items separately will prevent scratching and preserve the finish. Avoid sudden temperature changes, such as moving a piece from the refrigerator directly into a hot oven, as this may cause thermal shock and cracking. Microwaving should be done with caution, considering the potential of metal oxide-based glazes to spark.
Keep koke pottery out of direct sunlight for long-term care to prevent fading. If used outdoors, they should be brought inside during extreme weather. Lastly, inspect your pieces periodically for any signs of wear or damage, and retire any compromised items from functional use to decorative, as they could harbor bacteria or become weakened structurally. Following these guidelines will help maintain the distinct character and longevity of your koke-glazed pottery.

Frequently Asked Questions about Koke Burnt Caramel Glaze
Q: Can the Koke Burnt Caramel Glaze Be Used on Dinnerware?
A: Yes, koke burnt caramel glaze can be used on dinnerware, provided it is formulated to be food safe. Always check the glaze label for food safety information or consult the manufacturer.
Q: How Can I Prevent My Koke Glazed Pottery from Scratching when Stored?
A: To prevent scratching, store your glazed pottery by wrapping it in a soft cloth or keep it in a separate compartment where it doesn’t come into contact with other hard surfaces.
Q: Is the Koke Burnt Caramel Glaze Dishwasher Safe?
A: While some koke-glazed pottery can be dishwasher safe, washing these items by hand is generally recommended to maintain the integrity of the glaze. Check with the glazier for the specific properties of your glaze.
Q: What Do I Do if My Pottery Piece Cracks After I Take It Out Of the Refrigerator and Put It in The Oven?
A: This cracking is likely due to thermal shock. Always bring your pottery to room temperature before slowly heating it up to prevent this. If a piece cracks, it is best to retire it from functional use.
Q: Can I Microwave Koke Glazed Pottery?
A: Microwaving pottery with metallic glazes or components can be dangerous and unnecessary. If you are sure your koke glazed pottery does not contain metal oxides or the glaze is labeled as microwave-safe, then it can be microwaved with caution.
Q: How Can I Maintain the Shine on My Glazed Koke Pottery?
A: Periodic cleaning with a mild detergent and avoiding dishwasher use can help maintain the shine. Additionally, keeping your pottery out of direct sunlight will prevent the glaze from fading.
Q: Can I Apply Koke Burnt Caramel Glaze Over Another Glaze?
A: Yes, layering koke burnt caramel glaze over another glaze can create unique textures and colors, but you should always test such combinations as interactions can vary.
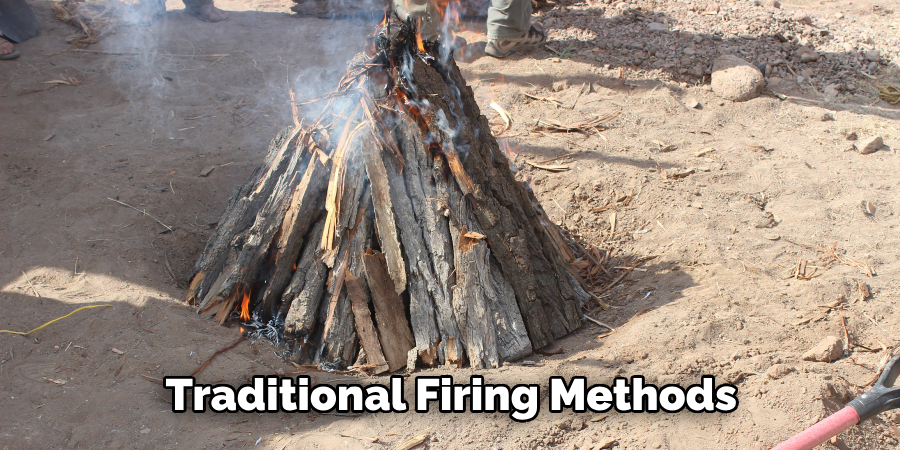
Q: What Firing Techniques Work Well with The Koke Burnt Caramel Glaze?
A: Traditional firing methods work well, but for a unique finish, techniques like raku, smoke firing, or salt firing can yield dramatic effects. Always perform a test firing to understand how the glaze behaves with different techniques.
Conclusion
Throughout this exploration of how to glaze koke burnt caramel pottery, we’ve delved into the transformative effects of various techniques and firing methods on this glaze’s final appearance. We have uncovered the mesmerizing potential inherent in its use—how it can impart a gem-like luster or evoke the earthy depth of caramel through intricate texturing and layering.
We’ve also emphasized the importance of proper maintenance to ensure the longevity and vibrancy of these unique creations. We hope the insights and resources provided inspire you to experiment and innovate within your pottery practice. Embrace the challenge and satisfaction that comes with mastering the koke burnt caramel glaze, and revel in the beauty that your hands can bring to life.
Toby Rede is a professional potter focused on creating functional and artistic ceramics. His work blends natural textures with modern forms, often inspired by sustainable gardening and outdoor environments. Toby’s pottery emphasizes both utility and beauty, reflecting his philosophy of intentional craftsmanship. On the blog, he shares insights on integrating handmade objects into everyday life.
Education
Associate Degree in Ceramic Technology, Alfred University
Professional Focus
Pottery creation with a focus on functionality and artistic expression
Techniques exploring texture, glazing, and sustainable materials
Professional Accomplishments
Work featured in regional art shows and garden exhibitions
Collaborations with local craft fairs and home decor shops