Are you a DIY enthusiast who loves to create things out of ceramic? Whether you’re making a piece of pottery, repairing a broken dish, or simply creating something unique and decorative, knowing how to glue ceramic together is an essential skill.
Repairing broken or cracked ceramic items can be daunting, but with the right approach and materials, it is entirely feasible whether it’s a favorite mug, a beloved figurine, or a decorative plate, successfully gluing ceramic restores its functionality and preserves cherished memories and sentimental value.

This guide will provide you with a step-by-step approach to glue ceramics together effectively. By understanding the tools and adhesives available, you will be equipped to handle various types of ceramic repairs with confidence and ease. Let’s get started!
What Will You Need?
To begin, gather all the necessary materials for your ceramic repair project. Some essential items to have on hand are:
- Ceramic Adhesive: Choose a robust and waterproof adhesive designed for ceramic repairs. Some popular options include epoxy adhesives, super glue, and silicone adhesives.
- Cleaning Supplies: Before gluing the ceramic pieces together, ensure that they are thoroughly cleaned and free of dirt or debris. You can clean the surface with soap and water or rubbing alcohol.
- Rubber Gloves: Wearing gloves will protect your hands from any chemicals in the adhesive and prevent fingerprints on the ceramic surfaces.
- Clamps or Tape: These tools will help hold the pieces in place while the adhesive dries. Ensure you have enough clamps or tape to secure all parts of your project effectively.
- Sandpaper: If the broken edges of your ceramic pieces are rough or jagged, sandpaper can help smooth them out for a better fit.
- Toothpicks/Q-tips: These can be useful for applying small amounts of adhesive in tight spaces.
- Protective paper or cloth: Before beginning your project, lay down protective paper or cloth to avoid getting adhesive on any surfaces.
Once you have all your materials handy, it’s time to start repairing your ceramic item.
10 Easy Steps on How to Glue Ceramic Together
Step 1. Prepare the Work Area
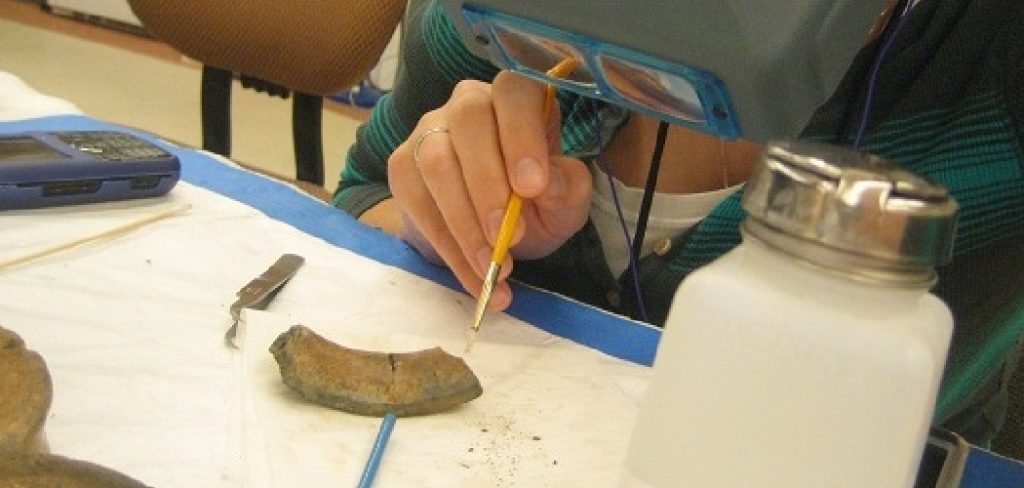
Ensure your work area is clean and organized before beginning your ceramic repair. A clutter-free workspace will help you focus on the task without any unnecessary distractions. Choose a flat, stable surface to work on, and cover it with protective paper or cloth to catch any adhesive spills. Ensure you have good lighting that will allow you to scrutinize the ceramic pieces during each process step. If possible, work in a well-ventilated area to minimize exposure to adhesive fumes. Arrange your tools and materials within easy reach so you don’t have to disrupt your workflow by searching for items as you proceed with the repair. A well-prepared work area sets the stage for a successful and efficient repair process.
Step 2. Clean the Ceramic Pieces
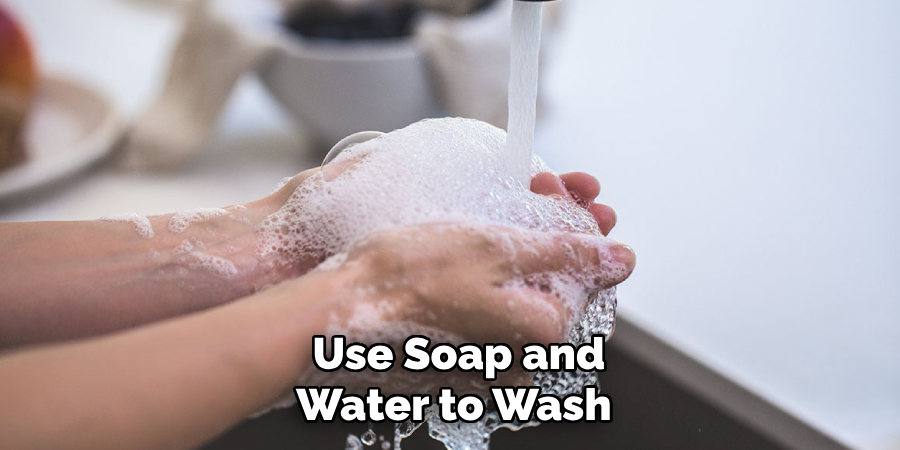
Before applying any adhesive, it’s crucial to ensure that the ceramic pieces are clean and free of dust, grease, or debris. Use soap and water to wash the surfaces that will be joined gently. For a more thorough cleaning, you can use rubbing alcohol to wipe down the pieces, ensuring that all contaminants are removed. Allow the ceramic pieces to dry completely before proceeding. A clean surface is vital for the adhesive to bond effectively, leading to a more robust and more durable repair.

Step 3. Dry Fit the Pieces
Performing a dry fit is an essential step in the ceramic repair process. It involves assembling the ceramic pieces without adhesive to ensure they align properly, fit snugly, and there are no missing fragments. Carefully place each piece together, noting how they align and sit against one another. You can adjust any awkward or ill-fitting edges through gentle sanding or repositioning to ensure a seamless fit when the adhesive is applied. During this stage, observe areas needing special attention or extra adhesive, such as gaps or uneven surfaces.
Certifying that all pieces fit perfectly will result in a cleaner, more efficient repair and will make the subsequent steps easier to handle. Once you are satisfied with the alignment, make a mental note or take a photo to reference during the adhesive application, ensuring you can reconstruct the desired configuration without hesitation.
Step 4. Apply the Adhesive
With the pieces now fitting together perfectly, it’s time to apply the adhesive. Depending on the type of adhesive you are using (epoxy, super glue, or silicone), follow the manufacturer’s instructions carefully. Use a toothpick or a Q-tip to apply a thin, even layer of adhesive along the broken edges of one of the pieces. Be sure to cover the entire surface that will be joined, but avoid excess adhesive that may spill out when the pieces are pushed together. Work efficiently, as some adhesives have quick drying times, ensuring you are ready to proceed to the next step without delay. Proper adhesive application is critical to achieving a solid and durable bond between the ceramic pieces.
Step 5. Join the Pieces
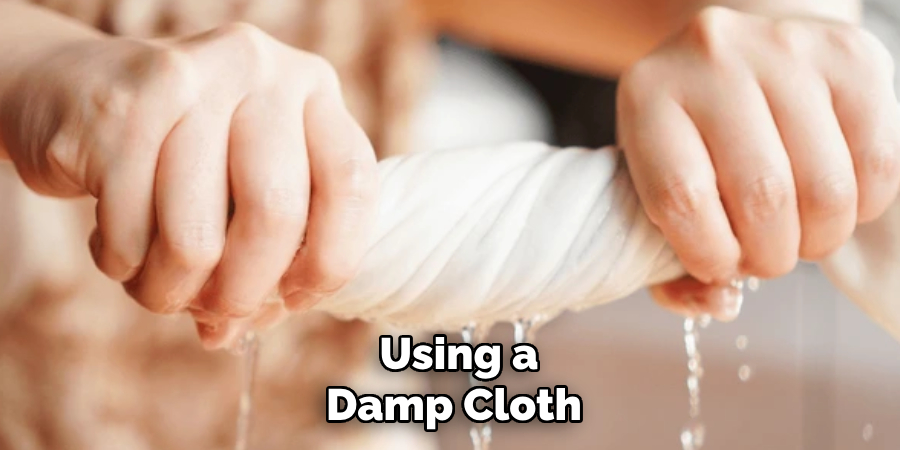
Once the adhesive is applied, carefully join the ceramic pieces. Align them according to your dry fit and gently press them together. Ensure all edges align as precisely as possible. If any adhesive seeps out from the joint, quickly wipe it away using a damp cloth before it begins to set. Apply steady pressure for a few moments to allow the adhesive to bond effectively. For larger repairs or where additional support is required, use clamps or tape to hold the pieces in place until the glue has thoroughly dried. Be patient, as proper bonding is crucial for a lasting repair.

Step 6. Secure and Allow to Dry
Once the ceramic pieces are adequately joined and any excess adhesive has been removed, securing them while the adhesive cures is essential. Use clamps or sturdy tape to hold the pieces steadily in place, ensuring they do not shift during drying. Refer to the adhesive manufacturer’s instructions for recommended drying times, as these can vary significantly between products. It is crucial not to rush this step; allow ample time for the bond to set completely to ensure maximum strength and durability.
A well-cured repair will withstand daily use and minimize the risk of further damage. Keep your work area undisturbed during this period to avoid accidental bumps or movements disrupting the curing process. Once thoroughly dries the adhesive, you can remove the securing devices and inspect your handiwork.
Step 7. Inspect and Reinforce the Repair
Once the adhesive has completely cured, carefully inspect the repair for any gaps or weak spots that may require additional reinforcement. If you notice any areas that need attention, consider applying a small amount of adhesive to reinforce the bond. For added strength, a thin layer of adhesive can also be applied over the repair seam. Ensure this layer dries entirely before proceeding. Your meticulous inspection ensures the repaired ceramic is ready to handle everyday use without worry.
Step 8. Finishing Touches
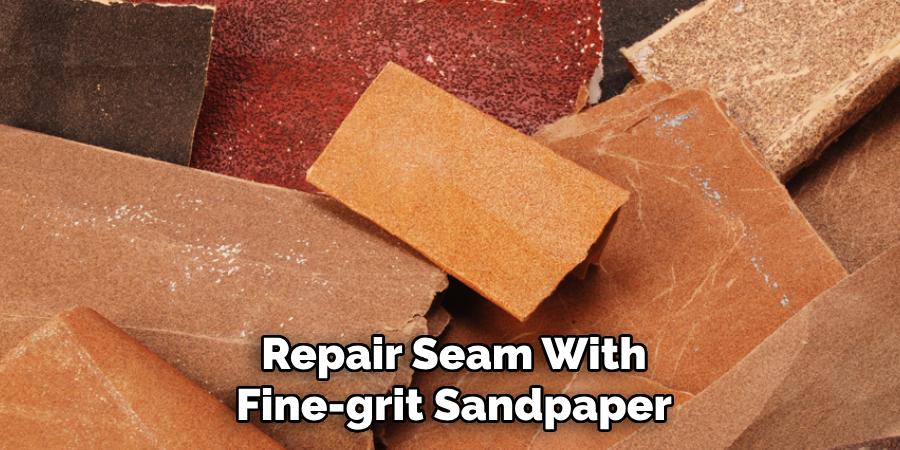
With the repair now structurally sound and fully cured, it’s time to focus on the aesthetics to restore the ceramic’s original appearance. Begin by gently sanding the repair seam with fine-grit sandpaper to smooth out any uneven surfaces or excess adhesive. Be careful not to scratch or damage the surrounding ceramic. Once you are satisfied with the smoothness, clean the area with a damp cloth to remove dust particles. If the repaired piece requires painting to match the original finish, select a paint that blends well with the existing color.

Apply the paint in thin, even coats using a small brush, allowing each layer to dry thoroughly before adding the next. For a glossy finish, consider applying a clear sealant over the painted area to protect it and add shine. Take your time to ensure that the repaired area blends seamlessly with the rest of the piece, enhancing its visual appeal and making the repair nearly invisible to the casual observer. Your attention to detail in the finishing process will ensure that the ceramic item functions well and looks as good as new.
Step 9. Maintain the Repaired Item
After successfully repairing and finishing the ceramic item, maintaining its condition is essential to prolong its lifespan and prevent future breakage. Handle the item carefully, particularly around the repaired area, and avoid exposing it to extreme temperatures or conditions that could stress the bond. Regularly clean the piece using a soft, damp cloth and mild detergent, avoiding abrasive materials that might scratch the surface or damage the finish. Check periodically for signs of wear, especially along the repaired seam, and address any minor issues promptly. Proper care and maintenance will ensure that your repaired ceramic piece remains beautiful and functional for years.
Step 10. Share Your Success
Once you’ve successfully repaired your ceramic item, consider sharing your experience and knowledge with others who might face similar challenges. Document the process with before and after photos, highlight any tips or tricks you discovered, and share them through social media, blogs, or DIY forums. Your insights could inspire others to take on their own repair projects instead of discarding their broken ceramics. Sharing your success story not only celebrates your craftsmanship but also contributes to promoting sustainable habits.

By following these steps, you can confidently repair your broken ceramic pieces and give them a new lease on life.
Conclusion
How to glue ceramic together can be a rewarding and sustainable practice. Throughout this guide, we’ve emphasized the importance of careful preparation, precise adhesive application, and thorough reinforcement.
The restored ceramic can regain its original appearance and functionality by taking the time to inspect and reinforce the repair, followed by detailed finishing touches. Maintaining and regularly checking the repaired item ensures it remains in good condition for years. Successfully restoring a ceramic extends its lifespan and conserves resources by reducing waste.
Embracing this process encourages creativity, patience, and environmentally friendly habits, making it a valuable skill in preserving treasured items.
With a keen eye for detail and a deep understanding of the firing process, I bring ceramics to life as a skilled kiln operator. My expertise ensures that each piece reaches its full potential, achieving the perfect balance of strength and beauty. I take pride in overseeing the critical final stage of pottery creation, transforming raw clay into stunning, durable art. 🎨
From monitoring temperatures to perfecting firing schedules, I ensure that every piece is fired to perfection. My role is not just about operating the kiln; it’s about understanding the unique needs of each creation and bringing out its best qualities.
Join me on this journey of precision and passion, where every firing tells a story. Whether it’s a delicate vase or a robust sculpture, I am dedicated to making sure that every piece that comes out of the kiln is a masterpiece. 🏺✨
Toby Rede is a professional potter focused on creating functional and artistic ceramics. His work blends natural textures with modern forms, often inspired by sustainable gardening and outdoor environments. Toby’s pottery emphasizes both utility and beauty, reflecting his philosophy of intentional craftsmanship. On the blog, he shares insights on integrating handmade objects into everyday life.
Education
- Master of Fine Arts in Ceramics, California College of the Arts
Professional Focus
- Creating practical pottery for everyday use.
- Using unique styles and techniques to convey narratives in ceramics.
Professional Accomplishments
- Showcased work in local and national art galleries, gaining recognition for craftsmanship.
- Received accolades for innovative designs in pottery competitions.