Decorating your home with festive lights is a beautiful way to spread holiday cheer, and clay tile roofs can add an elegant charm to your display. However, learning how to hang Christmas lights on clay tile roof requires special care to avoid damaging the fragile tiles. Clay tiles are known for their durability in harsh weather but can crack or break under excessive pressure or improper handling.
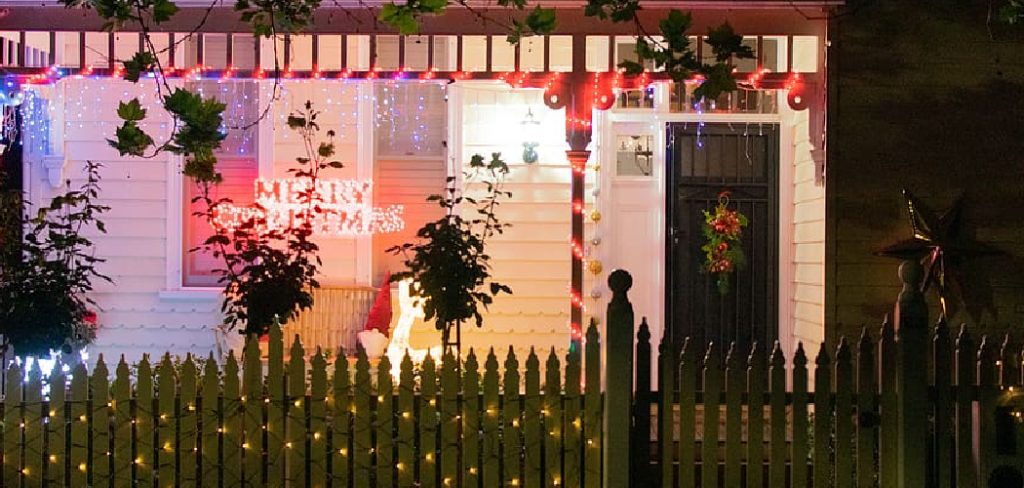
This presents a unique challenge for homeowners looking to secure lights without compromising the integrity of their roof. This guide aims to provide you with a safe and effective method to install Christmas lights on your clay tile roof, minimizing risks to the roof and ensuring a hassle-free holiday decorating experience. With the right tools and techniques, you can create a dazzling display while keeping both your roof and yourself safe.
Choosing the Right Lights and Accessories
Types of Christmas Lights Best for Clay Tile Roofs
When decorating your clay tile roof, selecting the proper type of Christmas light is essential for safety and aesthetic appeal. LED lights are a top choice, as they are energy-efficient, emit low heat, and are safer for delicate roofing materials. For the edges of your roof, icicle lights or string lights provide a classic, elegant look, while net lights are ideal for covering larger sections like dormers or hedges with minimal effort.
Essential Accessories
To protect your clay tiles, use accessories specifically designed for safe installation. Plastic clips made for clay tile roofs are an excellent option for securely holding lights in place without causing damage. Gutter clips or eave hooks are also useful alternatives, as they avoid direct attachment to the tiles. Additionally, extension cords should always be rated for outdoor use to ensure durability and safety in varying weather conditions.
Why Avoid Nails, Staples, or Adhesive Hooks
Avoid using nails or staples, as they can crack the delicate clay tiles and lead to leaks or costly repairs. Adhesive hooks should also be avoided, as they may leave residue on the tiles or fail to adhere properly in changing temperatures and weather conditions, posing a risk to both your decorations and your roof. Always prioritize tools and techniques that safeguard your roofing materials.
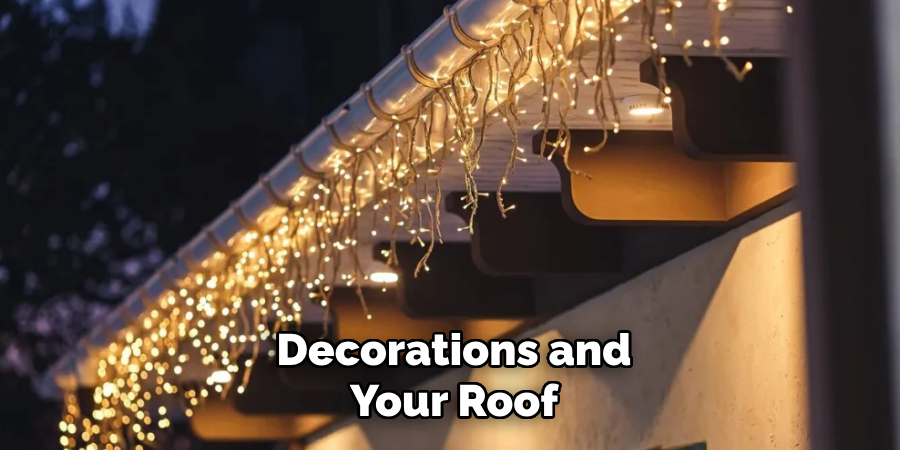
Safety Precautions Before Installation
Safety should always be a top priority when installing decorations on your roof. Follow these precautions to ensure a secure and damage-free process.
Using Proper Safety Gear
Always wear non-slip shoes to reduce the risk of slipping on the smooth and sloped surface of clay tiles. A sturdy, extendable ladder with stabilizers is essential; it provides stability and protects the roof’s edges from damage during setup.
Checking the Roof’s Condition
Before stepping onto the roof, thoroughly inspect the tiles for any cracks, chips, or loose pieces that could create hazards. Avoid walking on unsupported or damaged areas. Instead, utilize sturdy roof sections, such as eaves or gutters, as attachment points for decorations to minimize the risk of further damage.
Electrical Safety Tips
For any electrical decorations, use weatherproof, outdoor-rated extension cords designed to withstand varying weather conditions. Be cautious not to overload circuits by connecting too many strings of lights, as this can increase the risk of electrical fires. Always plug decorations into a Ground Fault Circuit Interrupter (GFCI)-protected outlet to enhance further safety, which helps prevent electrical shocks during use, especially in damp or wet environments.
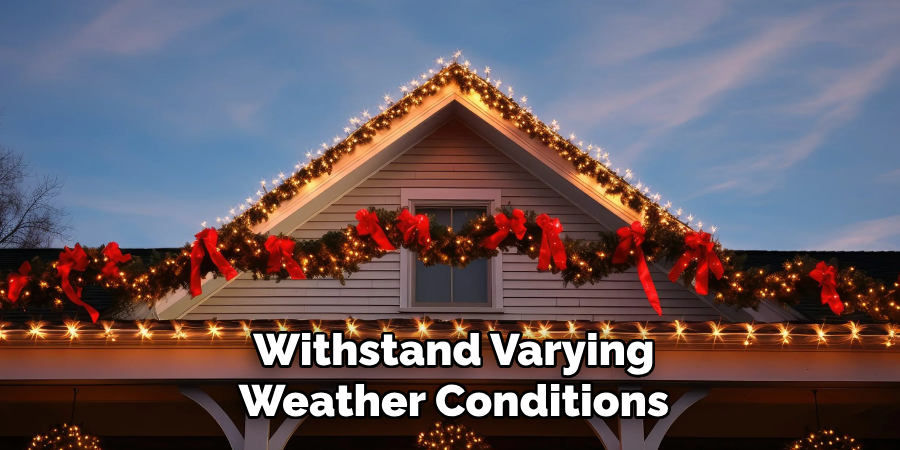
How to Hang Christmas Lights on Clay Tile Roof: Hanging Lights Without Damaging Clay Tiles
Hanging lights on a clay tile roof requires careful techniques to prevent damage to the tiles while still achieving a festive look. Here are three methods to safely and effectively hang lights on clay tile roofs:
Method 1: Using Plastic Roof Clips
Attach plastic light clips specifically designed for roofs to the edges of clay tiles without applying excessive pressure. These clips are gentle on the surface and provide a secure hold for the lights. To ensure stability, place the clips at even intervals, typically 6-12 inches apart, depending on the weight and type of lights being used.
Method 2: Attaching to Gutters or Eaves
If your roof has gutters, use gutter clips to secure the lights along the edges without directly contacting the clay tiles. This method offers safety and protection against breaking tiles. For roofs without gutters, you can use eave hooks to hang lights from the roof’s edge, ensuring no parts of the decorations disturb the fragile tiles.
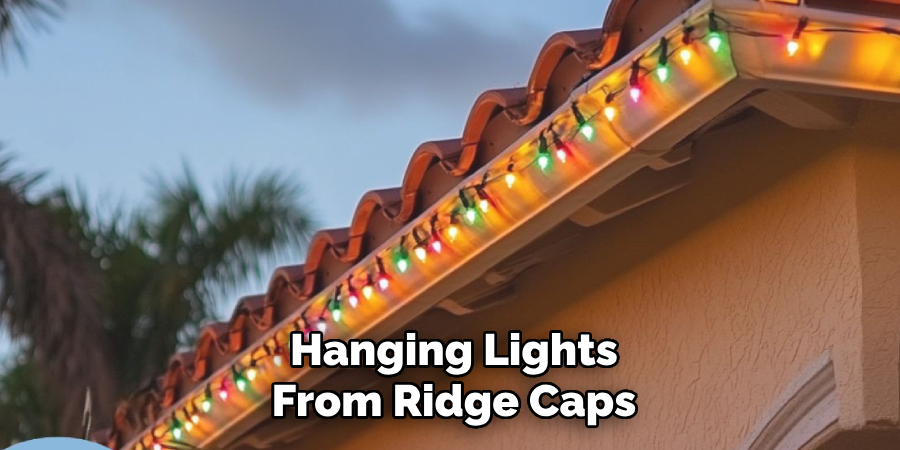
Method 3: Hanging Lights from Ridge Caps or Dormers
When decorating ridge caps or dormers, opt for non-invasive tile clips designed to fit over these areas without causing damage. These clips are ideal for holding lights securely in place while preserving the structure of the tiles. Avoid stepping directly onto clay tiles, as they can crack under pressure. Instead, use a sturdy plywood board to distribute your weight evenly and protect the roofing. Following these methods ensures a beautifully lit home while maintaining the integrity of your clay tile roof.
Securing Extension Cords and Managing Power Supply
Preventing Cord Hazards
When decorating your home with lights, managing extension cords properly is crucial to avoid hazards. Run extension cords along gutters, eaves, or siding instead of placing them directly across tiles, as this prevents unnecessary strain on the cords and reduces the risk of tripping or damaging the roofing. Use outdoor cable clips to secure the cords along these pathways securely, keeping them in place even during strong winds or adverse weather conditions.
Choosing the Right Power Source
Always plug decorative lights into weatherproof outdoor outlets to ensure a safe and efficient power supply. These outlets are specifically designed to handle exposure to moisture, keeping your connections safe from potential electrical issues. Consider using a timer or smart plug to automate your holiday lighting schedule for added convenience and energy efficiency. A timer allows you to set exact periods for your lights to turn on and off, eliminating the hassle of manual adjustments and saving energy. By adopting these practices, you create a radiant and festive display and ensure safety and reliability for your holiday lighting setup.
Weatherproofing the Setup
Protecting Lights from Wind and Rain
Securing your light setup against weather elements is essential to ensure durability and safety. Use sturdy light clips, fastening them tightly to roofs, gutters, or walls to prevent the lights from shifting or falling during strong winds. Additionally, waterproof electrical tape can seal all electrical connections, providing reliable protection against rain and moisture. This extends the lifespan of your decorations and minimizes the risk of electrical hazards during inclement weather.
Preventing Ice or Water Damage
To prevent potential damage caused by ice and water exposure, it is crucial to position your lights in areas not prone to water runoff or pooling. For example, avoid installing lights near gutters or low-lying spaces where water can collect. Opting for LED lights is another practical solution, as they generate less heat and are less susceptible to damage from moisture or freezing temperatures. By taking these precautions, you can maintain the performance and appearance of your holiday lighting setup, even in challenging winter weather conditions.
Removing Lights Safely After the Holiday Season
Step 1: Unplug and Inspect Lights
Before beginning the removal process, ensure all holiday lights are turned off and unplugged to eliminate the risk of electrical shock. Carefully inspect the lights for any broken bulbs, frayed wires, or tangled sections. Addressing these issues early can save time and effort when it’s time to use the lights again next season.
Step 2: Carefully Detach Clips
When removing lights, gently detach the clips or fasteners securing them. Avoid pulling directly on the wires as this can cause damage to the lights or the electrical cords. Take your time to ensure all clips are removed safely without causing harm to gutters, shingles, or walls. Once removed, store clips, fasteners, and lights in clearly labeled containers or storage bags. This makes next year’s decorating process far more convenient and organized.
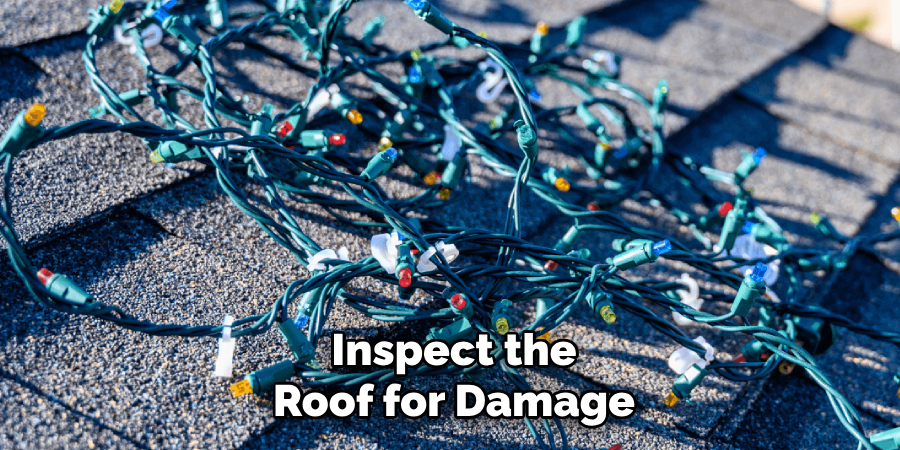
Step 3: Inspect the Roof for Damage
After the lights and clips have been removed, take the opportunity to inspect your roof for any potential damage, such as displaced shingles or cracks caused during installation or extreme weather. Make repairs as needed to maintain the structural integrity of your roof. Additionally, remove any debris from gutters to prevent clogs and ensure proper drainage. Following these steps ensures a smooth and damage-free holiday lighting setup for years.
Conclusion
Proper preparation and attention to detail are essential when learning how to hang Christmas lights on clay tile roof surfaces. Begin by selecting the right lights and using non-invasive clips to protect the delicate tiles. Ensure power sources are secure and reachable, and remove lights safely, avoiding damage to the roof and gutters. Always prioritize safety by inspecting the roof and using sturdy equipment. Investing in high-quality clips and lights safeguards your roof and simplifies the installation process for future holiday seasons. Thoughtful planning ensures a festive yet damage-free display year after year.
Toby Rede is a professional potter focused on creating functional and artistic ceramics. His work blends natural textures with modern forms, often inspired by sustainable gardening and outdoor environments. Toby’s pottery emphasizes both utility and beauty, reflecting his philosophy of intentional craftsmanship. On the blog, he shares insights on integrating handmade objects into everyday life.
Education
- Associate Degree in Ceramic Technology, Alfred University
Professional Focus
- Pottery creation with a focus on functionality and artistic expression
- Techniques exploring texture, glazing, and sustainable materials
Professional Accomplishments
- Work featured in regional art shows and garden exhibitions
- Collaborations with local craft fairs and home decor shops

