Are you tired of looking at your old vinyl flooring? Do you want to upgrade the look of your home without spending a lot of money?
Laying ceramic tile over vinyl flooring is a practical way to refresh and enhance the look of a room without removing existing floors. This process can save time and labor, but it requires careful preparation to ensure a durable and long-lasting finish. The key to a successful project lies in assessing the condition of the vinyl flooring, gathering the right tools and materials, and following the proper steps to create a solid foundation for the tiles.
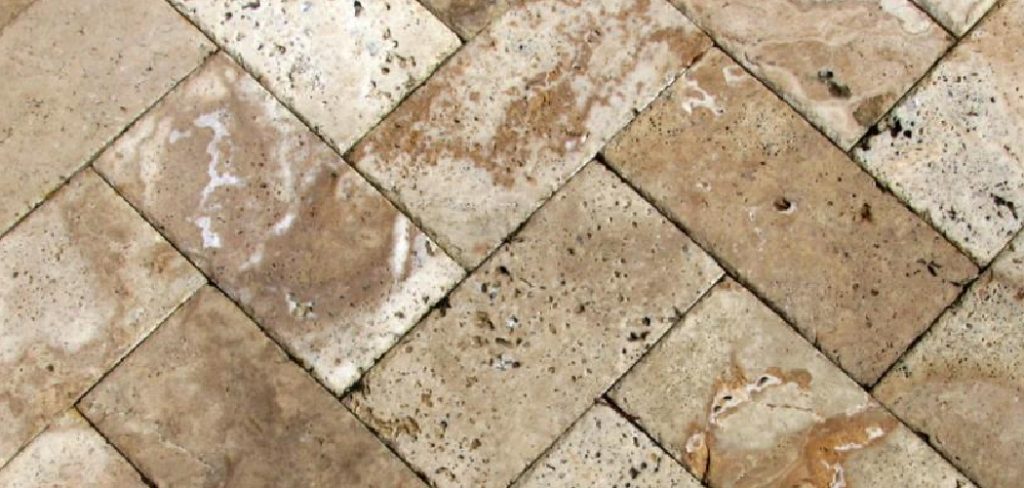
In this guide, we will walk you through the important considerations and steps on how to lay ceramic tile over vinyl flooring, helping you achieve a professional-looking result in your home improvement project.
What Will You Need?
- Measuring tape
- Pencil
- Chalk line
- Level
- Notched trowel
- Tile adhesive
- Ceramic tiles
- Grout
- Tile spacers
- Rubber grout float
- Sponge
- Bucket
You’re ready to begin the process once you have all these tools and materials.
10 Easy Steps on How to Lay Ceramic Tile Over Vinyl Flooring
Step 1: Prepare the Vinyl Flooring
Before starting the tiling process, ensuring that the vinyl flooring is clean, stable, and even is crucial. Begin by thoroughly sweeping and mopping the floor to remove any dust, dirt, or debris that could affect the adhesion of the tiles. Inspect the surface for any damage, such as deep scratches, dents, or peeling sections. Repair any imperfections, as these could compromise the integrity of the tile installation. It’s best to sand down high spots and fill any low areas to create an even surface.
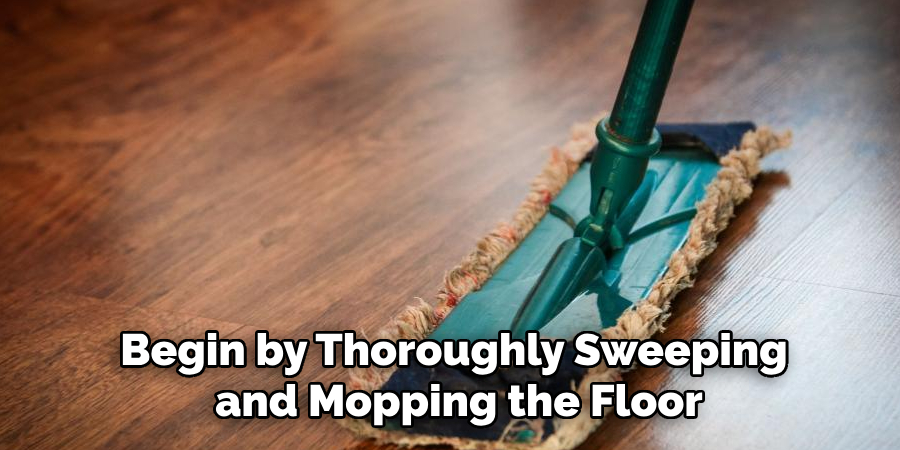
This preparation step is vital to ensure the ceramic tiles lay flat and secure, leading to a more professional and durable finish. Additionally, verify that the vinyl flooring is firmly adhered to the subfloor; loose or buckled vinyl should be fixed or removed as it can lead to tile movement and cracking. Proper preparation will lay the groundwork for a successful tiling project.
Step 2: Plan Your Tile Layout
After preparing the vinyl flooring, it’s time to plan the layout of your ceramic tiles. Begin by laying out tiles along the longest wall or the most visible area of the room without using any adhesive. This dry run will help you decide the optimal placement and avoid awkward, narrow cuts along the wall edges.
Use a chalk line to mark the center of the room and align your tiles with this guideline to ensure a balanced layout. Take into account the placement of tile spacers to allow for grout lines. Adjust the tiles as needed to create a symmetrical appearance, and note any tiles that need to be cut.
Step 3: Cut the Tiles
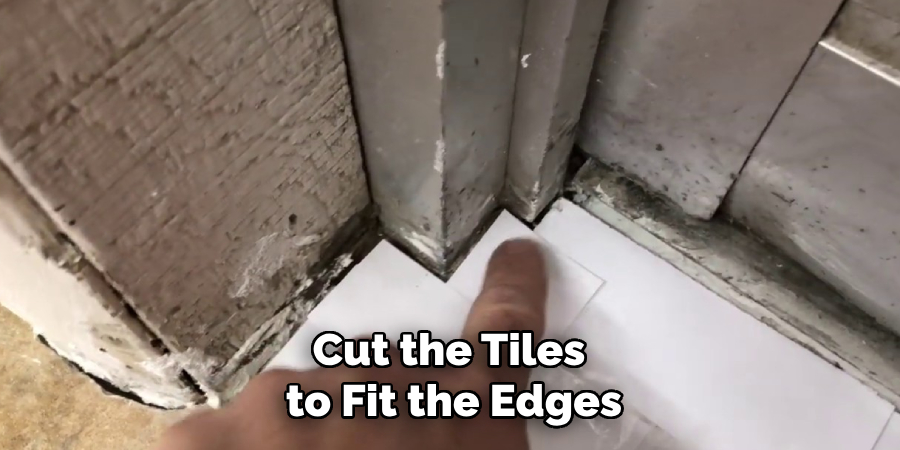
With your layout plan in place, the next step is to cut the tiles to fit the edges and corners of the room. Using a tile cutter or a wet saw, trim the tiles that need to fit around obstacles such as door frames, cabinets, or along the walls where a full-size tile won’t fit. Carefully measure and mark each tile before cutting to ensure accuracy and avoid wastage. Wear safety goggles and gloves when cutting tiles to protect yourself from sharp edges and dust.
It’s important to double-check your measurements and cuts against the dry layout to confirm proper alignment and fit before proceeding with the installation. Cutting the tiles in advance will streamline the tiling process and result in a cleaner, more professional finish.
Step 4: Apply Tile Adhesive
Now that your tiles are cut and ready, it’s time to apply the tile adhesive. Begin in the center of the room, where you marked your guideline, and work towards the edges to ensure a balanced installation. Use a notched trowel to spread the adhesive evenly on the vinyl flooring in small sections at a time, approximately three to four square feet.
Hold the trowel at a 45-degree angle to create ridges in the adhesive, which helps the tiles adhere more securely. Place the ceramic tiles into the adhesive, using gentle pressure to set them in place. Insert tile spacers between the tiles to maintain consistent grout lines. Continue this process, periodically checking that the tiles are level and adjusting as needed.
Step 5: Install the Tiles
Continue installing the tiles, following your planned layout, until the entire floor is covered. Regularly check that the tiles are level and adjust to ensure an even surface. As you work, periodically remove any excess adhesive that squeezes up through the grout lines, using a damp sponge to clean the tile surfaces. This will help maintain a neat appearance and simplify the grouting process later. Once all the tiles are set, allow the adhesive to cure completely per the manufacturer’s instructions, typically 24 hours.
Step 6: Grout the Tiles
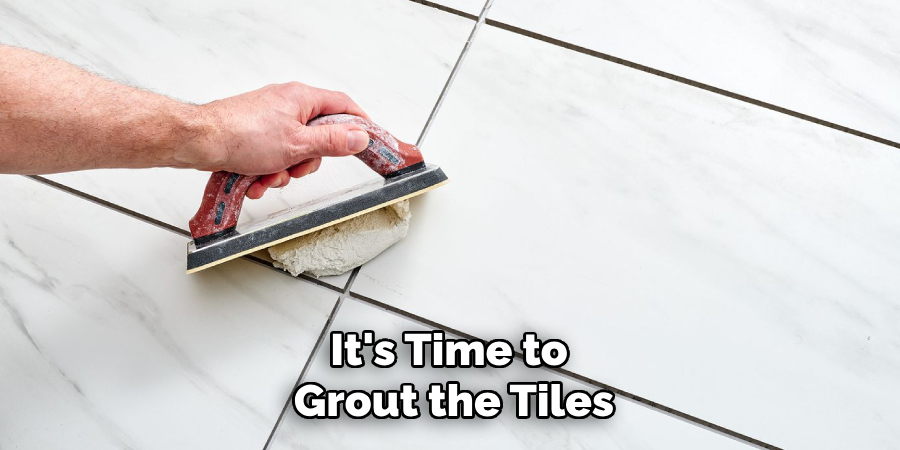
Once the adhesive has fully cured, it’s time to grout the tiles. Begin by mixing the grout according to the manufacturer’s instructions until you achieve a smooth, consistent paste. Utilize a rubber grout float to spread the grout across the tile surface, pressing it firmly into the gaps between the tiles. Work in small sections to ensure that the grout does not dry out before you can finish working it into the joints. Move the float diagonally across the tiles to prevent it from pulling grout out of the spaces.
After filling the grout lines, use a damp sponge to wipe away excess grout from the tile surfaces. Be sure to rinse the sponge frequently to maintain cleanliness. Allow the grout to cure as per the manufacturer’s instructions, and then use a clean, dry cloth to buff away any grout haze remaining on the tiles. Grouting properly seals the joints, contributing to the overall durability and appearance of your new ceramic tile floor.
Step 7: Seal the Grout
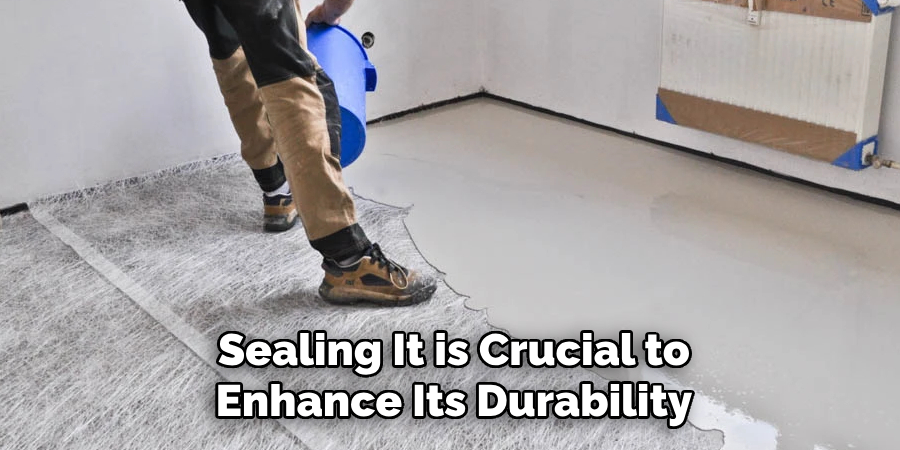
After the grout has fully cured, sealing it is crucial to enhance its durability and stain resistance. Begin by selecting a grout sealer appropriate for your type of grout. Using a small brush or applicator bottle, carefully apply the sealer along the grout lines, ensuring full coverage and avoiding the ceramic tile surfaces as much as possible.
Allow the first coat to dry according to the manufacturer’s instructions, and apply a second coat for added protection if necessary. Be sure to use ventilation during application, as sealers may contain strong fumes. This final step not only helps preserve the appearance of your floor but also lengthens the lifespan of the grout by providing a barrier against moisture and stains. After sealing, avoid walking on the floor for the recommended time to ensure the sealer sets effectively.
Step 8: Final Inspection and Maintenance
After the grout sealer has fully dried and set, thoroughly inspect your newly tiled floor. Check for any imperfections, such as uneven tiles, gaps in the grout, or areas that may need an additional sealer. Clean the floor with a mild, non-abrasive cleaner to remove any remaining debris or film.
To maintain the longevity and appearance of your tiled floor, establish a regular cleaning routine that includes sweeping or vacuuming to remove loose dirt and using a damp mop with a gentle cleaner suitable for ceramic tiles. Avoid harsh chemicals or abrasive tools that could damage the tiles or grout. Additionally, inspect the grout periodically for signs of wear and reseal as necessary to keep it protected.
Step 9: Add Finishing Touches
Now that your ceramic tile floor is complete, it’s time to focus on the finishing touches to achieve a polished and professional look. Begin by reinstalling any baseboards or trim that were removed before the tiling process. Use a paintable caulk to fill gaps between the trim and the floor, creating a seamless transition and preventing dirt accumulation. Consider adding threshold strips in doorways to protect the edges of the tiles and ensure a smooth transition between different flooring surfaces.
Apply a high-quality tile polish to enhance the tiles’ shine and aesthetic appeal if desired. Finally, step back and admire your handiwork, taking note of any areas that might need further attention or touch-ups.
Step 10: Enjoy Your New Space
With all the hard work completed, it’s time to enjoy your newly tiled space. Allow yourself to appreciate the transformation that has occurred, thanks to the effort and attention to detail you’ve invested in the project. Not only does the new floor enhance the aesthetic appeal of your home, but its durability and functionality add long-term value. Use this newly refreshed area to host gatherings, enjoy family time, or simply relax and take in the beauty of your accomplishments.
Following these steps, you can confidently tackle your ceramic tile installation project and achieve professional results.
Conclusion
How to lay ceramic tile over vinyl flooring is a feasible project that can greatly enhance the beauty and value of your home.
You ensure a durable and visually appealing finish by meticulously following the outlined steps, from preparing the surface and designing the layout to grouting and sealing. The key lies in thorough preparation and attention to detail throughout the process. With patience and dedication, you can transform your floor into a stunning focal point while also learning valuable skills that can be applied to future home improvement projects.
Ultimately, the successful completion of this project not only provides a sense of accomplishment but also results in a resilient and attractive floor that stands the test of time.
With a keen eye for detail and a deep understanding of the firing process, I bring ceramics to life as a skilled kiln operator. My expertise ensures that each piece reaches its full potential, achieving the perfect balance of strength and beauty. I take pride in overseeing the critical final stage of pottery creation, transforming raw clay into stunning, durable art. 🎨
From monitoring temperatures to perfecting firing schedules, I ensure that every piece is fired to perfection. My role is not just about operating the kiln; it’s about understanding the unique needs of each creation and bringing out its best qualities.
Join me on this journey of precision and passion, where every firing tells a story. Whether it’s a delicate vase or a robust sculpture, I am dedicated to making sure that every piece that comes out of the kiln is a masterpiece. 🏺✨
Toby Rede is a professional potter focused on creating functional and artistic ceramics. His work blends natural textures with modern forms, often inspired by sustainable gardening and outdoor environments. Toby’s pottery emphasizes both utility and beauty, reflecting his philosophy of intentional craftsmanship. On the blog, he shares insights on integrating handmade objects into everyday life.
Education
- Master of Fine Arts in Ceramics, California College of the Arts
Professional Focus
- Creating practical pottery for everyday use.
- Using unique styles and techniques to convey narratives in ceramics.
Professional Accomplishments
- Showcased work in local and national art galleries, gaining recognition for craftsmanship.
- Received accolades for innovative designs in pottery competitions.