Loading a kiln properly is a crucial step in the ceramic firing process. Proper loading ensures even heat distribution, prevents damage to the pieces, and maximizes the kiln’s efficiency. Whether you are a beginner or an experienced ceramicist, understanding the basics of kiln loading can significantly impact the quality of your fired work.
This guide on how to load a kiln will provide you with step-by-step instructions and essential tips to help you load your kiln safely and effectively.
What You Will Need
Before we delve into the process of loading a kiln, here are some essential items you will need:
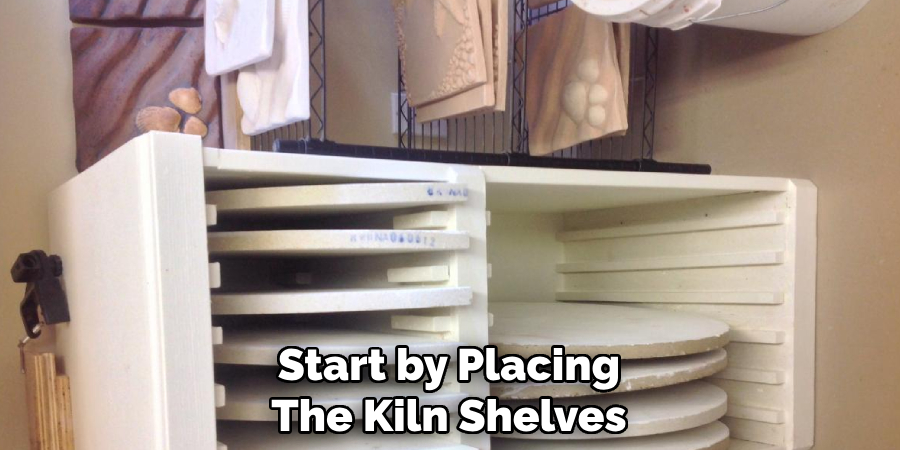
Kiln Shelves
these are the flat surfaces where you place your pieces. They come in various materials such as cordierite or silicon carbide. It is essential to have enough shelves to accommodate all your work, with some space between each piece for proper air circulation.
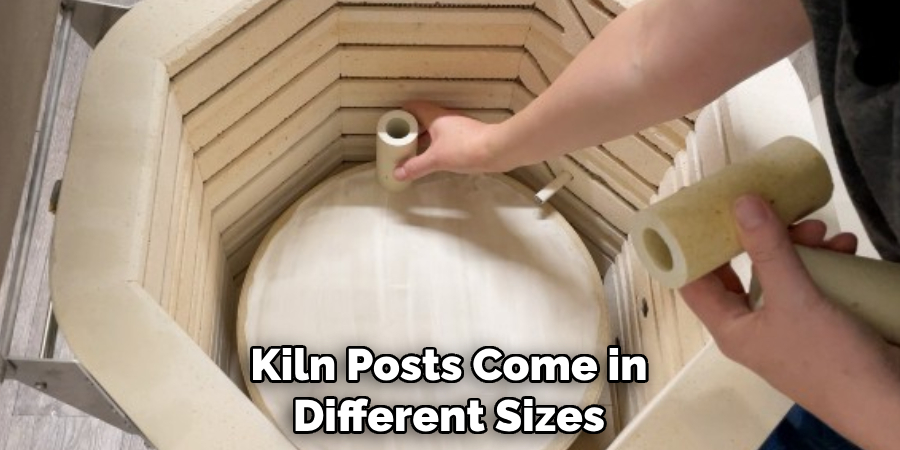
Kiln Posts
These are the supports that go in between the shelves to create multiple layers. Kiln posts come in different sizes and can be made from materials like kiln wash-coated ceramic or metal rods.
Kiln Wash
Kiln wash is a protective coating applied to kiln shelves to prevent glaze drips from sticking. You can purchase a pre-made kiln wash or make your own using equal parts of kaolin and alumina hydrate mixed with water.
Stilts
Stilts are small ceramic or metal stands used to elevate pieces that cannot be placed directly on the kiln shelf, such as those with a glazed bottom.
Protective Gear
It is crucial to wear protective gear while loading and unloading a kiln. This includes heat-resistant gloves, closed-toe shoes, and safety glasses.
7 Step-by-step Guides on How to Load a Kiln
Now that you have all the necessary items, let’s get started on how to load your kiln:
Step 1: Prepare Your Work
Before you start loading your kiln, it’s essential to prepare your workpieces properly to ensure a successful firing. Begin by thoroughly cleaning each piece to remove any dust, dirt, or fingerprints that could affect the glaze or final appearance. Inspect your pieces for any cracks or imperfections that could worsen during firing.
Make sure that the glazes on your work are completely dry to prevent them from running or sticking during the firing process. Additionally, double-check that you have applied kiln wash to all necessary areas on the kiln shelves and stilts to prevent any glaze from adhering to the kiln surfaces. Proper preparation of your workpieces is crucial for achieving high-quality results in your finished ceramics.
Step 2: Organize Your Pieces
Organizing your pieces before placing them in the kiln is vital for an efficient and successful firing process. Begin by grouping your work by size and shape. This will help you strategize the layout and ensure that similar pieces are fired together, which can lead to more uniformly fired results.
Place your larger, more substantial pieces on the bottom shelves. These items can typically withstand the higher temperatures experienced at the bottom of the kiln. Medium-sized pieces should be placed in the middle layers, and smaller or more delicate pieces are best suited for the top shelves where the temperature may be slightly lower and more stable.
Step 3: Create Space
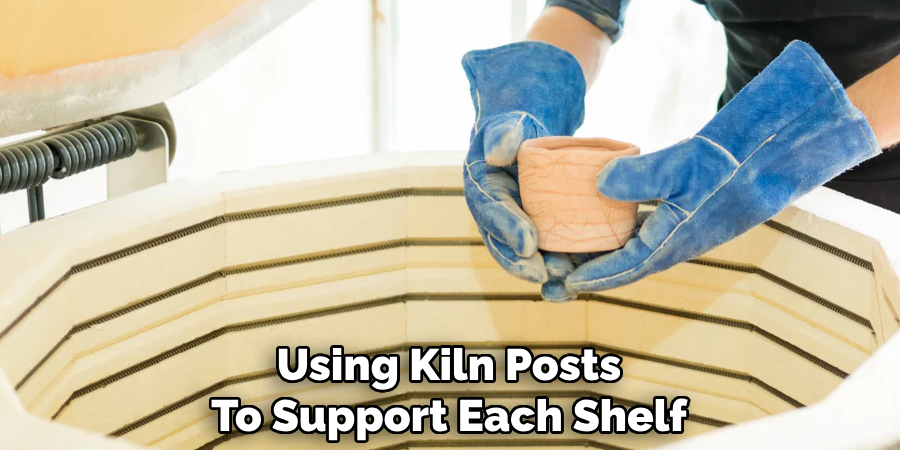
Creating adequate space between your pieces is crucial for optimal heat circulation and to prevent your work from sticking together during the firing process. Start by placing the kiln shelves in the kiln, using kiln posts to support each shelf and creating multiple levels. Arrange the posts evenly around the edges of the shelves to ensure stability.
As you position your pieces on the shelves, make sure to leave at least half an inch of space between them. This spacing allows for proper airflow and even heating. For larger pieces, you may need to leave more space around them to accommodate for any expansion that might occur during firing. Additionally, avoid placing pieces directly against the kiln walls, as this can lead to uneven heating and potential damage.
Step 4: Use Stilts
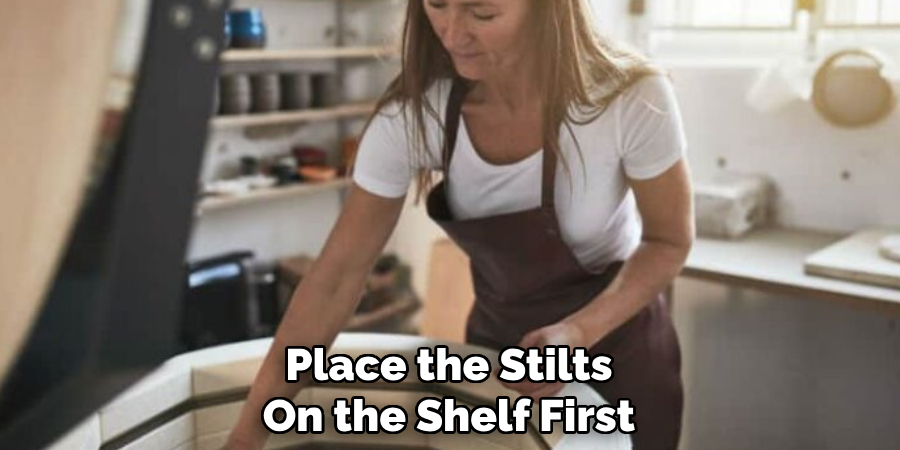
If you have pieces with a glazed bottom or feet, using stilts is essential to prevent them from sticking to the kiln shelves. Place the stilts on the shelf first and then carefully position your piece on top of them. Make sure that you use enough stilts to support each piece’s weight evenly and securely.
Remember to also leave enough space between these stilt-supported pieces and other nearby items for proper air circulation. You can also use wadding (a mixture of kaolin, alumina hydrate, and water) to elevate your pieces instead of stilts. Wadding is especially useful for delicate pieces that cannot withstand the weight of stilts and can be easily removed after firing.
Step 5: Fill Gaps
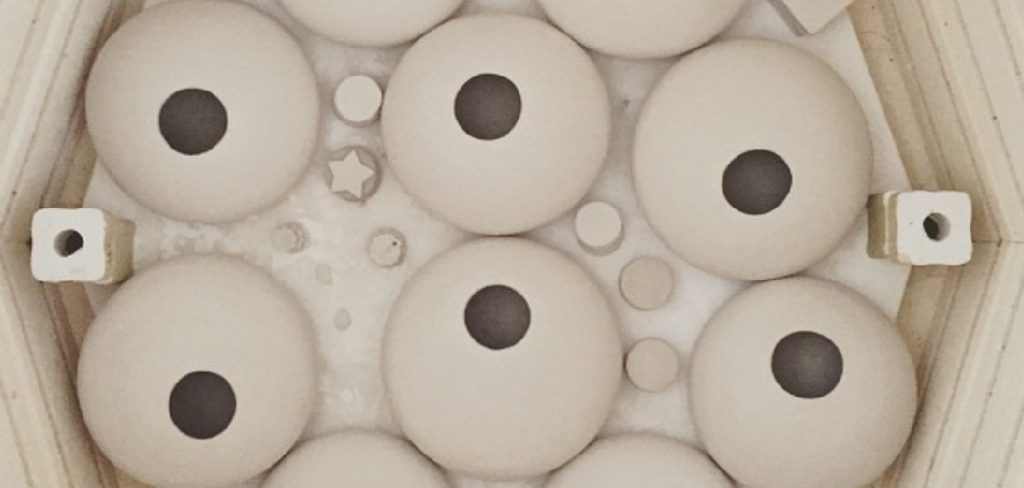
When loading your kiln, it’s essential to make the most of the available space while ensuring effective airflow. After placing your main pieces on the shelves, look for any gaps or vacant spaces that can be filled with smaller items. These spaces can be efficiently utilized by adding small test tiles, beads, or miniature sculptures. However, be cautious not to overcrowd the kiln, as sufficient space is necessary for heat circulation and even firing.
Ensure that these smaller items are arranged with adequate space around them to prevent them from touching other pieces or the kiln walls. If you’re firing a variety of items, such as a mix of glazed and bisque ware, consider placing the glazed pieces on separate shelves to avoid any issues with glaze fumes affecting bisque ware. By carefully filling the gaps, you can maximize kiln capacity and achieve a successful firing process without compromising the quality of your work.
Step 6: Check for Balance
Before closing the kiln door, double-check that all shelves are level and that your workpieces are evenly distributed. This is important for ensuring an even firing and preventing any pieces from falling or shifting during the firing process.
If you notice any imbalances, adjust the placement of your pieces or add more support using additional posts or stilts. Properly balancing your load can also help prevent warping or cracking in your workpieces caused by uneven heat distribution.
Step 7: Close and Secure the Kiln Door
Once you have loaded all your pieces into the kiln, it’s time to close and secure the kiln door. Make sure that all shelves are properly aligned and secured before gently closing the door. Avoid slamming or forcing the door shut as this can cause damage to your workpieces or the kiln itself.
Additionally, make sure that any necessary vents are open to allow for proper airflow during firing. Once everything is in place and secure, you’re ready to begin your firing process!
Following these steps on how to load a kiln for loading your kiln will ensure that your workpieces are properly prepared, organized, and spaced within the kiln for a successful firing. Don’t forget to also carefully monitor the temperature and atmosphere inside the kiln throughout the firing process to achieve your desired results. Now, it’s time to fire up your kiln and let the magic happen! Happy firing!
Frequently Asked Questions
Q1: How Much Space Should I Leave Between My Pieces When Loading a Kiln?
A1: It is recommended to leave at least half an inch of space between each piece for proper airflow and even heating. For larger pieces, more space may be necessary to accommodate for expansion during firing.
Q2: Can I Use Anything Other Than Stilts to Elevate My Pieces in the Kiln?
A2: Yes, you can use wadding, a mixture of kaolin, alumina hydrate, and water, as an alternative to stilts for delicate pieces. Wadding can be easily removed after firing.
Q3: Should I Load Glazed and Bisqueware Together in the Same Kiln Firing?
A3: It is recommended to fire glazed and bisqueware separately on different shelves to avoid any issues with glaze fumes affecting the bisqueware. However, if necessary, glazed and bisque ware can be fired together as long as proper precautions are taken.
Q4: Why Is It Important to Balance the Kiln Load?
A4: Balancing the kiln load helps ensure an even firing and prevents pieces from falling or shifting during the firing process. It also helps prevent warping or cracking caused by uneven heat distribution. So, it is crucial to properly balance your load before starting the firing process.
Conclusion
Loading a kiln may seem like a simple task, but careful planning and execution play a crucial role in achieving successful results. By following these step-by-step guides on how to load a kiln, you can ensure that your pieces are organized, spaced, and balanced correctly for optimal firing conditions. Remember to always take your time and be diligent in preparing and loading your kiln for the best possible outcome. Happy firing! –
Good luck on your ceramic journey! Keep practicing and experimenting with different techniques and methods to further enhance your skills and produce unique works of art. And don’t forget to have fun while creating beautiful ceramics!
Toby Rede is a professional potter focused on creating functional and artistic ceramics. His work blends natural textures with modern forms, often inspired by sustainable gardening and outdoor environments. Toby’s pottery emphasizes both utility and beauty, reflecting his philosophy of intentional craftsmanship. On the blog, he shares insights on integrating handmade objects into everyday life.
Education
- Associate Degree in Ceramic Technology, Alfred University
Professional Focus
- Pottery creation with a focus on functionality and artistic expression
- Techniques exploring texture, glazing, and sustainable materials
Professional Accomplishments
- Work featured in regional art shows and garden exhibitions
- Collaborations with local craft fairs and home decor shops

