Creating your own ceramic bong is not only a fun and creative project but also allows you to customize your smoking experience. By crafting a bong from ceramics, you can choose unique designs, colours, and shapes that suit your personal style. This guide will walk you through how to make a ceramic bong, ensuring you have all the necessary materials and techniques at your disposal. Whether you’re an experienced potter or a novice curious about ceramics, this project can be both rewarding and fulfilling.
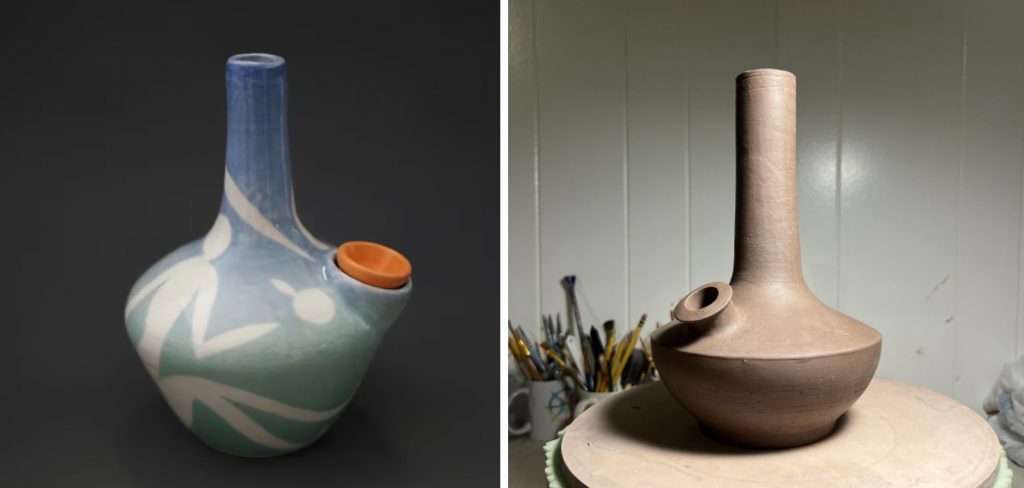
Benefits of Making a Ceramic Bong
Making your own ceramic bong comes with numerous benefits that enhance the overall smoking experience. First and foremost, crafting your own piece allows for customization; you can design your bong to reflect your personal aesthetic and preferences, ensuring that it’s unique to you.
Furthermore, ceramic is known for its durability and heat retention properties, which means that a well-made ceramic bong will last longer and provide a smooth smoking experience. Additionally, the process of creating the bong can be therapeutic and enjoyable, offering a sense of accomplishment once completed. Finally, by making your own bong, you can choose non-toxic materials, ensuring a safer and healthier smoking option compared to commercially available alternatives.
Materials and Tools Needed
To successfully craft your ceramic bong, gather the following materials and tools:
Materials
- Clay: Choose a stoneware or earthenware clay, both of which are ideal for creating durable bongs.
- Glazes: Select food-safe glazes in your preferred colours for finishing touches.
- Water: Necessary for kneading and shaping the clay.
Tools
- Potter’s Wheel (optional): Useful for shaping the bong if you prefer a more traditional approach.
- Hand Tools: Such as a flat rib, sponge, and needle tool for refining shapes and adding details.
- Kiln: Required for firing the clay to harden it.
- Paintbrush: For applying glazes evenly.
- Ventilation Mask: To protect yourself from dust and fumes while crafting and firing.
Having these materials and tools on hand will set you up for a successful ceramic bong-making experience.
10 Methods How to Make a Ceramic Bong
1. Designing the Bong
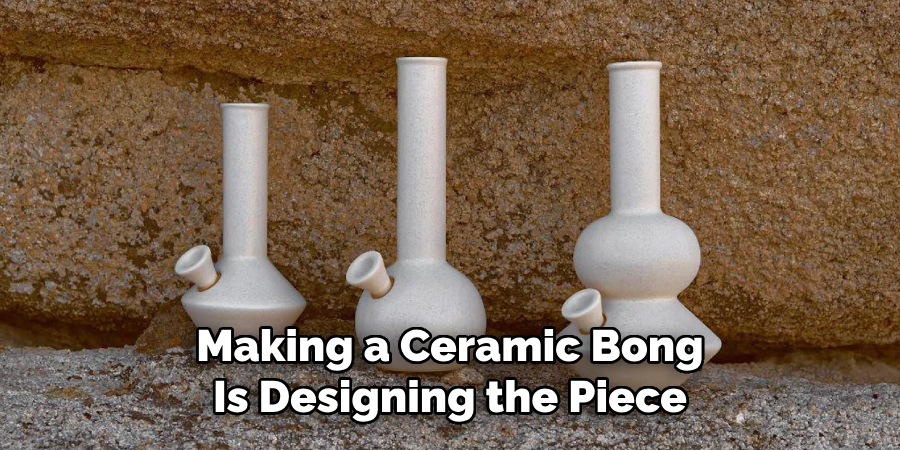
The first step in making a ceramic bong is designing the piece. Begin by sketching your design, considering both functionality and aesthetics. A bong typically includes a base, a chamber, a downstem, and a bowl. Decide on the dimensions and shape of each component, keeping in mind that the base should be stable, the chamber should allow for effective filtration, and the downstem should be properly angled to ensure smooth airflow. Use design software or traditional drawing tools to create detailed plans, including measurements and proportions. Your design will serve as a blueprint throughout the creation process, ensuring that each part fits together seamlessly.
2. Choosing the Right Clay
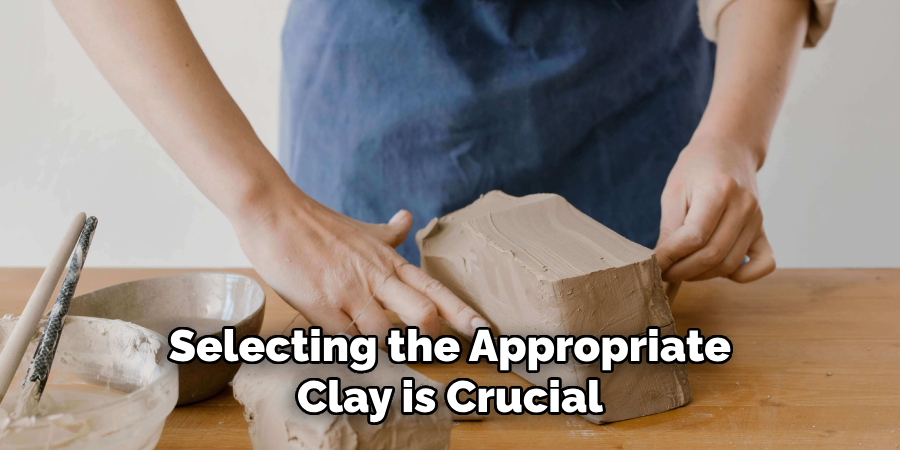
Selecting the appropriate clay is crucial for creating a durable and functional ceramic bong. Stoneware clay is often preferred for its strength and heat resistance, making it suitable for functional pieces like bongs. Porcelain can also be used for its fine finish and durability but may require more precise handling. Consider the firing temperature and glaze compatibility when choosing your clay. Stoneware and porcelain clays generally withstand higher temperatures and are less prone to cracking. Consult with clay suppliers or ceramic experts to find the best clay for your project, and purchase enough to complete your bong.
3. Preparing the Clay
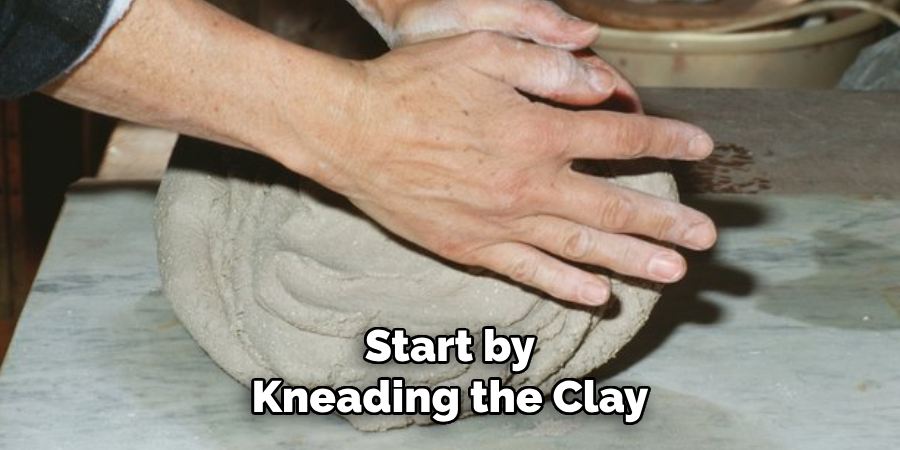
Once you have chosen your clay, prepare it for shaping. Start by kneading the clay to remove air bubbles and ensure a uniform consistency. This process, known as wedging, helps prevent cracks and weak spots in the final piece. After wedging, roll out or knead the clay to the desired thickness for the various components of your bong. Make sure the clay is pliable and easy to work with. If necessary, keep the clay covered to prevent it from drying out during the preparation and shaping process.
4. Shaping the Components
Begin shaping the individual components of the bong. For the base, roll out a slab of clay and use a template or freehand technique to cut out the desired shape. The base should be thick and sturdy to support the entire structure. For the chamber, form a hollow cylinder or sphere, ensuring it is large enough to provide adequate filtration. Shape the downstem by rolling it into a tube and bending it at the appropriate angle. Create the bowl by forming a small, shallow cup or dish. Use appropriate tools, such as a pottery wheel, sculpting tools, or molds, to achieve the desired shapes and sizes.
5. Assembling the Bong
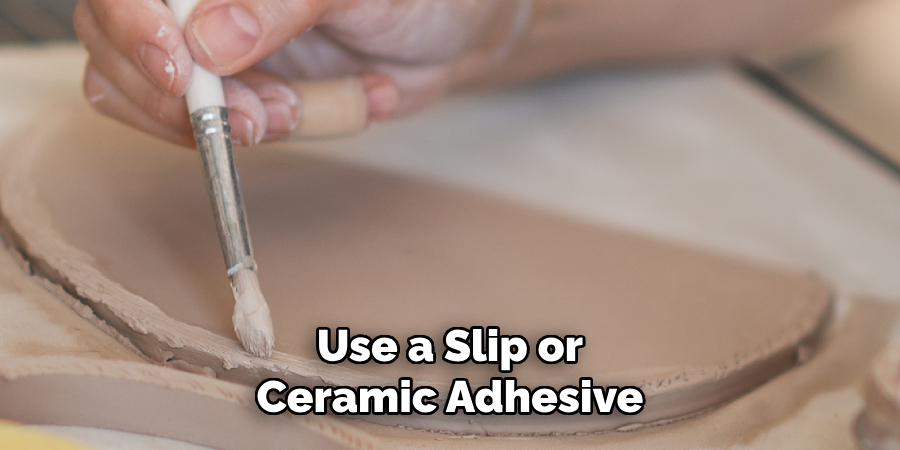
Once all components are shaped, assemble the bong by carefully joining the parts together. Use a slip or ceramic adhesive to bond the components, ensuring a strong and seamless connection. Score and slip the areas where the parts will be joined to promote adhesion. For the downstem, ensure it is properly aligned and securely attached to the chamber. The bowl should fit snugly onto the downstem. Smooth out any joints or seams to create a cohesive and polished appearance. Allow the assembled bong to dry slowly and evenly to prevent warping or cracking.
6. Creating the Air Pathways
Functional bongs require precise air pathways to ensure smooth and efficient operation. After assembling the basic structure, create the necessary air channels and openings. For the downstem, make sure there is an opening at the bottom that allows water and smoke to pass through. You may need to drill or carve additional holes to improve airflow. For the bowl, ensure there is a hole or perforation that allows for proper airflow and combustion. Use appropriate tools, such as a ceramic drill bit or carving tools, to create and refine the air pathways.
7. Drying and Bisque Firing
After shaping and assembling your ceramic bong, allow it to dry completely before firing. Drying is a critical step to ensure the clay is evenly dried and to prevent cracks during firing. Place the bong in a well-ventilated area and monitor the drying process, turning the piece occasionally to ensure even drying. Once dry, bisque fire the bong in a kiln to a temperature that will remove any residual moisture and prepare the ceramic for glazing. The bisque firing process typically ranges between 1650°F and 1850°F (900°C to 1000°C), depending on the clay type and kiln.
8. Glazing the Bong
Glazing adds both decorative and functional properties to the ceramic bong. Choose a glaze that is compatible with your clay body and that can withstand the heat of use. Apply the glaze to the bong using dipping, brushing, or spraying techniques. Ensure even coverage and avoid areas where the glaze may pool or drip. Allow the glaze to dry completely before firing. Consider using a food-safe glaze if the bong will be used for substances that come into contact with the mouth. Test your glaze on small samples or test tiles to ensure the desired effect and functionality.
9. Glaze Firing
The final firing, known as glaze firing, is crucial for achieving the finished look and durability of the ceramic bong. Place the glazed bong in the kiln and fire it to the appropriate temperature for the glaze and clay body. The glaze firing temperature typically ranges between 1825°F and 2400°F (1000°C to 1300°C), depending on the materials used. Monitor the kiln closely to ensure it reaches and maintains the desired temperature. After the firing is complete, allow the kiln to cool gradually before removing the bong. This slow cooling process helps prevent thermal shock and ensures a smooth and even glaze finish.
10. Testing and Final Touches
Once the ceramic bong is fully fired and cooled, perform a thorough inspection to ensure it is free of defects and fully functional. Check for any cracks, leaks, or imperfections that may affect performance. Test the air pathways and ensure that the downstem and bowl fit securely. If necessary, make any final adjustments or touch-ups. For additional refinement, consider sanding or polishing the surface to achieve a smooth finish. Clean the bong thoroughly before use to remove any residual dust or debris. With these final touches, your ceramic bong will be ready for use and display.
Common Mistakes to Avoid
When crafting a ceramic bong, several common pitfalls can hinder the quality and functionality of your piece. First, be cautious with clay preparation; failing to knead the clay sufficiently can lead to cracks and weaknesses in the final product.
Additionally, rushing the drying process is a frequent mistake; uneven drying can cause warping or breakage during firing. It’s also essential to pay attention to the scale and proportions of your components; an improperly sized downstem or bowl can disrupt airflow and overall functioning. Overlooking the importance of testing air pathways before the final firing can result in a non-functional piece.
Conclusion
Creating a ceramic bong is a rewarding process that combines artistic expression with functional craftsmanship. From selecting the right clay to glazing and firing, each step is crucial in ensuring the final product not only looks exquisite but also performs effectively. By following the outlined steps and paying attention to detail, anyone can craft their own unique bong that reflects their personal style. Thanks for reading, and we hope this has given you some inspiration on how to make a ceramic bong!
With a keen eye for detail and a deep understanding of the firing process, I bring ceramics to life as a skilled kiln operator. My expertise ensures that each piece reaches its full potential, achieving the perfect balance of strength and beauty. I take pride in overseeing the critical final stage of pottery creation, transforming raw clay into stunning, durable art. 🎨
From monitoring temperatures to perfecting firing schedules, I ensure that every piece is fired to perfection. My role is not just about operating the kiln; it’s about understanding the unique needs of each creation and bringing out its best qualities.
Join me on this journey of precision and passion, where every firing tells a story. Whether it’s a delicate vase or a robust sculpture, I am dedicated to making sure that every piece that comes out of the kiln is a masterpiece. 🏺✨
Toby Rede is a professional potter focused on creating functional and artistic ceramics. His work blends natural textures with modern forms, often inspired by sustainable gardening and outdoor environments. Toby’s pottery emphasizes both utility and beauty, reflecting his philosophy of intentional craftsmanship. On the blog, he shares insights on integrating handmade objects into everyday life.
Education
- Master of Fine Arts in Ceramics, California College of the Arts
Professional Focus
- Creating practical pottery for everyday use.
- Using unique styles and techniques to convey narratives in ceramics.
Professional Accomplishments
- Showcased work in local and national art galleries, gaining recognition for craftsmanship.
- Received accolades for innovative designs in pottery competitions.