

A honey pot is a fascinating and functional craft that can be used to store honey in a charming, rustic way. Whether you’re an avid beekeeper, a lover of DIY projects, or simply looking for a creative gift idea, making a honey pot allows you to combine practicality with artistry.
This guide on how to make a honey pot will walk you through the essential steps and materials needed to create your very own honey pot, ensuring it is both beautiful and effective for everyday use.
Why Make a Honey Pot?
There are several reasons why you might want to make your own honey pot. Firstly, it allows you to have complete control over the design and style of the pot, ensuring that it fits in perfectly with your home decor or personal taste. Additionally, making a honey pot can be a fun and rewarding creative project, giving you something unique and handmade to use and display.
It is also a great way to repurpose old jars or containers and turn them into something useful and beautiful. And if you’re an avid beekeeper, having a special honey pot to store your own honey can be both practical and sentimental.
Materials Needed
To make a basic honey pot, you will need the following materials:
A Small Glass Jar or Container With a Lid:
Choose a jar or container with a lid that is large enough to hold the desired amount of honey. A mason jar, jam jar, or any other glass jar with a tight-fitting lid would work well.
Beeswax:
Beeswax is an essential ingredient in making a honey pot as it helps seal and preserve the honey inside. You can purchase beeswax from local beekeepers or craft stores.
Paintbrush:
A small paintbrush will be needed to apply the beeswax onto the jar’s surface.
Twine (Optional):
Twine can be used to decorate the honey pot and give it a rustic look. It is entirely optional but adds a nice touch to the finished product.
8 Steps on How to Make a Honey Pot
Step 1: Clean and Dry the Jar
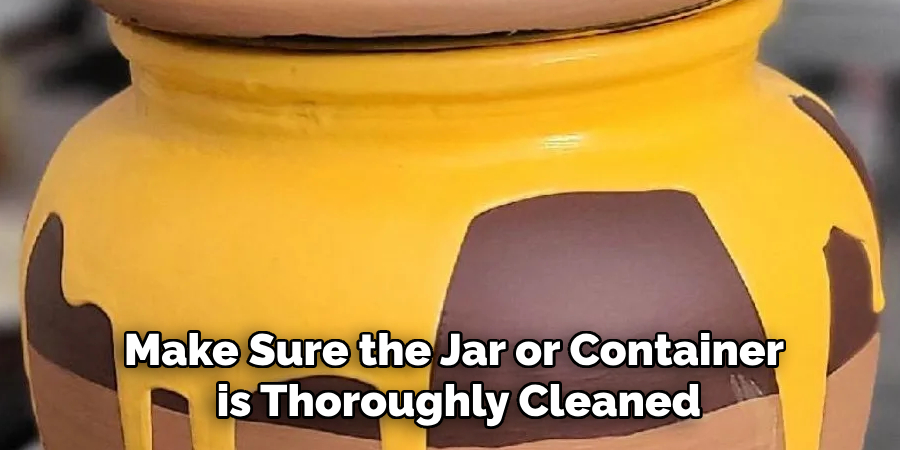
Before starting, make sure the jar or container is thoroughly cleaned and dried. Wash the jar with warm, soapy water to remove any dirt, grease, or residual labels. Rinse it well to ensure no soap remains, as this could affect the honey’s quality later.
Finally, dry the jar completely using a clean towel or leave it to air dry to prevent any moisture from mixing with the honey. A clean and dry surface is essential for the best results when making your honey pot.
Step 2: Prepare the Beeswax
To prepare the beeswax, start by melting it down. Place the beeswax in a heat-resistant container, such as a small metal or glass bowl, and use a double boiler method to gently heat it. Simply place the container with the beeswax inside a larger pot filled with a couple of inches of simmering water. Stir the beeswax occasionally to ensure it melts evenly, and take care not to overheat it, as beeswax is flammable.
Once the beeswax has fully melted and has a smooth, liquid consistency, it is ready to be applied to your jar or container. Make sure to handle the melted beeswax with caution, as it will be extremely hot.
Step 3: Apply the Beeswax
Using a small paintbrush, carefully apply the melted beeswax onto the jar’s inside surface. Work in small sections and use gentle strokes to ensure even coverage. The beeswax will harden quickly, so you may need to reheat it occasionally while working on your honey pot.
Ensure that all areas of the jar are coated with a thin layer of beeswax, including the rim and lid. This will help seal and preserve the honey inside, preventing any air or moisture from entering.
Step 4: Let It Dry
After applying the beeswax to the jar, allow it to dry and harden completely. Place the jar in a clean, dry area at room temperature, away from any direct sunlight or heat sources, which could cause the wax to soften or melt.
The drying process typically takes a few hours, but it’s best to leave it undisturbed overnight to ensure the beeswax is fully set and forms a solid, protective layer. Once dry, inspect the jar to make sure the beeswax has evenly coated the surface and make any necessary touch-ups if needed.
Step 5: Add Decorations (Optional)
If you want to add a decorative touch, now is the time to do so. Take a piece of twine and wrap it around the jar’s neck, tying a bow or knot in the front. You can also use other materials like ribbon, burlap scraps, or even paint to decorate your honey pot.
But remember, simplicity is key when it comes to honey pots, so don’t overdo the decorations and let the natural beauty of the beeswax shine through.
Step 6: Fill with Honey
Once your honey pot is fully dry and decorated (if desired), you can fill it with delicious honey! If you’re an avid beekeeper, use your own freshly harvested honey, or if not, you can purchase high-quality honey from local farmers or specialty stores. Pour the honey into the jar carefully, leaving some space at the top for the lid.
It’s best to use a funnel to avoid any spills or mess. When filling the jar, make sure no honey gets on the outside surface, as this could attract ants or other insects.
Step 7: Seal with Beeswax
To ensure your honey stays fresh and protected, seal the lid by brushing a thin layer of melted beeswax around the rim before closing it tightly. This will further prevent air or moisture from entering the jar and keep your honey in perfect condition.
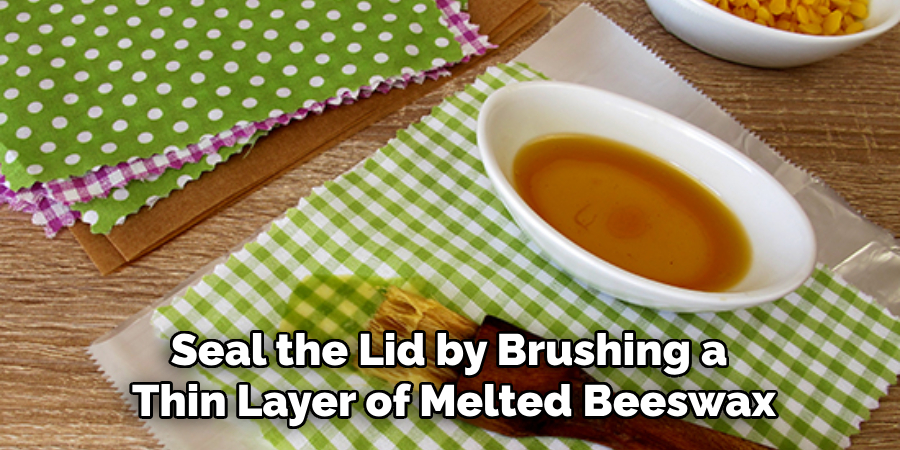
The melted beeswax will also act as a natural adhesive, creating a tight seal between the lid and jar.
Step 8: Enjoy Your Homemade Honey Pot!
Your honey pot is now complete and ready to be enjoyed. Place it in a cool, dry place away from direct sunlight or heat sources to maintain the honey’s quality. When needed, simply open the lid, scoop out some delicious honey using a wooden spoon or honey dipper, and enjoy!
Following these easy steps on how to make a honey pot, you can make a beautiful and functional honey pot that will not only add charm to your kitchen but also preserve the natural goodness of the honey inside. So why not gather your materials and give it a try? You’ll be amazed at the results and may even want to make more as gifts for your friends and family. Happy honey pot making!
Additional Tips
- If you don’t have access to beeswax, you can also use melted coconut oil or food-grade mineral oil as alternatives. Just note that these may not provide the same level of protection and seal as beeswax.
- For a personalized touch, consider adding hand-painted designs or labeling your honey pot with the type of honey inside and the date it was made. This will make it even more special and unique.
- When using your honey pot, always use a clean utensil to avoid introducing any bacteria or contaminants into the jar. This will help maintain the quality and freshness of your honey for longer.
- If you plan on giving your honey pot as a gift, consider packaging it with some local honey and a recipe using honey as a thoughtful and delicious present.
Frequently Asked Questions
Q: Do I Need to Use Beeswax to Make a Honey Pot?
A: While it is not necessary, using beeswax as a coating for your honey pot will help preserve the quality and freshness of your honey. It also adds a natural, rustic touch to the overall look of the jar.
Q: Can I Reuse the Beeswax Coating from an Old Honey Pot?
A: Yes, you can reuse beeswax for multiple honey pots. Simply melt it down again and follow the same steps outlined in this guide. However, make sure to properly clean and sanitize your old honey pot before reapplying the beeswax coating.
Q: How Long Will My Homemade Honey Pot Last?
A: If stored properly in a cool, dry place, your homemade honey pot can last for many years. Just make sure to check for any signs of mold or spoilage before using the honey inside.
Q: Can I Decorate My Honey Pot in Other Ways?
A: Absolutely! Get creative and incorporate your own personal style into your honey pot. You can use paint, labels, stamps, or other materials to decorate the jar. Just make sure any decorations are food-safe and won’t interfere with the beeswax coating.
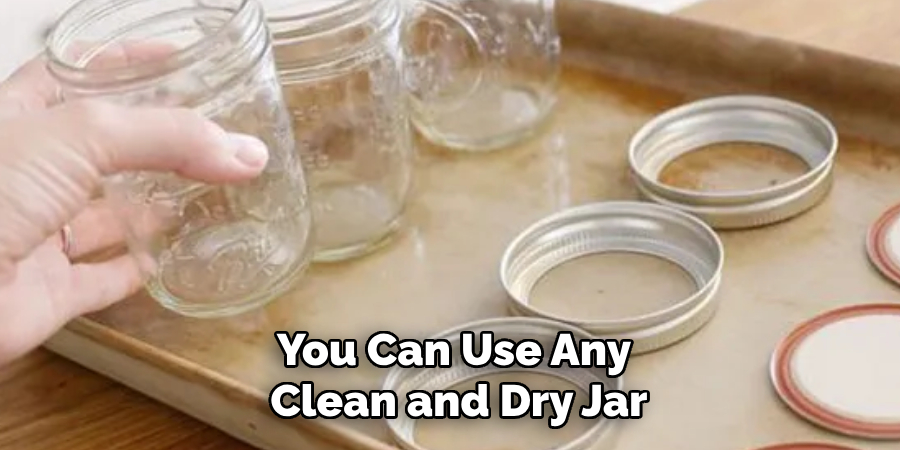
Q: Can I Use Any Type of Jar for a Honey Pot?
A: Yes, you can use any clean and dry jar that has a lid for your honey pot. However, glass jars are preferred as they are non-porous and won’t react with the honey or beeswax. Mason jars, jam jars, or even old pickle jars all make great options for honey pots.
Conclusion
Creating your own homemade honey pot is a rewarding and creative process that combines functionality with charm. Not only does it help preserve the quality of your honey, but it also adds a touch of rustic beauty to your kitchen or dining area. By using natural materials like beeswax and incorporating personal decorations, you can craft a one-of-a-kind honey pot that reflects your style and appreciation for nature’s gifts.
Whether you keep it for yourself or give it as a thoughtful handmade gift, your honey pot will serve as a lasting reminder of the incredible contributions of honeybees to our world. Celebrate the sweetness of life with your very own honey pot! Thanks for reading this article on how to make a honey pot. Happy crafting!
Toby Rede is a professional potter focused on creating functional and artistic ceramics. His work blends natural textures with modern forms, often inspired by sustainable gardening and outdoor environments. Toby’s pottery emphasizes both utility and beauty, reflecting his philosophy of intentional craftsmanship. On the blog, he shares insights on integrating handmade objects into everyday life.
Education
Associate Degree in Ceramic Technology, Alfred University
Professional Focus
Pottery creation with a focus on functionality and artistic expression
Techniques exploring texture, glazing, and sustainable materials
Professional Accomplishments
Work featured in regional art shows and garden exhibitions
Collaborations with local craft fairs and home decor shops