Creating a sculpture mold is a vital step in the art of sculpting, enabling artists to replicate their work or produce multiple copies from a single original piece.
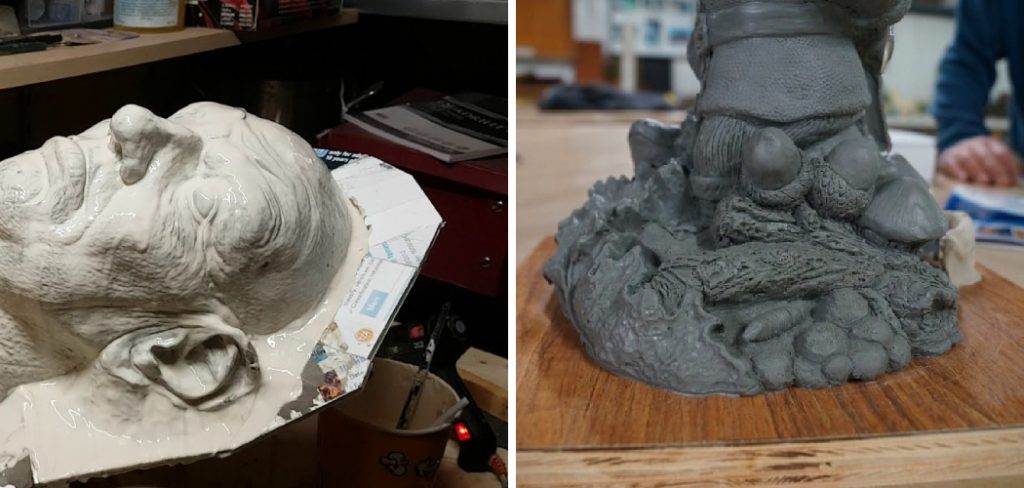
This process involves carefully preparing a mold that captures the intricate details and textures of the sculpture. This guide explores the key aspects of how to make a sculpture mold. Understanding the materials, techniques, and tools required to create a robust and effective mold is essential for achieving high-quality results. Whether you’re a seasoned sculptor or a beginner exploring the world of sculpture, learning how to make a mold opens up a range of creative possibilities and enhances your artistic practice.
Understanding Sculpture Molds
Sculpture molds serve as an essential tool for artists, as they allow for the duplication of original works while preserving the intricate details of the sculpture.
There are various types of molds, including flexible silicone molds, rigid plaster molds, and shell molds, each chosen based on the specific needs of the project and the materials used. Understanding the differences among these molds is crucial; for example, silicone molds are typically preferred for their flexibility and durability, making them suitable for complex shapes and intricate designs.
Additionally, the choice of mold material can influence the final outcome of the artwork, impacting both texture and detail fidelity. By mastering the art of creating and utilizing sculpture molds, artists can expand their creative repertoire and produce works that capture the essence of their original pieces.
10 Methods How to Make a Sculpture Mold
1. Plaster Molds
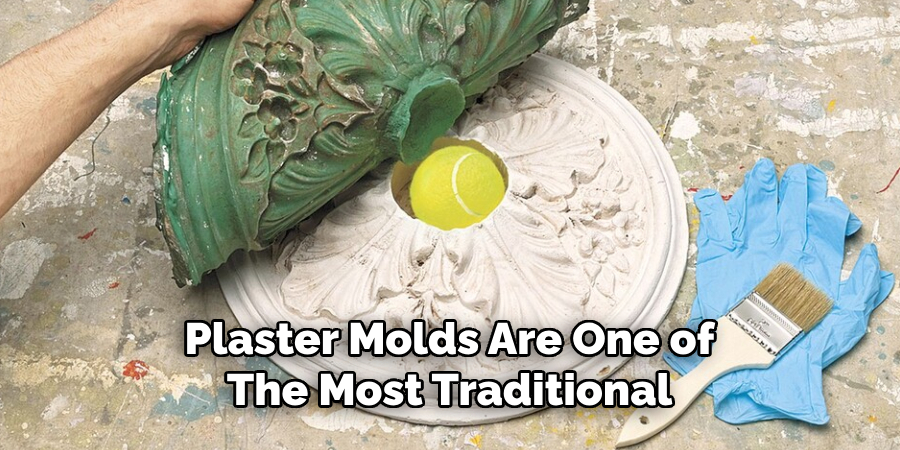
Plaster molds are one of the most traditional and accessible methods for creating sculpture molds. To begin, you need to prepare your original sculpture by ensuring it is clean and free of any debris.
Apply a mold release agent, such as petroleum jelly or a commercial mold release spray, to prevent the plaster from sticking to the original sculpture. Once the release agent is dry, mix the plaster according to the manufacturer’s instructions until it reaches a smooth, creamy consistency.
Carefully pour the plaster over the sculpture, ensuring that it covers all surfaces evenly. You may need to apply the plaster in layers, allowing each layer to partially set before applying the next. Once the plaster has fully cured, gently separate the mold from the original sculpture. Plaster molds are excellent for capturing fine details and can be used for a variety of casting materials, including plaster, wax, and resin.
2. Silicone Rubber Molds
Silicone rubber molds are highly flexible and durable, making them ideal for complex and detailed sculptures. Begin by securing your sculpture on a base and applying a mold release agent. Silicone rubber often comes in two parts that must be mixed together. Follow the manufacturer’s instructions carefully to ensure a proper mix.
Pour the silicone rubber over the sculpture, allowing it to flow into all the details and crevices. You may need to build a containment wall around the sculpture to keep the silicone in place. Once the silicone has cured, which can take several hours to a day depending on the product, you can carefully peel it away from the sculpture. Silicone molds are reusable and perfect for casting materials like resin, plaster, and even low-melting-point metals.
3. Latex Rubber Molds
Latex rubber molds are another flexible option, particularly useful for large sculptures or those with intricate surface details. Start by applying a mold release agent to your sculpture. Latex rubber is usually applied in multiple thin layers. Use a brush to apply the first layer, ensuring that it captures all the fine details of the sculpture. Allow each layer to dry completely before applying the next.
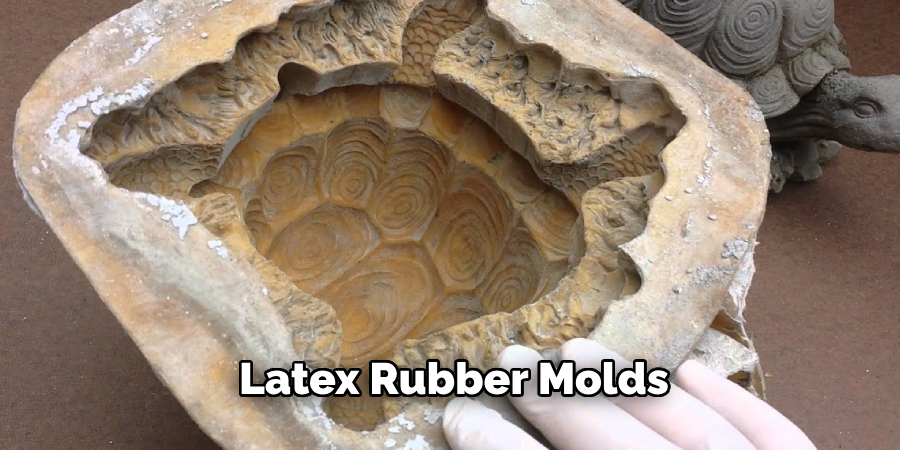
This process can take several days, depending on the number of layers and the drying time of the latex. Once the final layer is dry, you can reinforce the mold with a plaster or fiberglass mother mold to provide structural support. Carefully remove the latex mold from the sculpture, and it is ready for casting. Latex molds are particularly good for plaster and concrete casting.
4. Alginate Molds
Alginate molds are commonly used for life casting because of their skin-safe properties. Alginate is a quick-setting material, so you must work efficiently. Begin by mixing the alginate powder with water according to the instructions. Apply a release agent to the surface of the sculpture if needed. Quickly apply the alginate mixture to the sculpture, ensuring that it covers all areas evenly.
Alginate sets rapidly, usually within a few minutes. Once set, you need to create a supportive mother mold using plaster bandages or a similar material to hold the alginate in place. Carefully remove the alginate mold and the mother mold together. Alginate molds are typically used for single-use applications due to their fragile nature, but they capture fine details excellently.
5. Polyurethane Rubber Molds
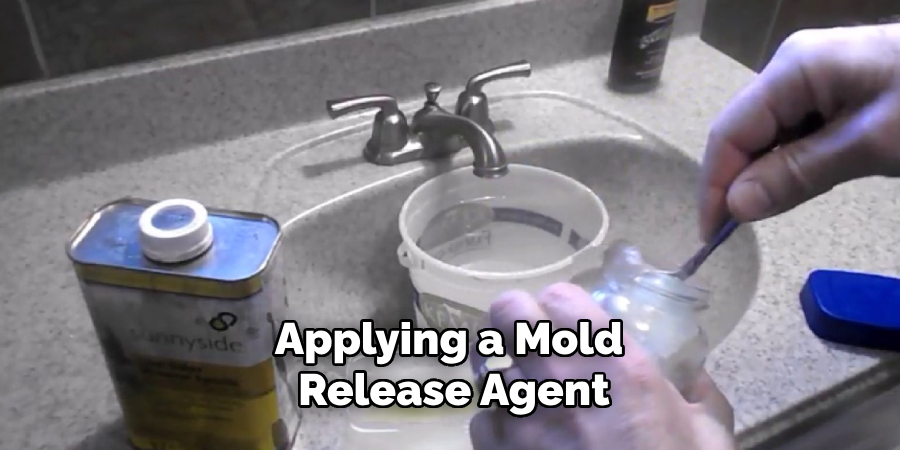
Polyurethane rubber molds are known for their durability and resistance to wear, making them ideal for repeated casting. Begin by Applying a Mold Release Agent to the sculpture. Mix the two-part polyurethane rubber according to the manufacturer’s instructions. Pour or brush the mixture over the sculpture, ensuring complete coverage.
Polyurethane rubber typically cures faster than silicone, usually within a few hours. Once cured, the mold can be carefully removed from the sculpture. Polyurethane molds are suitable for casting a wide range of materials, including resin, wax, and even some metals. They are particularly favored for industrial applications due to their longevity.
6. Gypsum Cement Molds
Gypsum cement molds, such as Hydrocal or Ultracal, are highly detailed and strong, making them ideal for ceramic casting. Begin by preparing your sculpture with a mold release agent. Mix the gypsum cement with water until it reaches a smooth consistency. Pour the mixture over the sculpture, ensuring an even coat.
It may be necessary to apply the gypsum in several layers, allowing each to set partially before adding the next. Once fully set, the mold can be separated from the sculpture. Gypsum cement molds are particularly useful for casting ceramics and can withstand high temperatures in a kiln.
7. Epoxy Resin Molds
Epoxy resin molds are durable and provide excellent detail retention. Start by applying a mold release agent to your sculpture. Mix the epoxy resin and hardener according to the manufacturer’s instructions. Pour the mixture over the sculpture, making sure it covers all areas. Epoxy resin typically has a longer working time, allowing you to ensure complete coverage before it begins to set.
Once the resin has fully cured, which can take several hours to days, carefully remove the mold. Epoxy molds are suitable for casting various materials, including resin, wax, and low-melting-point metals. Their durability makes them ideal for multiple uses.
8. Fiberglass Molds
Fiberglass molds are strong and lightweight, suitable for large sculptures or those requiring a rigid mold. Begin by applying a mold release agent to the sculpture. Cut fiberglass matting into strips and prepare the resin mixture according to the manufacturer’s instructions.
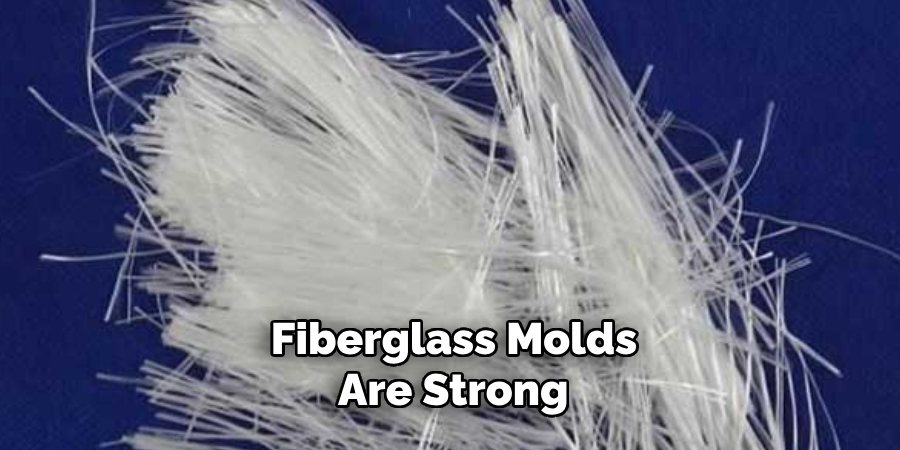
Apply a layer of resin to the sculpture, then lay the fiberglass strips over the resin, smoothing them down to remove any air bubbles. Continue applying layers of resin and fiberglass until you achieve the desired thickness. Once fully cured, which can take several days, the mold can be carefully removed from the sculpture. Fiberglass molds are ideal for casting large resin or concrete sculptures due to their strength and rigidity.
9. Gelatin Molds
Gelatin molds are an eco-friendly and reusable option, often used for food casting or temporary sculptures. Begin by melting gelatin in water according to the manufacturer’s instructions. Apply a mold release agent to the sculpture if necessary. Pour the melted gelatin over the sculpture, ensuring it covers all surfaces evenly.
Gelatin sets relatively quickly as it cools. Once fully set, carefully remove the gelatin mold. Gelatin molds are particularly useful for casting materials like chocolate, gelatin, and other food products, but they can also be used for short-term projects with other casting materials.
10. Clay Molds
Clay molds are a traditional and hands-on method, often used for creating one-time molds for ceramic or plaster casting. Begin by covering your sculpture with a thin layer of clay, pressing it into all the details. Smooth the surface and build up the clay to the desired thickness.
Once the clay is in place, you can cut the mold into sections if necessary to facilitate removal. Carefully remove the clay mold from the sculpture. Clay molds are typically used immediately for casting, as they can dry out and lose detail over time. They are excellent for capturing textures and are often used in ceramics.
Conclusion
Creating a sculpture mold is a process that combines technical skill with artistic intuition. Each method described here offers unique advantages and challenges, allowing sculptors to choose the best approach for their specific project.
From the traditional plaster mold to the modern silicone rubber mold, these techniques provide a comprehensive toolkit for capturing the intricate details of your sculptures. Thanks for reading, and we hope this has given you some inspiration on how to make a sculpture mold!
Toby Rede is a professional potter focused on creating functional and artistic ceramics. His work blends natural textures with modern forms, often inspired by sustainable gardening and outdoor environments. Toby’s pottery emphasizes both utility and beauty, reflecting his philosophy of intentional craftsmanship. On the blog, he shares insights on integrating handmade objects into everyday life.
Education
- Associate Degree in Ceramic Technology, Alfred University
Professional Focus
- Pottery creation with a focus on functionality and artistic expression
- Techniques exploring texture, glazing, and sustainable materials
Professional Accomplishments
- Work featured in regional art shows and garden exhibitions
- Collaborations with local craft fairs and home decor shops

