

Whether you’re a seasoned pottery artist or starting, making your clay can open up a world of creative possibilities. While store-bought clays have their place, nothing quite compares to the satisfaction of mixing up a unique batch with your own two hands.
In this post, I’ll share my time-tested recipe for how to make brown clay and explain each ingredient’s purpose. We’ll start with locally sourced materials like river sediment, bark, and plant fibers that give the clay its characteristic hearty texture and earthy tones.
Through careful preparation and a little TLC, while drying, your homemade clay can become a malleable material full of potential – ready to be shaped and fired into functional pottery pieces or sculptures with your distinctive style and flair. So grab an apron, pull up your sleeves, and let’s get mixing!
What Will You Need?
Before diving right into the process, let’s review the materials and equipment you’ll need to make brown clay. Depending on your location and accessibility, some items may be easily found in nature, while others can be purchased at a local art supply store or ordered online.
- River sediment (such as red clay)
- Fine sand
- Bark (from trees like cedar, pine, or birch)
- Plant fibers (like straw or grass)
- Water
- Mixing bowl
- Measuring cups and spoons
- Large spoon or stirrer
- Plastic sheet or tarp
- Optional: mesh strainer or sieve (for removing debris from river sediment)
Once you have all your materials, it’s time to start making clay!
10 Easy Steps on How to Make Brown Clay
Step 1. Prepare Your Work Area:
Begin by spreading the plastic sheet or tarp in your designated work area. This will help keep the process contained and make cleanup easier. Be careful not to damage any surfaces, as some materials can stain.
Step 2. Collect River Sediment:
If you’re lucky enough to have a nearby river or stream, go ahead and gather about 3 pounds (or 1.4 kilograms) of red clay sediment. This will be the base for your brown clay. In case you don’t have direct access to this natural resource, don’t worry!
You can easily find it for purchase online, or substitute it with other types of sediment that are readily available in your area. Remember to sift through it with a mesh strainer or sieve to remove debris or unwanted particles, ensuring a smooth and clean clay mixture.
Step 3. Mix River Sediment and Fine Sand:
Pour the sifted river sediment and fine sand into the mixing bowl. The sand-to-sediment ratio should be approximately 1:2. So, if you’ve used 3 pounds of sediment, add about 1.5 pounds of fine sand. The sand plays a crucial role in reducing shrinkage and cracking during the drying process, lending strength to your clay. Mix thoroughly using the large spoon or stirrer until the two components are well combined.
Step 4. Add Bark and Plant Fibers:
Next, you will add the bark and plant fibers into the bowl. These organic materials will give your clay texture and further reduce the chances of cracking. Tear or crush the bark into small pieces and cut the plant fibers into short lengths before adding them to the mixture. You’ll need about half a pound (or 225 grams) each. Stir well until these ingredients are evenly distributed throughout the clay mixture.
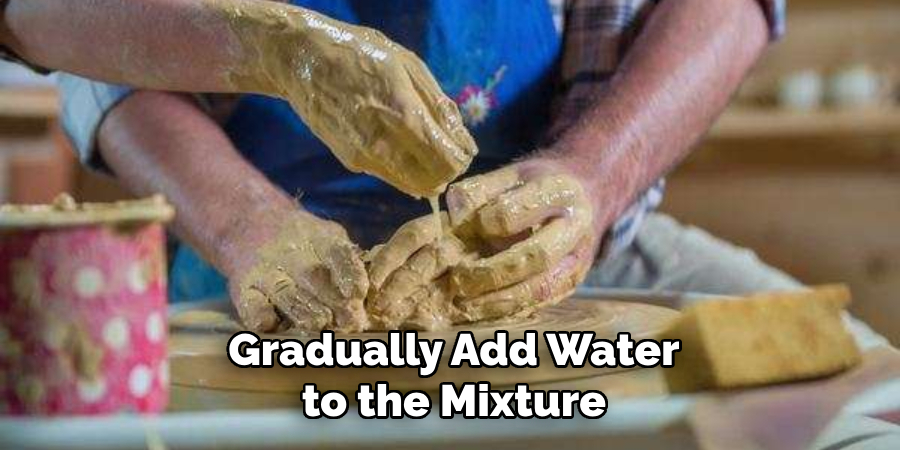
Step 5. Add Water:
Now, gradually add water to the mixture. Start by pouring in a small amount, typically around 1 cup, then stir the mixture thoroughly. It’s crucial to add the water slowly and incrementally. If you add too much at once, the combination could become too soggy, ruining your clay. You’re aiming for a consistency similar to dough; it should be pliable but not watery or sticky. Continue adding a little water at a time, stirring frequently, until you reach the desired consistency.
Step 6. Knead the Clay:
Once you’ve achieved the right consistency, it’s time to knead your clay. This step is essential for evenly distributing moisture throughout the mixture and removing any air bubbles that may cause cracking later. It’s like kneading dough – use your hands to push, fold, and turn the clay, repeating this process until it’s smooth and uniform.
Add a little more water if the clay is too dry or crumbly. If it’s too sticky, sprinkle in some extra river sediment or fine sand. Keep kneading until you’re satisfied with the feel and consistency of your brown clay.
Step 7. Let the Clay Rest:
After kneading, your clay needs some time to rest and allow the moisture to permeate through the material fully. Wrap the clay in a slightly damp cloth and place it in a sealed plastic bag to prevent it from drying out. Letting it sit overnight is a good practice, but a few hours should suffice if you’re in a hurry. This rest period will make the clay more workable and more accessible to shape in the following steps.
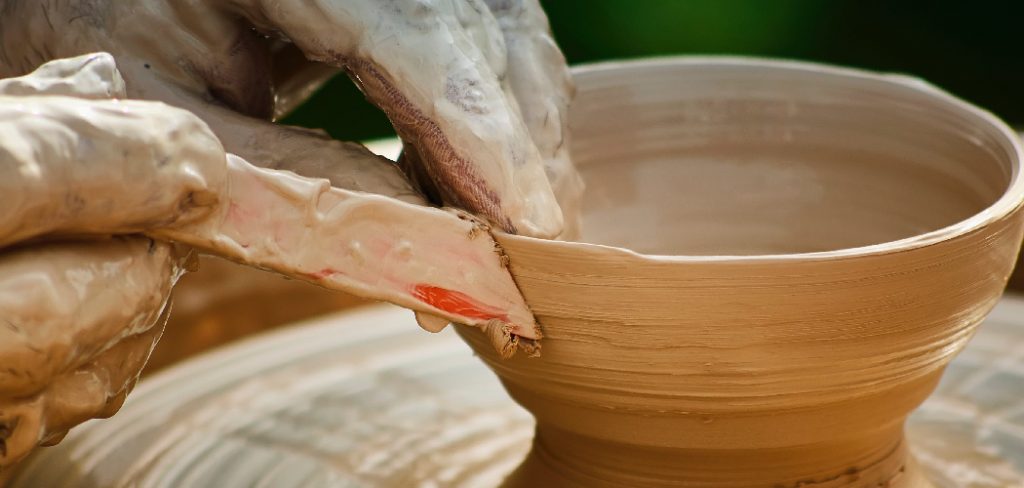
Step 8. Shape Your Clay:
After resting, your homemade brown clay is ready to be shaped into your desired form. You can use your hands, a pottery wheel, or sculpting tools to mold the clay into pots, sculptures, or any other creations your mind can conceive. Remember to smooth out any cracks or rough patches on the surface. This is your chance to let your creativity shine, so take your time and enjoy the process.
Step 9. Let Your Creations Dry:
Once you’ve finished shaping your clay pieces, they will need time to dry thoroughly. Place your creations in a cool, dry, and well-ventilated area, ensuring they’re not exposed to direct sunlight or extreme temperatures, which can cause cracking or warping. The drying process may take several days, depending on the size and thickness of your pieces. Be patient and allow the pieces to dry naturally. Turning them occasionally can help ensure they dry evenly.
Step 10. Final Touches:
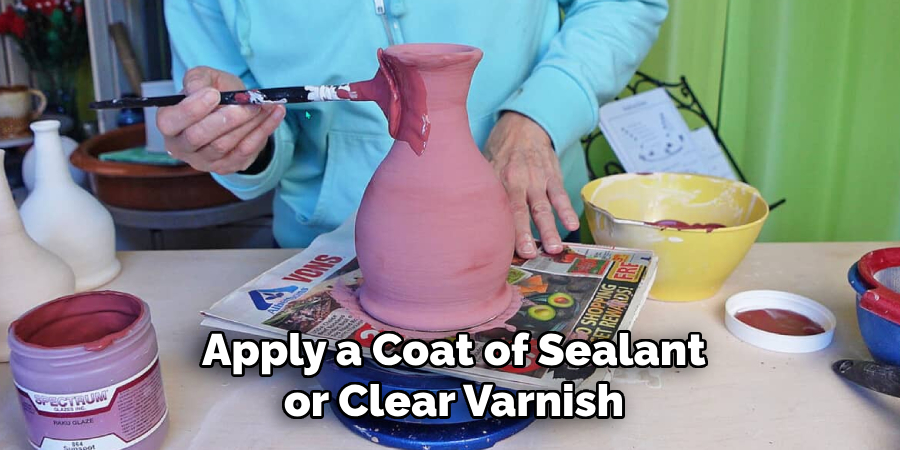
After your creations have completely dried, it’s time for the final touches. You can leave your pieces as they are, celebrating brown clay’s natural and rustic look. Alternatively, you can apply a coat of sealant or clear varnish to protect the surface and enhance the clay’s natural color. If you’re feeling artistic, paint your pieces using acrylic or oil-based paints. Once you’re done, clean your workspace and properly store any leftover clay for future use.
By following these simple steps, you can easily create your brown clay at home using natural ingredients and materials.
5 Additional Tips and Tricks
- Experiment with Colors: Don’t be afraid to experiment with different combinations of red, yellow, and blue to achieve the perfect shade of brown. Remember, practice makes perfect.
- Gradually Add Colors: When mixing colors, always add the darker color to the lighter one gradually. This allows better control over the shade of brown.
- Proper Storage: To keep your brown clay fresh and malleable, store it in a tightly sealed container when not in use. Exposure to air can dry out the clay and make it brittle.
- Use Quality Clay: The quality of the clay can affect the result. Use good quality clay that is suitable for your project and easy to work with.
- Clean Tools: Always keep your tools clean. Residue from previous colors can affect your brown clay. Clean your tools after every use to ensure the purity of color in your clay.
With these additional tips and tricks, creating the perfect shade of brown clay will become easier and more fun.
5 Things You Should Avoid
- Overmixing the Clay: Overmixing can result in a muddy color instead of the desired brown. Mix the colors gently and gradually until you reach the desired shade.
- Using Too Much Water: Adding too much water can make the clay too soft and easier to work with. Use water sparingly and only when necessary.
- Ignoring Color Theory: Neglecting basic color theory can lead to unsatisfactory results. For example, understanding that blue and orange make brown is fundamental when creating brown clay.
- Neglecting Cleanliness: Failing to maintain a clean workspace can lead to the unintentional mixing of colors. Always keep your workspace tidy to avoid any unwanted color surprises.
- Using Old or Dry Clay: Using stale, dry, or old clay can affect the final product’s texture and color. Always check the condition of your clay before starting your project.
By avoiding these common mistakes, you can ensure that your brown clay turns out beautifully every time.
Conclusion
In conclusion, how to make brown clay is a fun and easy process that can open up endless possibilities for arts and crafts projects. With just a few simple ingredients and some creativity, you can transform dull white clay into a rich, deep shade of brown that will add a unique touch to your creations. This DIY project is satisfying and enjoyable and allows you to use natural and non-toxic materials, making it safe for both you and the environment.
So why not give it a try? Gather your supplies, follow these steps, and let your imagination run wild! Remember to share your creations with us on social media using #DIYBrownClay. We can’t wait to see what you come up with!
Thank you for joining us on this creative journey, and remember, the possibilities are endless when it comes to crafting with brown clay. So go ahead, get messy, and have fun!
Toby Rede is a professional potter focused on creating functional and artistic ceramics. His work blends natural textures with modern forms, often inspired by sustainable gardening and outdoor environments. Toby’s pottery emphasizes both utility and beauty, reflecting his philosophy of intentional craftsmanship. On the blog, he shares insights on integrating handmade objects into everyday life.
Education
Associate Degree in Ceramic Technology, Alfred University
Professional Focus
Pottery creation with a focus on functionality and artistic expression
Techniques exploring texture, glazing, and sustainable materials
Professional Accomplishments
Work featured in regional art shows and garden exhibitions
Collaborations with local craft fairs and home decor shops