Ceramic beads are a versatile and beautiful addition to various crafting projects, from jewelry making to home décor. These beads can be crafted in a myriad of shapes, sizes, and colors, allowing for endless creative possibilities.
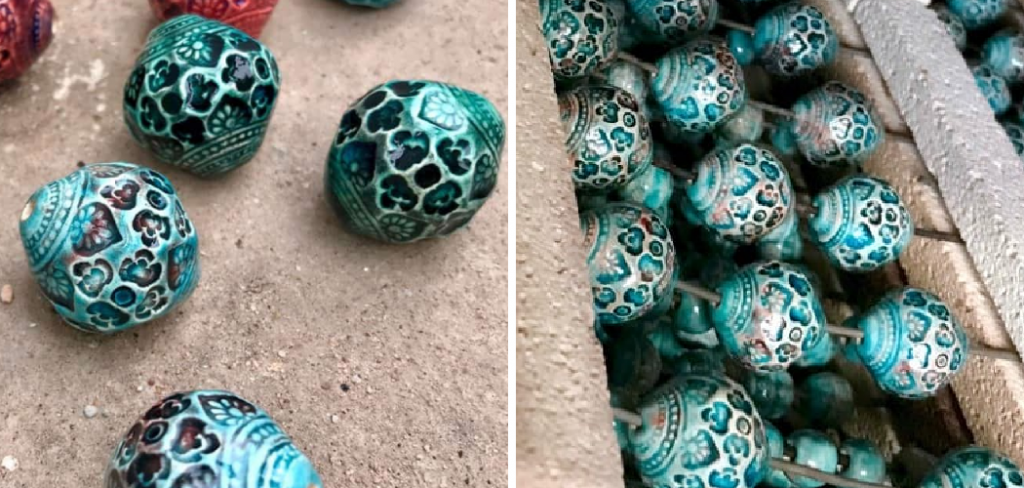
The process of making ceramic beads not only fosters artistic expression but also provides a tangible connection to ancient crafting traditions. In this guide, we will explore the steps involved in how to make ceramic beads, from preparing the clay to firing the finished pieces, empowering you to bring your unique designs to life.
Benefits of Making Your Own Ceramic Beads
Creating your own ceramic beads comes with numerous advantages, enhancing both the crafting experience and the final product.
Firstly, it allows for complete customization, enabling you to design beads that perfectly match your personal style and project needs. This creative freedom can lead to more meaningful and unique pieces, unlike mass-produced alternatives. Additionally, the pottery-making process can be therapeutic; it provides an opportunity for relaxation and mindfulness as you immerse yourself in the tactile sensations of clay and shaping.
Moreover, making ceramic beads can be a cost-effective way to accumulate beautiful materials, especially for those who frequently engage in crafting. Finally, this skill connects crafters to the rich history of pottery, fostering a deeper appreciation for the craft’s cultural significance while preserving traditional techniques.
Materials and Tools Needed
To successfully create ceramic beads, you’ll need a variety of materials and tools to facilitate the process. Here’s a list to get you started:
Materials
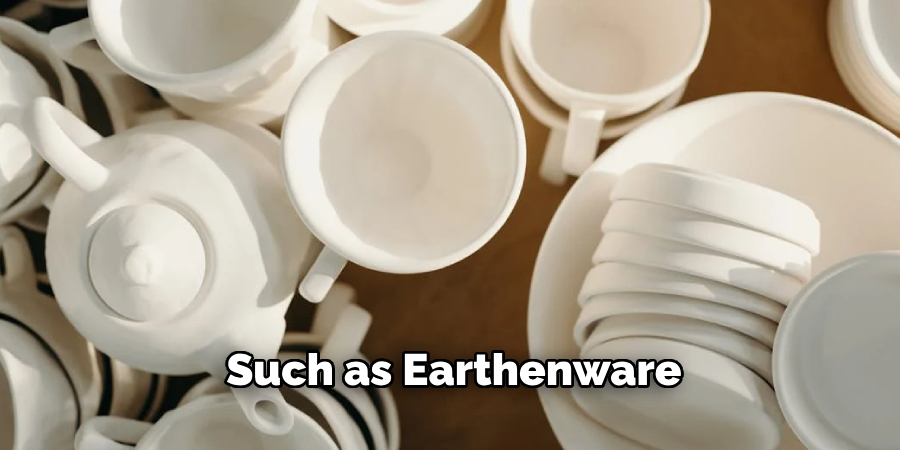
- Clay: Choose a type suitable for bead-making, such as earthenware or stoneware.
- Water: Necessary for moistening the clay and keeping it workable.
- Optional Additives: Glazes, underglazes, or stains to add color and finish.
Tools
- Rolling Pin: For flattening the clay to your desired thickness.
- Clay Cutters: Various shapes and sizes for cutting out bead shapes.
- Needle Tool: For creating holes in the beads for threading.
- Sponge: To smooth the clay and add moisture.
- Kiln: Essential for firing the beads to harden and finish them.
- Glazing Tools: Brushes or sponges for applying glazes evenly.
10 Methods How to Make Ceramic Beads
1. Preparing the Clay
The first step in making ceramic beads is preparing the clay. Begin by selecting a suitable ceramic clay that is appropriate for bead-making. Porcelain, stoneware, and earthenware clays are popular choices, each offering different textures and firing temperatures. Knead the clay thoroughly to remove air bubbles and achieve a smooth, workable consistency.
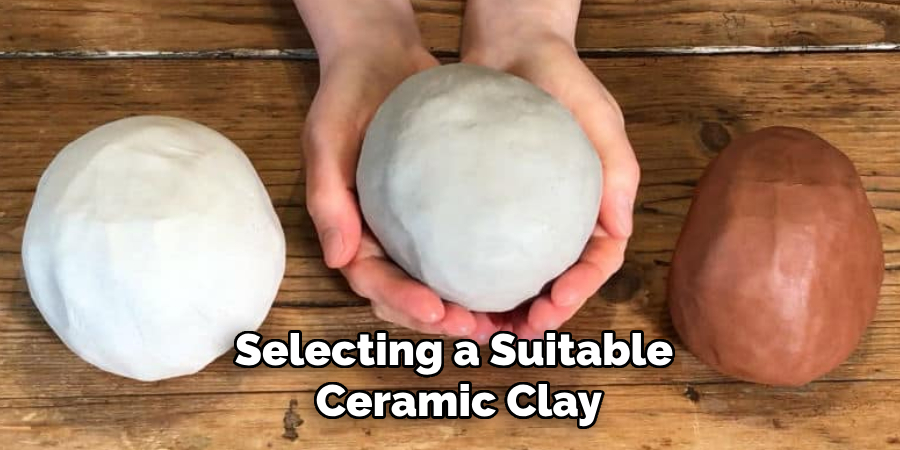
This process, known as wedging, helps prevent cracking during shaping and firing. Once the clay is properly prepared, divide it into small, manageable portions based on the size and number of beads you plan to create. Ensure that your work surface is clean and covered with a non-stick material like a silicone mat to prevent the clay from sticking.
2. Shaping the Beads
Shaping the beads is a crucial step that determines their final form and size. Begin by rolling small portions of clay into spherical or cylindrical shapes, depending on the desired bead design. You can use your fingers or clay tools to refine the shape and achieve uniformity.
For more intricate designs, consider using bead molds or stampers to create consistent shapes and patterns. Ensure that each bead has a smooth surface, as imperfections can affect the final appearance after glazing and firing. If creating multiple beads, strive for consistency in size and shape to ensure a cohesive look in your finished pieces.
3. Drilling Holes
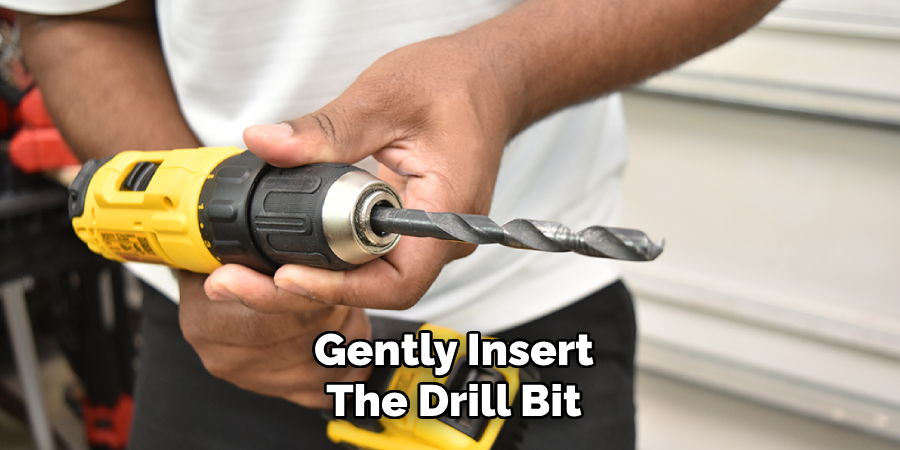
Drilling holes in the beads is essential for stringing them into jewelry or other items. To drill holes, use a small, fine drill bit or a specialized bead reamer designed for ceramics. Before drilling, ensure that the beads are still soft and malleable; if they have started to dry, it is best to wait until they are fully dry before proceeding.
Gently insert the drill bit into the center of the bead and rotate it to create a hole of the desired size. Be careful not to apply too much pressure, as this can cause the bead to crack or break. After drilling, smooth the edges of the hole with a small file or sandpaper to remove any sharp or rough areas.
4. Drying the Beads
Once the beads are shaped and drilled, they must be thoroughly dried before firing. Place the beads on a drying rack or a flat surface lined with absorbent paper to allow air circulation around them. Ensure that the beads are not touching each other to prevent them from sticking together during the drying process.
The drying time will vary depending on the size and thickness of the beads, but it typically ranges from several hours to a few days. It is important to allow the beads to dry completely to avoid issues such as cracking or warping during the firing process.
5. Bisque Firing
Bisque firing is the first firing stage in the ceramic bead-making process, and it prepares the beads for glazing. Place the dried beads into a kiln and set the temperature according to the clay’s specifications. Typically, bisque firing involves heating the kiln to a temperature between 1,800°F and 2,000°F (982°C to 1,093°C).
This process removes any remaining moisture and organic materials from the clay, making the beads porous and ready to accept glaze. After the kiln reaches the desired temperature, allow it to cool gradually before removing the beads. Bisque firing transforms the clay into a hardened, durable ceramic form that is ready for glazing.
6. Glazing the Beads
Glazing adds color and a protective coating to the ceramic beads, enhancing their appearance and durability.
Begin by selecting a ceramic glaze that suits your design preferences. Glazes come in a variety of finishes, including glossy, matte, and textured, and can be applied using different methods such as dipping, brushing, or spraying. Before glazing, make sure the bisque-fired beads are clean and free of dust.
Apply the glaze evenly, ensuring that the holes remain free of glaze to facilitate stringing. Once the glaze is applied, allow it to dry completely before firing. This step is crucial for achieving the desired color and finish in your finished beads.
7. Glaze Firing
Glaze firing is the final firing stage that vitrifies the glaze and completes the bead-making process. Place the glazed beads into the kiln, arranging them carefully to avoid contact with each other. Set the kiln to the appropriate temperature for the glaze, typically between 1,800°F and 2,300°F (982°C to 1,260°C), depending on the type of glaze used.
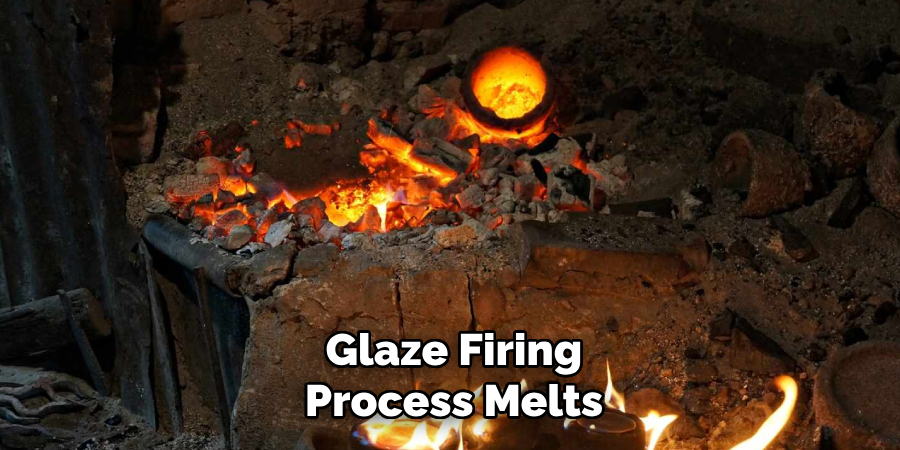
The glaze firing process melts and bonds the glaze to the ceramic surface, creating a smooth, glossy finish. Allow the kiln to reach the desired temperature and then cool gradually to prevent thermal shock. Once cooled, carefully remove the beads from the kiln and inspect them for any defects or imperfections.
8. Finishing and Polishing
After glaze firing, the ceramic beads may require finishing and polishing to achieve a smooth, refined look. Use a fine-grit sandpaper or polishing cloth to gently buff the surface of the beads, removing any rough spots or imperfections.
Pay special attention to the holes, ensuring that they are smooth and free of any glaze residue. If desired, apply a ceramic polish or sealer to enhance the shine and protect the surface of the beads. Finishing and polishing help to give the beads a professional appearance and ensure they are comfortable to wear or use in your projects.
9. Assembling Beaded Jewelry
Once the ceramic beads are finished and polished, they can be assembled into jewelry or other decorative items. Choose appropriate stringing materials, such as beading wire, thread, or cord, and select findings and clasps that complement your design.
Use beading tools, such as pliers and needle-nose pliers, to string the beads onto the chosen material, creating patterns and arrangements that reflect your creative vision. Secure the ends of the stringing material with crimps or knots, and attach any necessary clasps or closures. Assembling beaded jewelry allows you to showcase your handcrafted ceramic beads in beautiful, wearable pieces.
10. Maintaining and Storing Ceramic Beads
Proper maintenance and storage are essential for preserving the quality and appearance of ceramic beads. To clean ceramic beads, use a soft, damp cloth to gently wipe away any dust or dirt.
Avoid using harsh chemicals or abrasive materials that could damage the glaze or surface. Store the beads in a cool, dry place, away from direct sunlight and extreme temperatures. Consider using soft pouches or cushioned containers to prevent scratching or chipping. By taking care of your ceramic beads, you ensure that they remain in excellent condition and retain their beauty over time.
Conclusion
The journey of creating ceramic beads, from shaping and drying through to glazing and assembly, is a rewarding process that allows for immense creativity and personal expression. Each stage plays a crucial role in enhancing the functionality and aesthetic appeal of the final product.
By following the outlined steps and maintaining proper care for your ceramic beads, you can produce beautiful, durable creations that can be cherished for years to come. Thanks for reading, and we hope this has given you some inspiration on how to make ceramic beads!
With a keen eye for detail and a deep understanding of the firing process, I bring ceramics to life as a skilled kiln operator. My expertise ensures that each piece reaches its full potential, achieving the perfect balance of strength and beauty. I take pride in overseeing the critical final stage of pottery creation, transforming raw clay into stunning, durable art. 🎨
From monitoring temperatures to perfecting firing schedules, I ensure that every piece is fired to perfection. My role is not just about operating the kiln; it’s about understanding the unique needs of each creation and bringing out its best qualities.
Join me on this journey of precision and passion, where every firing tells a story. Whether it’s a delicate vase or a robust sculpture, I am dedicated to making sure that every piece that comes out of the kiln is a masterpiece. 🏺✨
Toby Rede is a professional potter focused on creating functional and artistic ceramics. His work blends natural textures with modern forms, often inspired by sustainable gardening and outdoor environments. Toby’s pottery emphasizes both utility and beauty, reflecting his philosophy of intentional craftsmanship. On the blog, he shares insights on integrating handmade objects into everyday life.
Education
- Master of Fine Arts in Ceramics, California College of the Arts
Professional Focus
- Creating practical pottery for everyday use.
- Using unique styles and techniques to convey narratives in ceramics.
Professional Accomplishments
- Showcased work in local and national art galleries, gaining recognition for craftsmanship.
- Received accolades for innovative designs in pottery competitions.