Are you interested in making ceramic figurines? You may have a creative and artistic side that is itching to be expressed through this medium.

How to make ceramic figurines is a rewarding craft that combines creativity with skillful technique. Whether you’re a beginner or an experienced artist, making ceramic figurines allows you to express your artistic vision by shaping simple clay into intricate designs. Additionally, the possibilities are endless when it comes to creating ceramic figurines, making it a satisfying hobby or even a potential source of income.
This guide will walk you through the essential steps, from selecting the correct type of clay to mastering the art of sculpting and finishing. With patience and practice, you can craft figurines that capture your imagination and bring a touch of beauty into your space. Let’s get started!
What Will You Need?
Before diving into the process, gather all the necessary materials and tools. Here’s a basic list to get you started:
- Clay of choice
- Sculpting tools (clay knife, shaping tools, etc.)
- Rolling pin
- Cutting wire
- Kiln or oven for firing
- Glazes or paint for finishing
- Paintbrushes
Once you have all the needed materials and equipment, it’s time to begin creating your ceramic figurine.
10 Easy Steps on How to Make Ceramic Figurines
Step 1: Choosing the Right Clay
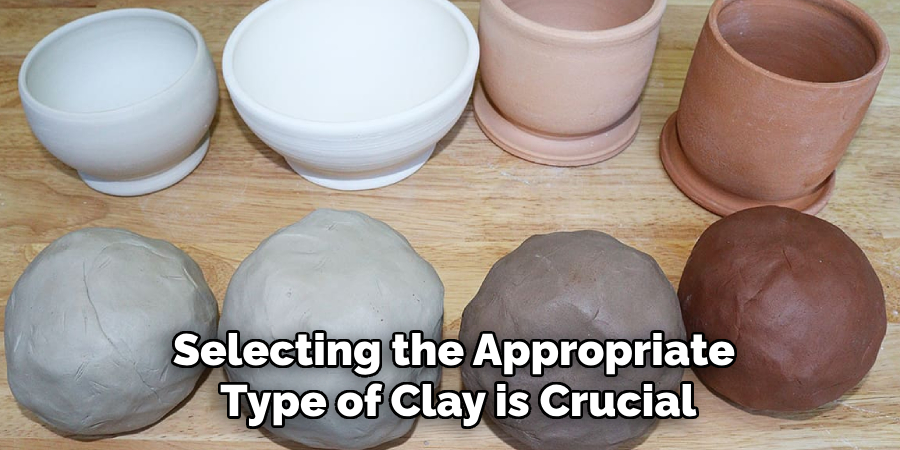
Selecting the appropriate type of clay is crucial as it sets the foundation for your entire project. When choosing clay, consider texture, color, and firing temperature. Beginners may opt for air-drying clay, which is easy to work with and doesn’t require firing in a kiln. However, earthenware, stoneware, or porcelain clays are preferred for more durable and detailed figurines, each offering distinct characteristics.

Earthenware is porous and ideal for decorative items, while stoneware is sturdier and suitable for functional objects. Porcelain clay, known for its fine texture and high firing temperature, provides a smooth finish that is excellent for intricate details. Before beginning your sculpture, take the time to research different clays and experiment with small pieces to see which type best suits your artistic needs and the specific figurine you’re envisioning.
Step 2: Preparing Your Workspace
An organized and clean workspace is essential for creating ceramic figurines. Start by selecting a well-ventilated area with ample light. Cover your working surface with a plastic sheet or canvas fabric to prevent the clay from sticking. Arrange your tools and materials within easy reach, ensuring you have everything you need. Having a small container of water nearby is also helpful to keep your clay moist and pliable.
Tidying your environment will help avoid distractions and minimize the risk of contaminating your clay with dust and debris. A clean and prepared workspace will facilitate a smoother and more enjoyable sculpting process.
Step 3: Kneading the Clay
Before starting to sculpt, it’s vital to knead your clay thoroughly. Kneading, also known as wedging, helps remove air bubbles trapped within the clay, preventing cracks and imperfections during the drying and firing process. Begin by slicing the clay into smaller, manageable pieces.

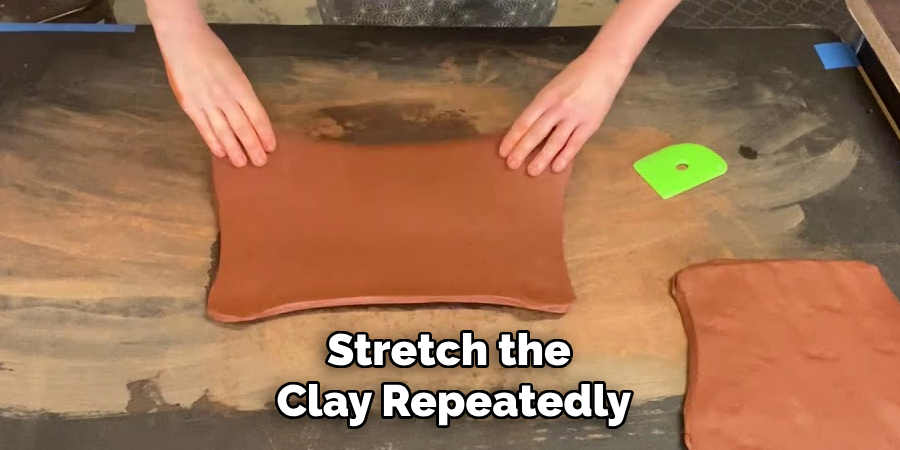
Then, press, fold, and stretch the clay repeatedly, applying consistent pressure to expel any air. Rotate the clay occasionally to ensure even kneading. This process also enhances the clay’s consistency and malleability, making it more responsive to detailed work. Take your time and knead the clay until it feels smooth and pliable, indicating it’s ready for sculpting.
Step 4: Shaping the Basic Form
Once your clay is prepared, it’s time to shape the primary form of your figurine. Start by visualizing the overall structure and dimensions you desire. For beginners, sketching a rough outline of the design on paper may be helpful. Use your hands to model the clay into a rudimentary shape, focusing on simple and broad outlines without intricate details at this stage. Remember to keep the clay moist by occasionally dipping your fingers in water, which aids in smoothing and shaping.
As you work, gradually refine the form, adjusting proportions and symmetry as needed. This initial stage is crucial as it is the foundation upon which all detailed work will be built.
Step 5: Adding Details to Your Figurine
With the basic form established, it’s time to add the intricate details that will bring your figurine to life. Use sculpting tools such as clay knives, shaping tools, and brushes to carve and refine features like facial expressions, clothing folds, or any unique attributes you envision. Work slowly and thoughtfully, as minor, deliberate alterations can significantly impact the figurine’s final appearance. Keep the clay pliable and workable by regularly moistening it with a small amount of water.
Remember, patience is key; spend as long as necessary perfecting these details to ensure your piece captures the desired essence and character. As you add each element, step back occasionally to evaluate your progress and adjust as needed. This meticulous attention to detail will enhance your figurine’s aesthetic appeal and expressive quality.
Step 6: Hollowing Out the Figurine
Hollowing out your figurine is essential, especially if you’re working with a solid block of clay, as it helps prevent cracking during the firing process. To do this, carefully carve out the interior of the figurine using a loop tool, leaving the walls approximately 1/4 inch thick.
Pay attention to delicate arms or legs to avoid compromising the structure. Ensure that the base remains open or poke a small hole to allow air to escape, which is crucial for even drying and firing. As you hollow out the clay, check for uniform thickness and smooth out any rough edges to maintain the integrity and balance of the piece.
Step 7: Drying the Figurine
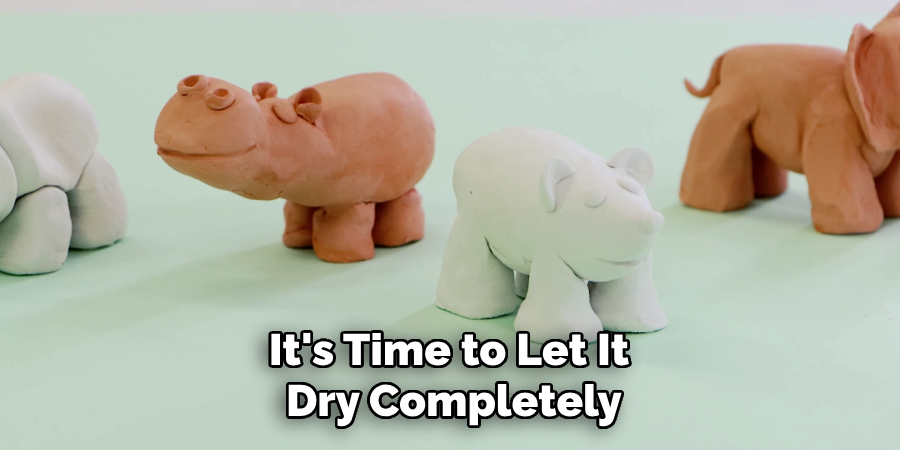
After hollowing out your figurine, it’s time to let it dry completely before firing. Place the figurine in a cool, dry area with good airflow to facilitate even drying. Avoid exposing it to direct sunlight or heat sources, as these can cause the clay to dry too quickly and result in cracks.

Depending on the type of clay you’re using, the drying process can take several days to a few weeks. Being patient during this step is essential, as rushing the drying process can undo all the hard work you’ve put into your creation. As the figurine dries, check periodically for any minor cracks or imperfections and smooth them out gently with a damp sponge. Once the figurine feels solid and dry, it can proceed to the firing stage.
Step 8: Bisque Firing the Figurine
Once your figurine is completely dry, it is ready for bisque firing, the first firing that transforms the clay into a durable ceramic material. Carefully place the figurine into the kiln, ensuring enough space around each piece for even heating. Follow the instructions for your specific kiln model to set the appropriate temperature and duration for bisque firing. Generally, this process involves gradually raising the temperature to around 1730°F (945°C) over several hours.
It’s vital to ensure the kiln does not heat up too quickly to avoid thermal shock, which can cause cracking. Allow the kiln to cool completely before opening it, as rapid cooling may also damage the figurine. After this firing, your figurine will be sturdy enough for handling and ready for glazing, if desired.
Step 9: Glazing the Figurine
Once the bisque firing is complete, you can glaze your figurine to add color and a glass-like finish. Begin by applying a coat of wax resist to areas you wish to keep unglazed, like the base, to prevent the glaze from adhering. Select your desired glaze colors, and apply an even layer on the figurine’s surface with brushes. You can combine different colors or techniques, such as dipping, pouring, or brushing, to achieve your desired effect. Allow the glaze to dry thoroughly before proceeding.
Be sure to fire the glazed figurine according to the manufacturer’s instructions, as different glazes require varied firing temperatures. The final glaze firing will add color and texture and create a sealed surface, highlighting the intricate details of your sculpted piece.
Step 10: Final Inspection and Touch-ups
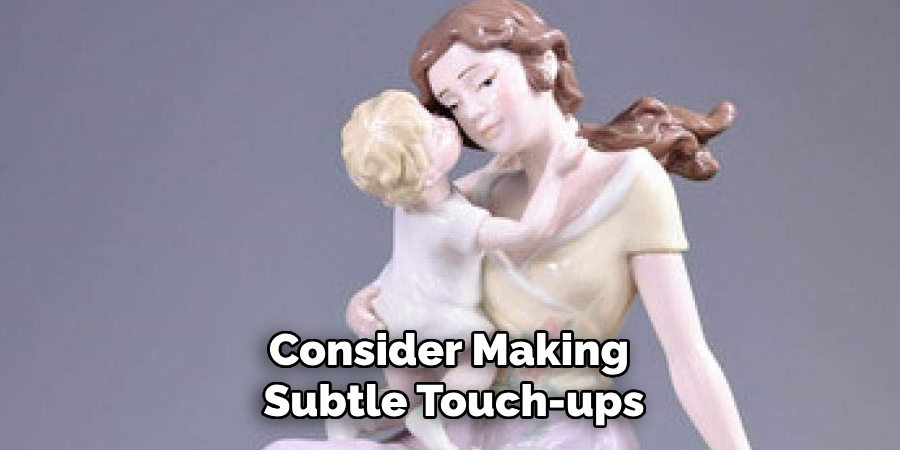
After the glaze firing, carefully remove your figurine from the kiln once it has cooled completely. This is the moment to thoroughly inspect your work for any imperfections or unexpected results from the glazing process, such as color variations or unwanted glaze pooling. If you discover any minor issues, consider making subtle touch-ups with additional glaze and re-firing if necessary. However, caution is advised to avoid over-firing or layering too much glaze.
Take time to appreciate the finished figurine, noting the transformation from raw clay to a vibrant, detailed sculpture. This final inspection allows you to refine your piece. It provides valuable insights for future projects, honing your skills as a sculptor and understanding more about the materials and techniques you’ve employed.

By following these steps and investing time and care into each stage, you can create a truly unique and personal clay figurine that showcases your creative vision and sculpting abilities.
Conclusion
How to make ceramic figurines is a rewarding and intricate process that combines both artistic skill and technical knowledge.
By following the outlined steps meticulously, from shaping the clay to the final glaze firing, you ensure that each piece reflects your creative vision while adhering to essential craftsmanship principles. The process requires patience, precision, and a willingness to learn, as each stage presents opportunities for refinement and expression.
Whether you are a beginner or an experienced artist, creating ceramic figurines allows you to bring personal and tangible expression to life, resulting in a unique piece of art that can be cherished or shared.
By embracing the journey from concept to finished sculpture, you will develop your technical abilities and deepen your appreciation for the art of ceramics.
With a keen eye for detail and a deep understanding of the firing process, I bring ceramics to life as a skilled kiln operator. My expertise ensures that each piece reaches its full potential, achieving the perfect balance of strength and beauty. I take pride in overseeing the critical final stage of pottery creation, transforming raw clay into stunning, durable art. 🎨
From monitoring temperatures to perfecting firing schedules, I ensure that every piece is fired to perfection. My role is not just about operating the kiln; it’s about understanding the unique needs of each creation and bringing out its best qualities.
Join me on this journey of precision and passion, where every firing tells a story. Whether it’s a delicate vase or a robust sculpture, I am dedicated to making sure that every piece that comes out of the kiln is a masterpiece. 🏺✨
Toby Rede is a professional potter focused on creating functional and artistic ceramics. His work blends natural textures with modern forms, often inspired by sustainable gardening and outdoor environments. Toby’s pottery emphasizes both utility and beauty, reflecting his philosophy of intentional craftsmanship. On the blog, he shares insights on integrating handmade objects into everyday life.
Education
- Master of Fine Arts in Ceramics, California College of the Arts
Professional Focus
- Creating practical pottery for everyday use.
- Using unique styles and techniques to convey narratives in ceramics.
Professional Accomplishments
- Showcased work in local and national art galleries, gaining recognition for craftsmanship.
- Received accolades for innovative designs in pottery competitions.