Creating ceramic pipes is a highly rewarding craft that combines both artistic expression and functional design. These pipes, often used for smoking or decorative purposes, are valued for their durability and unique aesthetic. The process involves several stages, from selecting the right type of clay to shaping, drying, and firing your pieces in a kiln.
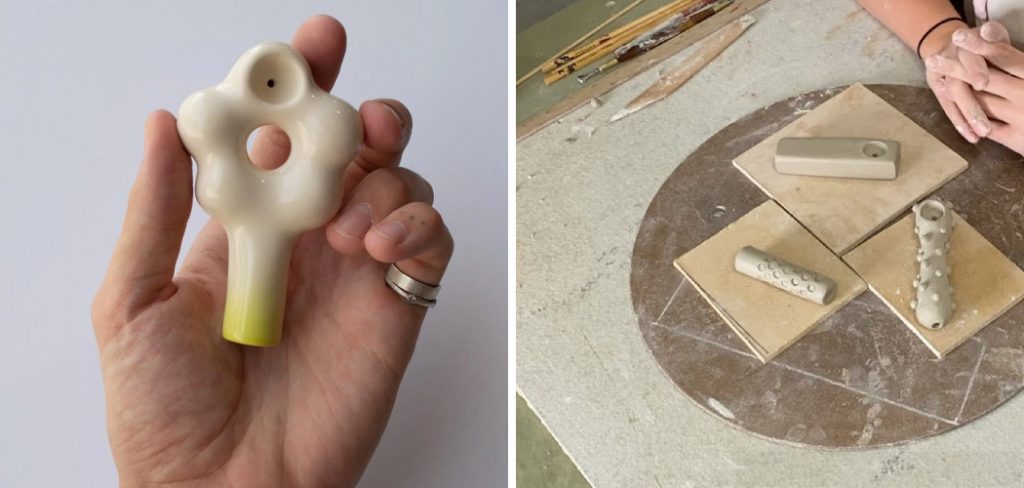
Whether you’re a beginner or an experienced ceramicist, understanding the fundamental techniques and tools required can help you produce beautiful, high-quality ceramic pipes. This guide on how to make ceramic pipes will walk you through each step of the journey, providing tips and tricks to help you succeed in your ceramic endeavors.
What You’ll Need
To get started, you will need the following materials and tools:
Clay:
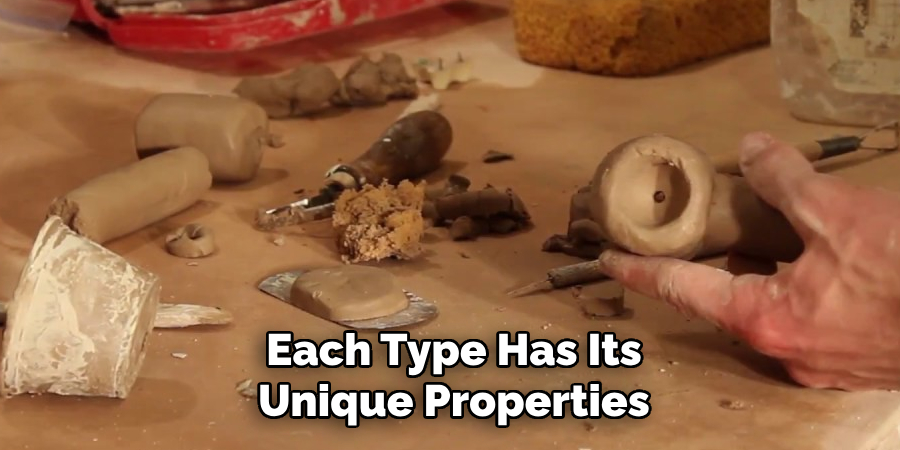
The type of clay you choose will greatly affect the end result of your ceramic pipes. Some popular options include stoneware, earthenware, and porcelain. Each type has its unique properties and characteristics, so do someresearch to determine which clay will best suit your needs.
Pottery Wheel:
A pottery wheel is used for shaping the clay and creating uniform forms. It allows for precise control and is necessary for making symmetrical pipes.
Rolling Pin or Slab Roller:
These tools are used to flatten and smooth out the clay, providing a consistent thickness with which to work.
Cutting Tools:
You will need various cutting tools such as a knife, wire cutter, or needle tool to cut and shape the clay.
Kiln:
A kiln is a high-temperature oven used for firing the clay. It is an essential part of the ceramic process as it transforms raw clay into hardened ceramic pieces.
Glaze:
Glaze is a liquid mixture applied over the surface of your pipes before firing. It adds color, texture, and durability to your final product.
8 Step-by-step Guidelines on How to Make Ceramic Pipes
Step 1: Prepare your Clay
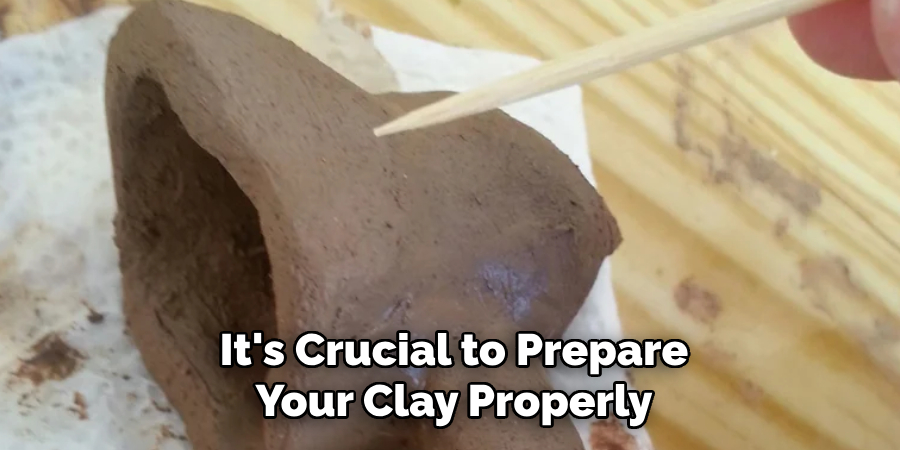
Before you begin shaping your ceramic pipe, it’s crucial to prepare your clay properly. Start by wedging your clay; this process involves kneading the clay to remove air bubbles and ensure a uniform consistency. To wedge, press and fold the clay repeatedly on a hard surface until it becomes pliable and free of lumps.
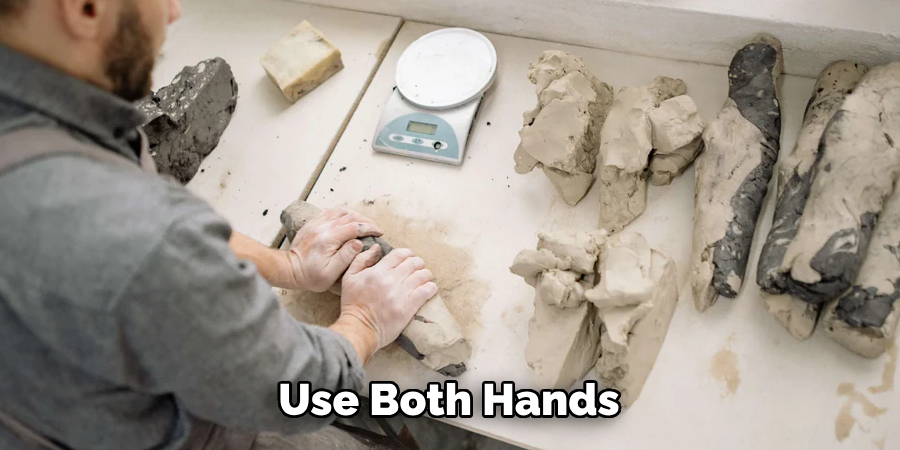
This step helps in preventing cracks or weak spots in the final product. Once the clay is well-wedged, cut it into manageable pieces if necessary. Ensure that the pieces are of consistent thickness to make the shaping process smoother. Preparing your clay adequately sets the foundation for a successful crafting experience.
Step 2: Center the Clay
Next, place a manageable amount of clay onto the pottery wheel. Wet your hands and the clay, then start the wheel spinning at a moderate speed. Use both hands to apply gentle but firm pressure to the clay, gradually guiding it to the center of the wheel. This process is known as centering and is crucial for creating a balanced and symmetrical form.
To center the clay effectively, press downwards with your right palm while simultaneously supporting the side of the clay with your left hand. Then, bring your hands up and inward, resembling a cone shape, before pressing down again. Repeat this motion until the clay becomes stable and spins without any noticeable wobble. Proper centering ensures that your ceramic pipe will have an even thickness and smooth surface, making the subsequent shaping steps more manageable.
Step 3: Shape the Pipe Bowl
Once the clay is well-centered, begin shaping the bowl of your ceramic pipe. Start by pressing your thumbs gently into the center top of the clay to create an initial indentation. Gradually widen and deepen this indentation by applying steady pressure, ensuring your thumbs remain wet to prevent the clay from sticking. As you work, use your fingers to support the outer walls of the bowl, maintaining an even thickness throughout.
Utilize a combination of inward and upward movements to refine the inside and outside surfaces of the bowl. Be patient and make small adjustments to ensure that the bowl forms a uniform, symmetrical shape. You can also use pottery tools, such as a rib or a wooden shaping tool, to smooth and perfect the curvature of the bowl. Keep the wheel spinning at a consistent speed to help maintain balance and symmetry. The goal is to create a well-proportioned, smooth surface that will serve as the main chamber for your ceramic pipe.
Step 4: Define the Pipe Stem
Once you have successfully shaped the bowl, it’s time to define the pipe stem. Use your fingers to pinch and pull the clay in a downward motion, gradually elongating it while maintaining an even thickness. The length of your stem is entirely up to personal preference, but typically ranges from 3-6 inches.
As you shape the stem, make sure that it is centered and evenly tapered to create a smooth transition between the bowl and stem. You can also use cutting tools to refine and perfect the shape of the stem. Remember to keep checking for symmetry and consistency as you work.
Step 5: Cut Out the Carb Hole
To enhance the functionality of your ceramic pipe, you will need to cut out a carb hole. The carb hole is a small opening that allows users to control airflow while smoking. Select a location on the side of the bowl where it will be easily accessible. Using a needle tool or a small knife, carefully puncture the clay to create the hole. Ensure that the hole is large enough to provide adequate airflow but not so large that it compromises the structural integrity of the bowl.
After puncturing, smooth the edges of the carb hole to prevent any sharp or rough spots that could cause discomfort. You can use a damp sponge or your fingers to gently refine the hole’s edges. Taking care of this step ensures that your final product will be both functional and user-friendly. Once the carb hole is cut and smoothed, you’re ready to move on to the next stage of your ceramic pipe creation.
Step 6: Hollow Out the Bowl
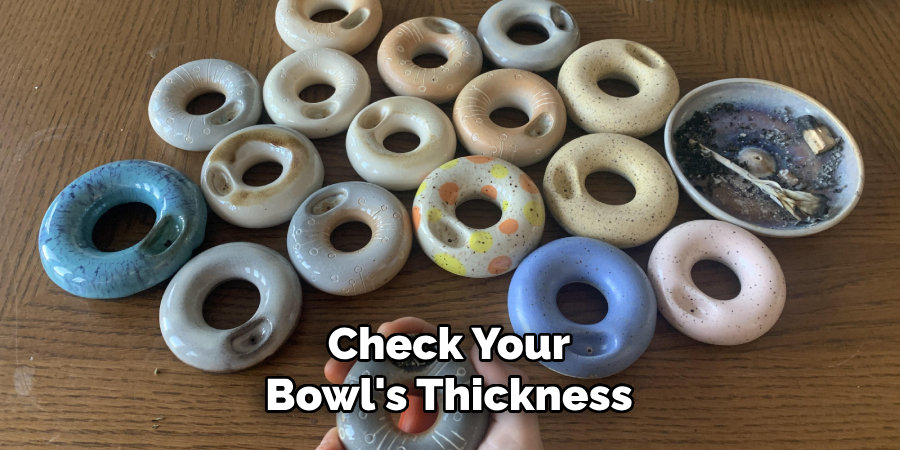
Before proceeding, check your bowl’s thickness to ensure that it is consistent and even. If necessary, use a tool to remove any excess clay from the inside of the bowl, creating a hollow chamber. This step helps in preventing the pipe from becoming too heavy and makes it easier to handle during firing.
Be mindful not to thin out the walls too much as this can weaken the structural integrity of your ceramic pipe. Gently shape and smooth the inside of the bowl with your fingers or tools until you have created an appropriate-sized chamber for smoking.
Step 7: Create a Bowl Screen
To ensure that your ceramic pipe functions efficiently, creating a bowl screen is a crucial step. The bowl screen prevents ash and debris from being inhaled while allowing smoke to pass through. Start by selecting a fine mesh material, such as a small piece of metal screen, that can withstand high temperatures. Measure and cut the mesh to fit snugly at the bottom of your bowl. If you prefer a more integrated approach, you can fashion a bowl screen out of clay.
If making a clay screen, thinly roll out a small piece of clay and use a needle tool to punch multiple small holes in it, ensuring even spacing. Carefully place this perforated clay disk at the base of the bowl and gently press it to adhere to the inner surface. For added durability, ensure the disk is securely attached by smoothing the edges with a damp sponge or your fingers. Taking the time to create an effective bowl screen will enhance the smoking experience and prolong the life of your ceramic pipe.
Step 8: Finishing Touches
Now that you have completed the main steps of creating a ceramic pipe, it’s time to add any decorative elements or personal touches. You can use small pieces of clay to create designs on the surface of your pipe, such as patterns, symbols, or initials. Be sure to smooth and attach these additional pieces securely to prevent them from breaking off during firing.
You can also add color to your pipe by painting it with ceramic glaze before firing. This step on how to make ceramic pipes requires additional knowledge and experience with glazing techniques, so if you are new to pottery making, it may be best to consult a professional or attend a workshop before attempting this step.
Once you are satisfied with the final shape and design of your ceramic pipe, let it dry thoroughly before firing it in a kiln. Follow proper firing and cooling procedures to ensure that your pipe is durable and functional for use. With patience, practice, and attention to detail, you can create a unique and functional ceramic pipe that will last for years to come. Happy crafting!
Conclusion
Crafting a ceramic pipe is not only a satisfying artistic endeavor but also a rewarding way to create a personalized and functional piece. Through the detailed steps outlined in this guide, from shaping the bowl to applying the finishing touches, you can master the essential techniques of pottery making.
Remember that patience, precision, and practice are key to achieving a high-quality result. Whether this is your first ceramic project or you are an experienced potter, the process of designing and creating a ceramic pipe provides an opportunity to express your creativity and develop your skills. Enjoy the journey of transforming a simple piece of clay into a durable and beautiful work of art. Thanks for reading this article on how to make ceramic pipes.
With a keen eye for detail and a deep understanding of the firing process, I bring ceramics to life as a skilled kiln operator. My expertise ensures that each piece reaches its full potential, achieving the perfect balance of strength and beauty. I take pride in overseeing the critical final stage of pottery creation, transforming raw clay into stunning, durable art. 🎨
From monitoring temperatures to perfecting firing schedules, I ensure that every piece is fired to perfection. My role is not just about operating the kiln; it’s about understanding the unique needs of each creation and bringing out its best qualities.
Join me on this journey of precision and passion, where every firing tells a story. Whether it’s a delicate vase or a robust sculpture, I am dedicated to making sure that every piece that comes out of the kiln is a masterpiece. 🏺✨
Toby Rede is a professional potter focused on creating functional and artistic ceramics. His work blends natural textures with modern forms, often inspired by sustainable gardening and outdoor environments. Toby’s pottery emphasizes both utility and beauty, reflecting his philosophy of intentional craftsmanship. On the blog, he shares insights on integrating handmade objects into everyday life.
Education
- Master of Fine Arts in Ceramics, California College of the Arts
Professional Focus
- Creating practical pottery for everyday use.
- Using unique styles and techniques to convey narratives in ceramics.
Professional Accomplishments
- Showcased work in local and national art galleries, gaining recognition for craftsmanship.
- Received accolades for innovative designs in pottery competitions.