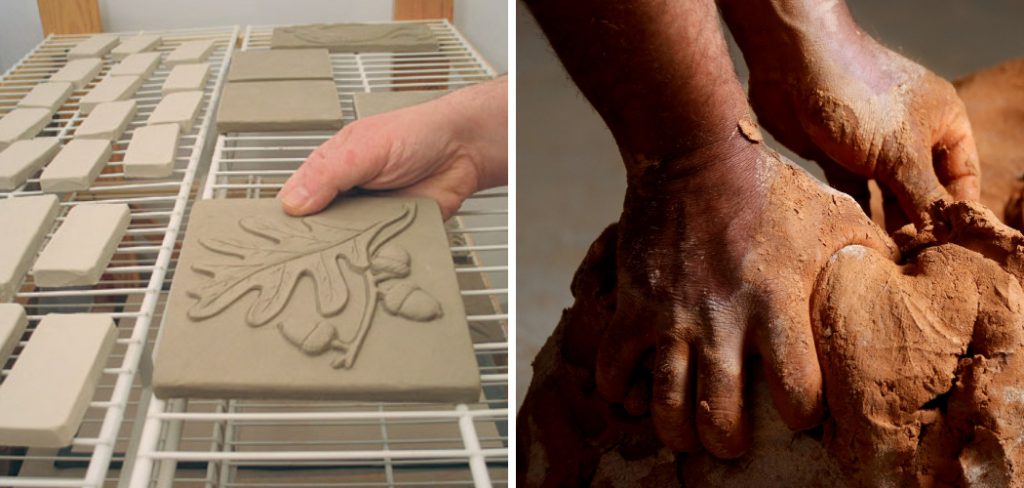
Creating ceramic tiles without the need for a traditional kiln can be a rewarding and accessible process for both beginners and seasoned crafters alike.

This method allows you to explore your creativity and produce unique, personalised tiles right from the comfort of your home. Whether you’re looking to enhance your living space or experiment with different designs and textures, this guide will walk you through how to make ceramic tiles without a kiln. Embrace the art of tile making and discover how to transform simple materials into stunning decorative pieces!
Benefits of Making Ceramic Tiles
Making ceramic tiles offers a multitude of benefits that extend beyond mere aesthetics. Firstly, it fosters creativity, allowing you to experiment with colours, patterns, and textures to create one-of-a-kind pieces that reflect your personal style. Additionally, crafting tiles can serve as a therapeutic activity, providing a sense of satisfaction and relaxation as you engage in the hands-on process.
Furthermore, creating your own tiles can be a cost-effective solution for home decor, enabling you to achieve a custom look without the premium price tag of store-bought options. Finally, it also promotes sustainability by encouraging the use of eco-friendly materials and reducing plastic waste, making tile-making a rewarding choice for environmentally conscious crafters.
Understanding the Basics
Before diving into the tile-making process, it’s essential to grasp some foundational concepts that will enhance your experience. The primary material used in ceramic tile creation is clay, which is versatile and available in various types, including earthenware, stoneware, and porcelain. Each type of clay offers unique properties and finishes, so choosing the right one is vital depending on your desired outcome.
Additionally, incorporating various additives such as sand or grog can improve the tile’s strength and texture. Familiarising yourself with essential tools—like rolling pins, cutting wire, and texture mats—will aid in shaping your tiles with precision and creativity. Finally, understanding basic firing techniques, even if you’re not using a kiln, can help you achieve the best results with air-
10 Methods How to Make Ceramic Tiles without a Kiln
1. Using Air-Dry Clay

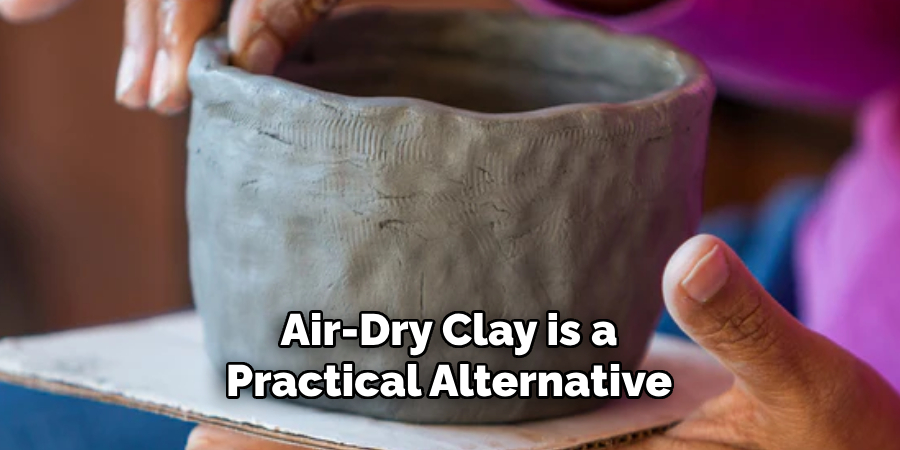
Air-dry clay is a practical alternative to traditional ceramic clay for those without access to a kiln. This type of clay hardens through exposure to air rather than through high temperatures. To make ceramic tiles with air-dry clay, begin by rolling out the clay to the desired thickness.
Use a template or ruler to cut the clay into tile-sized squares or rectangles. Allow the tiles to dry completely in a well-ventilated area, following the manufacturer’s instructions for drying times. Once dry, you can paint or seal the tiles to enhance their appearance and durability. Air-dry clay is ideal for indoor use or low-traffic areas due to its lower durability compared to kiln-fired ceramics.
2. Using Polymer Clay
Polymer clay offers a versatile and accessible option for creating ceramic tiles without a kiln. This type of clay is baked in a conventional oven, which can achieve the necessary hardening temperatures without a kiln. Start by conditioning the polymer clay until it is soft and pliable. Roll it out to the desired thickness and cut it into tile shapes using a template.
Place the cut clay tiles on a baking sheet lined with parchment paper. Bake the tiles according to the manufacturer’s instructions, typically at 275°F (135°C) for 15-30 minutes. Once cooled, the tiles can be painted, glazed, or used as is. Polymer clay tiles are suitable for decorative purposes and light-use applications.
3. Using Salt Dough

Salt dough is another accessible material for making ceramic-like tiles without a kiln. To make salt dough, combine flour, salt, and water in a bowl to create a pliable dough. Roll the dough out to your desired thickness and cut it into tile shapes. Use a toothpick or other tools to add texture or designs to the surface.
Allow the salt dough tiles to air-dry for several days until they harden completely. Once dry, the tiles can be painted or sealed with a clear varnish to protect them. Salt dough tiles are best used for decorative purposes and are not suitable for high-traffic or moisture-prone areas.
4. Using Concrete Mix
Concrete mix can be used to create durable ceramic-like tiles suitable for both indoor and outdoor use. Begin by mixing concrete according to the manufacturer’s instructions. Pour the mixture into tile molds or trays to form the tiles. Use a spatula or similar tool to smooth the surface and remove any air bubbles.
Allow the concrete to set and cure for the recommended time, usually 24-48 hours, before removing the tiles from the molds. Once cured, the tiles can be painted or sealed to enhance their appearance and protect against moisture. Concrete tiles are highly durable and suitable for various applications, including flooring and countertops.
5. Using Plaster of Paris

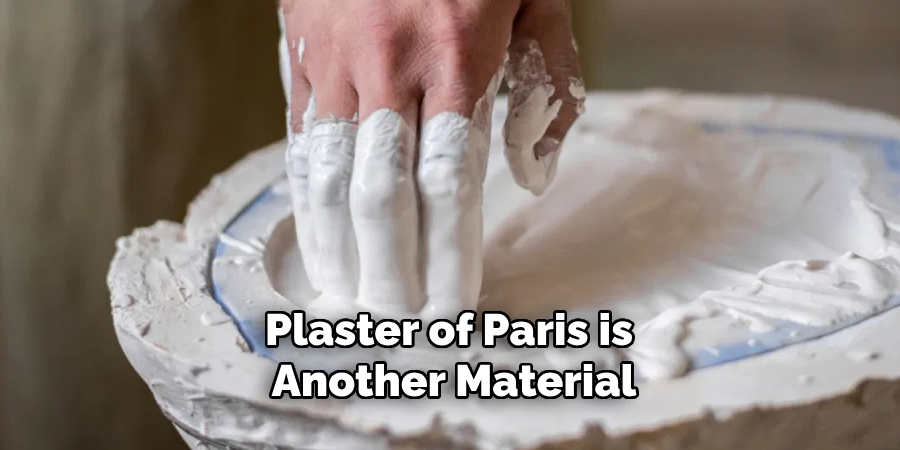
Plaster of Paris is another material that can be used to create ceramic-like tiles without a kiln. To make plaster tiles, mix Plaster of Paris with water according to the manufacturer’s instructions. Pour the mixture into tile molds and smooth the surface with a spatula. Allow the plaster to set and harden, usually within a few hours.
Once the plaster tiles are dry, they can be painted or sealed with a clear coat to enhance their appearance and durability. Plaster tiles are suitable for decorative applications and are not recommended for high-traffic areas or exposure to moisture.
6. Creating Tiles with Air-Dried Paper Clay
Paper clay is a type of air-dry clay that incorporates paper fibers, giving it a lightweight and durable quality. To make ceramic tiles with paper clay, roll out the clay to the desired thickness and cut it into tile shapes.
Allow the tiles to dry completely in a well-ventilated area. Once dry, the tiles can be painted, glazed, or sealed. Paper clay tiles are suitable for decorative applications and can be used in various indoor projects. The addition of paper fibers enhances the clay’s strength and reduces the risk of cracking during the drying process.
7. Using Terra Cotta Clay and Air Drying
Terra cotta clay can be used to create tiles that mimic traditional ceramics without a kiln. Roll out the terra cotta clay to your desired thickness and cut it into tile shapes. Allow the tiles to dry thoroughly in a well-ventilated area.
Once dry, the tiles can be painted or sealed with a clear finish to enhance their appearance and protect them. Terra cotta tiles made without firing are best suited for decorative purposes and should be used in dry, low-traffic areas due to their lower durability compared to kiln-fired ceramics.
8. Using Low-Temperature Oven Firing with Clay
For those who have access to a conventional oven, low-temperature oven firing can be used to harden clay without a kiln. Use a clay that is specifically designed for oven-baking, such as polymer clay or low-fire clay.

Shape and cut the clay into tile forms and place them on a baking sheet lined with parchment paper. Bake the tiles in a conventional oven according to the clay manufacturer’s instructions, typically at temperatures ranging from 275°F (135°C) to 300°F (150°C). Once cooled, the tiles can be painted, glazed, or used as is. This method is suitable for decorative tiles and small-scale projects.
9. Using DIY Firing Techniques
DIY firing techniques can provide an alternative to traditional kiln firing. One method involves using a makeshift firing setup, such as a small metal container or a grill, to achieve the necessary temperatures for firing clay. Begin by creating a small, controlled fire and place the clay tiles inside the container.
Gradually increase the temperature and maintain it for several hours. Monitor the firing process carefully to ensure that the tiles reach the desired hardness. Once fired, the tiles should be cooled slowly. DIY firing techniques require careful attention and safety precautions, as high temperatures and open flames are involved.
10. Using Resin for Tile Making
Resin can be used to create tile-like pieces that simulate the appearance of ceramics. To use resin, mix it according to the manufacturer’s instructions and pour it into tile molds. You can add pigments, dyes, or decorative elements to the resin before it sets. Allow the resin to cure completely, which typically takes 24-48 hours.
Once cured, the tiles can be removed from the molds and used for various applications. Resin tiles are durable, water-resistant, and suitable for both decorative and functional purposes. However, they may not have the same feel as traditional ceramics and should be handled carefully during production.
Conclusion
Creating ceramic-like tiles without a traditional kiln offers a versatile range of methods suitable for various projects. From salt dough and concrete to plaster of Paris, paper clay, and resin, each material presents unique characteristics and applications.
While some techniques may excel in durability and practicality, others shine in aesthetic appeal and ease of use. Thanks for reading, and we hope this has given you some inspiration on how to make ceramic tiles without a kiln!
With a keen eye for detail and a deep understanding of the firing process, I bring ceramics to life as a skilled kiln operator. My expertise ensures that each piece reaches its full potential, achieving the perfect balance of strength and beauty. I take pride in overseeing the critical final stage of pottery creation, transforming raw clay into stunning, durable art. 🎨
From monitoring temperatures to perfecting firing schedules, I ensure that every piece is fired to perfection. My role is not just about operating the kiln; it’s about understanding the unique needs of each creation and bringing out its best qualities.
Join me on this journey of precision and passion, where every firing tells a story. Whether it’s a delicate vase or a robust sculpture, I am dedicated to making sure that every piece that comes out of the kiln is a masterpiece. 🏺✨
Toby Rede is a professional potter focused on creating functional and artistic ceramics. His work blends natural textures with modern forms, often inspired by sustainable gardening and outdoor environments. Toby’s pottery emphasizes both utility and beauty, reflecting his philosophy of intentional craftsmanship. On the blog, he shares insights on integrating handmade objects into everyday life.
Education
- Master of Fine Arts in Ceramics, California College of the Arts
Professional Focus
- Creating practical pottery for everyday use.
- Using unique styles and techniques to convey narratives in ceramics.
Professional Accomplishments
- Showcased work in local and national art galleries, gaining recognition for craftsmanship.
- Received accolades for innovative designs in pottery competitions.