

A pugmill is a machine that is used to mix and process clay for pottery making. It helps to homogenize the clay, remove air pockets, and improve its plasticity.
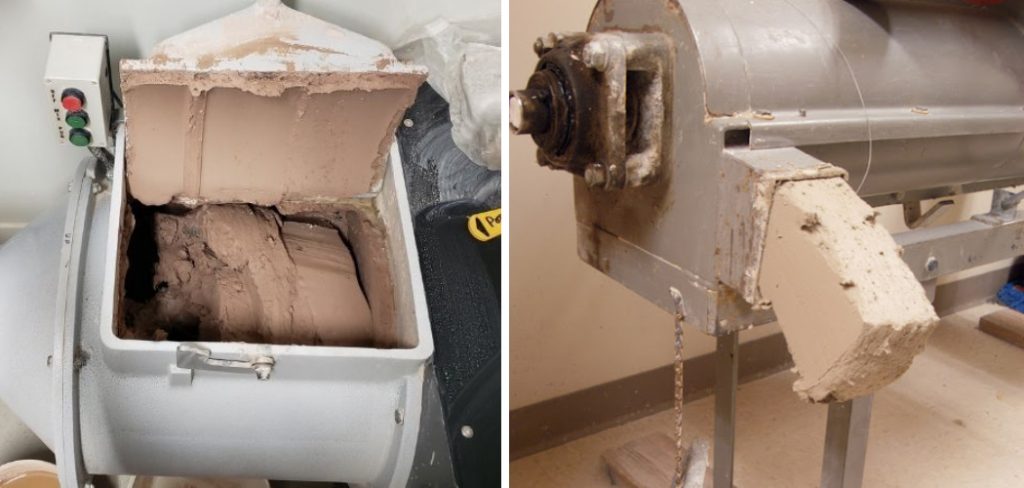
While there are various types of pugmills available in the market, making your own clay pugmill can be a rewarding project for any potter. Making your own clay pugmill can save you a lot of money and allow you to customize it according to your specific needs. In this guide on how to make clay pugmill, we will discuss the steps involved in making a clay pugmill using simple materials and tools.
Materials Needed
To make a clay pugmill, you will need the following materials:
- Clay (preferably stoneware or porcelain)
- Metal pipe (3 inches in diameter and 4 feet long)
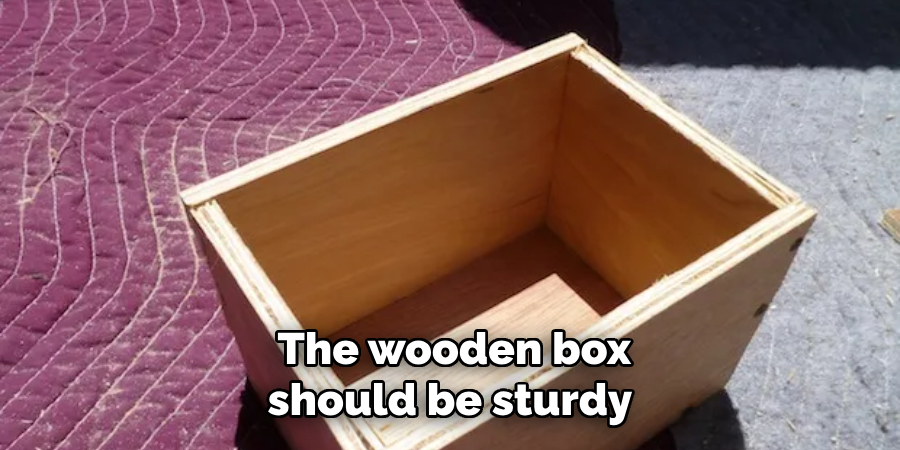
- Wooden box (2 feet by 2 feet by 2 feet)
- Drill
- Mortar and pestle
- Wire cutter
- Pliers
- Screwdriver
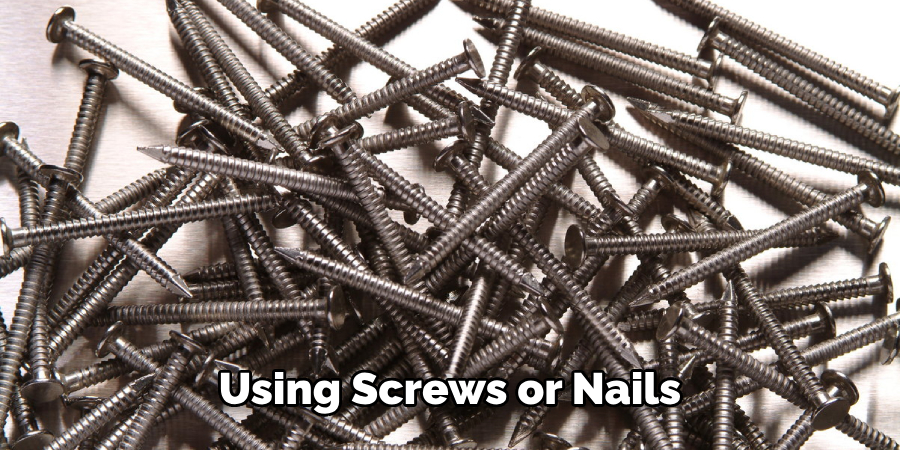
- Nails or screws
8 Things to Know Before You Start
making your own clay pugmill, there are a few things you should keep in mind:
1) Familiarize Yourself with the Process
Before you start the project, make sure to familiarize yourself with the process of making clay pugmill. Watch online tutorials or read books on pottery making to get an idea of how a pugmill works and what materials are needed. This will help you in planning and executing the project effectively.
2) Choose the Right Type of Clay
The type of clay you use for your pugmill will greatly affect its performance. Stoneware or porcelain clays are most commonly used as they have good plasticity, are easy to work with and produce durable pottery. Avoid using low-fire clays as they tend to clog the pugmill and may lead to blockages.
3) Use Quality Materials
Using quality materials is essential in making a clay pugmill that will last long and perform well. The metal pipe should be strong enough to withstand the pressure of clay being forced through it, while the wooden box should be sturdy and able to hold all the components securely.
4) Be Familiar with Tools and Safety Precautions
Make sure to be familiar with the tools needed for the project, such as a drill, wire cutter, pliers, and screwdriver. Also, make sure to take necessary safety precautions while using these tools, such as wearing protective gear and handling them carefully.
5) Plan the Dimensions and Placement of Your Pugmill
Before you start building your pugmill, it is important to plan the dimensions and placement of each component. The size of the wooden box should be determined by the size of the metal pipe, while the location of the motor and gear system should be planned for easy access.
6) Consider Adding a Vacuum Chamber
Adding a vacuum chamber to your pugmill can greatly improve its performance. A vacuum chamber helps to remove air pockets from the clay and make it more homogenous, resulting in better-quality pottery.
7) Be Patient and Take Your Time
Making a clay pugmill is not a quick project; it requires patience and attention to detail. Rushing through the process may result in a machine that does not function properly. Take your time and make sure to follow the steps carefully.
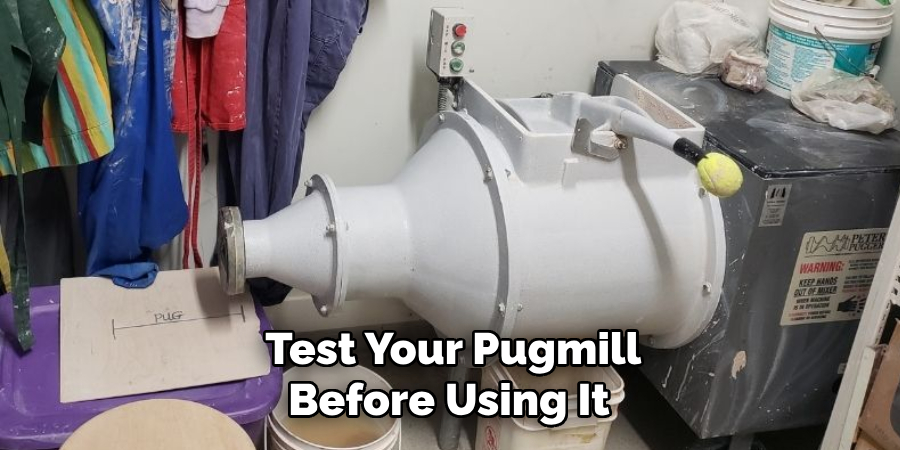
8) Test Your Pugmill Before Use
Before you start using your pugmill for pottery making, make sure to test it first. This will help you identify any issues or areas that need improvement before using it on valuable clay. Test the pugmill with a small amount of clay and make adjustments as needed.
Making a clay pugmill may seem daunting at first, but with the right materials and proper planning, it can be a fun and rewarding project. By making your own pugmill, you not only save money but also have the opportunity to customize it according to your needs.
10 Steps on How to Make Clay Pugmill
Step 1: Preparing the Clay
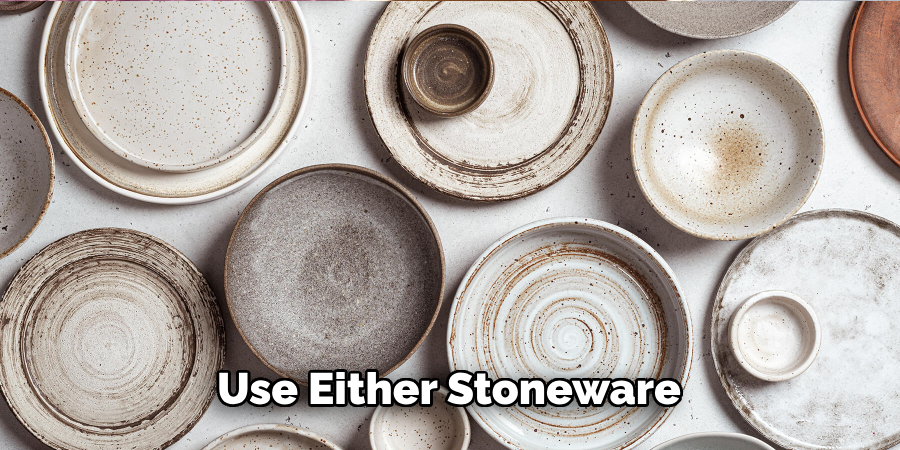
The first step in making a clay pugmill is preparing the clay that will be used to construct it. You can use either stoneware or porcelain clay, but make sure to remove any impurities and rocks by using a mortar and pestle.
Step 2: Cutting the Pipe
Using a wire cutter, cut the metal pipe into two equal pieces of 2 feet each. These will act as the augers for your pugmill. If needed, you can cut the metal pipe to a shorter length depending on the desired size of the pugmill.
Step 3: Creating the Axle
Using a drill, make a hole in the center of both wooden sides of your box. The hole should be slightly bigger than the diameter of your metal pipe. Insert one end of each pipe into each hole and secure them using nails or screws.
Step 4: Building the Gear System
Using a drill and screwdriver, attach a gear system to one of the metal pipes. This will act as the driving mechanism for your pugmill. While a ready-made gear system can be used, you can also create your own using gears from old appliances.
Step 5: Attaching the Motor
Using screws and a screwdriver, attach a motor to one end of the wooden box. This will provide the power for your pugmill. Make sure to align the motor with the gear system for it to function properly. But before attaching the motor, make sure to test it and determine the direction it will rotate.
Step 6: Adding the Bearings
Using pliers, remove any bearings from one end of the metal pipes. Then, using nails or screws, attach new bearings on both ends of each pipe. These bearings will help to keep your pugmill running smoothly.
Step 7: Connecting the Pipes
Insert one end of the pipe with the gear system into the other pipe and attach them using screws or nails. Make sure to align them properly so that they rotate in the same direction. But before attaching them, make sure to test the rotation of both pipes.
Step 8: Adding a Vacuum Chamber (Optional)
If you decide to add a vacuum chamber, now is the time to do it. Simply attach it to one end of your pugmill using screws or nails. Make sure to place it near the motor so that it can be easily connected. You can also attach a vacuum pump to the chamber for better performance.
Step 9: Testing and Adjusting
Once your pugmill is fully assembled, it’s time to test it. Add a small amount of clay through the hopper and observe how it is forced out through the other end. If there are any issues such as blockages or uneven flow, make necessary adjustments before using it for larger batches of clay.
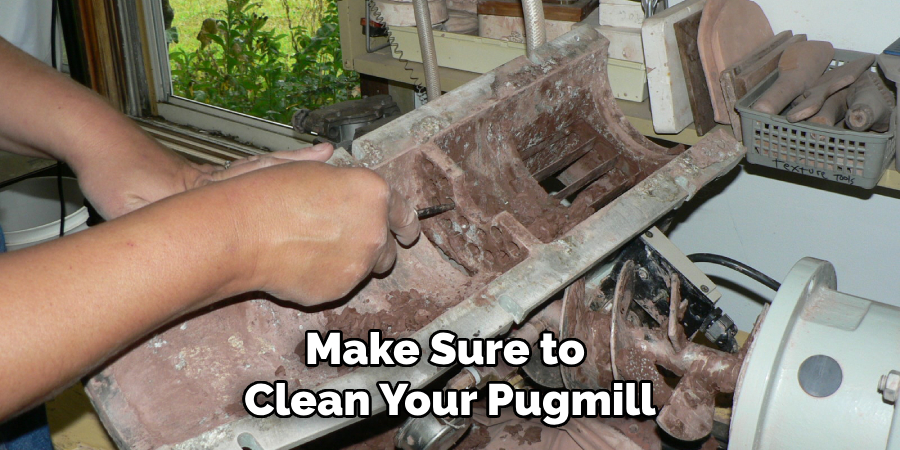
Step 10: Cleaning and Maintenance
After each use, make sure to clean your pugmill thoroughly. Remove any leftover clay and debris from the pipes, hopper, and vacuum chamber (if added). Regular maintenance such as lubrication of bearings and cleaning of gears will help to keep your pugmill running smoothly for a longer time. Overall, making a clay pugmill requires careful planning, patience, and attention to detail.
But with the right materials and tools and how to make clay pugmill, you can create a durable pugmill that will greatly improve your pottery making process. Experiment with different types of clay and enjoy the benefits of having your own pugmill in your studio.
8 Things to Avoid When Making a Clay Pugmill
1) Using Weak or Inappropriate Materials
When making a clay pugmill, it is important to use strong and durable materials that can withstand the pressure and force of clay being pushed through them. Avoid using weak or inappropriate materials as they will not last long and may result in a malfunctioning pugmill.
2) Neglecting Safety Precautions
Working with tools and machinery can be dangerous, so it is important to prioritize safety when making a clay pugmill. Always wear protective gear such as gloves, safety goggles, and a dust mask. Handle tools carefully and make sure to follow all safety precautions for the specific tools you are using.
3) Skipping Test Runs
It may be tempting to rush through the process and skip test runs, but this can result in a pugmill that does not function properly. Always make sure to thoroughly test your pugmill before using it for larger batches of clay.
4) Poor Planning and Measurements
Careful planning and accurate measurements are crucial when making a clay pugmill. A small mistake in measurement can greatly affect the functionality of the pugmill, so make sure to double check all measurements and plan out each step carefully.
5) Using a Motor with Insufficient Power
When choosing a motor for your pugmill, make sure it has enough power to push clay through the pipes smoothly. Using a motor with insufficient power may result in blockages or uneven flow, impacting the quality of your clay.
6) Not Maintaining Your Pugmill
Regular maintenance is essential to keep your pugmill running smoothly. Neglecting maintenance tasks such as lubricating bearings and cleaning gears can lead to malfunctions and a shorter lifespan for your pugmill.
7) Overloading the Hopper
Pugmills can handle a certain amount of clay at a time, so make sure not to overload the hopper. This can cause stress on the motor and gears, leading to damage or malfunction. While it may be tempting to add more clay at once, it is important to follow the recommended capacity for your pugmill.
8) Not Aligning Pipes Properly
When connecting the two pipes of your pugmill, make sure they are aligned properly so that they rotate in the same direction. If they are not aligned, it can result in blockages or uneven flow, impacting the performance of your pugmill. Take the time to make sure they are aligned before attaching them permanently.
In conclusion, making a clay pugmill can be a rewarding and cost-effective project for any ceramic artist. By avoiding these common mistakes and following the proper steps on how to make clay pugmill, you can create a durable and efficient pugmill that will greatly enhance your pottery making process. Enjoy the benefits of having your own pugmill in your studio and experiment with different types of clay to expand your creativity.
8 Additional Tips for Using Your Clay Pugmill
1) Always Clean the Pipes After Use
To prevent buildup and blockages, make sure to clean your pugmill thoroughly after each use. This will also help to maintain the quality of your clay. While cleaning, it is also a good idea to check for any damage or wear and tear that may require maintenance.
2) Avoid Using Wet Clay
Pugmills are not designed to handle wet clay, as it can cause clogging and uneven flow. Make sure your clay is well-wedged and has a pliable consistency before adding it to the hopper. But if you do need to use wet clay, add it in small amounts and mix it with drier clay to achieve a smoother flow.
3) Experiment with Different Clay Bodies
One of the great benefits of having a pugmill is the ability to mix different types of clay bodies. This allows for more versatility in your work and can open up new creative possibilities. Try mixing different clay bodies to see how they perform and create unique effects.
4) Don’t Overlook Maintenance Tasks
Regular maintenance is essential for the proper functioning of your pugmill. Make sure to follow the manufacturer’s recommendations for lubrication and cleaning of gears, bearings, and other parts. This will help to extend the lifespan of your pugmill and keep it running smoothly.
5) Keep Spare Parts on Hand
It is always a good idea to have spare parts such as belts, bearings, and gears on hand in case of any unexpected malfunctions. This will help to minimize downtime and allow you to continue using your pugmill without delay.
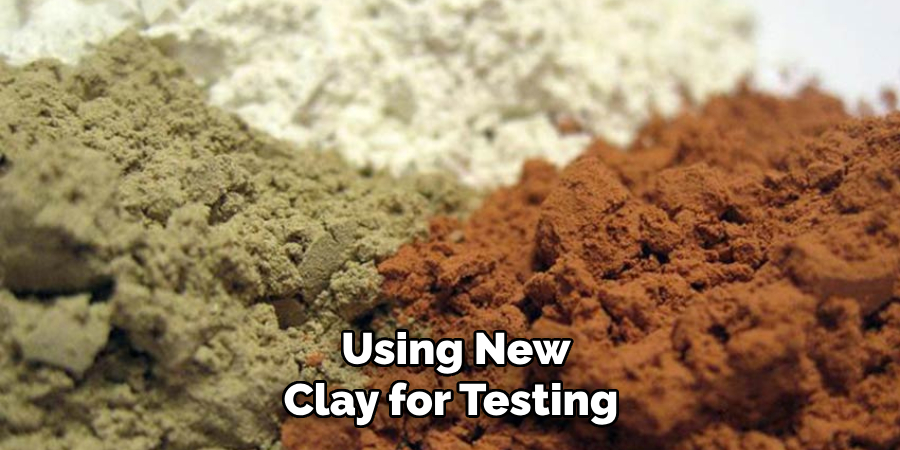
6) Use Clay Scraps for Testing
Instead of using new clay for testing your pugmill, save any scraps or trimmings from your pottery projects. This will not only save you money but also allow you to see how different types and consistencies of clay perform in the pugmill.
7) Regularly Check for Wear and Tear
As with any machinery, it is important to regularly check for wear and tear on your pugmill. This includes inspecting gears, bearings, belts, and other parts for any signs of damage or looseness. Catching and addressing these issues early can prevent further damage to your pugmill.
8) Consider Customizing Your Pugmill
If you have specific needs or preferences in your pottery making process, consider customizing your pugmill to fit those needs. This could include adding a larger hopper, adjusting the size of the pipes, or adding additional features such as a mixer attachment. Consult with a professional or experienced pugmill user before making any modifications to ensure safety and functionality.
With proper planning, measurements, and maintenance, a clay pugmill can be a valuable addition to any pottery studio. Take your time and follow the recommended steps for making a pugmill to ensure its effectiveness in your pottery making process. And don’t forget to have fun experimenting with different types of clay and customizing your pugmill to fit your specific needs.
Frequently Asked Questions
Can I Use My Pugmill for Different Types of Clay?
Yes, as long as the clay bodies have similar consistencies, you can mix and use different types of clay in your pugmill. However, make sure to clean it thoroughly between uses to prevent contamination.
How Do I Know If My Pugmill Needs Maintenance?
Regularly check for any unusual noises, vibrations, or difficulty in operation. These may be signs that your pugmill needs maintenance or repairs.
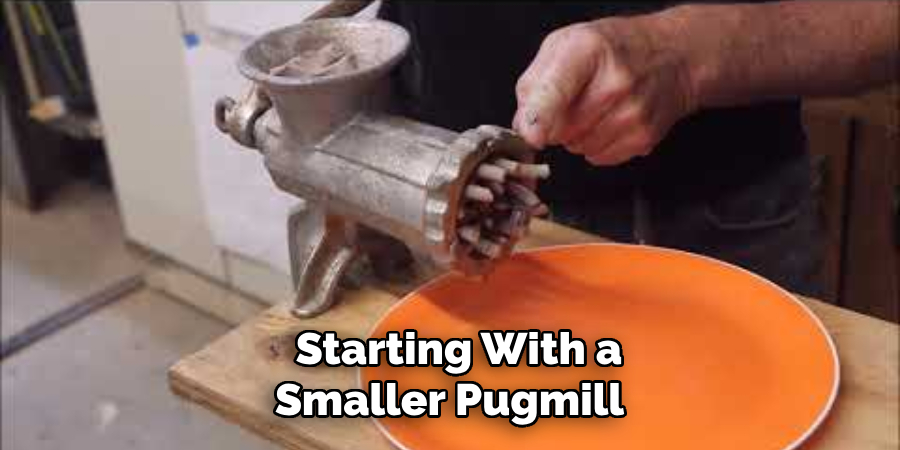
Is It Difficult to Make a Clay Pugmill?
It depends on your level of experience and access to tools and materials. It can be a challenging project, but with proper planning and careful execution, it is achievable for most ceramic artists. Consider starting with a smaller pugmill before attempting to build a larger one.
How Long Will My Pugmill Last?
With regular maintenance and proper use, a clay pugmill can last for many years. However, the lifespan may vary depending on the quality of materials and construction, as well as frequency of use.
Can I Use My Pugmill to Recycle Clay?
Yes, pugmills are a great tool for recycling clay scraps and trimmings. Make sure to mix in some new clay to keep the consistency of the recycled clay consistent.
Are There Different Sizes of Pugmills Available?
Yes, there are different sizes and capacities of pugmills available on the market. You can also customize the size and capacity of your pugmill if you are building one yourself. However, make sure to follow the recommended capacity for your specific pugmill to avoid overloading it.
Is It Better to Buy or Build a Clay Pugmill?
This ultimately depends on your budget, needs, and preferences. Buying a pugmill may be more convenient, but building one can save you money and allow for customization. Consider researching and comparing different options to determine what is best for you.
Can I Use My Pugmill to Mix Glazes?
No, pugmills are not designed to mix glazes. This can damage the pugmill and contaminate your clay. It is best to use a separate tool or method for mixing glazes. Overall, it is important to properly care for and maintain your pugmill to ensure its longevity and effectiveness in your pottery making process.
Conclusion
A clay pugmill is a valuable tool for any ceramic artist, allowing for efficient mixing and recycling of clay. By following these additional tips on how to make clay pugmill and regularly maintaining your pugmill, you can ensure its longevity and optimal performance. Remember to always prioritize safety when using your pugmill and consult with experienced users or professionals if considering modifications or repairs.
Overall, it is important to properly care for and maintain your pugmill to ensure its longevity and effectiveness in your pottery making process. With these additional tips, you can maximize the benefits of having a clay pugmill. Experiment with different clay bodies, keep up with maintenance tasks, and don’t be afraid to customize your pugmill to fit your specific needs.
Toby Rede is a professional potter focused on creating functional and artistic ceramics. His work blends natural textures with modern forms, often inspired by sustainable gardening and outdoor environments. Toby’s pottery emphasizes both utility and beauty, reflecting his philosophy of intentional craftsmanship. On the blog, he shares insights on integrating handmade objects into everyday life.
Education
Associate Degree in Ceramic Technology, Alfred University
Professional Focus
Pottery creation with a focus on functionality and artistic expression
Techniques exploring texture, glazing, and sustainable materials
Professional Accomplishments
Work featured in regional art shows and garden exhibitions
Collaborations with local craft fairs and home decor shops