

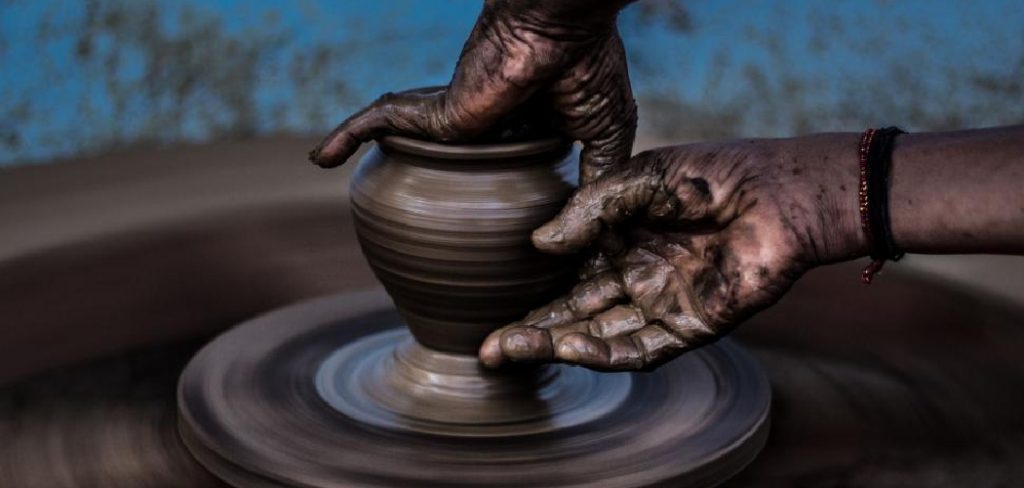
Creating pottery flowers is a delightful and creative way to express your artistic side while adding a unique touch to your home decor. These handcrafted pieces can range from simple designs to intricate works of art, making them suitable for both beginners and experienced potters. This guide explores the key aspects of how to make pottery flowers. With just a few basic materials and tools, you can craft beautiful ceramic flowers that showcase your personality and bring a sense of nature indoors.
The Charm and Versatility of Pottery Flowers
Pottery flowers possess a timeless charm that easily complements various styles of decor, from rustic and bohemian to modern and minimalist. Their handmade nature adds a personal and organic touch, making each piece uniquely beautiful. These ceramic creations are also incredibly versatile—they can be used as standalone decorative pieces, mounted on walls, or incorporated into larger installations like vases or garden displays. Whether you’re looking to brighten up a cozy corner, add a splash of color to your table, or gift something truly special, pottery flowers offer endless possibilities to infuse charm and creativity into any space.
Required Clay Sculpting Tools
To create pottery flowers, you’ll need a set of essential clay sculpting tools that will help you shape, detail, and refine your designs. Here are some of the key tools to gather before you begin:
- Clay – The foundation of your pottery flowers, choose either air-dry clay, polymer clay, or traditional kiln-fired clay depending on your preferences and resources.
- Wire Clay Cutter – Useful for slicing and portioning clay from larger blocks.
- Rolling Pin or Slab Roller – Perfect for flattening the clay into even sheets for petal and leaf shapes.
- Sculpting Tools – A variety of tools like loop tools, ribbon tools, and needle tools to shape, carve, and add intricate details.
- Modeling Sticks – For smoothing and refining edges, as well as creating textures.
- Clay Shapers or Silicone Brushes – Great for blending and adding smooth surfaces to your work.
- Sponges and Water – Help keep the clay moist and workable while also smoothing surfaces.
- Cutters and Templates – Pre-made shapes or cutters for creating petals, leaves, or other consistent elements.
Having these tools on hand will make your pottery flower-making process smoother and more enjoyable, allowing you to focus on bringing your creative visions to life.
Suitable Clay Types
Selecting the right type of clay is a crucial step in making pottery flowers, as it determines the final look, durability, and overall ease of crafting. Here are some common clay types to consider for your project:
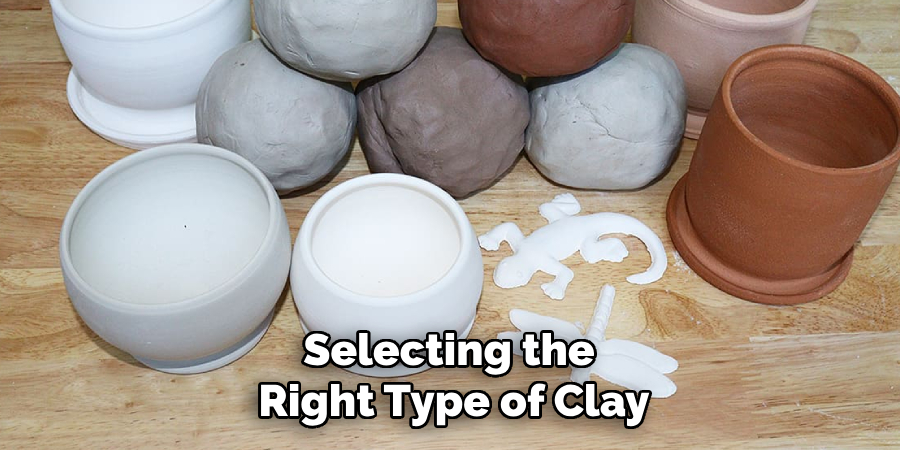
- Air-Dry Clay – Ideal for beginners or those without access to a kiln. This clay is easy to work with, dries naturally without firing, and can be painted or sealed once hardened. However, it may be less durable compared to kiln-fired clay.
- Polymer Clay – This versatile, oven-bake clay offers vibrant colors and excellent flexibility, making it great for intricate flower designs. Polymer clay hardens in a standard oven, making it a convenient choice for hobbyists.
- Stoneware Clay – Known for its strength and durability, this traditional clay is commonly used for pottery. It must be fired in a kiln to solidify, and it offers a slightly textured surface perfect for natural-looking pottery flowers.
- Porcelain Clay – A fine, smooth clay that results in highly detailed and delicate pieces. Porcelain clay is typically translucent after firing and is an excellent choice for creating realistic and elegant flower designs.
- Terracotta Clay – With its iconic reddish-brown hue, terracotta clay lends itself to rustic and earthy pottery designs. Like stoneware clay, it is kiln-fired and offers a more traditional aesthetic.
Each type of clay has unique properties, so choose one that aligns with your creative vision, available resources, and level of experience. Experimenting with different clays can also be a fun way to discover the possibilities for your pottery flowers.
10 Methods How to Make Pottery Flowers
1. Hand-Building with Slabs
Hand-building with slabs is an accessible technique for creating pottery flowers. Begin by rolling out a thin, even slab of clay using a rolling pin and guides for uniform thickness. Use a flower-shaped template or freehand cut petals and leaves. Assemble the petals by gently scoring and slipping the edges before pressing them together. To add dimension, shape each petal slightly upward or downward. Attach a stem by rolling a thin cylinder of clay and securing it to the flower. Let the flower dry slowly under plastic to avoid cracking before firing.
2. Coiling Petals and Leaves
The coiling technique allows for intricate designs in pottery flowers. Start by rolling thin coils of clay and shaping them into individual petals. You can create texture by pressing patterns into the coils using tools like a needle or wooden skewer. Arrange the petals around a central base, overlapping them slightly for a natural appearance. Add coiled leaves and a stem to complete the design. Smooth the connections with a damp sponge to ensure durability before letting the piece dry and firing it.
3. Using a Mold
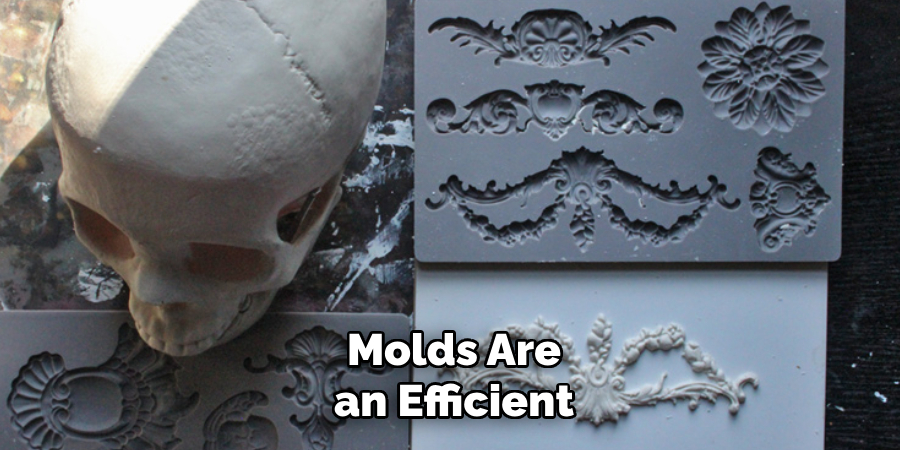
Molds are an efficient way to create uniform pottery flowers. Silicone molds shaped like flowers can be pressed with clay to form detailed designs. Roll out a slab of clay and press it into the mold, ensuring all details are captured. Carefully remove the clay from the mold to avoid distortion. You can combine molded petals with hand-built stems or additional details to personalize the design. Once dry, fire the pieces, and finish with colorful glazes to bring the flowers to life.
4. Wheel-Thrown Flower Components
For potters skilled in wheel-throwing, creating flower components on the pottery wheel offers precision and symmetry. Start by throwing small, shallow bowls for the flower base. For petals, throw thin, flat disks and cut them into petal shapes. These pieces can then be assembled by scoring and slipping. Experiment with different forms, such as bell-shaped blooms or layered lotus flowers. Use trimming tools to refine the edges before firing the pieces. Glazing can emphasize the delicate structure of the petals.
5. Sculpting Freestanding Flowers
Sculpting freestanding flowers requires attention to detail and patience. Begin with a solid lump of clay and shape it into a central bloom, using your fingers and sculpting tools to create petals and intricate textures. Build the stem and leaves separately, ensuring they are sturdy enough to support the weight of the bloom. Attach all components securely using slip and scoring techniques. Sculpted flowers often have a more organic and lifelike appearance, making them ideal for display pieces.
6. Layering Techniques for Realism
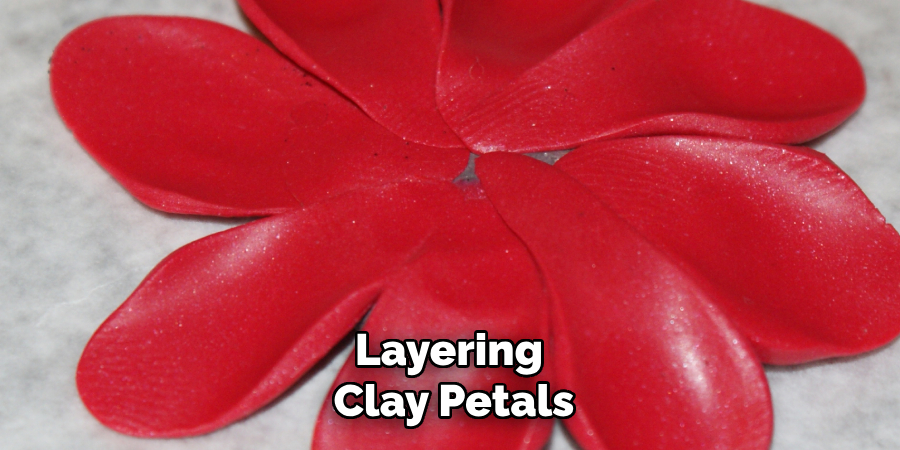
Layering clay petals is an effective way to create realistic pottery flowers. Roll out thin sheets of clay and cut individual petals in varying sizes. Begin layering the largest petals at the base, gradually adding smaller petals toward the center. Shape and curl each petal for a natural effect. For a finished look, add a textured center using a ball of clay with imprints. This technique works well for roses, peonies, and other layered blooms.
7. Adding Texture with Tools
Texture adds depth and detail to pottery flowers. Use tools such as textured rollers, stamps, or everyday objects like lace or leaves to press patterns into the clay. For example, pressing a real leaf into the clay can create realistic veining on petals or leaves. Combine textured petals with smooth components to create contrast and visual interest. The texture will become more pronounced after glazing, enhancing the overall design.
8. Combining Different Clays
Using different types of clay can add variety to your pottery flowers. Combine white clay with colored or grogged clay for unique textures and contrasts. You can also layer contrasting clays to create a marbled effect on petals and leaves. Keep in mind that all the clays you use should have compatible firing temperatures. This technique allows for experimentation and produces flowers with distinctive, one-of-a-kind appearances.
9. Experimenting with Glazes
Glazing is an essential step in creating vibrant and durable pottery flowers. Choose glazes that mimic the natural colors of flowers, such as reds, yellows, and greens, or experiment with abstract hues for an artistic flair. Use a fine brush to apply glaze to intricate details like petal edges or vein textures. For a dynamic finish, try layering glazes or using techniques like wax resist to create patterns. Test glazes on small samples beforehand to ensure the desired effect.
10. Incorporating Mixed Media
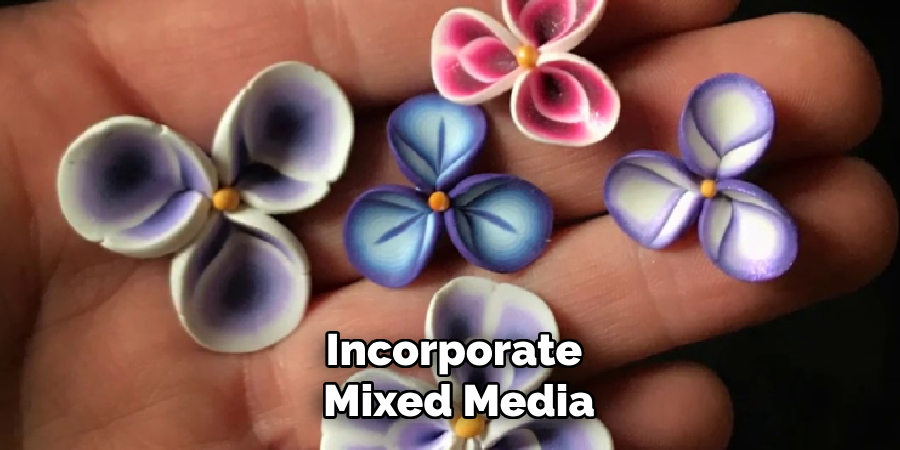
For a modern twist, incorporate mixed media into your pottery flowers. After firing and glazing the ceramic components, combine them with other materials like wire, wood, or glass. For example, use wire to create stems or attach ceramic blooms to a wooden base for a sculptural piece. Mixed media adds dimension and opens up endless possibilities for unique designs. Ensure all components are securely attached and complement the ceramic elements for a cohesive final piece.
Conclusion
Creating pottery flowers is a rewarding process that blends creativity, technique, and craftsmanship. From hand-building intricate petals to experimenting with glazes and mixed media, the possibilities are endless for crafting unique and expressive designs. Whether you’re a beginner exploring coiling techniques or an experienced potter using wheel-throwing methods, each approach offers opportunities to bring your vision to life. So, there you have it – a quick and easy guide on how to make pottery flowers.
Toby Rede is a professional potter focused on creating functional and artistic ceramics. His work blends natural textures with modern forms, often inspired by sustainable gardening and outdoor environments. Toby’s pottery emphasizes both utility and beauty, reflecting his philosophy of intentional craftsmanship. On the blog, he shares insights on integrating handmade objects into everyday life.
Education
Associate Degree in Ceramic Technology, Alfred University
Professional Focus
Pottery creation with a focus on functionality and artistic expression
Techniques exploring texture, glazing, and sustainable materials
Professional Accomplishments
Work featured in regional art shows and garden exhibitions
Collaborations with local craft fairs and home decor shops