

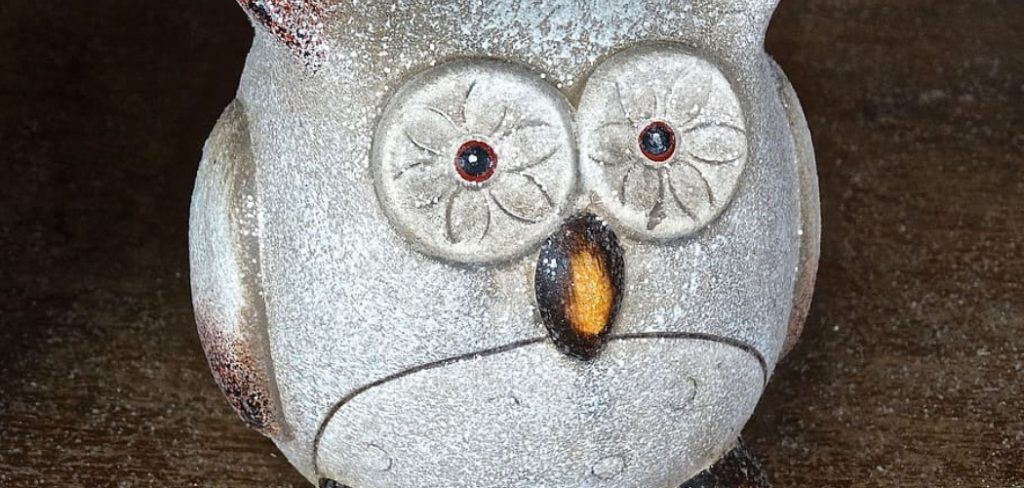
The shimmering hues and intricate textures of owl glazing beckon to artisans and art enthusiasts alike, offering a world where every stroke and color brings to life the mystique of these nocturnal creatures. At its core, owl glazing is a specialized ceramic technique that combines lustrous glazes to emulate the captivating essence of an owl’s plumage.
The unique characteristics of these glazes lie in their ability to transform simple clay forms into enchanting works of art with depth and complexity. This article lights the way on how to owl glaze on ceramic, aiming to embolden and equip potters of varying expertise to spread their wings in the ceramic sky.
Understanding Owl Glazes
Owl glazes are named for their dramatic, eye-catching finishes that evoke the striking appearance of an owl’s feathers. Fundamental to these glazes are various key components, such as metallic oxides and opacifiers, which play pivotal roles in the final color and texture.
Oxides like iron, copper, and cobalt contribute rich, vibrant hues. In contrast, opacifiers such as tin oxide or zirconium silicate create a diffuse, matte effect that scatters light and gives the glaze its characteristic opacity.
The allure of an owl glaze often lies in the “iris effect,” where layers of glazes interact to create a shimmering, multi-dimensional surface reminiscent of an owl’s radiant eyes. Achieving this effect is a dance of chemistry and temperature as the glazes melt and flow during the firing process. The viscosity of the glaze affects how the colors intermingle, while the kiln’s heat work determines the depth and intricacy of the visual outcome.
Artisans have mastered a spectrum of styles within owl glazing, producing results that range from the glossy and smooth to the tactilely rich and rustic. Some finish with a crackled appearance, seeking to emulate the detailed pattern of feathers, while others favor a more abstract interpretation, with flowing colors and a dreamlike blend. Regardless of style, each piece stands as a testament to the potter’s vision and the magic of owl glaze chemistry.
Preparation: Before You Take Flight
A. Choosing the Right Canvas
Selecting an appropriate clay body is the foundation of any ceramic piece but is especially critical in owl glazing, where the interplay of glaze and canvas is paramount. Porcelain and white stoneware are prized for their smoothness and ability to vividly showcase colors, acting as clean slates highlighting the glazes’ vibrancy.
Conversely, clays with higher iron content or added grog can offer a rustic, earthy background that peeks through the glaze, adding depth and warmth. Temperature compatibility between clay bodies and glazes is crucial; most owl glazes flourish at mid to high-fire ranges.
The clay body’s texture, whether it be velvety smooth or richly grogged, profoundly affects the finished piece’s tactile and visual character, making the act of choosing clay as much an artistic statement as function.
B. Shaping Your Owl
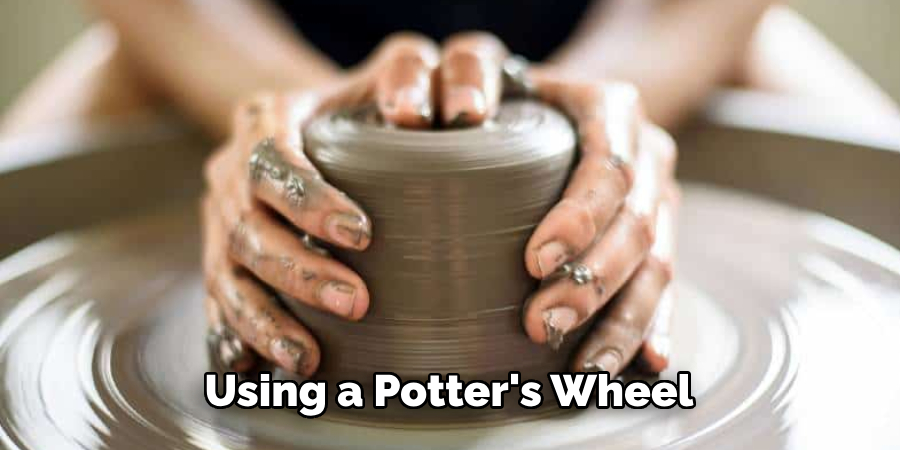
Sculpting the owl form allows for creative expression through various methods such as hand-building, using a potter’s wheel, or employing molds. Handbuilding techniques like pinching, coiling, or slab construction offer a direct engagement with the clay, ideal for bespoke designs and intricate detailing. Wheel throwing can create symmetrical forms for more stylized owls or components like bodies and bases.
Molds ensure consistency and are beneficial for replicating specific designs. Regardless of the chosen method, attention should be paid to areas where the glaze will pool or run, such as crevices and protrusions; these features require consideration to achieve the desired glaze effects without compromising the sculpture’s details.
C. Preparing for Takeoff: Bisque Firing
Bisque firing is an essential step in preparation for glazing, setting the stage for a successful owl glazing process. It hardens the clay body and turns it into a porous, bisque state that absorbs glazes more effectively.
Typically, bisque firing peaks at cone 04 to cone 06, creating a balance that leaves the clay body porous yet durable enough for glazing. An even ramp and controlled cooling can forestall common issues such as cracks and warping. Meticulously planned bisque firing ensures that subsequent glaze applications fuse properly, eliciting the mesmerizing qualities inherent to owl glazes.
How to Owl Glaze on Ceramic: Taking Flight with Color
A. Base Glazes: Setting the Foundation
The journey of owl glazing begins with selecting the perfect base glaze. Serving as the canvas of your creation, the base glaze anchors the forthcoming layers of color and texture. Ideal choices typically balance transparency with a hint of color to complement the top layers.
Application methods such as dipping, pouring, or brushing offer unique outcomes; dipping provides a uniform coat, pouring creates organic patterns, and brushing can imbue directional strokes that mimic feather lines. The goal is to lay a harmonious foundation that allows the personality of the owl to ultimately soar through subsequent glazing techniques.
B. Creating the Owl’s Eye: The Art of Layering
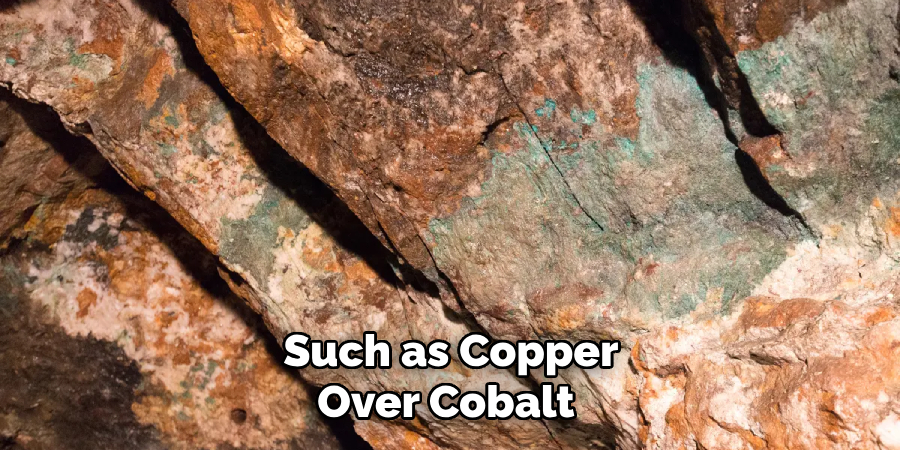
Achieving the emblematic “iris effect” within owl glazing is an intricate endeavor, requiring patience and precision. Layering glazes begins with a translucent base coat, followed by various complementary or contrasting hues. Certain glaze combinations, such as copper over cobalt, can produce a stunning green halo; others, like red iron oxide over a milky white, evoke the warmth of an amber gaze.
Application strategies vary—some artisans prefer a thick application using brushes for a more controlled design, while others layer through multiple firings for depth. Diluting glazes with water or layering them atop textured surfaces can yield a spectrum of eye colors and visual effects. Experimentation is key, and the kiln’s alchemy completes the transformation, with high fire temperatures unlocking the final, mesmerizing look.
C. Feathering and Accents: Bringing Your Owl to Life
To bring your ceramic owl to life, meticulous attention to feathering and other details is imperative. Strokes of underglazes and washes can be used for fine lines that create the illusion of delicate feathers. Overglaze stains can accentuate the beak, talons, and eyes, bringing a vivid sharpness to these features.
Resists are invaluable for safeguarding areas from glaze, ensuring that the underlying material—clay, underglaze, or previous glaze layers—remains intact during additional applications. By mastering the interplay of glazes, stains, and resists, you etch character and realism into your owl, allowing it to emerge with a life of its own.
Firing Your Masterpiece: Landing Safely
A. Glaze Firing Essentials

The glaze firing process can dramatically influence your owl sculptures’ final appearance and strength, with oxidizing and reduction atmospheres offering distinct outcomes. An oxidizing fire uses ample oxygen, allowing for brighter and glossier colors, often intensifying the hues of the glaze. This is a common choice for artists aiming for vibrancy and is typical in electric kilns.
A reduction fire limits oxygen, which affects the metal oxides in the glazes and can lead to richer, more variable colors with a subdued luster, often realized in gas kilns. Firing temperatures and schedules also deeply affect the glazes’ finish; higher temperatures can produce a fluid effect, while lower temperatures might yield a matte texture.
It’s essential to adhere to a schedule that includes a slow increase in heat to prevent cracking and to properly mature the glaze without over-firing. Keep an eye out for common defects like crazing, blistering, or pinholing, and know that troubleshooting often involves adjustments to the kiln’s atmosphere, soaking periods, or the glaze application itself.
B. Cooling and Unveiling Your Creation
After the transformative blaze of glaze firing, the cooling process requires patience and precision to ensure your owl does not succumb to thermal shock, which can cause cracks or fractures. A controlled cooling cycle in the kiln is critical, gradually bringing the temperature down at a managed rate that respects the clay and glaze’s nature.
Some artists may also use annealing soaks to relieve any stress within the material. The anticipation leading up to the grand unveiling of the final piece can be almost palpable. The moment of truth arrives with the kiln’s maw cooled and the door finally swinging open. The owl, once a mere earthbound mixture of clay and minerals, now unfolds its majestic, colorful wings in a breathtaking display of alchemic artistry—a tangible manifestation of patience, skill, and the fiery heart of creation.
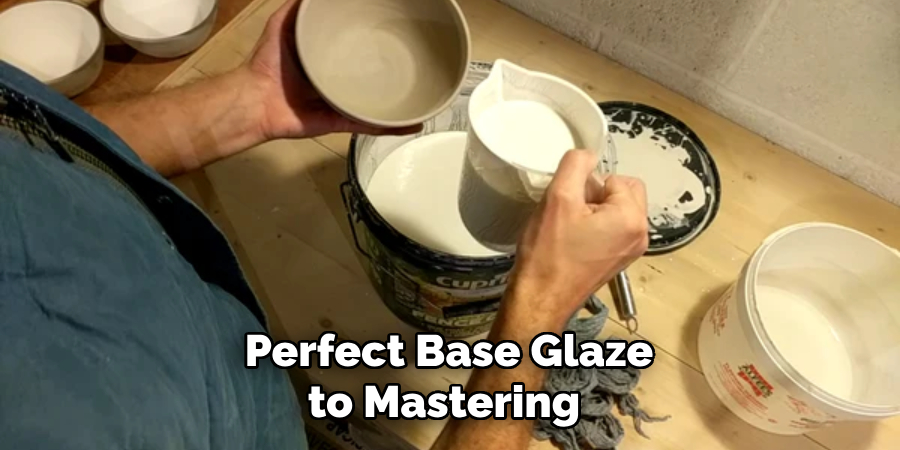
That’s it! You’ve now learned how to owl glaze on ceramic, from selecting the perfect base glaze to mastering the interplay of glazes and firing your masterpiece. But remember, this is just the beginning of your journey with owl glazing. Every artist has their unique approach and style, so don’t be afraid to experiment and let your creativity take flight. With practice and a touch of alchemy, you can turn ordinary clay into mesmerizing, one-of-a-kind owls that embody this majestic creature’s spirit. Keep exploring, keep creating, and most importantly, have fun! So go ahead and spread your wings; it’s time to soar with owl glazing.
Beyond the Basics: Creative Exploration
A. Experimenting with Textures and Surfaces
Before an owl sculpture faces the kiln’s heat, surface treatments can elevate its aesthetics and contribute to a more sophisticated final product. Carving into leather-hard clay allows for sharp relief and intricate detail, bringing plumage and facial features to life. Impressions using various objects can create patterns reminiscent of the owl’s diverse feathery landscape.
Exploring glazes with deliberately cultivated textures brings another layer of tactile intrigue—specially formulated to bubble, peel, or create a rugged surface. Engobes and slips also present a canvas for creativity, where contrasting colored clays applied to the piece before firing can accentuate design and depth, further enhancing the haptic quality of the sculpture. These initial manipulations of texture are an essential foundation for the glaze to work its magic, creating a compelling interplay between form and color after firing.
B. Multi-Firing Techniques for Depth and Detail
For ceramists aiming to push their owls to new pinnacles of expression, multi-firing opens a realm of possibilities. Rather than settling for the results of a single firing, artists can layer glazes, slipping back into the kiln’s embrace to achieve more intricate colorations and textures. Techniques such as luster firing can instill a shimmering iridescence reminiscent of glistening feathers, while smoke firing promises an earthy, primal finish with smoky whispers dancing across the form.
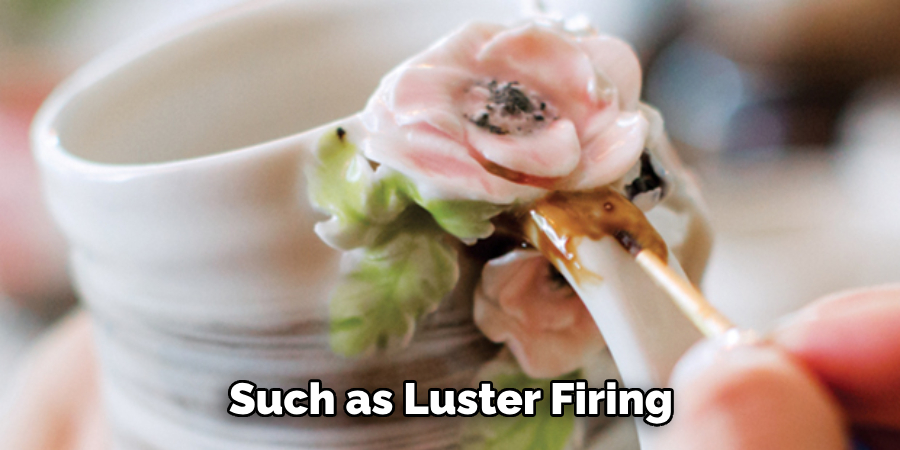
Raku, a dramatic and immediate process, offers a visually arresting range of effects due to the rapid heating and cooling and speaks to the adventurous spirit of the creation process. Each additional firing requires precise control and intimate knowledge of materials, as the cumulative network can transform subtle details into depth and drama, capturing the enigmatic essence of the owl.
C. Collaborative Creations: Glazing with a Partner
Joining forces with a fellow artisan to glaze an owl can merge disparate techniques and visions into a unified work of art. Collaboration beckons mutual understanding and communication to synchronize artistic intentions. It challenges participants to articulate their ideas clearly, culminating in a shared direction for the project.
Establish a clear plan and respect each individual’s contribution to maintain harmony throughout the process. It’s crucial to be receptive to input and adaptable to change as the piece evolves. Sharing the journey of glazing can be as richly rewarding as the striking and unique outcome it generates, embodying the unity of creative spirits.
Troubleshooting: Dealing with Glitches in the Nest
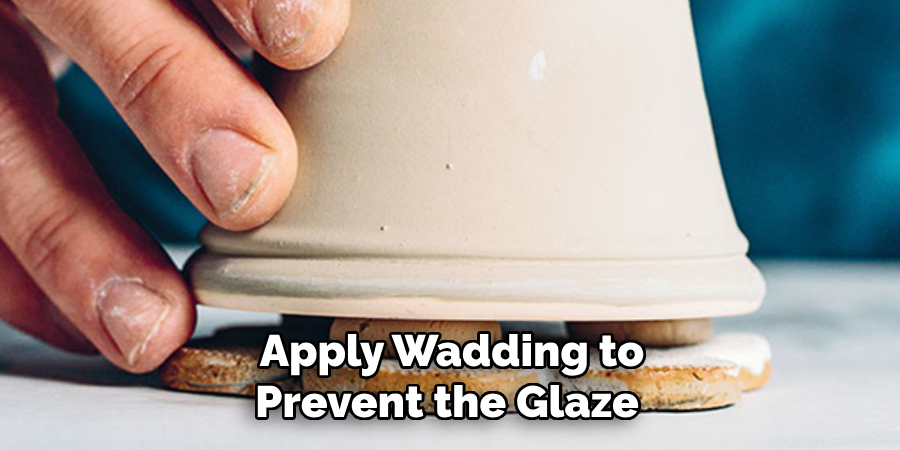
Encountering problems with your owl’s glaze can be frustrating, but such challenges offer valuable learning opportunities. Running glaze is a common issue where the molten glaze flows too far during firing, obscuring details and potentially adhering your piece to the kiln shelf. To prevent this, ensure an even glaze application and avoid heavy layering, especially near the bottom. You can also place catch plates beneath your sculpture or apply wadding to prevent the glaze from reaching the shelf.
Pinholing, another frequent hiccup, appears as tiny holes in the glaze surface, often due to trapped air or gases escaping from the clay body or glaze during firing. To minimize pinholing, ensure your piece is bisque-fired to the correct temperature to burn out organic materials. Thoroughly clean your bisque ware before applying glaze to remove dust and oils, and consider a slow cooling cycle to allow gases more time to dissipate.
Seeking advice is paramount when dealing with glazing conundrums. Build a network with fellow ceramists, and don’t hesitate to engage with online pottery forums or social media groups dedicated to ceramic arts. Exchanging insights and solutions can significantly impact a solitary struggle into a collective pursuit of ceramic mastery.
The Conundrum of Crazing and Shivering
Crazing and shivering are two glazing issues that can perplex and disappoint potters crafting owl sculptures. Crazing, marked by a network of fine cracks on the glaze surface, suggests a mismatch in the expansion coefficient between the clay body and the glaze. To avoid this, test the glaze on your clay body before full application, and consider adjusting the glaze’s formula or firing temperature to better suit the clay’s characteristics.
Shivering, on the other hand, occurs when the glaze contracts more than the clay during cooling, which can result in the glaze flaking off the edges or sharp details of the owl statue. As a countermeasure, potters should conduct a meticulous review of the glaze’s fit, paying particular attention to its expansion properties in comparison to the clay and making the necessary adjustments.
Artisans must remember that each clay and glaze pairing is unique and may react unexpectedly under firing conditions. Therefore, keeping a detailed record of the specific mixtures and firing schedules can provide valuable reference points for future projects. Additionally, leaning on the wisdom of the pottery community through workshops, classes, or forums like “The Glazing Forum” or “Ceramic Arts Daily” can illuminate new perspectives and remedies. By uniting ceramicists’ collective experiences, crafters can bolster their knowledge and sharply reduce the occurrence of these glazing glitches.
Inspiration Gallery: Taking Flight with Creativity
The real magic of ceramics manifests in the finished works that artists pour their passion and skill into. Our Inspiration Gallery showcases a curated selection of diverse owl glaze creations that are as unique as the hands that crafted them.
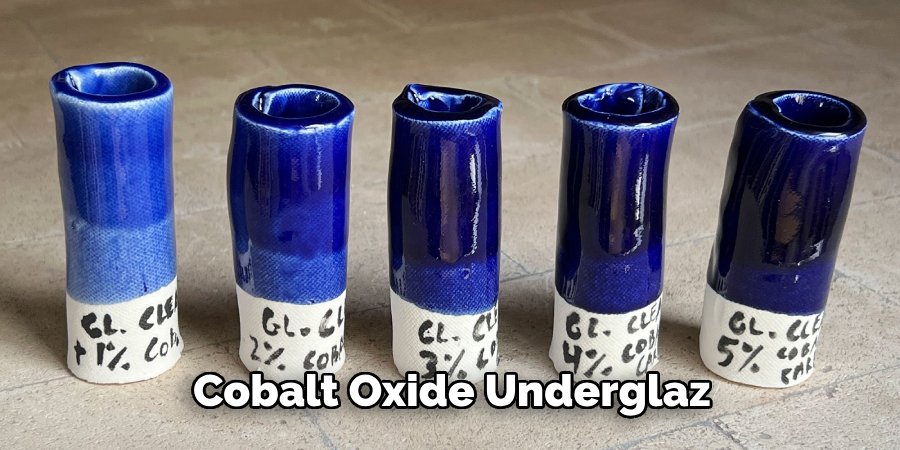
Take, for instance, Maria Gonzalez’s ‘Midnight Sentry’, where she layers sgraffito techniques with a cobalt oxide underglaze, creating a contrast that echoes the midnight sky. Her skills in subtractive methods reveal the owl’s plumage in striking detail against the dark background.
In the luminous ‘Aurora Whisperer’ by Takashi Yamamoto, a crystalline glaze technique produces an ethereal, light-catching effect on the sculpture’s surface, reminiscent of the northern lights dancing across a starlit expanse.
Rachel Stein’s ‘Desert Guardian’ stands out with its earth-toned matte glazes, achieved through multiple rounds of brushwork and wax resist, embodying the rugged beauty of the arid landscapes its real-life counterparts patrol.
These pieces serve as testaments to the artists’ talents and as beacons calling others to explore the vast expanse of creativity waiting in clay and glaze. We encourage readers to dive in, experiment, and let the wings of their creativity soar to new heights in the art of owl ceramics.
Conclusion: The Journey Continues
The artistic journey of owl glazing on ceramic reveals the boundless beauty and versatility inherent in both the medium and the subject. Let each experiment with form and color broaden your horizons as you continue learning.
We encourage you to keep sharing your creations, for every piece contributes to the ever-evolving narrative of ceramic artistry. May your path be adorned with unexpected glazes, techniques, and encounters that push the bounds of what you deem possible. Here’s to hoping your exploration into how to owl glaze on ceramic ignites an undying passion for this timeless craft. Keep soaring, artisans.
Toby Rede is a professional potter focused on creating functional and artistic ceramics. His work blends natural textures with modern forms, often inspired by sustainable gardening and outdoor environments. Toby’s pottery emphasizes both utility and beauty, reflecting his philosophy of intentional craftsmanship. On the blog, he shares insights on integrating handmade objects into everyday life.
Education
Associate Degree in Ceramic Technology, Alfred University
Professional Focus
Pottery creation with a focus on functionality and artistic expression
Techniques exploring texture, glazing, and sustainable materials
Professional Accomplishments
Work featured in regional art shows and garden exhibitions
Collaborations with local craft fairs and home decor shops