Painting over glazed pottery offers a fulfilling way to revitalize old ceramics with a personal touch. The glossy finish of glazed pottery presents a challenge, as it demands careful preparation for the paint to stick. With the right tools and methods, you can turn a basic piece into a unique work of art. This guide will take you step-by-step through painting glazed pottery, from prepping the surface to adding the final touches. Whether you’re revamping an old favorite or crafting a custom masterpiece, this process will help you achieve professional results.

Challenges of Painting over Glazed Surfaces
The primary challenge when painting over glazed surfaces is achieving proper adhesion. The slick, non-porous nature of glaze makes it difficult for paint to adhere without adequate surface preparation. This often requires sanding or using a deglazing solution to roughen the finish. Additionally, choosing the right type of paint is crucial, as some paints may not bind well to the slick surface, resulting in peeling or chipping. Another challenge stems from the potential for uneven surfaces, which might require multiple coats for full coverage. Finally, drying times can be extended, increasing the risk of smudging or imperfections if not handled carefully. Addressing these challenges with patience and appropriate techniques is essential to ensuring a smooth and lasting result.
Can You Paint Over Glazed Pottery?
Yes, you can indeed paint over glazed pottery, but it requires some specific techniques and materials to achieve the desired outcome. Preparing the surface properly is the key to success. Start by thoroughly cleaning the glazed surface to remove any dust, grease, or fingerprints that might interfere with paint adhesion. After cleaning, lightly sand the glaze using fine-grit sandpaper or apply a deglazing solution to create a slightly rough surface that helps the paint adhere better.
Choose paints specifically designed for ceramics or multi-surface acrylics, as they are formulated to bond well with non-porous surfaces. Additionally, applying a suitable primer can significantly enhance the paint’s adherence and longevity. With patience and careful execution, painting over glazed pottery can transform even the most mundane ceramic piece into a stunning work of art that showcases your creativity and style.
Tools and Materials Needed
To successfully paint over glazed pottery, you’ll need to gather the right tools and materials to ensure a professional finish. Here’s a list of essentials:
- Cleaning Supplies: Start with a gentle dish soap and a sponge or soft cloth to clean the pottery surface thoroughly.
- Fine-Grit Sandpaper: Use to lightly sand the glazed surface, making it slightly rough and ready for adherence.
- Deglazing Solution: An alternative to sandpaper, this chemical solution helps in preparing the surface by etching the glaze.
- Primer: A high-quality primer designed for non-porous surfaces is essential to create a solid base for the paint to stick.
- Ceramic or Multi-Surface Acrylic Paints: Choose paints specifically meant for ceramics to ensure better adhesion and durability.
- Paintbrushes or Sponges: A variety of sizes and shapes will give you flexibility in achieving different textures and details.
- Sealer: A clear sealer, either in spray or liquid form, protects the finished piece and enhances its longevity.
- Protective Gear: Gloves and a mask can be useful, especially when using chemicals like deglazing solutions or primer.
By having these tools and materials at your disposal, you’ll be well-equipped to tackle any glazed pottery painting project with confidence.
10 Methods How to Paint over Glazed Pottery
1. Sanding the Surface
Before painting, use fine-grit sandpaper to gently sand the glazed surface. This helps the paint adhere better by creating a slightly rough texture. Remember to clean the pottery afterward to remove any dust particles.
2. Applying a Primer
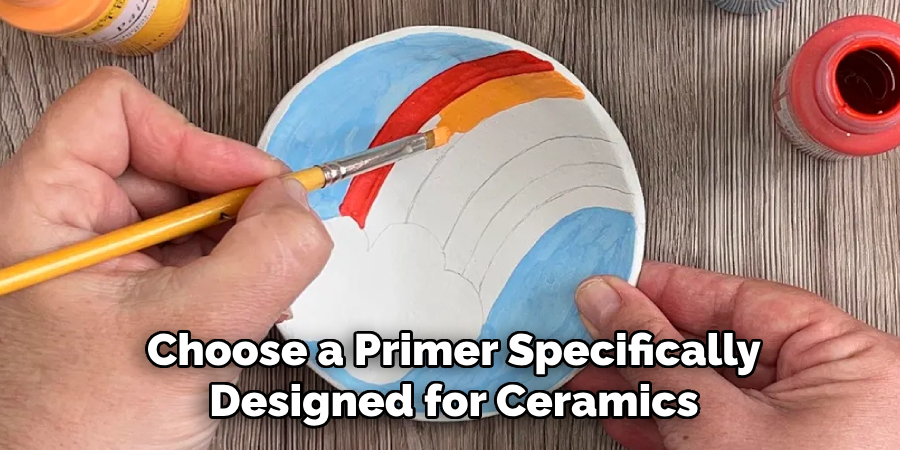
Using a primer is essential for long-lasting results. Choose a primer specifically designed for ceramics or glossy surfaces. Apply a thin, even coat and allow it to dry completely before proceeding with your paint.

3. Choosing the Right Paint
Opt for acrylic or enamel paints, which are known for their durability on glazed surfaces. Acrylic paints are water-based and offer a matte finish, while enamel paints provide a glossy, ceramic-like sheen.
4. Using a Foam Brush
A foam brush can help you apply the paint evenly, without leaving brush marks. It’s especially useful for larger surfaces where a smooth finish is desired.
5. Employing Stencils for Designs
Stencils are a great way to add intricate designs without the need for advanced painting skills. Secure the stencil on your pottery and apply the paint with a sponge or stencil brush for clean, defined edges.
6. Layering Paints for Depth
For a more artistic look, consider layering different paint colors. Start with a base color, then add layers of complementary or contrasting colors, allowing each layer to dry before adding the next. This method adds depth and interest to your pieces.
7. Sealing the Paint
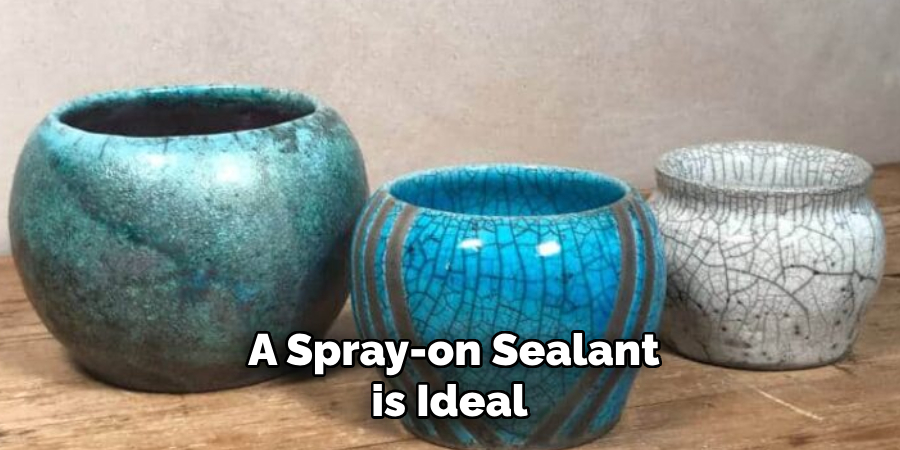
After painting, apply a clear sealant to protect your work. A spray-on sealant is ideal for even coverage and is available in both matte and glossy finishes to suit your preference.

8. Utilizing a Paint Kit
If you’re new to painting pottery, a paint kit can be a convenient option. These kits often include paints, brushes, and instructions tailored for pottery projects, making the process straightforward and enjoyable.
9. Heat Setting for Durability
To ensure the longevity of your painted piece, consider heat setting it in an oven. Make sure the pottery is oven-safe, and follow the paint manufacturer’s instructions for the correct temperature and duration.
10. Experimenting with Techniques
Don’t be afraid to try different techniques, such as sponging, splattering, or using a palette knife. Experimentation can lead to unique textures and styles, making your work truly one-of-a-kind.

Sealing and Protecting the Painted Pottery
Sealing your painted pottery is a crucial step to ensure its durability and to protect it from damage. Once your artwork is complete and the paint has fully dried, apply a clear sealant to safeguard the colors and surface. Choose a sealant suitable for ceramics, available in either spray or brush-on forms. A spray-on sealant provides even coverage, while a brush-on option offers more control for detailed pieces. Opt for a finish that complements your desired look, whether matte for a subtle effect or glossy for a vibrant shine. Allow the sealant to dry thoroughly, and consider applying multiple coats for added protection.
Additionally, if your pottery piece will be exposed to moisture or heavy use, consider using a waterproof sealant to ensure lasting resilience. This final touch not only enhances the appearance of your pottery but also prolongs its life, making your creative efforts stand out beautifully.
Troubleshooting Common Problems
Even with careful preparation and execution, painting over glazed pottery can sometimes pose challenges. Here are some common problems you might encounter and ways to resolve them:
Paint Peeling or Flaking
If the paint begins to peel or flake soon after application, it may be due to inadequate surface preparation. Ensure that the pottery was thoroughly cleaned and sufficiently sanded or deglazed before painting. Applying a primer can also enhance adhesion and reduce the risk of paint peeling.
Uneven Paint Coverage
Uneven coverage can be caused by using inappropriate brushes or not applying enough paint. To combat this, use high-quality brushes suitable for your chosen paint type, and consider applying multiple thin layers rather than a single thick one. Allow each coat to dry thoroughly before applying the next.
Bubbles in the Paint
Bubbling can occur if the paint dries too quickly or if there is trapped air beneath the paint layer. To avoid this, try painting in a controlled environment with stable temperatures and humidity. If bubbles do form, let the paint dry completely before lightly sanding the affected area and reapplying paint.
Stencil Bleeding
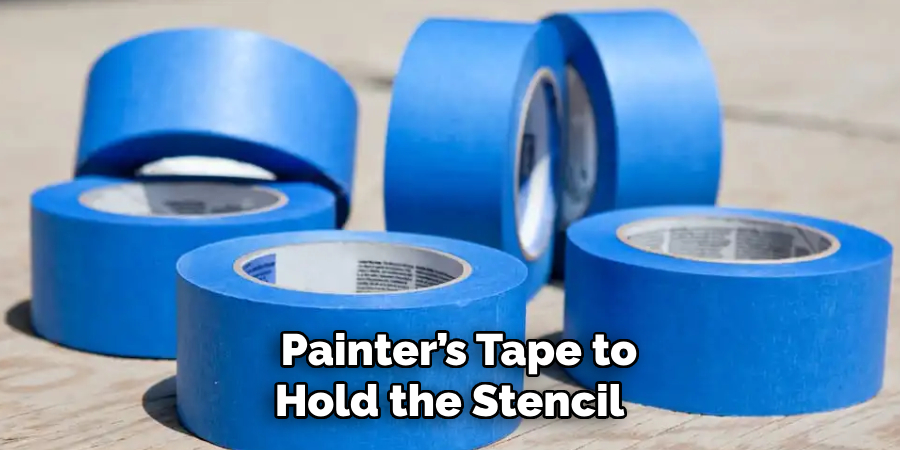
Stencil designs can bleed if they are not firmly secured. Use an adhesive spray or painter’s tape to hold the stencil in place firmly. Additionally, dab the paint gently onto the stencil with a sponge or stencil brush rather than brushing it across, to minimize the risk of paint seeping underneath.
Discoloration After Sealing
Discoloration may occur if the sealant reacts with the paint. Always test the sealant on a small, inconspicuous area first. Ensure the paint is fully dry before sealing and choose sealants that are compatible with your paint type.

Conclusion
Painting over glazed pottery is a rewarding endeavor that combines creativity with technique. By following the steps outlined in this guide, from careful surface preparation to sealing and troubleshooting, you can transform ordinary glazed items into custom works of art. Remember, patience and attention to detail are key throughout the process. Each brushstroke can lead to a unique masterpiece, reflecting your personal style and creative vision.
Toby Rede is a professional potter focused on creating functional and artistic ceramics. His work blends natural textures with modern forms, often inspired by sustainable gardening and outdoor environments. Toby’s pottery emphasizes both utility and beauty, reflecting his philosophy of intentional craftsmanship. On the blog, he shares insights on integrating handmade objects into everyday life.
Education
- Associate Degree in Ceramic Technology, Alfred University
Professional Focus
- Pottery creation with a focus on functionality and artistic expression
- Techniques exploring texture, glazing, and sustainable materials
Professional Accomplishments
- Work featured in regional art shows and garden exhibitions
- Collaborations with local craft fairs and home decor shops

