

Natural clay is a versatile material valued for its use in pottery, sculpting, construction, and numerous artistic projects. Understanding how to process natural clay is essential for preparing it to meet the specific needs of your craft. Processing clay involves refining its consistency, removing impurities such as rocks and organic matter, and ensuring a smoother texture that is easier to shape and mold. These steps can significantly enhance the quality and workability of the material, resulting in better outcomes for your projects.
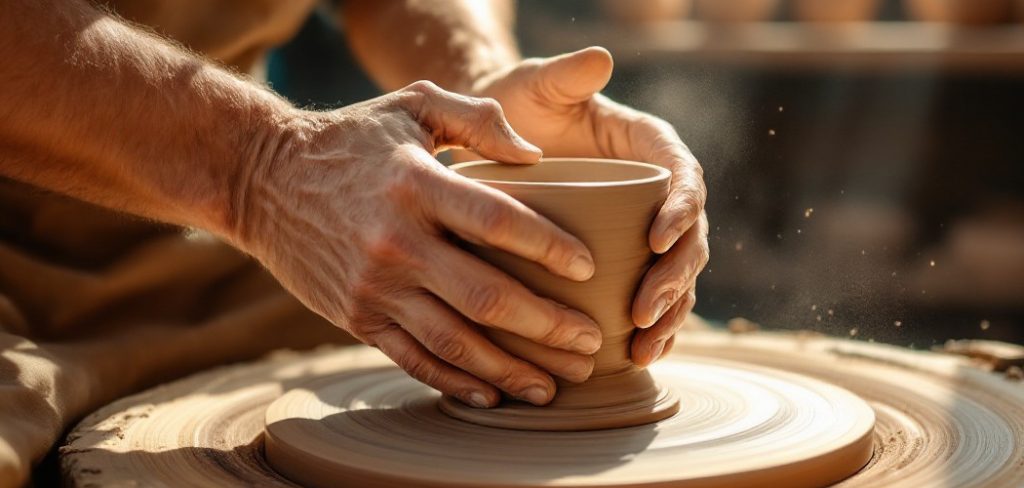
This article aims to provide a detailed, step-by-step guide on how to process natural clay, walking you through the entire process, from excavation to preparation, ensuring you get the most out of this remarkable natural resource. Whether you’re an artisan, a hobbyist, or simply curious about working with natural clay, this guide is perfect for mastering the basics of clay preparation.
Materials and Tools Needed
To successfully process natural clay and prepare it for use, you’ll need a combination of essential materials and tools. Ensuring you have the right items beforehand will streamline the process and help you achieve high-quality results.
Essential Materials
- Natural clay (either dug from the ground or purchased).
- Water (for moistening and mixing).
- Clay sieve or screen (for sifting impurities).
- Mixing tools (e.g., bucket, hoe, or shovel).
- Plastic sheeting or tarp (for drying).
- Additional materials (optional, depending on your project):
- Grog (crushed fired clay).
- Sand.
- Other additives for improving texture.
Tools You’ll Need
- Gloves (to protect hands while handling raw clay).
- Heavy-duty bucket or container (for mixing).
- Rolling pin (optional, for flattening clay).
- Kiln or oven (for firing clay, if needed for your project).
By gathering these materials and tools, you’ll be prepared to handle every step of the clay preparation process efficiently, while maintaining safety and ensuring the best possible results.
Sourcing and Excavating Natural Clay
Where to Find Natural Clay
Natural clay can often be found where soil erosion or water movement has exposed underground deposits. Common locations include riverbanks, lake shores, dried-out streambeds, or even construction sites where the earth has been recently disturbed. Clay tends to be abundant where water collects or flows, as sedimentary processes contribute to its formation. When scouting for clay, ensure that the site is easily accessible and has a plentiful amount of material for your project needs. Always verify that you have permission to collect clay in the area.
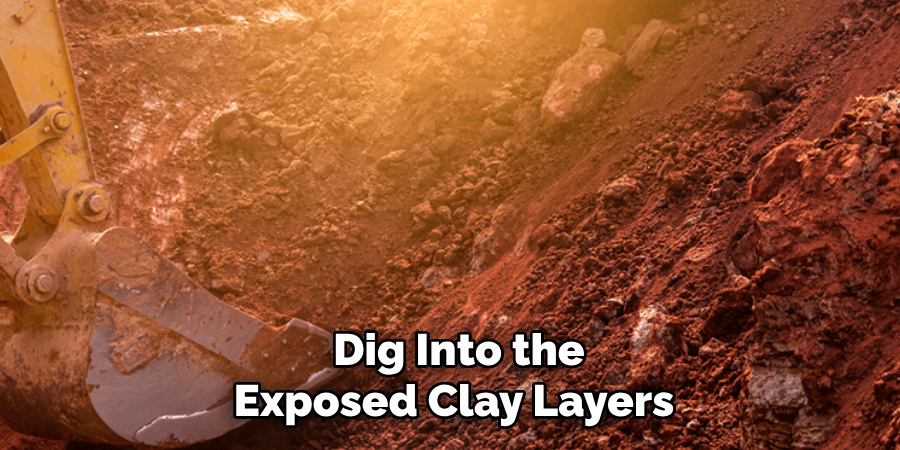
Excavating the Clay
Once you have identified a suitable source, use tools such as a shovel or trowel to begin excavation. Dig into the exposed clay layers, typically found just beneath the topsoil. Aim to collect the uppermost clay layers, as these are often finer and more workable than deeper, coarser deposits. Break the clay into manageable chunks during the process and remove any large rocks, roots, or visible debris. This preliminary cleaning stage will make the clay easier to process later. Be careful to leave the site in good condition after collecting your clay, ensuring minimal environmental disturbance.
How to Process Natural Clay Cleaning and Preparing the Clay
Step 1: Removing Debris
Removing any debris before working with the clay is crucial to ensure a clean and workable material. Use a sieve or screen to sift the clay, carefully separating and discarding rocks, sticks, and other foreign objects. This step may require some patience, mainly if the clay contains many impurities. For an even finer result, consider using a water and slaking method. This involves combining the clay with water, allowing it to break down and settle, and then pouring off the fine clay particles while leaving heavier debris behind. This extra step can significantly improve the quality of your final clay.
Step 2: Wetting the Clay
Clay that is dry, crumbly, or too hard to manipulate requires rehydration before use. Break the clay into smaller, manageable chunks to make the wetting process more efficient. Gradually add water until the consistency resembles thick mud. Allow the mixture to soak for several hours or overnight to ensure that the water penetrates evenly. Proper soaking will make the clay softer and easier to work with in subsequent steps.
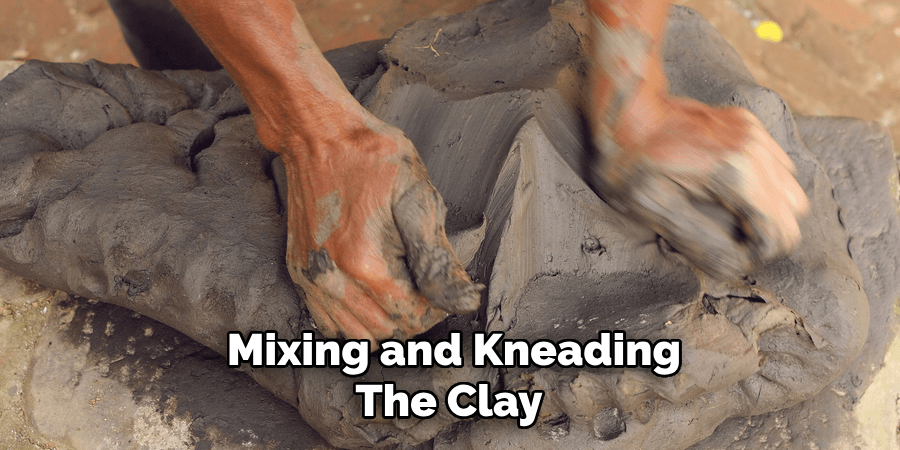
Step 3: Mixing and Kneading the Clay
Once the clay is adequately hydrated and debris-free, it’s time to mix and knead it thoroughly. This process eliminates air bubbles and ensures a uniform texture throughout the material. Use your hands or a sturdy mixing tool to work the clay, breaking apart any lumps and combining it into a smooth, cohesive mass. To test for readiness, press a small piece of clay into your palm—if it feels smooth and pliable, the clay is ready. Adjust the water content as needed to achieve the optimal balance of firmness and moisture.
Drying the Clay
Step 1: Flattening and Shaping the Clay
Roll out the clay into thin slabs or shape it into manageable pieces depending on your project needs. Spread the clay out on a clean, flat surface such as plastic sheeting or a tarp. Ensure that the clay pieces are evenly distributed to promote consistent drying. Use a flat rolling tool or your hands to uniformly shape the clay to avoid overly thick or thin areas, which can cause cracking during drying.
Step 2: Air Drying
Allow the clay to air dry for several days or until it reaches a leather-hard consistency. This stage is crucial to ensure the clay retains its form without warping or collapsing. Turn the clay regularly, at least once daily, to ensure even drying and prevent moisture from becoming trapped on one side. Keep the drying clay in a well-ventilated area, away from direct sunlight or intense heat, as extreme conditions can lead to cracks or uneven drying.
Step 3: Storing the Clay
Once the clay is fully dried, store it in a cool, dry place. If you do not plan to use the clay immediately, wrap it in plastic sheeting or place it in an airtight container to prevent it from drying out completely and becoming unusable. Proper storage will keep the clay in optimal condition for your next project.
Testing and Refining the Clay
Step 1: Testing the Clay’s Workability
Test the clay for smoothness, consistency, and moisture content by attempting to roll it, mold it, or shape it into desired forms. This step helps ensure the clay is suitable for crafting and meets the requirements of your intended project. If the clay feels too crumbly or dry, lightly mist it with water and knead it thoroughly to improve its pliability. On the other hand, if the clay feels overly sticky or wet, allow it to air dry slightly or knead it on a porous surface to absorb some of the moisture.
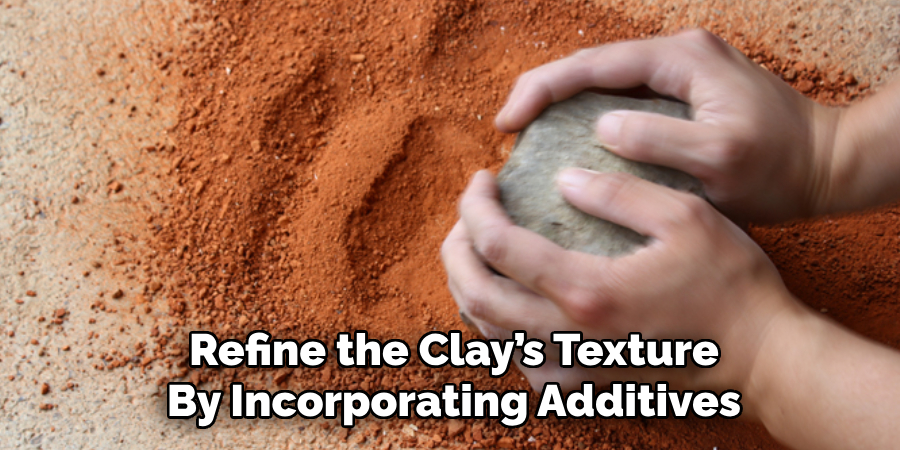
Step 2: Adjusting the Texture
If necessary, refine the clay’s texture by incorporating additives such as grog, sand, or other materials based on your project’s specific needs. Grog, which consists of pre-fired and crushed ceramic material, is particularly effective in reducing cracking and enhancing the clay’s structural integrity. Adding coarse sand can create a desired tactile feel for sculptural or heavily textured work. Ensure the additives are thoroughly mixed into the clay to achieve a uniform texture, which will help in shaping and firing processes. Proper testing and adjustment will make clay easier to work with and yield high-quality results.
Firing the Clay
Preparing the Clay for Firing
Shape the clay into your desired pieces, whether they are bowls, sculptures, tiles, or other forms. Carefully inspect each piece for cracks or structural weaknesses, as these could lead to damage during firing. Once shaped, allow the pieces to dry completely, a stage known as “bone-dry.” This is crucial because any residual moisture in the clay can cause the piece to crack or even explode when subjected to high kiln temperatures. Drying times may vary depending on the size and thickness of the project, but patience is key to avoiding complications.
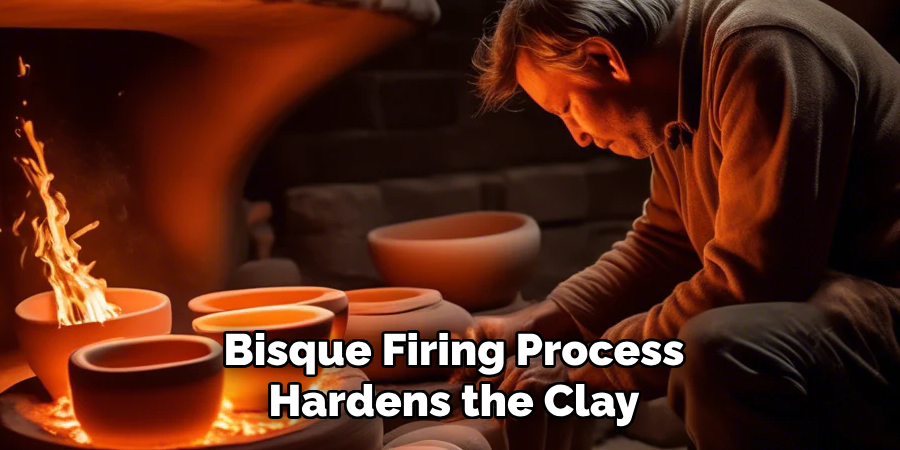
Bisque Firing
The first bisque firing process hardens the clay and prepares it for glazing or finishing. Arrange the dry clay pieces inside a kiln, ensuring they do not touch one another to prevent fusing during firing. Use kiln shelves and stilts if needed to maximize space. Fire the kiln at a low temperature, typically in the range of 1,800°F to 2,000°F (982°C to 1,093°C). This initial firing burns off organic materials and water, creating a porous yet sturdy structure known as bisqueware.
Glazing (Optional)
If a decorative or functional glaze is desired, apply it to the bisqueware after bisque firing. Glazing can enhance the clay piece’s aesthetic appeal and functionality, making it waterproof or adding vibrant colors and textures. Once glazed, return the pieces to the kiln for a second firing, this time at a higher temperature (approximately 2,000°F to 2,300°F or 1,093°C to 1,260°C). The glaze will melt and fuse with the clay surface, creating a smooth, glass-like finish. After cooling, your clay creations will be complete and ready for use or display.
Conclusion
Learning how to process natural clay involves several crucial steps, from excavating and cleaning to mixing, drying, testing, and firing. Each stage is integral to transforming raw material into a functional or decorative clay piece. Patience is key, particularly during the drying and refining process, as rushing can compromise the durability or appearance of your creations. By experimenting with various textures and additives, you can customize the clay to suit your specific projects and needs. With dedication and creativity, the art of working with natural clay becomes an enriching experience that connects you to craftsmanship’s timeless tradition.
Toby Rede is a professional potter focused on creating functional and artistic ceramics. His work blends natural textures with modern forms, often inspired by sustainable gardening and outdoor environments. Toby’s pottery emphasizes both utility and beauty, reflecting his philosophy of intentional craftsmanship. On the blog, he shares insights on integrating handmade objects into everyday life.
Education
- Associate Degree in Ceramic Technology, Alfred University
Professional Focus
- Pottery creation with a focus on functionality and artistic expression
- Techniques exploring texture, glazing, and sustainable materials
Professional Accomplishments
- Work featured in regional art shows and garden exhibitions
- Collaborations with local craft fairs and home decor shops