Repairing a ceramic statue might seem intimidating, but with the right materials and guidance, even beginners can succeed. These artistic and sentimental pieces can suffer damage from accidents or regular wear and tear. This guide provides clear, step-by-step instructions for how to repair ceramic statue. Whether dealing with a minor chip or a significant break, you’ll find methods here to tackle various damages, ensuring your statue continues to enhance your collection beautifully.
Common Reasons for Ceramic Statue Damage
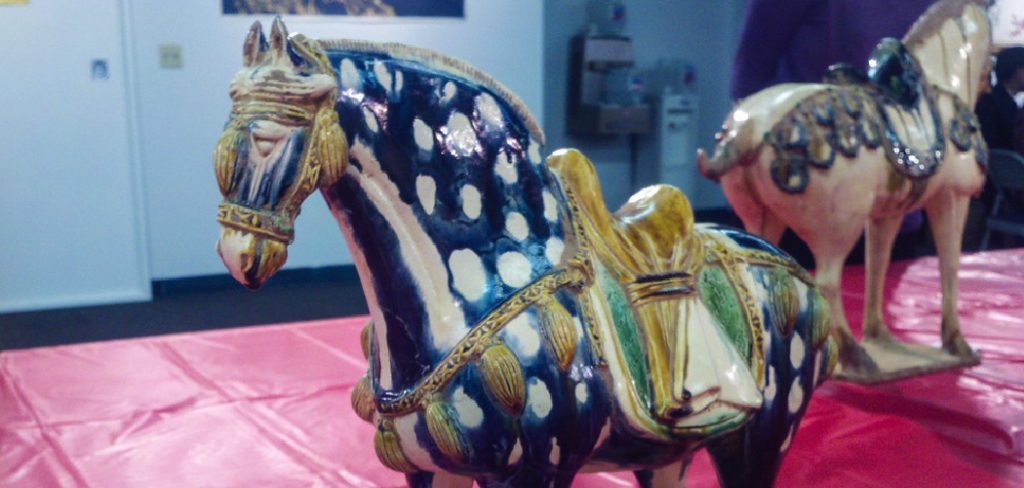
Ceramic statues, cherished for their beauty and sentimental value, are unfortunately susceptible to damage due to several common factors. Accidental drops or knocks can easily cause chips or fractures, as ceramics are inherently fragile. Additionally, temperature fluctuations can lead to cracking, as ceramics expand and contract with changes in temperature. Improper handling is another frequent cause of damage; rough or careless handling can lead to unexpected breaks. Environmental factors such as high humidity or exposure to moisture can weaken the statue’s structure over time, increasing the risk of damage. By understanding these causes, you can take preventive measures to protect your ceramic statues from harm.
10 Methods How to Repair Ceramic Statue
1. Using Super Glue for Minor Breaks
Super glue is an ideal adhesive for fixing minor breaks or small, clean breaks on a ceramic statue. This method works best for smaller pieces that fit together snugly. Start by thoroughly cleaning the broken surfaces to ensure that no dust or debris interferes with the bond. Apply a small amount of super glue along one edge, press the pieces together, and hold them in place for a few minutes until the glue sets. Super glue is fast-drying, making it a convenient option for quick repairs, and creates a strong bond suitable for small, less visible areas.
2. Epoxy Adhesive for Larger Breaks
Epoxy adhesive is preferred for larger breaks or for securing pieces with structural importance. Epoxy is mixed from two components (resin and hardener) to form a strong, durable bond. Begin by mixing a small amount of epoxy and applying it to the broken edges. Align the pieces and press them together, then wipe away any excess adhesive with a damp cloth. Epoxy takes a few hours to fully cure, so consider securing the parts with tape or a clamp until it sets. Epoxy repairs are long-lasting and provide excellent support for large pieces of broken ceramic.
3. Reinforcing with Wire or Metal Pins
For statues with significant breaks or multiple parts, adding reinforcement can help. Drilling small holes in both broken pieces and inserting a metal pin can strengthen the bond. Start by drilling shallow, small holes on both sides of the break. Apply epoxy in the holes, insert the pin, and join the pieces together. The pin provides extra stability, while the epoxy secures the break. This method is especially useful for parts like limbs or other protruding sections that are prone to breakage. Use caution while drilling to avoid further damaging the ceramic.
4. Using Plaster for Filling Gaps and Chips
Plaster is ideal for filling in gaps or chips, especially when pieces are missing. Begin by mixing the plaster to a paste consistency and apply it to the chipped area with a fine tool, like a small spatula. Smooth it out and let it dry completely. Once dried, sand the surface to blend it seamlessly with the rest of the statue. Plaster is a good choice for larger repairs where epoxy may not provide enough coverage, as it’s easy to shape and can later be painted over to match the original ceramic.
5. Clay Replacement for Missing Parts
When a statue has missing parts, air-dry clay can be used to recreate the lost pieces. Carefully sculpt the missing section from air-dry clay, using references or photos to match the original design. Attach the new piece using epoxy or glue, and once dry, sand it gently for a smooth finish. This method allows you to restore complex shapes and details and works well for ornamental sections or fine details. After it fully dries, the clay can be painted to blend with the rest of the statue.
6. Painting Over Repaired Areas
After fixing a break, the repaired area might need to be painted to restore the statue’s original appearance. Use acrylic paints or ceramic paints that match the statue’s colors. Apply a primer to the repaired area first to help the paint adhere. Then, carefully apply layers of paint, blending to match the original colors and textures as closely as possible. Painting over repairs is crucial for achieving a seamless finish, especially if the statue has intricate patterns or specific color gradients.
7. Sanding for a Smooth Finish
Sanding is essential for refining repaired surfaces, particularly when using fillers or adhesives. Once the repair material is dry, use fine-grit sandpaper to smooth out any unevenness. Start with a coarser grit if necessary, then move to finer grits to achieve a polished, even finish. Sanding helps blend the repaired area with the original surface, making the break less noticeable. Be gentle while sanding to avoid removing too much material, and always sand in a well-ventilated area or use a mask to protect against dust.
8. Using Resin to Strengthen and Protect
For statues with multiple small cracks or porous surfaces, a clear resin coating can add strength and durability. Apply a thin layer of resin over the repaired area or the entire statue, if needed. The resin seeps into cracks, reinforcing weak spots and protecting against further damage. After applying the resin, allow it to cure completely. This method is useful for statues displayed outdoors, as the resin adds a protective waterproof layer that shields against weather-related damage.
9. Polishing for a Refined Look
Polishing is the final touch for restoring a ceramic statue to its original luster. After repairs and painting, use a ceramic polish or a soft cloth to buff the surface lightly. Polishing removes any residual sanding marks or fingerprints, enhancing the finish. It’s especially beneficial for statues with a glossy or reflective surface, as it gives a professional, finished look. Regular polishing after repairs can also help maintain the appearance of the statue over time, particularly for decorative pieces on display.
10. Using Gold Leaf for Kintsugi Repair
Inspired by the Japanese art of kintsugi, this method involves highlighting the repaired areas with gold leaf or gold paint, embracing the imperfections rather than concealing them. Begin by applying a thin layer of adhesive on the repaired areas, then carefully apply the gold leaf or paint over it. Kintsugi celebrates the beauty of repaired items and makes a striking artistic statement. This approach can transform a simple repair into a focal point, giving your ceramic statue a unique and meaningful appearance.
Maintenance and Upkeep
Proper maintenance is pivotal in preserving the integrity and appearance of your restored ceramic statues. Regular dusting with a soft, dry cloth will help keep the statue clean and free from dirt accumulation. Avoid using harsh chemicals or abrasive cleaners, as these can damage the surface and undo your careful repairs. If the statue is displayed in an area prone to high humidity or temperature fluctuations, consider moving it to a more stable environment to prevent new cracks or damage.
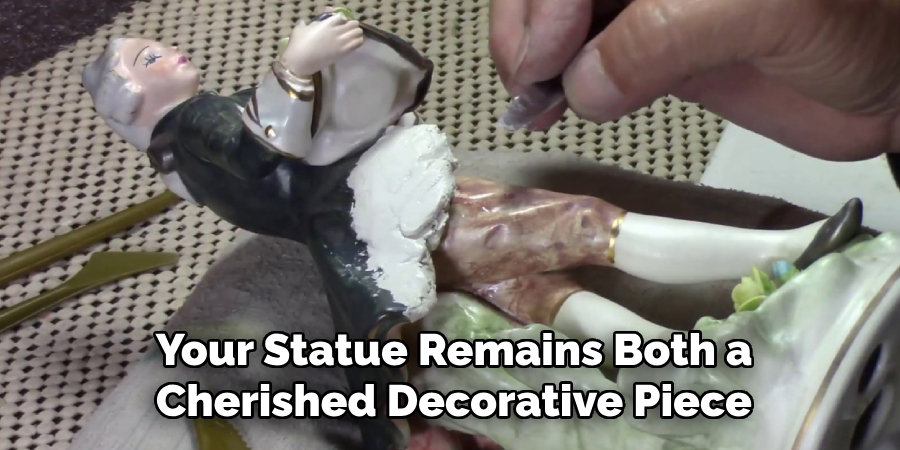
For outdoor displays, periodic inspections are recommended to check for signs of weathering or wear, and applying an extra layer of protective clear resin might be beneficial. Additionally, when handling the statue, always support it at its base to distribute the weight evenly and prevent accidental falls. Implementing these practices ensures that your statue remains both a cherished decorative piece and a testament to the art of restoration.
Alternative Methods and Tips
When traditional repair methods do not suit your specific needs or if you’re looking to explore alternative approaches, a few unconventional techniques may prove effective. One such method is using baking soda combined with super glue to create a quick-setting filler. This mixture forms a tough, resilient bond that can be useful for temporary fixes or small gaps. For those interested in sustainable restoration practices, consider using natural materials like beeswax for filling cracks or gaps; while it may not offer as strong a bond as synthetic adhesives, it is eco-friendly and easy to adjust.
Conclusion
Restoring a ceramic statue is an intricate process that involves a variety of techniques and materials, each suited to different types of damage. Whether you are reassembling broken pieces with epoxy, reinforcing fragile sections with metal pins, or highlighting mended areas with the artistic flair of kintsugi, these methods empower you to breathe new life into damaged art. Each repair brings with it an opportunity to preserve not only the historical significance and aesthetic value of the piece but also to embrace the unique story of its transformation. We hope this guide has inspired you on how to repair ceramic statue. If you have any questions or need further assistance, don’t hesitate to reach out.
With a keen eye for detail and a deep understanding of the firing process, I bring ceramics to life as a skilled kiln operator. My expertise ensures that each piece reaches its full potential, achieving the perfect balance of strength and beauty. I take pride in overseeing the critical final stage of pottery creation, transforming raw clay into stunning, durable art. 🎨
From monitoring temperatures to perfecting firing schedules, I ensure that every piece is fired to perfection. My role is not just about operating the kiln; it’s about understanding the unique needs of each creation and bringing out its best qualities.
Join me on this journey of precision and passion, where every firing tells a story. Whether it’s a delicate vase or a robust sculpture, I am dedicated to making sure that every piece that comes out of the kiln is a masterpiece. 🏺✨
Toby Rede is a professional potter focused on creating functional and artistic ceramics. His work blends natural textures with modern forms, often inspired by sustainable gardening and outdoor environments. Toby’s pottery emphasizes both utility and beauty, reflecting his philosophy of intentional craftsmanship. On the blog, he shares insights on integrating handmade objects into everyday life.
Education
- Master of Fine Arts in Ceramics, California College of the Arts
Professional Focus
- Creating practical pottery for everyday use.
- Using unique styles and techniques to convey narratives in ceramics.
Professional Accomplishments
- Showcased work in local and national art galleries, gaining recognition for craftsmanship.
- Received accolades for innovative designs in pottery competitions.