

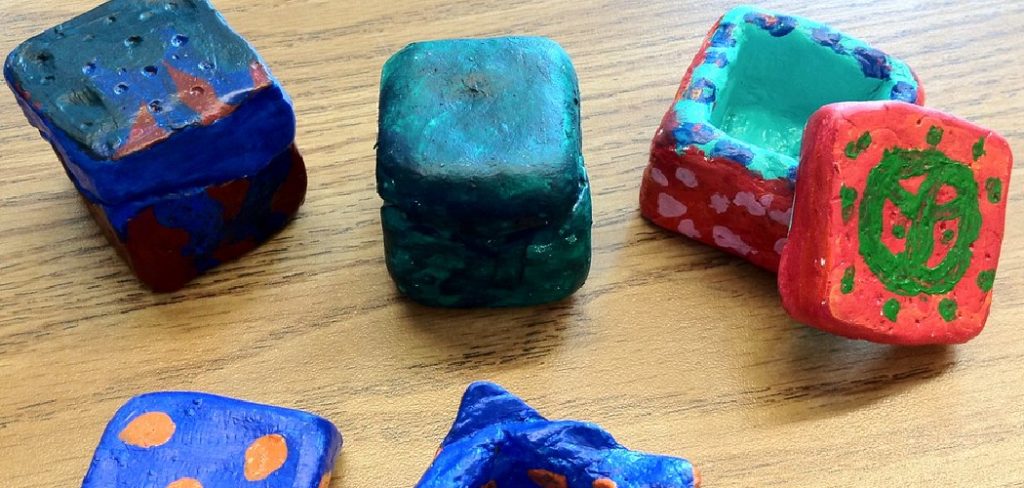
Due to its vibrant colors and versatility, acrylic paint is a popular choice for decorating clay surfaces in art, pottery, and various DIY projects. Whether you are creating intricate designs on pottery or crafting personalized clay items, acrylic paint allows for endless creative possibilities. However, the paint can easily chip, fade, or become damaged by moisture and wear over time without proper sealing. Sealing your acrylic paint is essential to preserve your artwork and ensure its longevity.
This article will provide a comprehensive, step-by-step guide on how to seal acrylic paint on clay, covering everything from preparation techniques to selecting the right sealant and applying it effectively. By following these tips, you can protect your creations and maintain their quality for years to come.
Why Sealing Acrylic Paint on Clay is Important
Sealing acrylic paint on clay is critical in preserving your artwork, ensuring its longevity, and achieving a professional finish. Without proper sealing, painted clay pieces are more susceptible to wear and tear, reducing their vibrancy and resilience over time. Here’s why sealing is essential:
Protecting the Artwork
Sealing creates a protective barrier over the acrylic paint, preventing it from fading, cracking, or peeling due to environmental factors like sunlight, moisture, or dust. This protection ensures that your artwork maintains its original appearance for years to come, even with frequent handling or display.
Enhancing Durability
Clay projects are often delicate and prone to damage. A quality sealant adds durability to your creations, enabling them to withstand various conditions, including exposure to the elements and occasional impacts. Sealed surfaces are also easier to clean and maintain, adding to the artwork’s overall robustness.
Achieving the Desired Finish
Sealing allows you to customize the final look of your project, providing options like matte, satin, gloss, or even waterproof finishes. Depending on personal preferences and the piece’s intended use, the right finish can enhance the aesthetic appeal, making your artwork look polished and professional.
Choosing the Right Sealant for Acrylic Paint on Clay
When working with acrylic paint on clay, selecting the appropriate sealant is crucial to protect the piece and achieve the desired finish. There are various sealant types to consider, each offering unique benefits.
Types of Sealants
- Brush-on Sealers
These include options like Mod Podge, acrylic polymer varnish, and polyurethane. Brush-on sealants allow for precise application and work well for small, detailed projects.
- Spray Sealers
Clear acrylic sprays and polyurethane sprays provide even coverage and are especially effective for larger projects or surfaces with intricate textures.
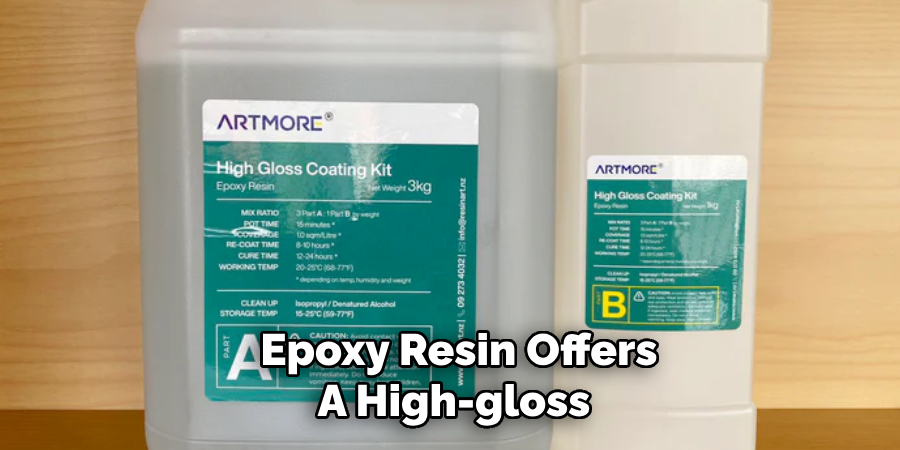
- Resin Coatings
Epoxy resin offers a high-gloss, durable finish that’s perfect for showcasing vibrant colors while adding a layer of protection.
Comparing Finishes
- Matte
Provides a soft, natural look without any shine, ideal for understated elegance.
- Satin
Offers a slight sheen, giving a subtle yet sophisticated appearance.
- Glossy
Delivers a high-shine effect, enhancing vibrancy and creating a polished, professional result.
Waterproof vs. Non-Waterproof Sealers
When sealing clay projects, consider the environment where the piece will be displayed or used. Waterproof sealers are essential for outdoor projects to protect against moisture and weather conditions. For indoor decor, non-waterproof options may suffice while still preserving the artwork’s integrity and appearance.
Preparing the Clay Surface Before Sealing
Before sealing your clay project, proper preparation of the surface is crucial to achieving a flawless, long-lasting finish. Below are the essential steps to ensure your piece is ready for sealing:
Ensuring the Paint is Fully Dry
The first step is making sure that any paint applied to the clay is completely dry. Allow at least 24-48 hours after painting before sealing. This timeframe ensures that the paint has fully cured, reducing the risk of smudging or uneven sealing.
Cleaning the Surface
Before sealing, carefully clean the clay surface to remove dust, fingerprints, or debris that may interfere with the sealant’s adhesion. A soft, lint-free cloth or a lightly dampened sponge wipes the piece gently. Make sure the surface is completely dry before proceeding.
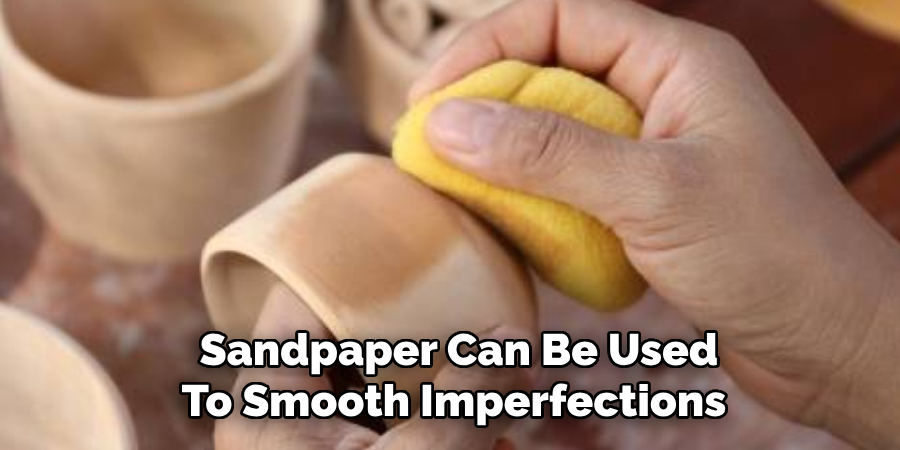
Sanding (If Necessary)
If the surface of the clay feels rough or uneven, fine-grit sandpaper can be used to smooth out imperfections. Gently sand the area using light, circular motions until it feels smooth to the touch. After sanding, clean the surface again to remove any sanding residue.
Applying a Base Coat (Optional)
Applying a primer or base coat is optional but highly beneficial for enhanced adhesion and durability. A thin, even layer of primer will help your chosen sealant adhere better to the clay and create a more professional finish. Allow the base coat to dry completely before applying the sealant.
Following these steps ensures your clay project is prepped for sealing, delivering a clean, polished result.
How to Seal Acrylic Paint on Clay Apply a Brush-On Sealer
Step-by-Step Application
- Choose a Clean, Soft Brush
Begin by selecting a high-quality, soft synthetic brush to ensure a smooth and even application. Avoid brushes with stiff bristles that could leave visible streaks.
- Stir the Sealer Gently
Before application, stir the sealer gently with a clean stir stick. Avoid shaking the container as this can create bubbles that may spoil the finish.
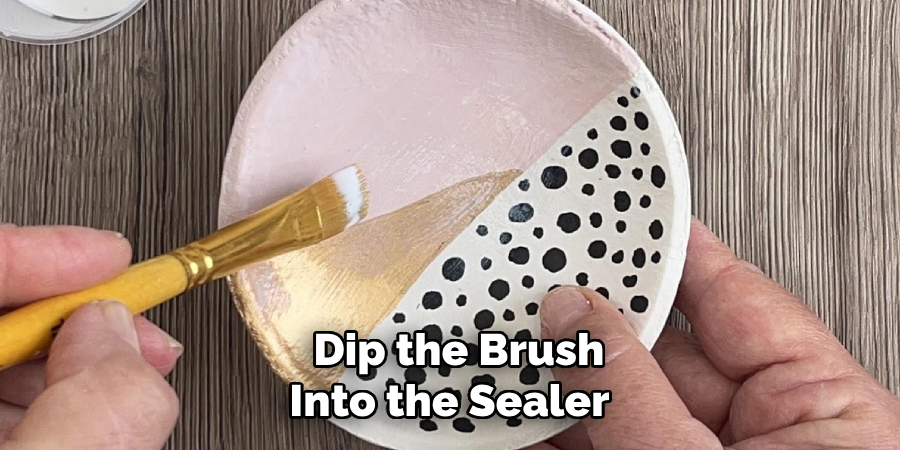
- Apply a Thin, Even Coat
Dip the brush into the sealer and remove excess by lightly tapping on the side of the container. Apply a thin, even coat over the surface of your clay project. Work in long, continuous strokes to cover the surface without overloading any sections.
- Allow Each Coat to Dry Completely
After the first coat is applied, allow it to dry fully according to the manufacturer’s instructions (typically 1-2 hours). Ensure the surface is dry to the touch before applying subsequent layers.
- Apply 2-3 Coats for Best Protection
To achieve durable protection and a polished finish, apply a total of 2-3 coats. Repeat the same process for each layer, taking care to avoid dripping or pooling.
Tips for Avoiding Brush Strokes
- Use a light hand and apply minimal pressure while brushing.
- Opt for long, smooth strokes rather than short, rough motions to maintain a flawless appearance.
- Invest in high-quality synthetic brushes, which help reduce the risk of brush hairs leaving marks in your sealant.
Drying Time and Curing
Each coat should dry completely before applying the next layer. Follow the drying times mentioned on the sealer’s packaging; most sealers recommend a drying period of 1-2 hours between coats. After the final coat, allow the sealant to cure fully, which could take 24-48 hours. Curing ensures a hard, durable finish that protects your clay project from wear and tear.
How to Seal Acrylic Paint on Clay Apply a Spray Sealer
Using a spray sealer is a convenient and effective way to protect your clay projects, but proper application is essential for the best results. Here are some best practices and techniques to follow:
Best Practices for Using Spray Sealers
- Always work in a well-ventilated area or outdoors to avoid inhaling fumes.
- Before you begin, shake the spray can thoroughly for at least one minute to ensure the contents are evenly mixed.
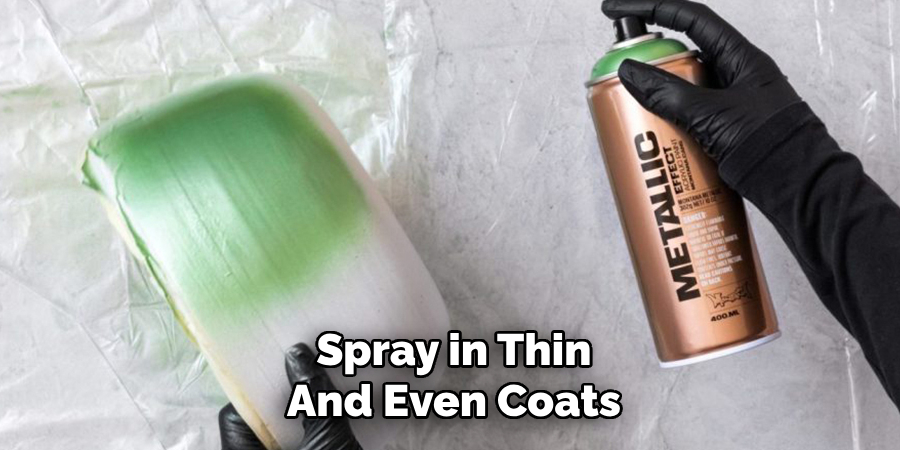
Application Technique
- Hold the can 8-12 inches away from the surface of your clay project.
- Spray in thin, even coats, moving the can steadily, sweeping to prevent drips or pooling.
- Allow adequate drying time between each coat as specified on the product label, usually around 10-15 minutes, to achieve a smooth and professional finish.
Avoiding Common Spray Sealing Mistakes
- To prevent bubbles, avoid shaking the can excessively right before application.
- Streaks can occur if the can is held too close to the surface, so maintain the recommended distance.
- Uneven coatings can be avoided by overlapping slightly with each spray pass.
By following these steps, you can achieve a beautiful, durable finish that enhances and protects your clay creations.
Sealing Acrylic Paint on Air-Dry vs. Oven-Baked Clay
Air-Dry Clay Considerations
When sealing acrylic paint on air-dry clay, it is crucial to ensure the clay is dehydrated before applying any sealant. Depending on the thickness of the clay, drying can take anywhere from 24 to 72 hours, or even longer for larger creations. A water-based sealer is ideal, as it prevents the clay from softening or warping during sealing. Additionally, applying thin, even coats and allowing ample drying time between layers helps achieve a durable, protective finish.
Oven-Baked Clay Considerations
The sealant must be compatible with polymer clay materials for oven-baked clay to avoid unwanted chemical reactions or finishes. It is essential to avoid using heat-sensitive sealers, as polymer clay often retains some warmth after curing, and applying the wrong products could distort the finish. Opting for a clay-safe varnish ensures the long-term preservation of your painted design while maintaining the quality and integrity of the clay.
Conclusion
Understanding how to seal acrylic paint on clay is crucial for ensuring the durability and protection of your creations. A proper seal not only preserves the vibrancy of the paint but also safeguards the surface from wear and environmental damage. Exploring different sealers tailored to your project needs allows for creative flexibility while maintaining quality. Remember, patience throughout the sealing process and careful application are key to achieving a professional, long-lasting finish. Every project brings an opportunity to refine techniques, so don’t hesitate to experiment and discover what works best for your unique artistic vision.
Toby Rede is a professional potter focused on creating functional and artistic ceramics. His work blends natural textures with modern forms, often inspired by sustainable gardening and outdoor environments. Toby’s pottery emphasizes both utility and beauty, reflecting his philosophy of intentional craftsmanship. On the blog, he shares insights on integrating handmade objects into everyday life.
Education
Associate Degree in Ceramic Technology, Alfred University
Professional Focus
Pottery creation with a focus on functionality and artistic expression
Techniques exploring texture, glazing, and sustainable materials
Professional Accomplishments
Work featured in regional art shows and garden exhibitions
Collaborations with local craft fairs and home decor shops