

Welcome to the captivating world of cascade glazes, where the fluid dance of color and texture adorns ceramic surfaces with its dynamic movement and unpredictable beauty.

From the glass-like sheen of clear glazes to the vivid hues of colored options and the rich depth of opaque variations, these glazes can transform pottery into a visual symphony. This comprehensive guide is perfectly suited for anyone seeking to learn how to use cascade glaze on ceramics, whether you’re a novice getting your hands dirty for the first time or an experienced potter looking to cascade creativity across new projects.
Unveiling the Cascade Glazes
Cascade glazes are a distinctive category of ceramic glazes renowned for their flowing, dynamic quality that imitates a waterfall cascading down the pottery’s surface. These glazes typically consist of a combination of silica, alumina, and various fluxes that, when fired, melt together to create a glassy coating. The key characteristic of cascade glazes is their movement during the firing process, which produces distinctive patterns and effects on the pottery.
Cascade glazes usually require specific firing temperatures ranging from cone 04 in low-fire applications up to cone 10 for high-fire glazes. Adjusting the firing cycle, including both the ramp-up speed and the soak time at peak temperature, can greatly affect how the glaze flows and interacts with the piece. It’s crucial to match the glaze’s firing temperature to the clay body to avoid any incompatibilities, such as shivering or crazing.
Various cascade glazes are available, each formulated to accentuate a different aspect of the ceramics. Clear glazes can enhance the natural color of the clay or underlying glazes, while colored cascade glazes introduce vibrant tones and patterns. Opaque glazes, on the other hand, offer stark contrast and can emphasize texture and form.
Safety considerations are paramount when handling these materials, as some glaze components can be toxic. It’s important to work in a well-ventilated space, wear appropriate protective gear, such as gloves and a mask, and follow manufacturer guidelines regarding mixing, application, and storage. Proper safety protocols ensure both the final product’s beauty and the artisan’s well-being.
How to Use Cascade Glaze on Ceramics: A Beginner’s Guide
1. Preparing Your Ceramic Canvas
Before the thrilling application of cascade glazes, the pottery must be a pristine blank canvas, free of any impurities hindering glaze adherence. For bisque-fired pieces, dust and oils must be eliminated; gently brushing the surface and wiping with a slightly damp sponge can efficiently remove debris. It’s imperative to avoid saturating the piece, as bisque-fired pottery is porous, and excessive moisture can delay drying and affect glaze behavior.

If working with unfired, leather-hard, or bone-dry pottery, ensure the surface is meticulously smoothed and uncontaminated. An undusted piece offers a sound foundation that embraces the glaze, allowing it to manifest its intended flow and character. Issues such as dust particles or leftover throwing slurry often result in a compromised glaze surface, detracting from the cascade effect.
Different clay bodies can present unique challenges—a smooth, porcelain body may respond differently to glazing than a groggy stoneware. For instance, porcelain’s non-porous nature requires careful glaze consistency management, whereas stoneware may need preliminary sealing of larger grog particles for smoother glaze travel. Understanding and adjusting for these characteristics ensures that the glaze can interact gracefully with the ceramic canvas.
When preparing for glazing, arm yourself with the proper tools. Brushes of various widths allow precise glaze application, while sponges can aid in cleaning and evenly distributing glaze. Containers for mixing and holding glazes should be selected based on size and the volume of glaze needed. This preparatory stage is fundamental to the overall quality and success of the glazing process, setting the stage for the cascade glaze’s vibrant expression on the ceramic piece.
2. Unleashing the Waterfall: Applying the Cascade Glaze
Applying cascade glaze is both an art and a science, requiring a steady hand and an eye for detail. Begin by stirring the glaze thoroughly to ensure a homogeneous mixture. If you aim for a fluid effect, consider the glaze’s consistency; it should be thin enough to flow but not so watered down that it loses its vibrant color and opacity. For more controlled applications, a thicker glaze may be preferable.
Pouring is a popular technique used for broad, sweeping applications. Tilt your piece and pour the glaze from a container, guiding the flow with the contour of the ceramic. Holding the piece at different angles can help direct the cascade to create unique patterns.
Dripping is ideal for smaller, more precise embellishments. A squeeze bottle with a narrow nozzle grants meticulous control over droplet size and placement, allowing the artist to enhance specific areas or introduce intricate designs.
Brushing is central for those seeking finesse in their glaze application. A brush can spread the glaze evenly, produce textured strokes, or even allow for layering different glaze colors to create depth. Load your brush moderately to avoid overly thick applications that may run off too quickly during firing.
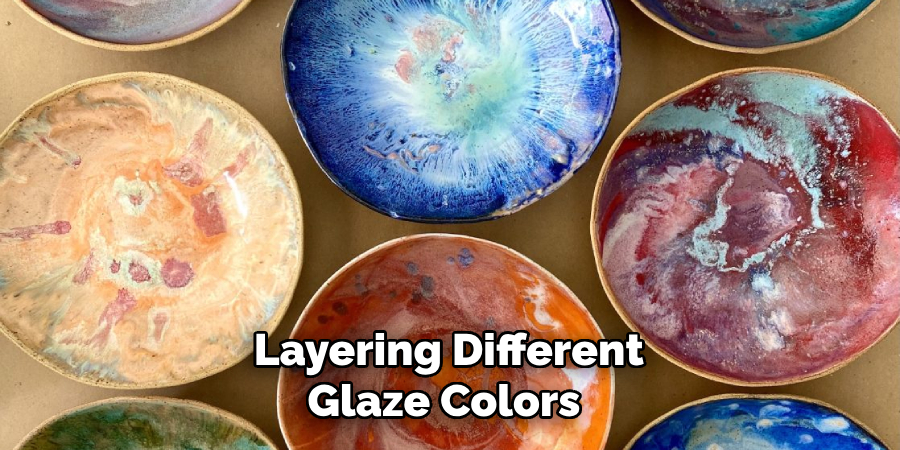
Layering different cascade glazes opens up a realm of possibilities. Apply a base coat using any of the mentioned techniques and overlay additional coats after a necessary drying period. Each applied layer can react with others in the firing process, producing mesmerizing, multi-dimensional effects.
More experienced potters may wish to explore spraying—the fine mist creates an even coat that can then be manipulated for desired effects. Masking pottery areas with tape or wax resist can safeguard parts you wish to remain unglazed or create sharp contrasts.
Control the flow to avoid potential issues like pooling at the bottom or unwanted side drips. You can manipulate the direction of the glaze movement by the angle at which you hold the piece and by using props to support it in a particular orientation as it dries.
To achieve specific patterns, consider the viscosity of the glaze and the force of application. Even the smallest adjustment can significantly affect the final outcome. Be mindful of how these elements interplay during the firing process, knowing that some experimentation and repeated trials will refine your cascade glazing skills.
3. Drying and Preparing for the Kiln
The drying phase is a critical step in the ceramic process that should be approached with patience and precision to avoid any cracking or imperfections that can detract from the aesthetics and integrity of the piece. Proper drying ensures that the glaze has adequately adhered to the ceramic surface and is evenly set for a smooth transition into the kiln.
The recommended drying time can differ based on the type of glaze used, the application’s thickness, and the surrounding environment’s humidity and temperature. Generally, it’s advisable to let a glazed piece dry for at least 24 hours in a temperate, dry room with consistent air circulation to ward off any moisture build-up. A longer drying period may be necessary for cascade glazes with layered applications or in climates with high humidity.
Before placing your masterpiece in the kiln, ensure that kiln shelves are clean and, if necessary, apply a kiln wash to prevent the glaze from sticking during the firing. Vertical placement of shelves or using spacers can facilitate better airflow around the pieces, contributing to a more uniform firing.
Additionally, some pieces, particularly those with heavy glaze applications, might benefit from being propped up to promote even drying and prevent sagging or pooling during the firing. Always stagger pieces within the kiln to allow for heat distribution and movement. Proper preparation reduces the risk of unexpected disasters and sets the stage for the successful transformation of your ceramic work through the magic of fire.
4. Firing Your Cascade Creation
The firing temperature for your cascade glazed piece largely depends on the glaze formulation and the clay body used. Typically, cone 6 (around 2232°F or 1222°C) is a common target for achieving optimal flow and maturity of the glaze. However, always refer to the manufacturer’s specifications for the best results. A slow ramp-up in temperature is crucial to minimize thermal shock and to allow organic materials in the glaze to burn out cleanly.
Hold at the top temperature briefly to let the glaze flow and interact, but avoid overfiring, which can lead to the glaze running off the piece. A controlled cooling process might also be necessary to enhance certain visual effects and stabilize the glaze on the ceramic body.
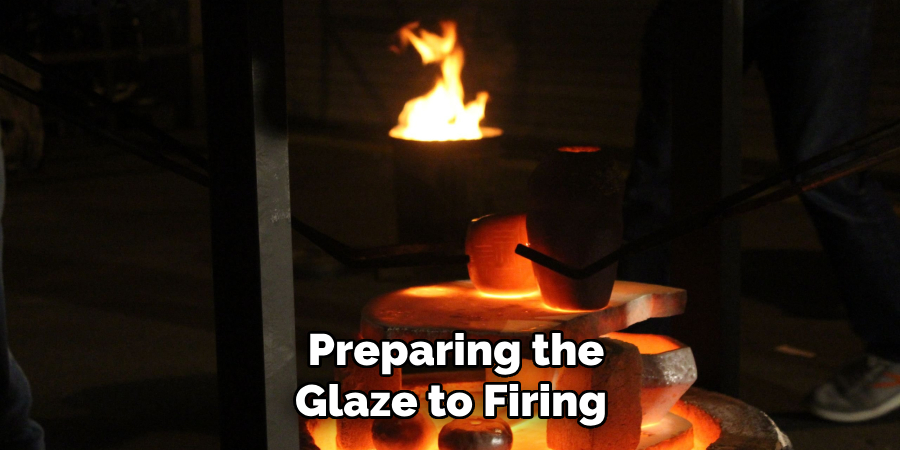
That’s it! You’ve now learned how to use cascade glaze on ceramics, from preparing the glaze to firing your final masterpiece. Remember, practice makes perfect, so don’t be afraid to experiment with different application methods and techniques to unlock the full potential of cascade glazes. With patience and attention to detail, you’ll soon be creating stunning ceramic pieces that showcase the vibrant expression unique to this glazing method.
Unveiling Your Creation: Unpacking and Inspecting
The moment of unveiling your creation from the kiln is charged with a blend of anticipation and exhilaration. As you carefully open the kiln, a wave of warmth escapes, hinting at the transformative process that has just occurred. The unveil is nothing short of a reveal at an artist’s gallery, where each cascade-glazed piece emerges as a unique testament to the potter’s skill and the serendipity of high temperatures. The suspense builds, knowing that the cascade glaze has worked its unpredictable magic, rendering each creation singularly astonishing with patterns and color blends that can never be precisely replicated.
Handling these newly fired treasures requires caution due to the residual heat. Wear heat-resistant gloves and use proper tongs to lift the ceramic pieces gently. Inspecting your work, you may marvel at the subtleties of the glaze, how it ebbed and flowed and now crystallized in time, creating artistry that truly breaks the mold—an irreplicable dance between the glaze and the fire, coalescing into something extraordinary.
Troubleshooting Potential Hiccups
Encountering issues with cascade glazes can be disheartening, but understanding common challenges can turn setbacks into learning opportunities. Uneven flow is often a problem when the glaze is applied inconsistently or when the kiln’s temperature fluctuates. This can be remedied by ensuring a uniform application and verifying the kiln’s temperature distribution with witness cones placed throughout.
Unwanted pooling commonly occurs when excess glaze accumulates at the bottom of a piece. Prevent this by wiping away excess glaze before firing and ensuring the piece is elevated properly on stilts if necessary. Additionally, consider thinning the glaze slightly with water for a more fluid application that lessens the chance of pooling.
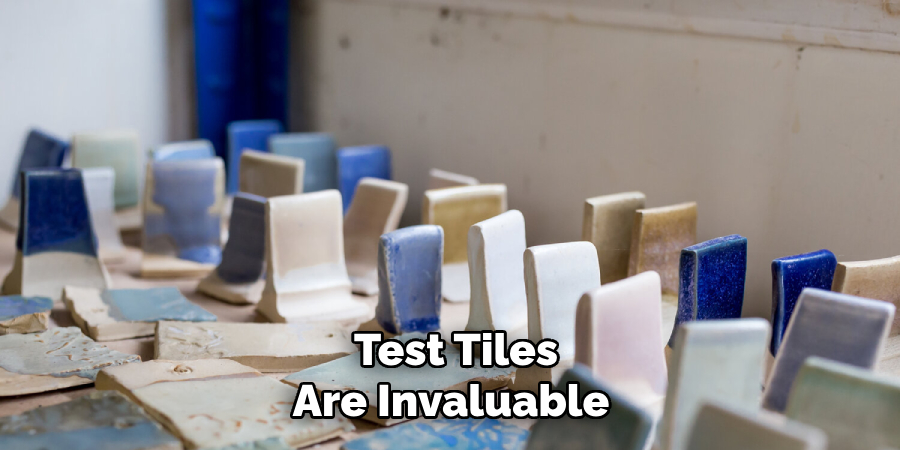
Unexpected color variations in cascade glazes can result from several factors, including variations in the clay body, glaze thickness, and firing atmosphere. Test tiles are invaluable for predicting outcomes; they should mirror your actual piece’s clay body and thickness. Adjusting the firing schedule can also help – a soak at peak temperature allows for better glaze interaction and more predictable colors.
For advanced troubleshooting, consider the chemistry of the glaze itself. Adjusting the glaze formula with a balance of fluxes, stabilizers, and glass formers can alter fluidity and color response. High-alkaline glazes often run and vary in color, so moderating this component may lead to a more stable glaze. For potters with access to a programmable kiln, a custom firing cycle tailored to the specific glaze can ensure consistency and reliability in results.
Remember, every challenge is a masterclass in disguise. Document your adjustments and their outcomes meticulously, creating a reference that turns temporary hiccups into stepping stones for mastery over the art of cascade glazing.
Pushing the Flow: Achieving Varied Effects
To elevate the artistry of cascade glazing, potters seek to push the boundaries, creating works with unparalleled depth and complexity. One innovative approach involves layering different cascade glazes. By meticulously applying successive layers of varying viscosities and compositions, artists can instigate a dance of colors and textures, resulting in a symphony of flowing visual effects when exposed to the kiln’s heat.
Contrasting effects can be achieved by combining cascade glazes with traditional glazes. Here, the fluidity of the cascade glaze juxtaposes with the more stable nature of standard glazes, producing striking differences in finish and flow. This blending of glazes can highlight relief work or add a dramatic flair to a piece’s contours.
Stencils are invaluable for those pursuing control in the inherently unpredictable cascade glaze flow. Using stencils or resist techniques, potters can guide the glaze to specific areas, creating intentional patterns that stand out when the piece is fired. This method offers a hint of predictability in an otherwise serendipitous process.
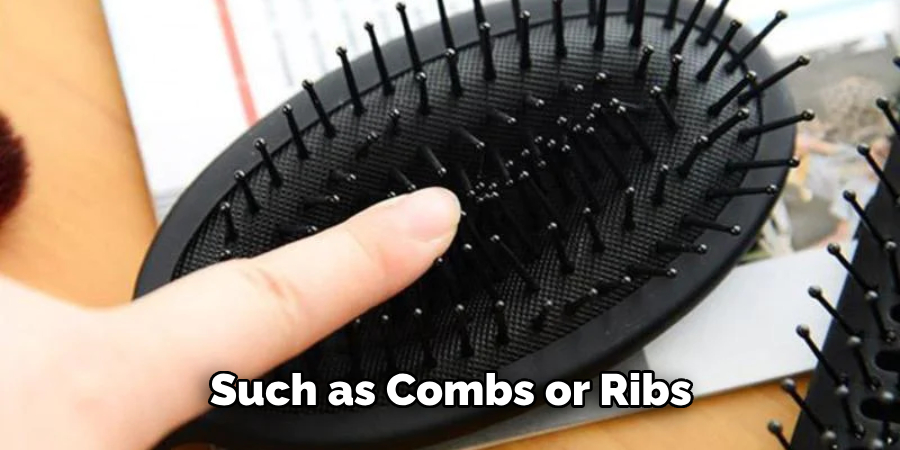
Texturing tools, such as combs or ribs, introduce physical dimensions to the glaze. By carving through the glaze’s surface before firing, artists can influence how the glaze interacts with the piece, leading to varying thicknesses and textures that reveal themselves post-firing. Masking off areas or applying glaze with different methods—spraying, pouring, or dipping—further enhances the uniqueness of each piece.
For experienced potters seeking to delve deeper into the unpredictable, advanced firing techniques like raku firing or smoke firing beckon. Raku firing, involving removing the pottery from the kiln while hot and placing it into a combustible material, offers a dynamic reduction atmosphere that can significantly affect the flow and final appearance of the glaze. Smoke firing adds another layer of complexity by incorporating the vagaries of smoke and flame to imprint organic and often unexpected patterns onto the cascade-glazed surface.
As the potter ventures through these advanced techniques, each creation becomes an experiment and a lesson in the beautiful complexity of cascade glazing. With every firing, the potter’s expertise grows, culminating in mastery over not just the glaze but the very flow of creativity itself.
Caring for Your Flowing Masterpiece
After the thrill of working with cascade glazes and admiring your finished artwork, it’s crucial to account for its care to maintain the piece’s integrity and safety, especially if it’s intended for culinary use. For cleaning, hand washing is highly recommended. Use a soft sponge or cloth with gentle dish soap to clean your piece, avoiding abrasive materials that could scratch the surface and mar the glaze’s beauty.
Use a soft sponge or cloth with gentle dish soap to clean your piece, avoiding abrasive materials
When it comes to dishwashers, the harsh environment can be detrimental to the delicate glaze work, so it’s best to keep cascade-glazed ware out of such machinery. The high-pressure water and extreme temperatures may cause micro-cracks or lead to the wearing away of the glaze over time. Moreover, if your glaze has not been properly formulated for food safety, limiting its use for decorative purposes is essential.
Be mindful of sensitivity to temperature changes; avoid placing your glazed items in the microwave or oven, as rapid heating can compromise the structure. For long-term upkeep, display or store your pieces away from direct sunlight to prevent the glaze’s potential fading or discoloration. Remember, cascade glaze ceramics are not just dishes but individual works of art. Treat them with the same care as a treasured painting or sculpture, and they will reward you with a lifetime of aesthetic pleasure.
Finding Inspiration: A Cascade of Resources
The journey into cascade glazing need not be solitary; inspiration and guidance abound within the ceramics community. Artists like Tim Rowan and Ruthanne Tudball have pushed the envelope with their dynamic, flowing glazes, showcasing this technique’s sheer range of possibilities. Their works serve as a testament to the artistry that can be achieved, urging new and seasoned potters alike to experiment with their own forms and glazes.
Exploring personal artistic expression becomes an exhilarating venture when fortifying it with a wealth of online resources. Platforms like the Ceramic Arts Network and The Potters’ Council offer forums where enthusiasts and professionals gather to exchange ideas, solve problems, and celebrate successes. Blogs like Pottery Making Info and websites of renowned ceramic artists often share their glazing experiences, providing insights into their creative processes and practical tips.
For those craving hands-on interaction and community support, local pottery studios and community colleges frequently offer workshops. These immersive experiences allow for direct experimentation under the guidance of experienced instructors alongside peers who share a passion for the craft. Workshops can especially benefit those looking to deepen their understanding of glaze chemistry and firing techniques — essential knowledge for mastering cascade glazing.
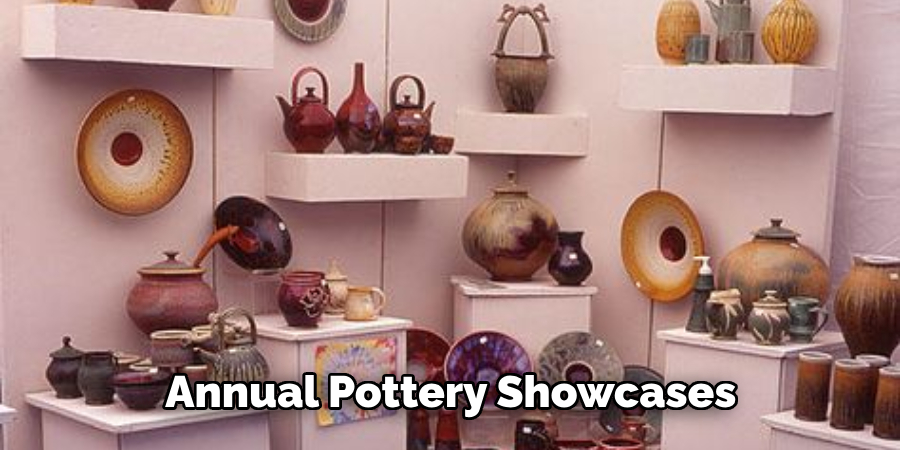
Moreover, visiting annual pottery showcases or joining interactive webinars provides substantial exposure to various styles and applications of cascade glazes. Through these platforms, one can find knowledge and a diverse community eager to inspire each other’s next-fired masterpiece.
Conclusion: Embrace the Flow
In embracing how to use cascade glaze on ceramics, potters unlock a world of fluid beauty and serendipitous artistry. From the distinctive finishes that highlight relief work to the mastery of advanced firing techniques, cascade glazing epitomizes the marriage of skill and unpredictability. We’ve journeyed through the importance of glaze composition, the delights of texturing to influence flow, and the mindful care needed to preserve these masterpieces.
We’ve seen the potential for community and the inspiration drawn from seasoned artisans. Whether you’re a novice or an expert, cascade glazing beckons you to experiment, learn, and savor the unpredictable charm each fired piece brings to light. Embrace the unexpected, revel in each creation’s uniqueness, and let every glaze-filled venture be a testament to your evolving craftsmanship and creative passion.
Toby Rede is a professional potter focused on creating functional and artistic ceramics. His work blends natural textures with modern forms, often inspired by sustainable gardening and outdoor environments. Toby’s pottery emphasizes both utility and beauty, reflecting his philosophy of intentional craftsmanship. On the blog, he shares insights on integrating handmade objects into everyday life.
Education
Associate Degree in Ceramic Technology, Alfred University
Professional Focus
Pottery creation with a focus on functionality and artistic expression
Techniques exploring texture, glazing, and sustainable materials
Professional Accomplishments
Work featured in regional art shows and garden exhibitions
Collaborations with local craft fairs and home decor shops