

Working with high-fire clay is a transformative experience that merges the age-old tradition of pottery with the intense interplay of elements. This technique involves firing clay at temperatures between 2300 and 2500 degrees Fahrenheit, which vitrifies the clay body, making the final product durable and resistant to water and frost.
It’s a method favored by many ceramicists for its ability to bring out the depth and richness of glazes. In this guide on how to use high fire clay technique, we will explore the basics of the high-fire clay technique, the materials needed, and step-by-step instructions to create your own masterpiece. It’s time to unleash your creativity and get your hands dirty!
What is High Fire Clay?
High-fire clay, also known as stoneware clay, is a type of clay that can withstand high temperatures without melting or deforming. It contains high amounts of silica and alumina, which give it strength and make it less porous than other types of clay. The high firing temperature also allows for the clay to become more dense, making it suitable for functional items such as dinnerware and vases. It
Pros and Cons of High Fire Clay
Pros:
Durability:
The high firing temperature makes the clay body durable and resistant to water, which is ideal for functional pottery.
Rich Glaze Effects:
High-fire clay allows for a wider range of glaze effects, including more vibrant colors and depth.
Strength:
The dense nature of high-fire clay makes it strong and able to withstand wear and tear over time.
Less Porous:
The high firing temperature reduces the porosity of the clay, making it less prone to cracking or absorbing liquids.
Cons:
Difficulty in Handling:
High-fire clay is more challenging to work with compared to low-fire clays due to its dense nature. It requires more strength and skill to shape and form, making it less ideal for beginners.
More Expensive:
The high temperatures required for firing high-fire clay result in higher energy costs, making it more expensive to use compared to other types of clay.
Materials Needed
High Fire Clay Body:
Choose a high-fire clay that is suitable for your desired project and firing temperature. Each type of high-fire clay has its unique characteristics, so be sure to test a small amount before committing to a large project.
Pottery Wheel or Hand-Building Tools:
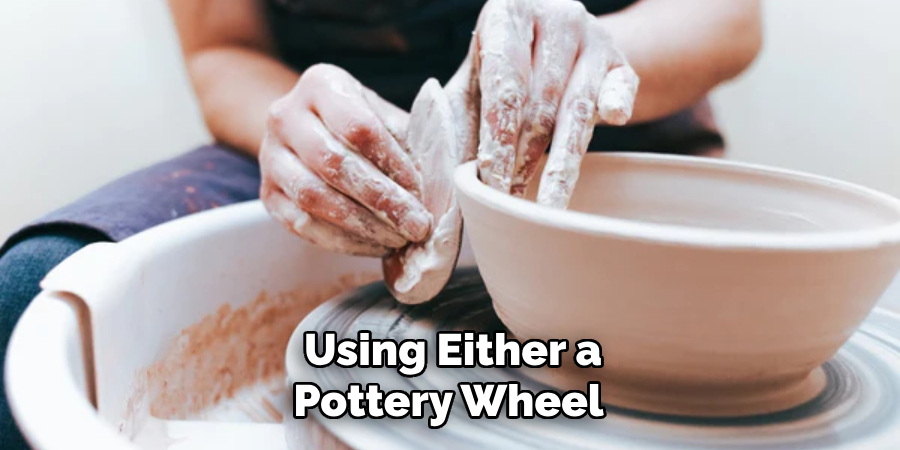
The high-fire clay technique can be done using either a pottery wheel or hand-building techniques. The essential tools for throwing on the wheel include a potter’s wheel, bats, and trimming tools. For hand-building, you will need a rolling pin, modeling tools, and various molds.
Kiln:
A kiln is an essential tool for high-fire clay technique as it enables the firing process at high temperatures. There are two types of kilns used for this technique: electric and gas kilns. The type of kiln you choose will depend on your budget, space, and personal preferences.
Glazes:
Glazes are an integral part of the high-fire clay technique as they add color, texture, and shine to the final product. There are various types of glazes available in the market, including matte, glossy, and textured glazes. Experiment with different types of glazes to find your preferred finish.
10 Simple Step-by-step Guidelines on How to Use High Fire Clay Technique
Step 1: Prepare Your Work Area
Before starting your project, ensure that your work area is clean and free from debris. Dust and dirt can easily get trapped in the clay, affecting the final product’s quality. The ideal working space should have good ventilation and enough room for your tools and materials.
You can also cover your work surface with canvas or plastic to make clean-up easier. But avoid using newspaper, as the print can transfer onto your clay. The ideal temperature for your work area should be between 65-75 degrees Fahrenheit. But, if your work area is too cold or humid, use a dehumidifier to keep the clay from drying out.
Step 2: Wedge Your Clay
Wedging is an essential step in preparing your clay for use. It involves kneading and compressing the clay to remove any air bubbles and create a more consistent texture. Wedging also helps to prevent cracking during the drying and firing process. You can do this by hand or using a wedging table.
The clay is ready for use when it feels smooth and has an even texture. The wedging process should take about 10-15 minutes. It’s also a great way to warm up your hands before working with the clay. You can also wedge your clay in advance and store it in an airtight container until you’re ready to use it.
Step 3: Create Your Base Form
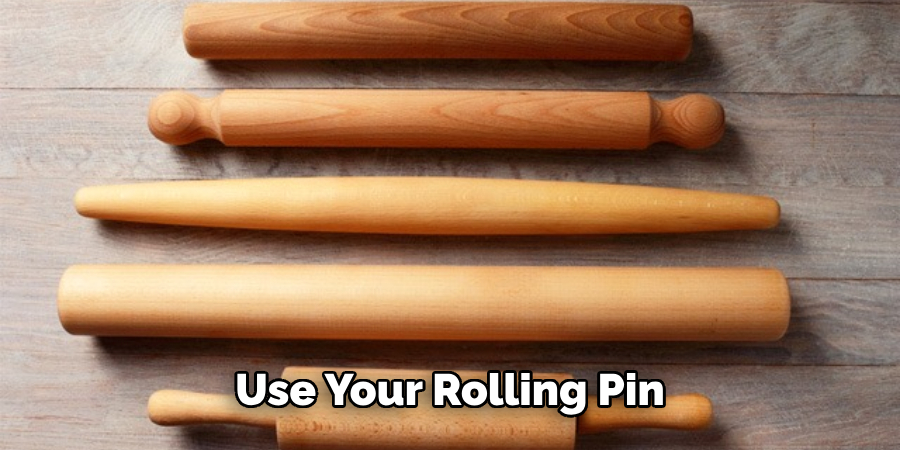
Using your chosen method of working with clay, create the base form of your project. If you are throwing on the wheel, center your clay on the bat and start shaping it. For hand-building, use your rolling pin to flatten the clay to your desired thickness. You can also use molds or other techniques to form your base shape.
But make sure the clay is evenly compressed and free from air bubbles. You can use a needle tool to check for air pockets by piercing the clay in several areas. The needle should go in smoothly without resistance. It’s essential to have a solid base form for your project, as it will determine the final product’s stability and shape. The drying and firing process can also affect the shape of your project, so take this into consideration when forming your base.
Step 4: Add Details
Once you have your base form, you can start adding details such as handles or other decorative elements. High-fire clay allows for intricate details, so take your time to add any desired texture or shapes. Use your modeling tools to carve, cut, and shape the clay as needed.
You can also add texture by pressing objects onto the clay, such as leaves or stamps. Make sure to smooth out any rough edges and blend in any additions seamlessly with the base form. Otherwise, they may detach during the firing process. It’s also crucial to leave enough time for your clay to dry before firing. Depending on the size and thickness of your project, this can take up to a few days.
Step 5: Let Your Project Dry
After adding all the desired details, let your project dry completely before firing it. High-fire clay takes longer to dry compared to low-fire clay, so be patient and avoid rushing the process. You can leave your project in a well-ventilated area or use a fan to speed up the drying process.
But make sure it dries evenly on all sides to avoid cracking. You can also cover your project with plastic or a damp cloth to prevent it from drying out too quickly. If you notice any cracks forming, use a small amount of slip (clay mixed with water) to fill them in and smooth them out. You can also re-shape any areas that may have warped during the drying process.
Step 6: Bisque Firing
Bisque firing is the first firing process that prepares your clay for glazing. It turns the clay into a permanent state, making it less fragile and absorbent. The temperature for bisque firing is usually between 1832 and 2012 degrees Fahrenheit. It’s essential to follow the manufacturer’s instructions for your specific type of clay and glaze.
Bisque firing can take up to 10-12 hours, depending on the size and thickness of your project. The kiln should be turned off and allowed to cool down before opening. The bisque-fired project should have a chalky, matte finish.
Step 7: Glazing

Once your project has been bisque-fired and cooled down completely, it’s time to glaze. Use a brush or dip your project into the glaze, depending on the desired effect. Make sure to apply an even layer of glaze and avoid leaving any brush marks or drips. You can experiment with different types of glazes and techniques to create unique finishes. But make sure to read the manufacturer’s instructions for firing temperatures and precautions when using certain types of glazes. The ideal temperature for glaze firing is usually between 2160-2345 degrees Fahrenheit.
Step 8: Glaze Firing
The glaze firing is the final step in the high-fire clay technique, where your project reaches its final shape and color. The process can take up to 12 hours, depending on the size and thickness of your project. Once complete, let your project cool down completely in the kiln before removing it.
Avoid touching the hot clay, as it can still be fragile and prone to breaking. The final result will be a beautiful, durable, and unique piece of art. The glaze may also give your project a glossy, matte, or textured finish. It’s always exciting to see the final result after all your hard work and patience. The possibilities with high-fire clay and glazes are endless, so have fun experimenting with different techniques.
Step 9: Final Touches
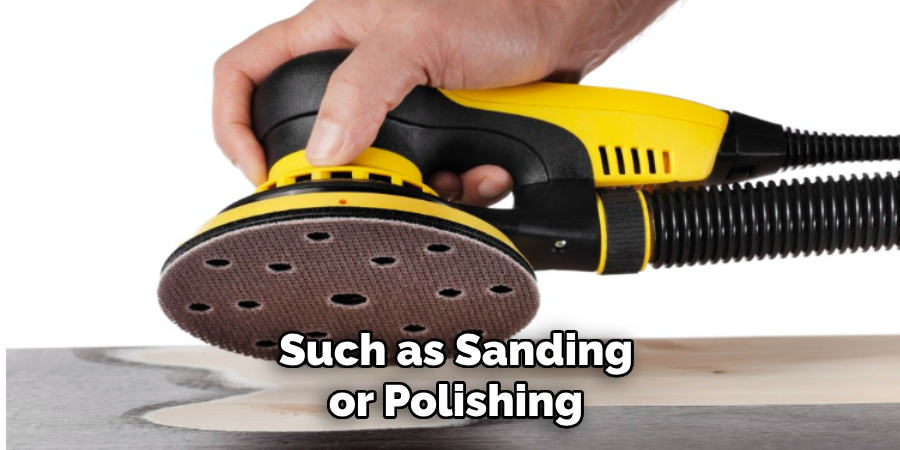
Once your project has cooled down, you can add any final touches, such as sanding or polishing, to enhance its appearance. You may also need to clean off any glaze drips or rough areas with a damp sponge.
If you notice any cracks or imperfections, you can fill them in with a small amount of glaze and fire again. Make sure to read the instructions for refiring to prevent any damage to your project. Once complete, your high-fire clay project is ready to be displayed or used in daily life. Remember to always handle it with care, and enjoy the satisfaction of creating something unique and beautiful with your own hands.
Step 10: Continue Learning and Creating
High-fire clay and glazing techniques can be complex and require practice to master. Don’t be discouraged if your first few projects don’t turn out exactly as expected. Use each experience as a learning opportunity to improve and perfect your skills.
You can also take classes or workshops to learn from experienced artists and expand your knowledge of high-fire clay techniques. The beauty of working with clay is that there’s always something new to learn and endless possibilities for creativity. So keep creating and experimenting, and never stop learning! Remember to have fun and enjoy the process of bringing your ideas to life with high-fire clay.
Following these steps and tips on how to use the fire clay technique can help you create beautiful, durable, and unique high-fire clay projects. Remember to always handle your projects with care and never stop learning and experimenting with new techniques. With patience, practice, and a passion for creating, you can continue to improve your skills and create stunning works of art with high-fire clay.
Advanced High-Fire Clay Techniques Raku Firing and Saggar Firing
In addition to the traditional high fire clay techniques discussed above, there are also more advanced techniques, such as raku firing and saggar firing. These methods involve alternative firing processes that can create unique and stunning results on your high-fire clay projects.
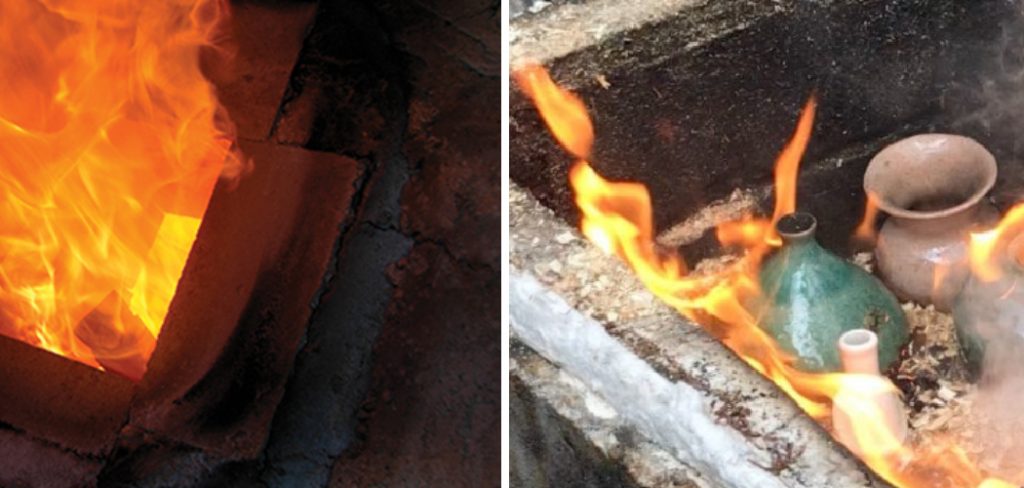
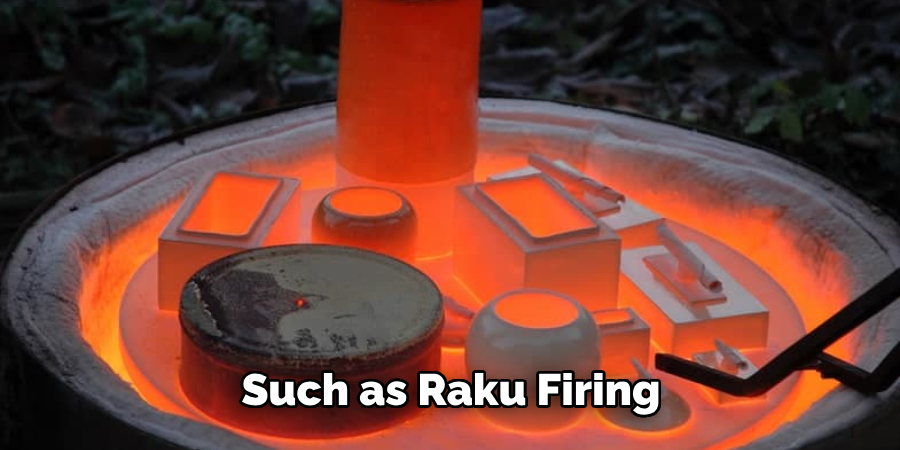
Raku Firing
Raku firing is a Japanese technique where pottery pieces are removed from the kiln while still hot and placed in a combustible material, such as sawdust or leaves. This creates an oxygen-starved environment that produces unpredictable and vibrant colors on the clay surface. Raku firing is a fast process, usually taking only a few hours, making it a popular technique for creating one-of-a-kind pieces.
Saggar Firing
Saggar firing is a process where high-fire clay pieces are placed in a protective container, known as a saggar, along with combustible materials and various chemicals. These elements react with the clay during the firing process, resulting in unique patterns and colors on the surface of the pottery. Like raku firing, this technique produces unpredictable results and requires careful planning and experimentation to achieve desired effects.
Safety Precautions
It’s essential to take safety precautions when using advanced high fire clay techniques such as raku firing and saggar firing. Always wear protective gear, including gloves, goggles, and a respirator mask, to prevent inhaling harmful chemicals or being exposed to extreme temperatures. It’s also crucial to have a well-ventilated area for firing and to follow the manufacturer’s instructions for each specific technique. With proper precautions and careful handling, you can create stunning and unique pieces using advanced high fire clay techniques.

Frequently Asked Questions
Q: Can I Use High Fire Clay With Low Fire Glazes?
A: It’s best to stick to using high-fire clay with high-fire glazes for the best results. Low-fire glazes may not reach their desired effect on high-fire clay and can result in a dull or cracked finish. The same goes for using low-fire clay with high-fire glazes.
Q: How Much Shrinkage Can I Expect From High Fire Clay?
A: High-fire clay can shrink up to 15-20% during the firing process, depending on the type and thickness of your project. It’s essential to take this into account when creating pieces that require precise measurements.
Q: Can I Use a Regular Oven for Firing Fire Clay Projects?
A: No, high-fire clay requires extremely high temperatures that regular ovens cannot reach. It’s essential to use a kiln specifically designed for high-fire clay firing to achieve the desired results. The kiln should also be properly ventilated and located in a safe area.
Q: Can I Mix Different Types of High Fire Clay Together?
A: It’s generally not recommended to mix different types of high-fire clay together as they may have different shrinkage rates and firing temperatures. This can result in cracking or uneven surfaces on your project. It’s best to stick to one type of high-fire clay for each piece.
Q: Can I Paint Over High Fire Clay Projects?
A: Yes, you can paint over high-fire clay projects with ceramic paints. However, make sure to use paints that are compatible with high-fire clay and follow the manufacturer’s instructions for baking or heat-setting the paint.
Conclusion
As we wrap up our guide on high-fire clay techniques, we invite you to embrace the process with enthusiasm and patience. The art of transforming raw clay into a finished piece of pottery is both ancient and deeply satisfying, combining creativity with the rigor of technique.
Remember, the journey from soft clay to a beautifully glazed masterpiece is filled with learning opportunities at every turn. Whether you are a budding ceramicist or an experienced potter, high-fire clay offers endless potential to express your artistic vision. By following the steps outlined on how to use high fire clay technique and applying your touch of creativity, you can produce not only functional items but also pieces that tell a story.
So cherish each creation, as it reflects your unique style and the time-honored tradition of ceramic arts. Keep practicing, stay curious, and let your creations be a testament to the beauty and resilience of high-fire clay.
Toby Rede is a professional potter focused on creating functional and artistic ceramics. His work blends natural textures with modern forms, often inspired by sustainable gardening and outdoor environments. Toby’s pottery emphasizes both utility and beauty, reflecting his philosophy of intentional craftsmanship. On the blog, he shares insights on integrating handmade objects into everyday life.
Education
Associate Degree in Ceramic Technology, Alfred University
Professional Focus
Pottery creation with a focus on functionality and artistic expression
Techniques exploring texture, glazing, and sustainable materials
Professional Accomplishments
Work featured in regional art shows and garden exhibitions
Collaborations with local craft fairs and home decor shops