

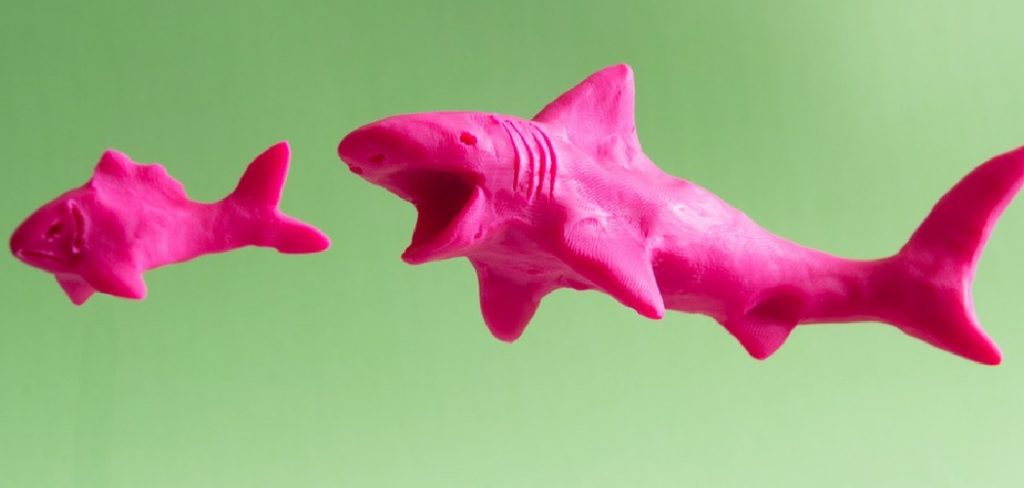
Creating a shark out of clay is a fun and creative project that allows you to explore your artistic side while learning about the fascinating features of these incredible sea creatures. Whether you’re a beginner or experienced in working with clay, this guide will walk you through the process step by step on how to make a shark out of clay, ensuring your shark comes to life with realistic details and unique flair. Get ready to roll up your sleeves, grab some clay, and dive into this exciting crafting adventure!
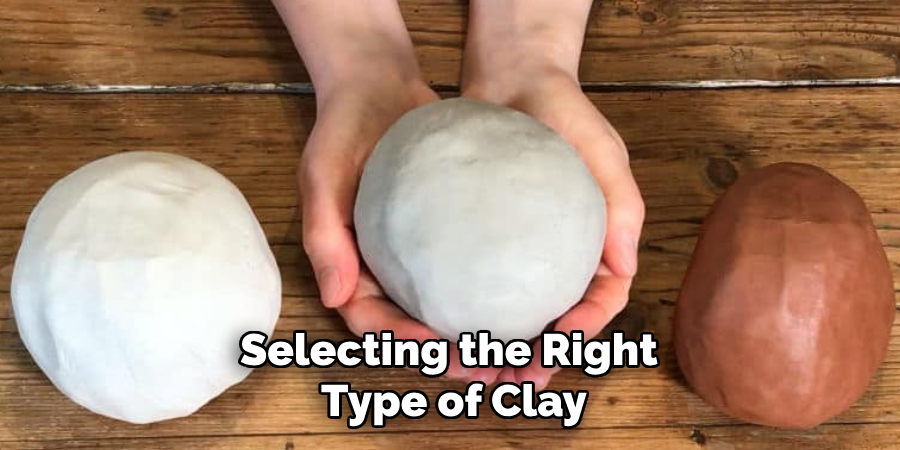
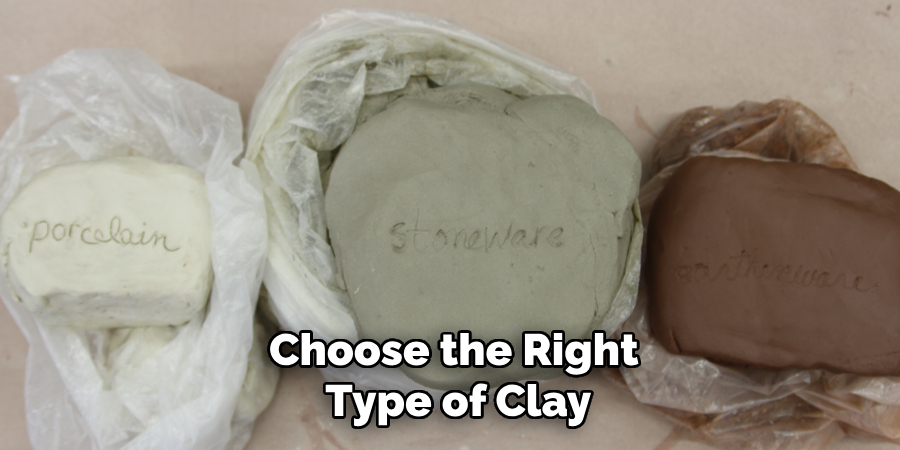
Types of Clay
Before starting your shark project, it’s important to choose the right type of clay for your needs. Here are a few common types of clay to consider:
- Air-Dry Clay: This type of clay is easy to work with and does not require baking or firing. It hardens naturally when exposed to air, making it ideal for beginners or quick projects.
- Polymer Clay: A popular choice for detailed creations, polymer clay remains soft until it is baked in an oven. This makes it perfect for adding intricate details to your shark sculpture.
- Modeling Clay: This clay stays pliable and does not harden, allowing you to make endless adjustments. It’s a good option for practice or temporary projects.
- Ceramic Clay: For those who want a more permanent and durable shark sculpture, ceramic clay can be fired in a kiln to create a solid and lasting structure.
Each type of clay has unique advantages, so choose one that best fits your skill level, tools, and the final look you want to achieve.
Tools and Supplies
To bring your clay shark to life, you’ll need the proper tools and supplies to shape, detail, and finish your creation. Here’s a list of essential items to have on hand:
- Clay: Choose your preferred type from the options listed above. Make sure you have enough for the size of shark you plan to create.
- Clay Tools: A basic set of clay modeling tools, including shaping knives, smoothing tools, and fine detailing tools, will help you craft your shark with precision.
- Work Surface: Use a clean, non-stick surface such as a silicone mat or a smooth countertop to prevent the clay from sticking while you work.
- Water or Clay Conditioner (optional): For air-dry or ceramic clay, having a small bowl of water handy can help you keep the clay pliable and smooth out seams. Polymer clay conditioners can be used to soften the material if needed.
- Rolling Pin or Cylinder: This helps flatten and shape the clay evenly for sections like fins or the body.
- Cutting Tools: Precision knives or cookie cutters are great for creating clean edges and shapes.
- Toothpicks or Wire: These can be used for structural support or adding fine details like gill slits or textures.
- Paint and Brushes (optional): If you plan to paint your shark sculpture after it’s hardened, have acrylic paints in shades of gray, blue, white, and black, along with fine paintbrushes for detailing.
- Sealant or Varnish (optional): For a polished and durable finish, use a sealant or varnish appropriate for the type of clay you’re using.
Having these tools and supplies ready will make your shark crafting process smooth and enjoyable, allowing you to focus on designing and perfecting your masterpiece!
10 Methods How to Make a Shark Out of Clay
1. Choosing the Right Clay
The first step to making a clay shark is selecting the right type of clay. Air-dry clay is an excellent choice for beginners as it hardens without firing. Polymer clay works well for detailed projects and offers vibrant colors but requires baking. If you have access to a kiln, ceramic clay provides a more professional finish. Ensure the clay is soft and pliable to facilitate shaping and sculpting.
2. Creating the Body Shape
Begin by shaping the shark’s body. Roll a lump of clay into an elongated oval to represent the streamlined form of a shark. Gently taper one end to form the tail and slightly widen the other end for the head. Use your fingers or a rib tool to smooth out any uneven areas. Keep in mind the proportions of the shark you wish to create, whether it’s a great white, hammerhead, or whale shark.
3. Adding Fins and Tail
The fins and tail are defining features of a shark. Roll out thin sheets of clay and cut out fin shapes: dorsal, pectoral, and caudal (tail) fins. Attach these fins to the body using the score-and-slip method—lightly score the surface where the fins will be placed, apply a small amount of slip (a clay-water mixture), and press the fins onto the body. Smooth the edges to blend them seamlessly into the body.
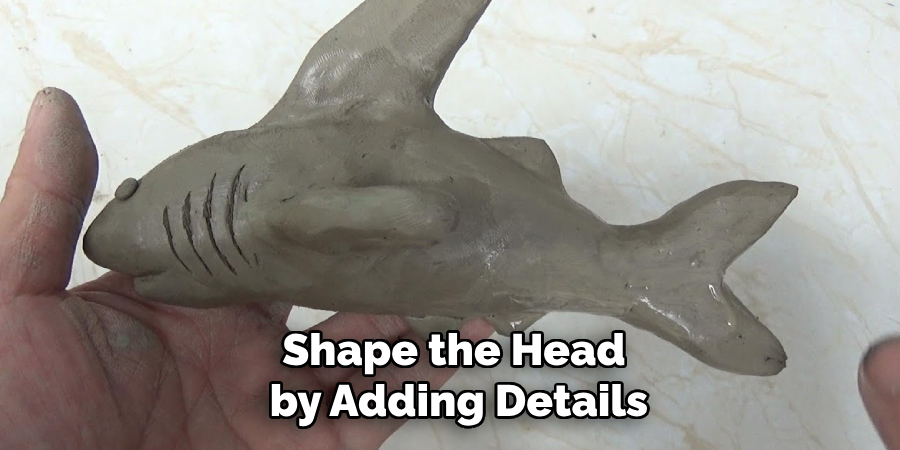
4. Sculpting the Head and Jaw
Shape the head by adding details such as the snout and jaw. Pinch the clay slightly at the wider end of the body to form the snout. For an open-mouth look, cut a small slit where the mouth will be and gently widen it using sculpting tools. Add thin strips of clay for the teeth, pressing them carefully into the jawline. Smooth the surrounding area to integrate the features into the head.
5. Carving Details
Carve additional details to bring your shark to life. Use a needle tool or toothpick to create gills on the sides of the body. Add texture to the fins and tail by etching lines that mimic their natural structure. For more realism, lightly press small dots or grooves into the skin to simulate roughness, as sharks often have textured scales known as dermal denticles.
6. Shaping the Eyes and Nostrils
The eyes and nostrils are small but crucial features for a realistic shark. Roll tiny balls of clay for the eyes and press them onto the head above the mouth. Flatten them slightly to secure their position. For the nostrils, use a needle tool or small sculpting tool to create shallow indentations near the tip of the snout. These details add personality and realism to your clay shark.
7. Balancing the Sculpture
Ensuring the shark sculpture can balance is important, especially if it’s intended for display. Adjust the fins and tail so that the shark rests securely on a flat surface. You can also create a base by attaching the shark to a clay platform, such as a wave-like structure or a simple flat disc. This provides stability and enhances the overall presentation.
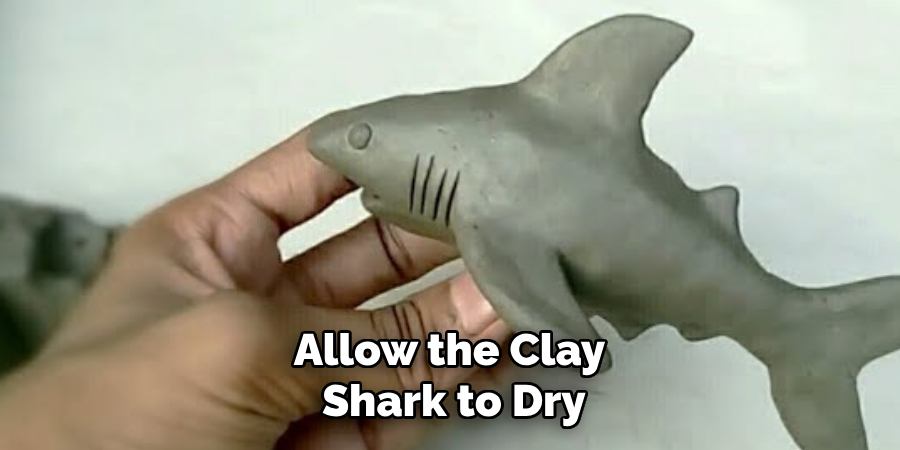
8. Drying and Curing
Allow the clay shark to dry or cure completely, depending on the type of clay used. For air-dry clay, place the sculpture in a well-ventilated area and let it dry for 24-48 hours. For polymer clay, bake it in an oven according to the manufacturer’s instructions. If you’re using ceramic clay, ensure the sculpture is fully dry before firing it in a kiln. Proper drying prevents cracks and ensures durability.
9. Painting and Finishing
Once the shark is fully cured, paint it to bring out its features. Use acrylic paints for vibrant colors and durability. Start with a base coat of gray or blue, depending on the shark species. Add lighter shades for the belly and darker tones for shading. Use fine brushes to paint details like the eyes, gills, and teeth. For added realism, consider using a gloss finish or sealant to mimic the sheen of wet skin.
10. Experimenting with Themes and Variations
For a creative twist, experiment with different themes and variations. Make a cartoon-style shark with exaggerated features or create a colorful fantasy shark inspired by marine folklore. You can also sculpt an entire underwater scene with your shark as the centerpiece, adding clay coral, fish, and seaweed. These variations allow you to explore different artistic styles and expand your creativity.
Things to Consider When Making a Clay Shark
When embarking on your clay shark project, there are a few important factors to keep in mind to ensure success and a satisfying result:
- Shark Anatomy and Proportions: Study reference images or diagrams of sharks to understand their anatomy. Pay close attention to the size and placement of fins, the curvature of the body, and the overall proportions to create a realistic representation.
- Time and Patience: Sculpting a clay shark can be time-consuming, especially when adding intricate details. Plan your time accordingly and allow yourself the patience to work through each step without rushing.
- Clay Type: Choose the right type of clay based on your project needs and experience level. Consider factors like drying time, durability, and ease of use when selecting air-dry clay, polymer clay, or ceramic clay.
- Workspace Setup: Set up your workspace with all the necessary tools and materials within reach. This will make the sculpting process more efficient and prevent interruptions.
Conclusion
Creating a clay shark is a rewarding and creative experience that allows you to bring marine life to life in your own unique way. By following these detailed steps and taking the time to refine each aspect of the sculpture, you can craft a piece that is both realistic and artistically expressive. Whether you’re a beginner exploring a new hobby or an experienced sculptor looking for your next challenge, this project offers endless possibilities for customization and creativity. So, there you have it – a quick and easy guide on how to make a shark out of clay.
Toby Rede is a professional potter focused on creating functional and artistic ceramics. His work blends natural textures with modern forms, often inspired by sustainable gardening and outdoor environments. Toby’s pottery emphasizes both utility and beauty, reflecting his philosophy of intentional craftsmanship. On the blog, he shares insights on integrating handmade objects into everyday life.
Education
Associate Degree in Ceramic Technology, Alfred University
Professional Focus
Pottery creation with a focus on functionality and artistic expression
Techniques exploring texture, glazing, and sustainable materials
Professional Accomplishments
Work featured in regional art shows and garden exhibitions
Collaborations with local craft fairs and home decor shops